

Sewing & Embroidery How-Tos


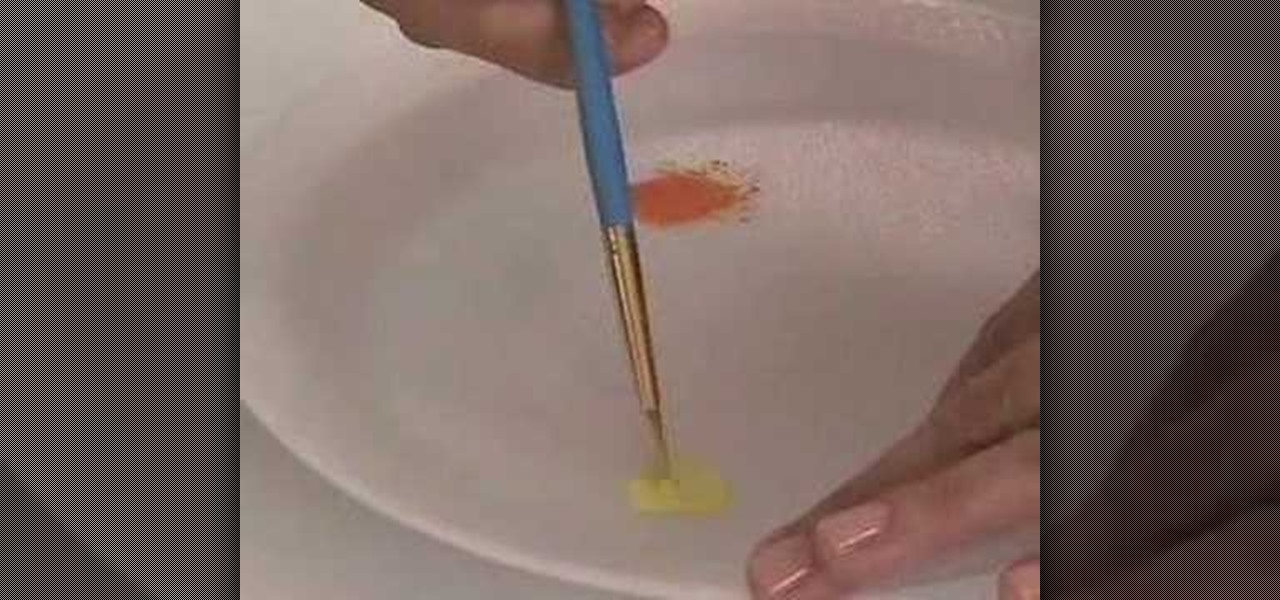
How To: Use the cross stitch 'n paint technique
In this Arts & Crafts video tutorial you will learn how to use the cross stitch 'n paint technique. It combines simple back stitching and water color painting. Most of the materials are found in your kitchen. You will need wax paper, paper towels, and a plate to use as your paint palette, some water colors and paint brushes. After choosing your design, back stitch the outline on the fabric. Place the white paper towel over the wax paper and spread the stitched fabric over it. Now you are read...

How To: Make a ribbon tree
In order to make a ribbon tree, you will need the following: 50 2" pieces of ribbon, scissors, a hot glue gun, hot glue sticks, and a floral tree.
How To: Edge finish with lingerie elastic
In this tutorial, we learn how to edge finish with lingerie elastic. First, grab your elastic and place it onto your fabric. Line up the elastic so it matches in perfectly with the fabric. Use a sewing machine to sew the elastic onto the fabric. Go slowly while you are doing this and lift the elastic in your hand as you continue to sew it on the fabric. When you get to the end of the fabric, the elastic will be sewn on, and you will be able to wear it! This only takes a few minutes, just make...
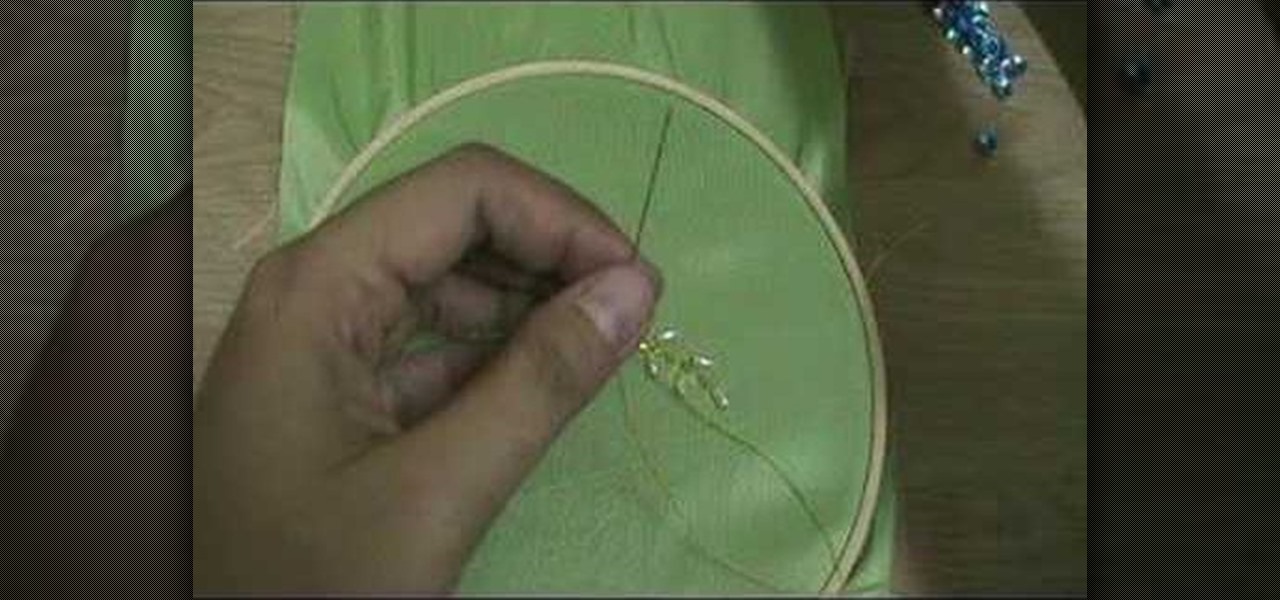
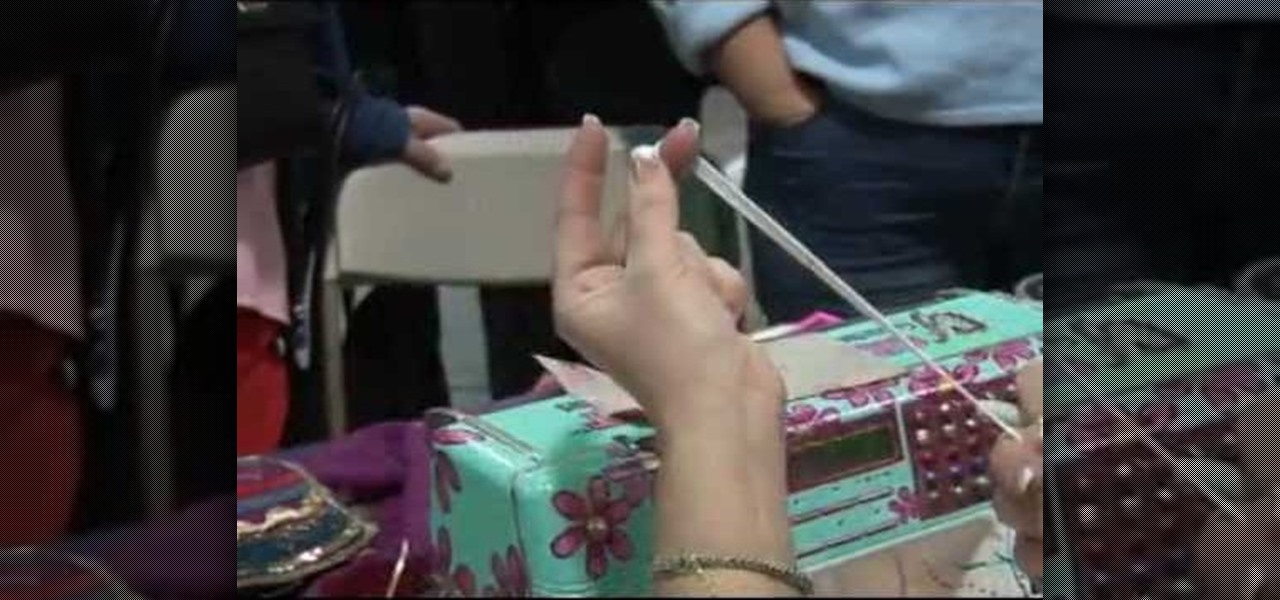
How To: Embroider with beads and sequins
In this video, we learn how to embroider with beads and sequins. First, push the needle through the bottom of the cloth into the top where the sequin is at. After this, continue to thread in beads and more sequins. Make sure you are pulling through on the bottom so you attach the beads to the thread and they don't fall off. When you are done with this, you will push the needle through the top of the cloth, then tie it at the bottom and cut off the excess thread. When done, you will have a bea...
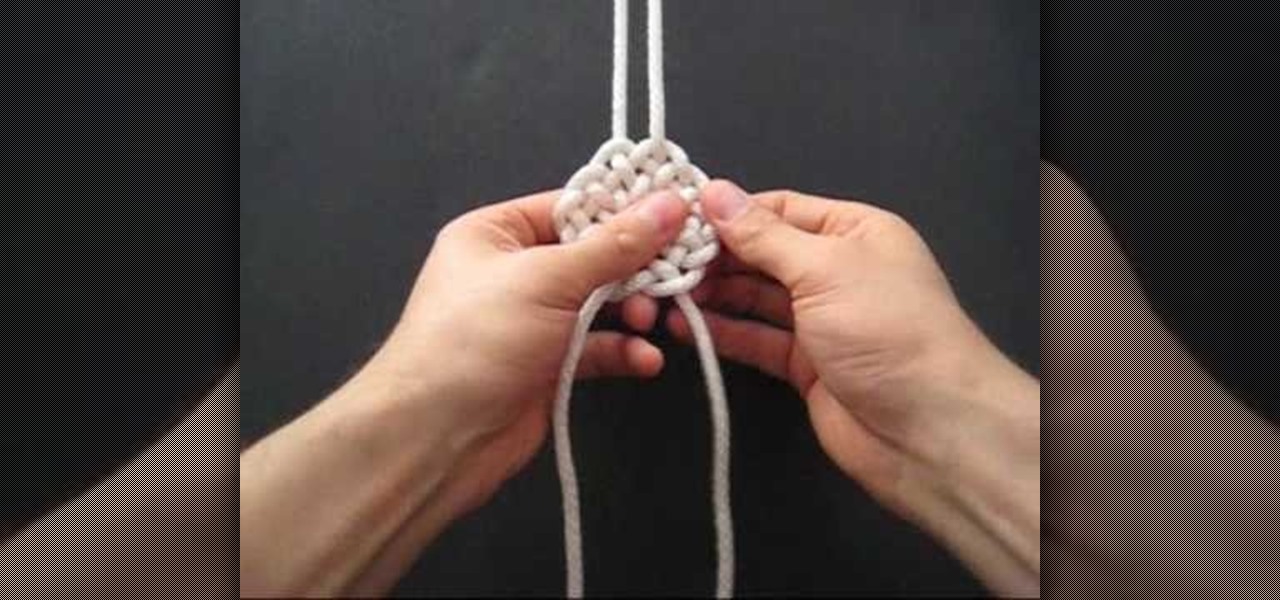
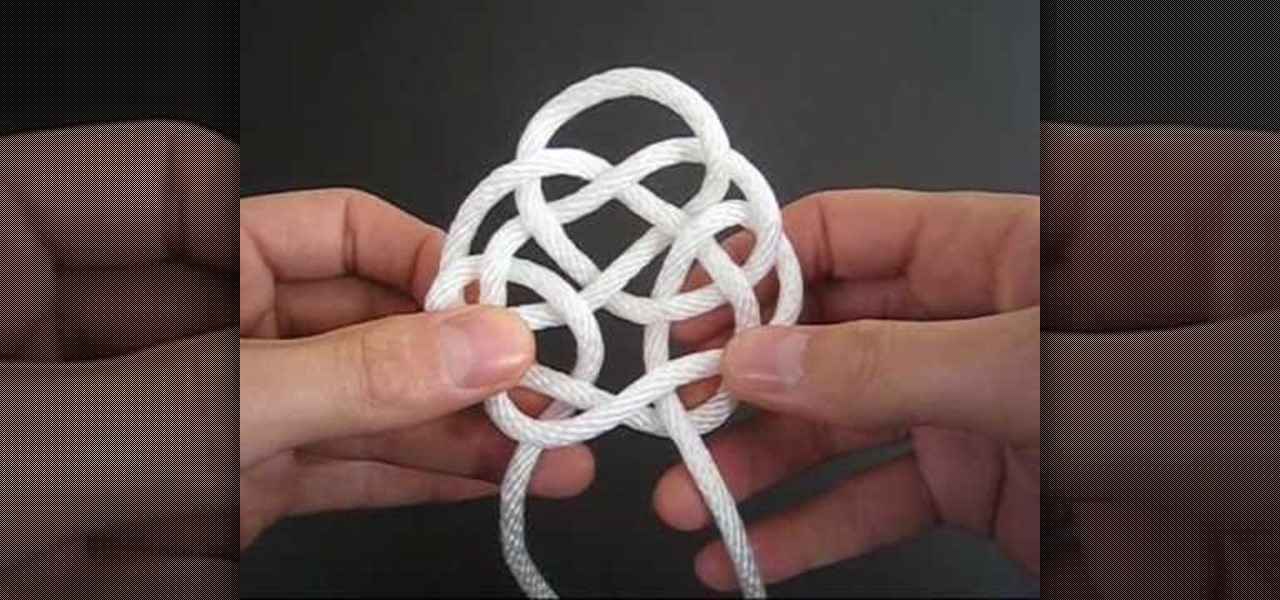
How To: Tie a compound double Coin knot
In this tutorial, we learn how to tie a compound double coin knot. First, take two strings and make a loop with the left one, then loop right right one into that. Tighten these together, then bring the end of the right working string over the loop and through the bottom of the shape, then continue to thread it through. Now, repeat this on the left side with the left string. Next, loop the right side of the string and push through the loop with the end of it. After this, tighten up the ends of...
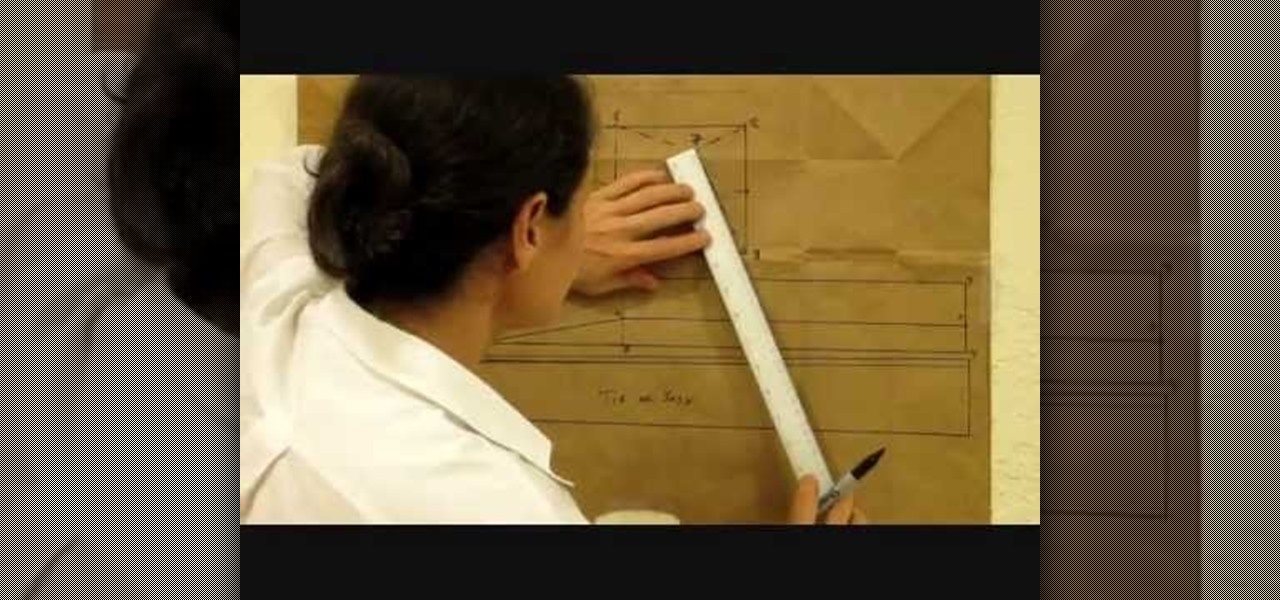
How To: Draft a pants sloper
In this tutorial, Don McCunn teaches us how to draft a pants sloper. First, measure out the center line of the leg and then draw the center line onto a piece of paper. Now, measure from the waist and mark the measurements along with where you drew the center line. Now, measure down to the hip level and mark this as well, making sure to use the fullest area of the hips. Next, you will need to determine the crotch from the waist to the area where the subject is sitting, then mark it. Use a stan...
How To: Sew & measure elastic
In this tutorial, we learn how to sew and measure elastic. First, place the elastic over your waist and think about what you are making. Decide if you want it to be comfortable or if you want it to be tighter if you are wearing it out during the day. Also take into account what type of fabric you are going to be using so you know how much elastic is needed. Fold the elastic and mark the inside and outside of the fold, now do the same thing with your fabric. Now you will know if you need to ea...
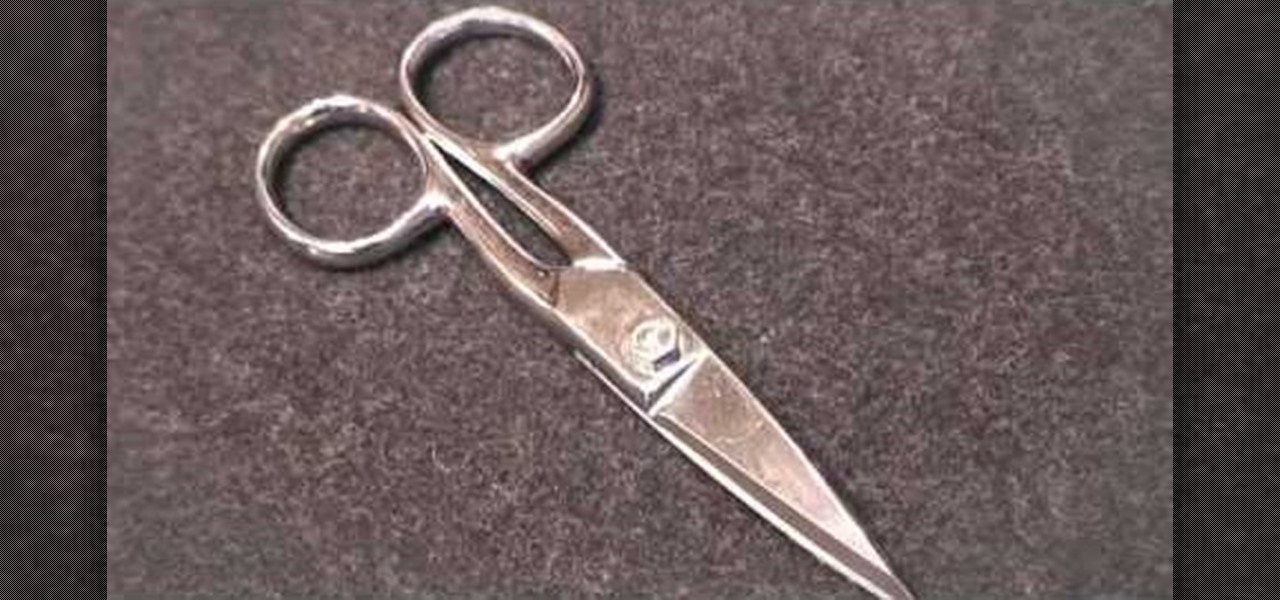
How To: Use tailor point scissors
In this video tutorial, viewers learn how to use tailor point scissors. These scissors are short, have a broad spine on the blades and contains both a knife and bevel edge. The knife edge allows the scissors to go through the fabric and the bevel edge allows users to cut in layers without cutting what's underneath. The broad spine prevents the separation of the blade points. The short blades allow better control and easily movable. This video will benefit those viewers who enjoy stitching and...
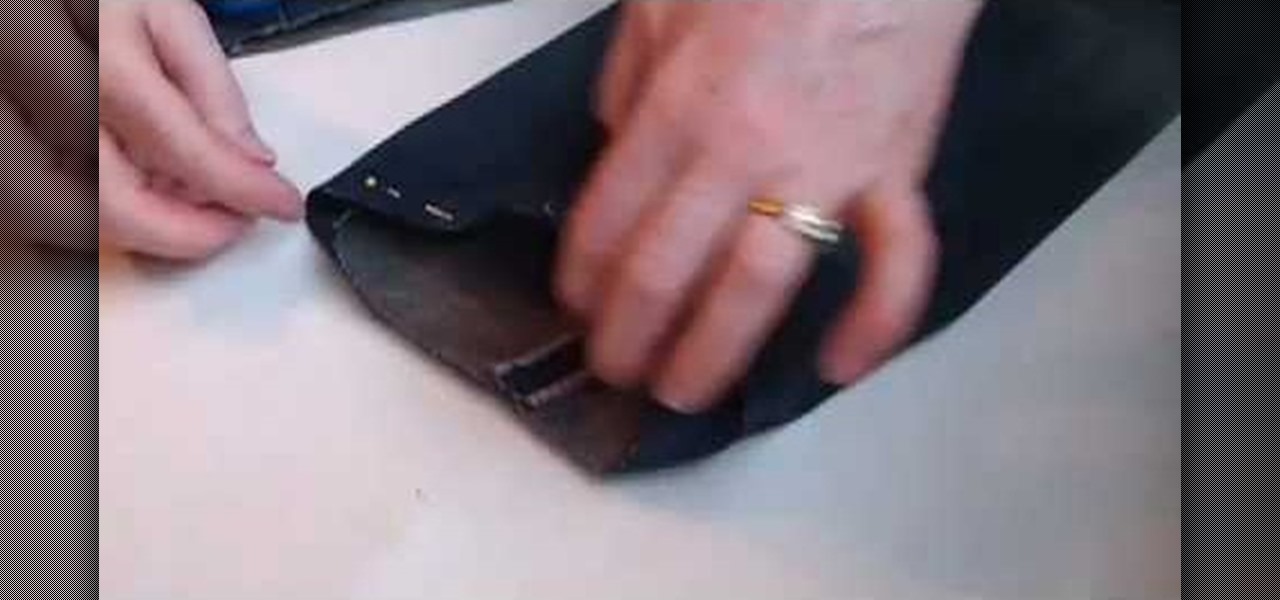
How To: Hem your favorite jeans
In this tutorial, we learn how to hem your favorite jeans with Laura. First, place your jeans on your body, then cuff them where you want to hem them. Next, take your jeans off and pin the cuffs where you wan to hem them to keep them in place. Next, measure out the length of the hem and mark it with a piece of chalk, then you can take out the pins. Next, you will cut the pants, then pin them back where you want to hem them at. After this, you will take them to the sewing machine. After this, ...
How To: Make yarn for a scarf from recycled strips of silk
If you're a habitual knitter, then you probably go through spools of yarn faster than you can buy them. And while rolls of yarn aren't all too expensive, purchasing many of them frequently does take its toll on your wallet. So why not opt for a cheaper and more eco-friendly approach to your knitting?

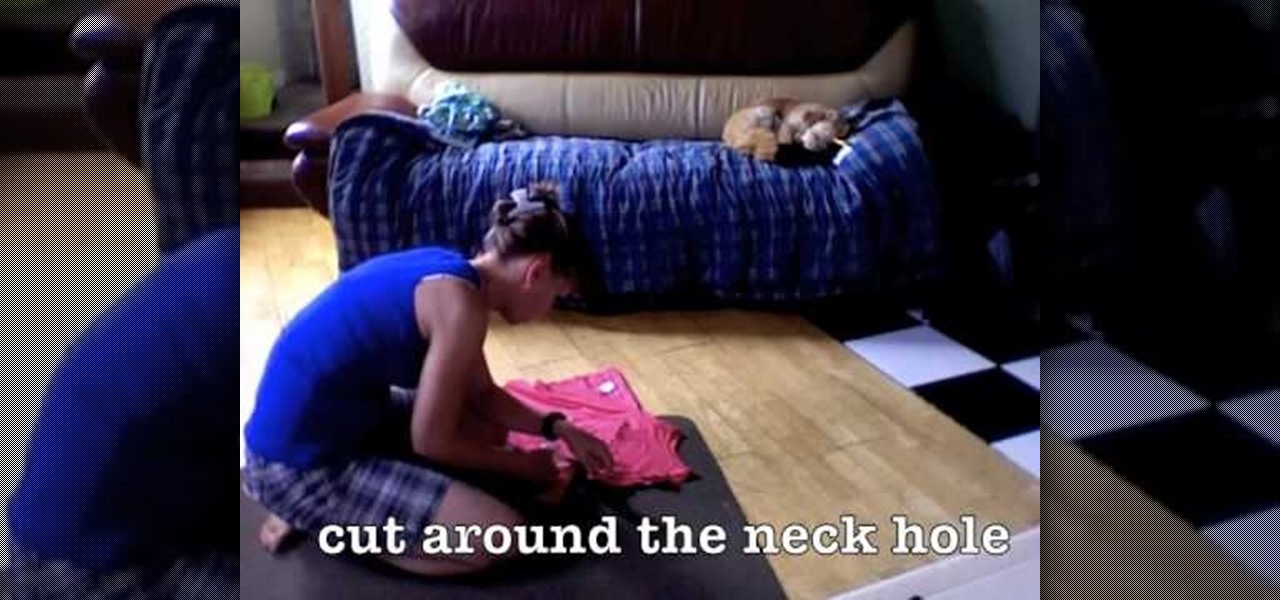
How To: Reuse an old t-shirt by turning it into a grocery bag
Got a pile of old clothes collecting dust in the corner of your closet? Before you get the incentive to finally donate that lump to the Salvation Army, consider reusing some of those seemingly "useles" clothing.
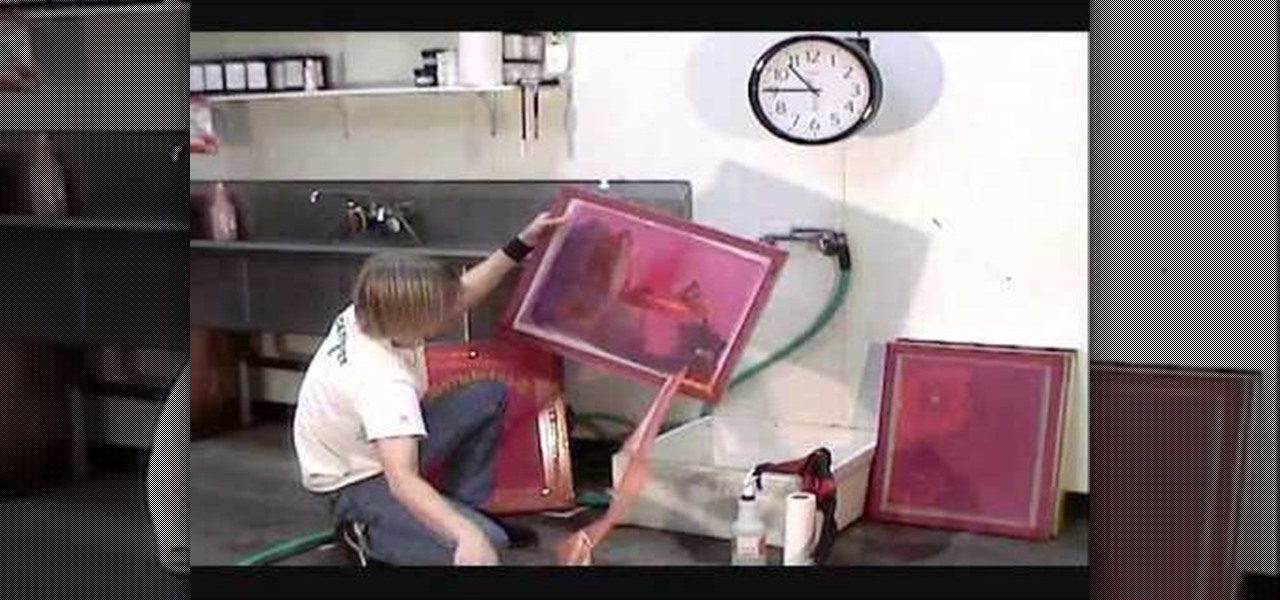
How To: Reuse screens to screen print t-shirts at home
Screen printed t-shirts cost you quite the chunk of change at most clothing stores. Whether it's to prove your street cred with a screen-printed Nike shirt or to wear a screen-printed tee promoting a major cause like the Susan G. Komen Cancer Foundation, you probably already have a few in your closet.
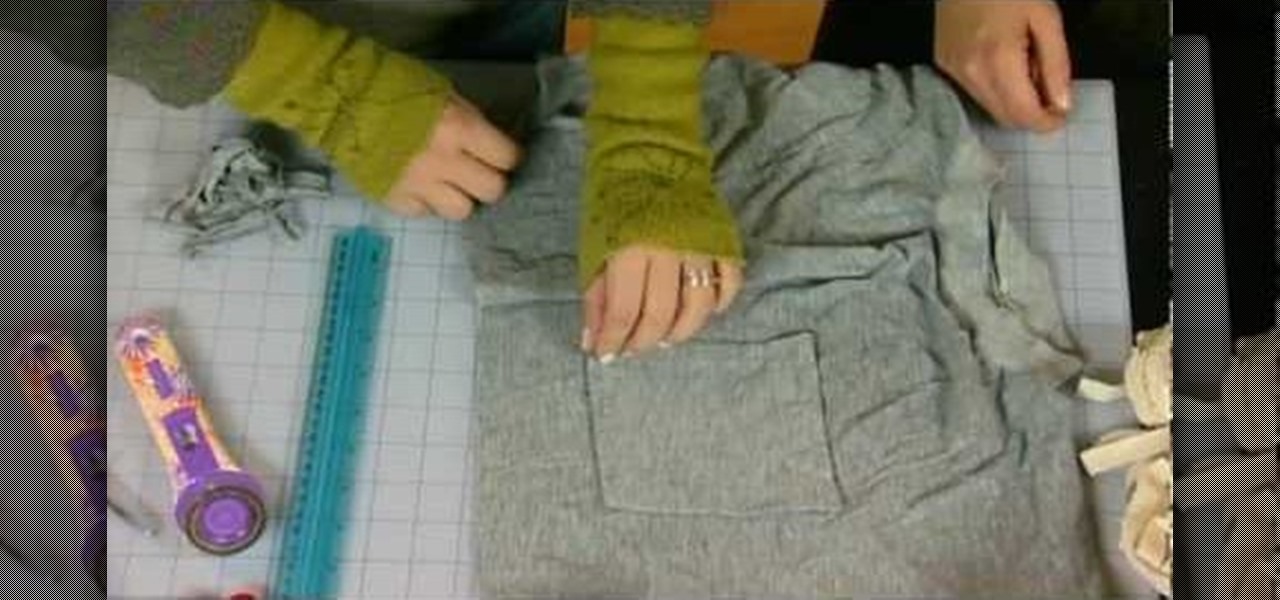
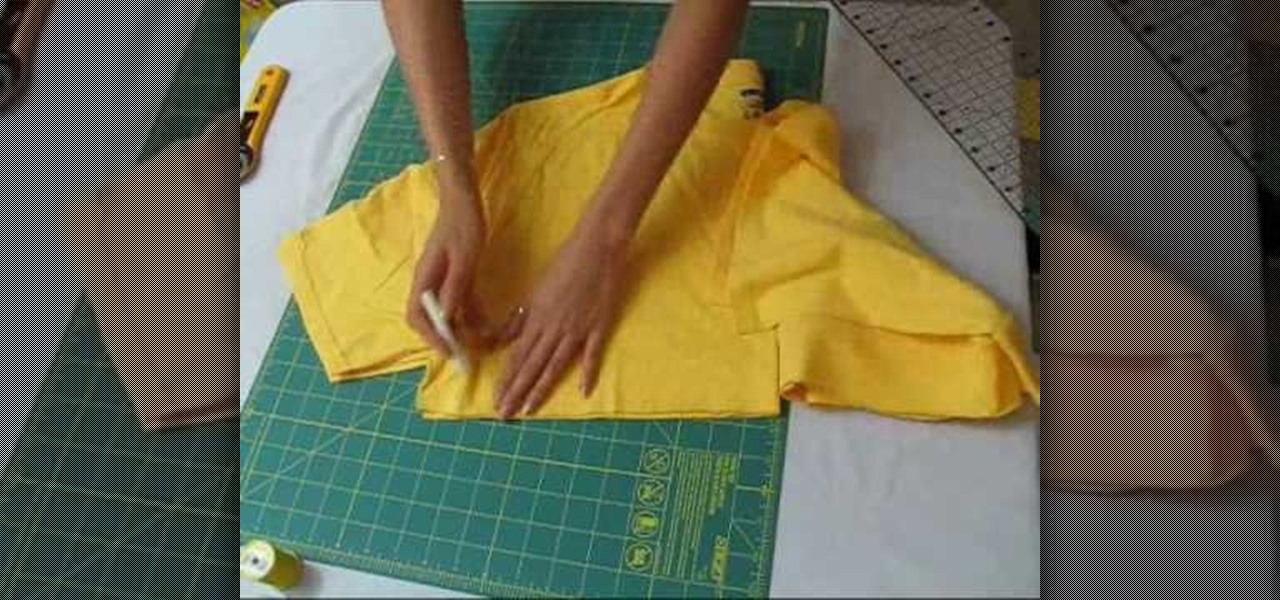
How To: Upcycle an old t-shirt into a reusable shopping bag
Old t-shirts really don't get the loving they deserve. Most of us would either toss or donate our old clothes, thinking there's really no use for them other than the obvious clothing purpose.

How To: Make a quick ruched tank top from a t-shirt
Old t-shirts can be given new life when you take a gander at this upcycling tutorial. Using nothing but a raggedy old t-shirt, you'll learn how to make a cut here and put a stitch there in order to magically transform the shirt into a wonderous tank top.
How To: Make a DIY eco-friendly shopping bag from an old t-shirt
These days, everything is about efficiency. We're always looking for the fastest way to do things, from producing faster cars to faster internet. This need to get things done fast also extends to home organization, where we basically have a "keep" and "toss" pile.

How To: Sew together a creative felted cuff bracelet with a needle felting machine
Make a creative and fun felted cuff bracelet! This could be a difficult task for beginners, but overall it's an easy craft. You'll need a needle felting machine for this though, which means you might have to hunt one down or improvise. Watch and learn how to use the needle felting machine to create a cool felted cuff.
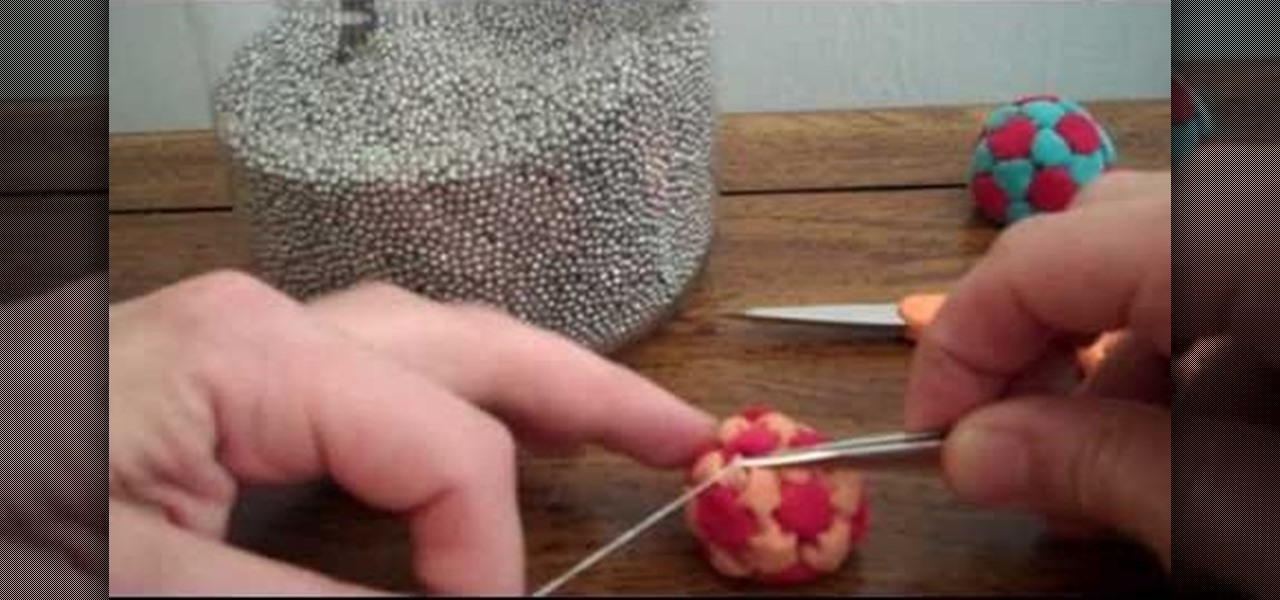
How To: Stitch a 32-panel footbag using a Hacky Sack pattern
If you're tired of buying your footbags, aka Hacky Sacks, and you want to create your own awesomely designed footbag, this video will walk you through the steps of doing it. First, you're going to want to get a footbag pattern to follow, which can be found at the Online Footbag Pattern Generator. In this video, you learn how to stitch a 32-panel footbag together. See the whole process and follow along!
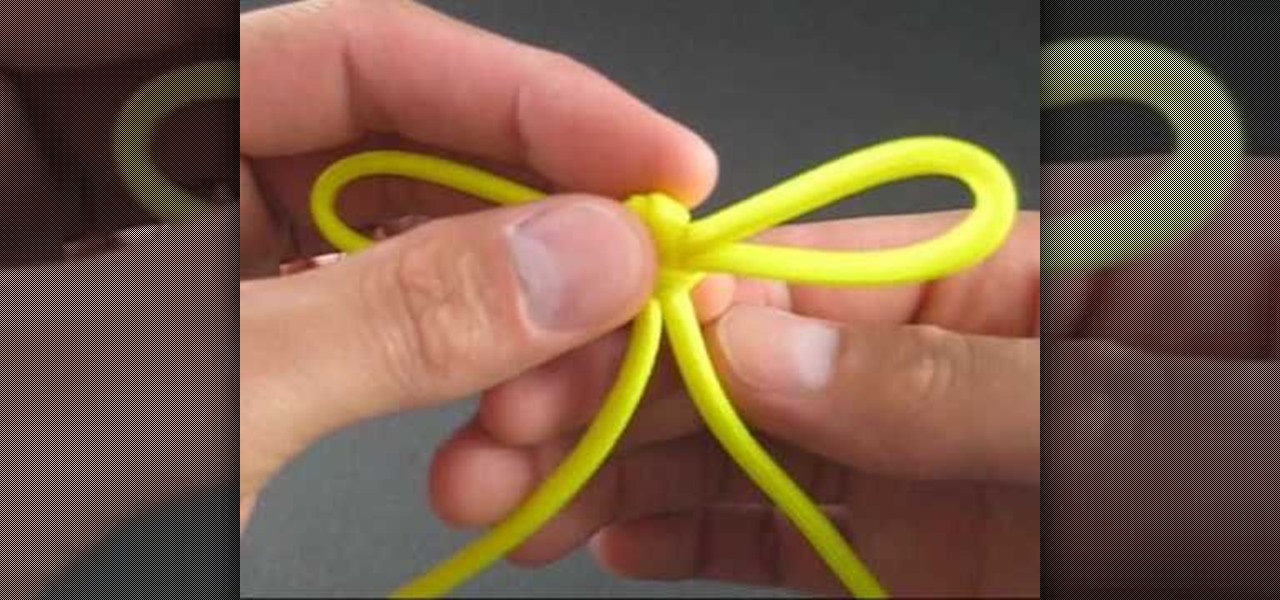
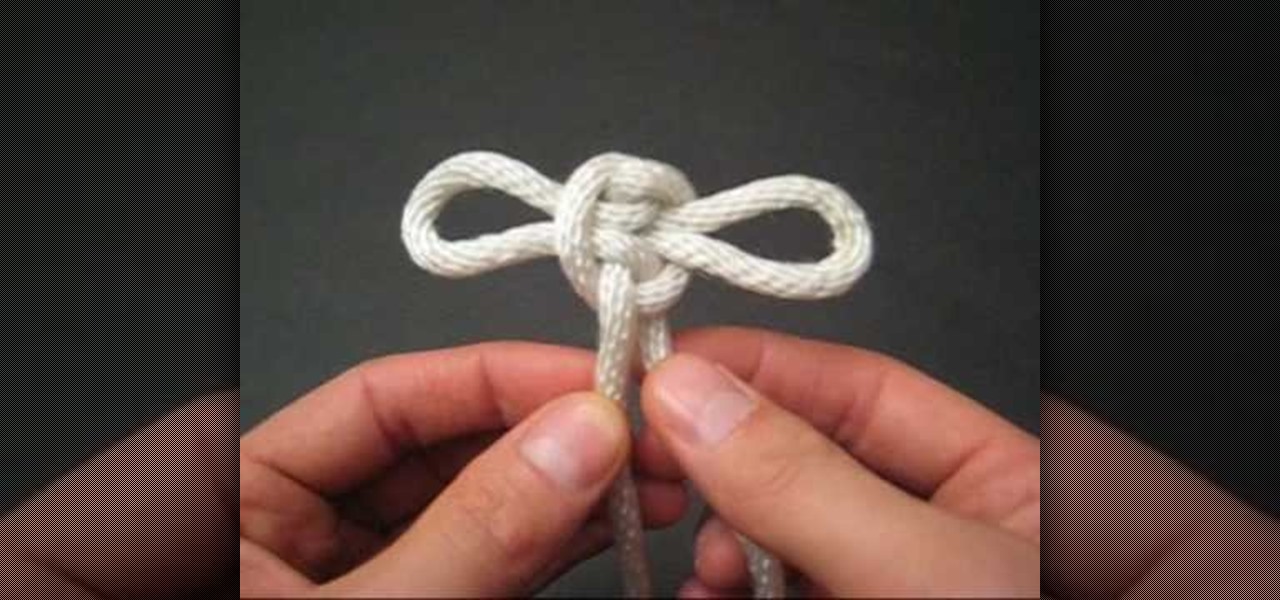
How To: Tie a Japanese bow knot
If you're looking to tie something that is elegant and beautiful, then this next tutorial has something for you. This video is going to show you step-by-step on how to tie a Japanese bow knot.
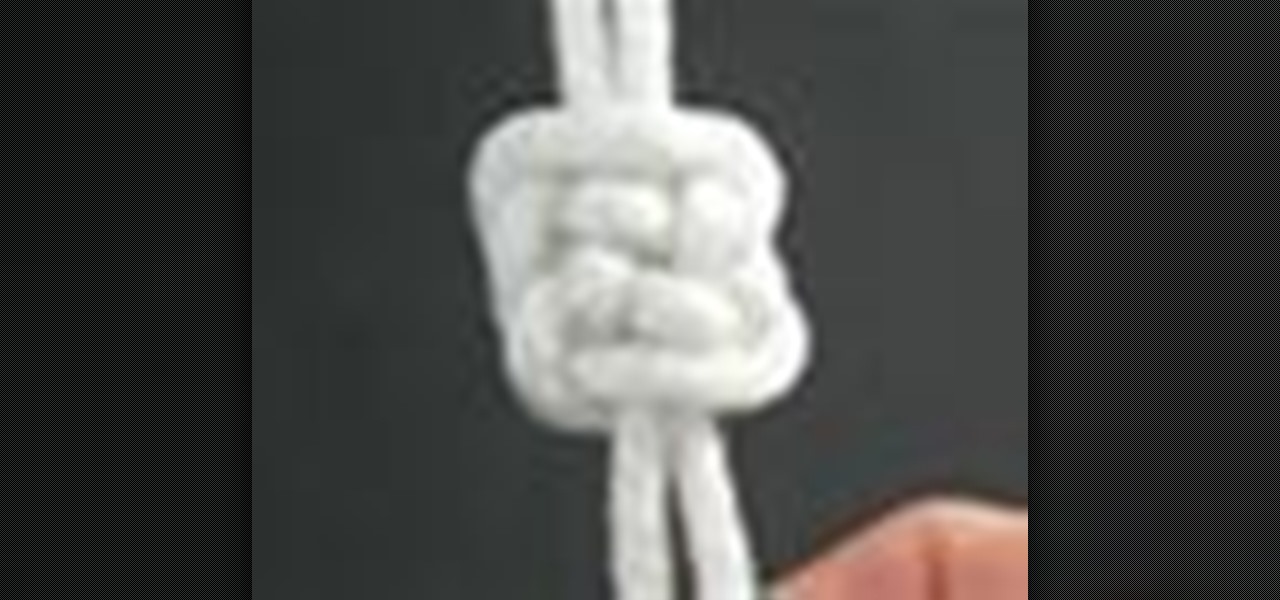
How To: Tie the two color monkey's fist knot
In this tutorial, we learn how to tie the two color monkey's fist knot. First, make a double overhand knot, and snip the edges off. Next, create the monkey's fist by taking one of the ropes and looping it around the fingers several times. After you do this, push the knot through the fingers and tie the other string around the entire loop several times. Push the string through the loop, then continue to tie on the opposite side around itself. To finish this up, Pull the two outside strings tog...

How To: Back stitch when embroidering
This video tutorial belongs to the Arts & Crafts how category which is going to show you how to do back stitch when embroidering. This is really simple and easy to do and takes no time to learn. For starting, mark five dots on the cloth. Then you stitch from point 1 towards 5. First you pass the needle from under the cloth through point #1, pull up the thread and pass it down through point #2. Now pull the thread up through point #3 and pass it back down through point #2. Then you pull the th...

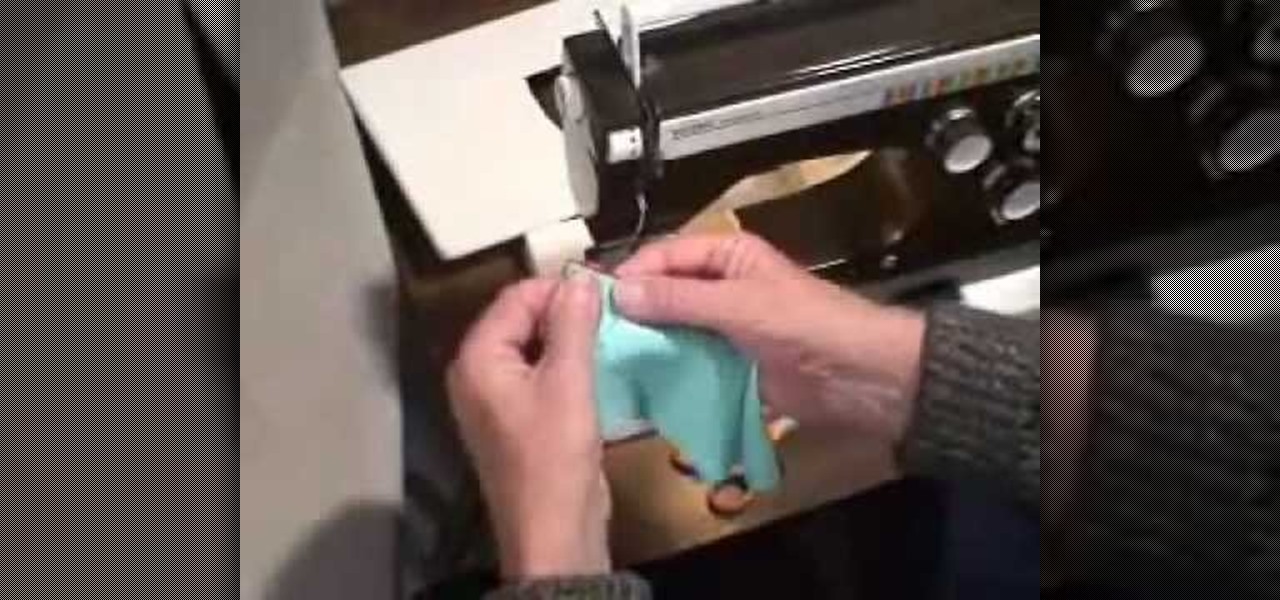
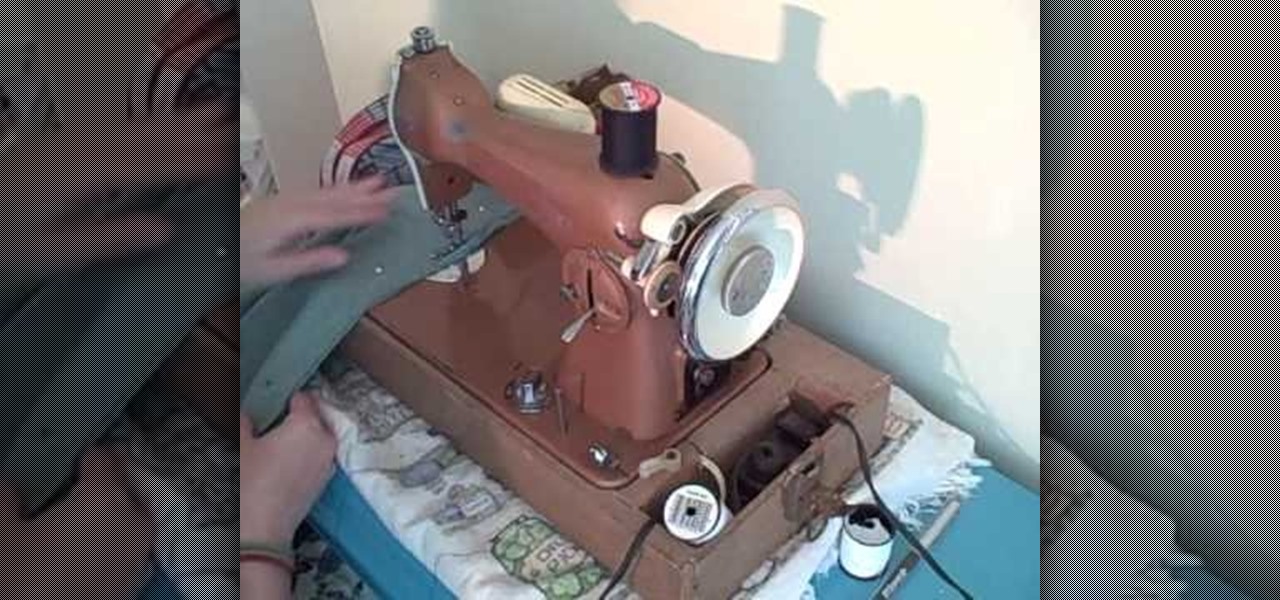
How To: Thread a school sewing machine
In this video, we learn how to thread a school sewing machine. First, apply the top thread to the bevin on the top of the sewing machine. You will thread this from the spool onto the side hook, then around the top and through the needle at the bottom. Next, thread the thread into the bobbin next to the sewing machine door, then push it through the bottom and thread it around the needle. After this adjust the settings on your sewing machine until they fit what you like. Then you will be ready ...
How To: Tie the Djinn Bottle decorative knot
In this tutorial, we learn how to tie the Djinn bottle decorative knot. First, make a loop on the left side of the string, then bring the other side around it and pull the top up. After this, twist the two strings underneath the bottom of the knot and push the right string through the side of it. Then, push the left string into the left side of the knot through the back. Pull on the top, then twist it into a loop and push the left string through the back, making a loop, then pushing the right...
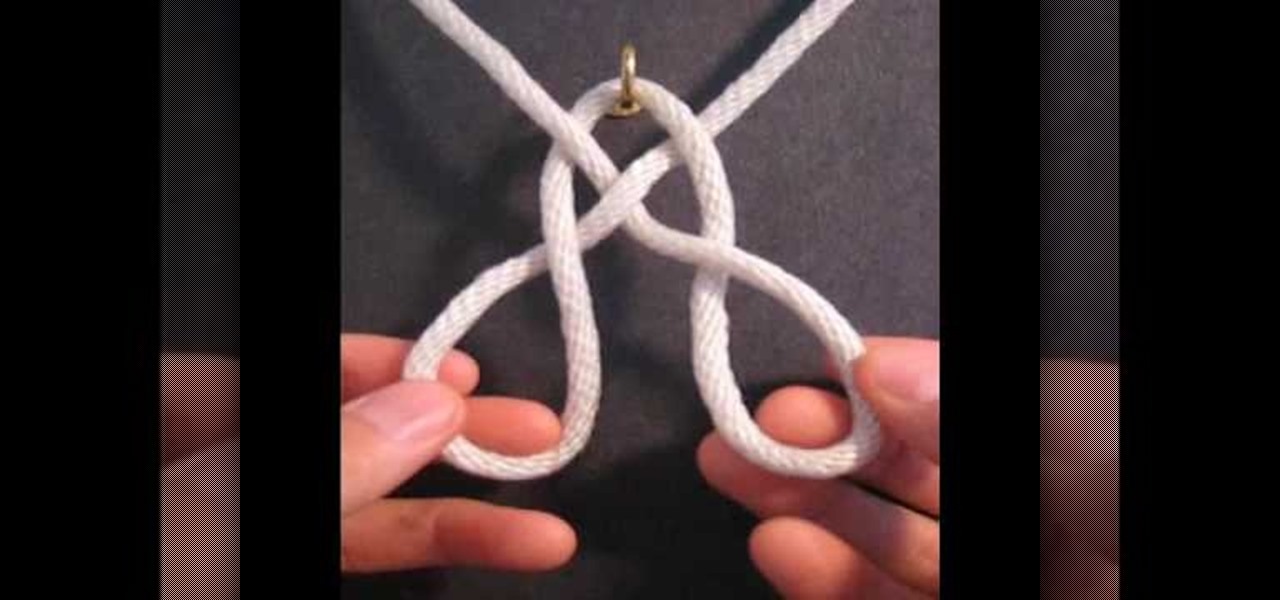
How To: Tie the Rising Sun decorative knot
In this tutorial, we learn how to tie the rising sun decorative knot. First, loop your string on the left side, then pull the right side over the top. Now, bring the bottom of the right side over and place the end into the first loop going over the other string. Next, remove the string from the last loop it was in, then bring the right over to the right loop and push through to the bottom. Next, bring the right string over to the left side and thread through the left loop closest to it. Next,...
How To: Tie a plafond (lanyard) knot
In this video, we learn how to tie a plafond knot. First, make a loop with your string, then make a smaller one directly underneath it. Make a larger loop underneath this, followed by another small one. After this, grab the bottom and lift it to the middle of the one on top of it. Next, bring the top down and push it into the middle of the bottom loop. Bring the left hand side of string through the top of the loop, followed by the right hand side through the right hand side middle. Now, pull ...
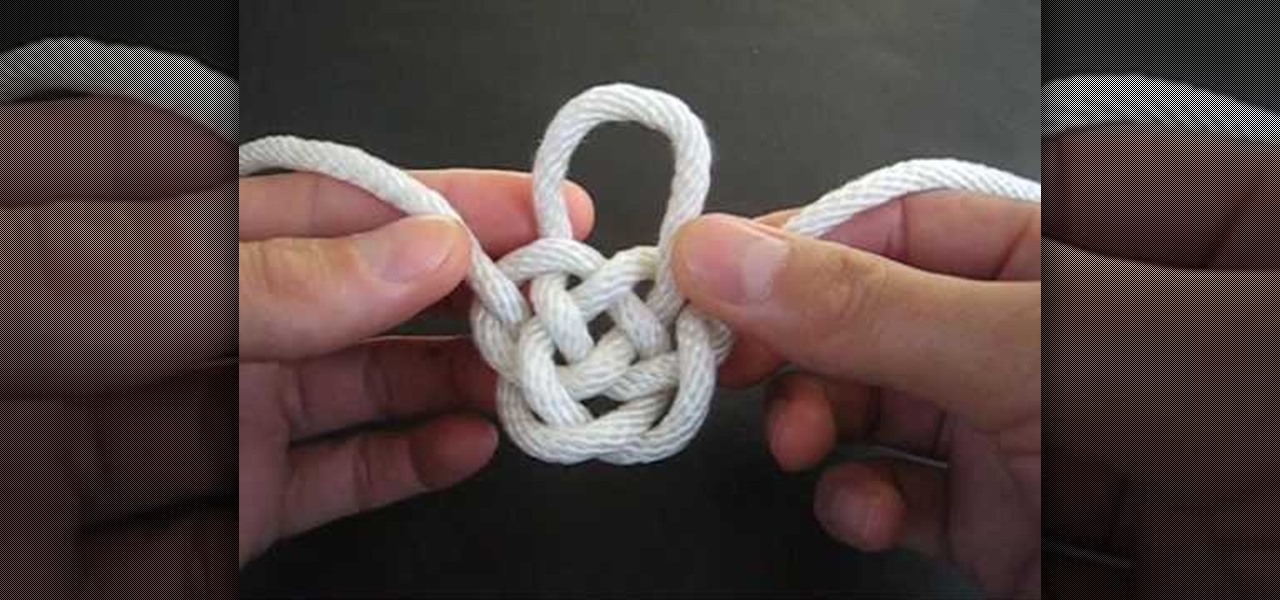
How To: Tie the Basket Weave decorative knot
In this tutorial, we learn how to tie the Basket Weave decorative knot. First, hook your string to a hook, then tie a loop that is wide. After this, bring the strings to the top and make a heart shape. Now, twist the two loops on the side and twist them around each other. Now, bring the right string through the right loop and up through the left. Do this for the left string except using the opposite loops. When you are finished, pull on this tightly and release the string from the hook. Make ...
How To: Do an arrowhead stitch when embroidering
In this tutorial, we learn how to do an arrowhead stitch when embroidering. Start off by pushing the thread through, then pulling it under, then back through at a diagonal angle. After this, thread it back through, making the same angle on the opposite end. As you continue to do this, you will start to see arrows forming after two stitches. Place the arrows one in front of the last to make the stitch complete. When you are done, you will thread the needle through the bottom and tie it. After ...

How To: Do a Vandyke stitch when embroidering
First, bring the thread up and then make a diagonal line and bring the thread through again. Bring the thread through again below the diagonal line on the left side. Then, put your needle thread through the 'x' and make sure your loops are even. After this, bring your thread through and even up your stitch. Now thread through on the right hand side and go through the next 'x' shape. Continue to do this, and you will see the Vandyke stitch start to take form as you go on. There will be a verti...
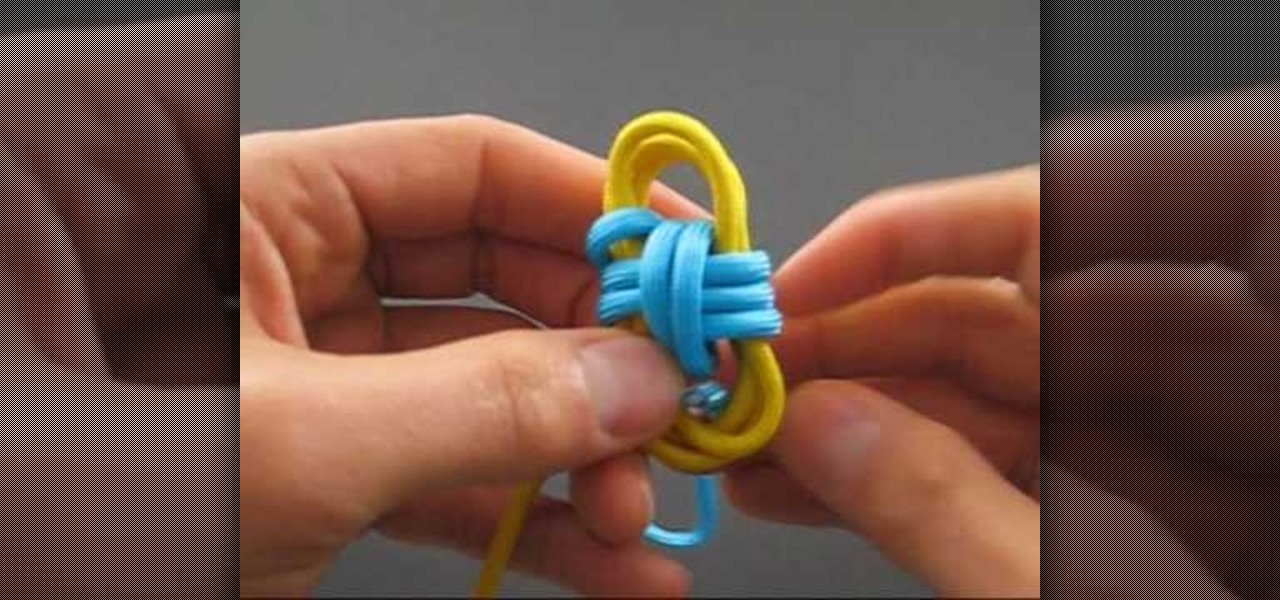
How To: Tie a Maedate knot
In this video, we learn how to tie a maedate knot. Start off by making a loop in the middle of the string followed by another loop placed next to it. Now, wrap these together in the middle and pull them out on the side. You will now have a shape that looks like a bow. Pull on both sides of the bow, where there will be two loops. You can pull on each of the loops if you want to back them larger. When you pull on the bottom strings, the loops will become smaller. After you do this, you will be ...

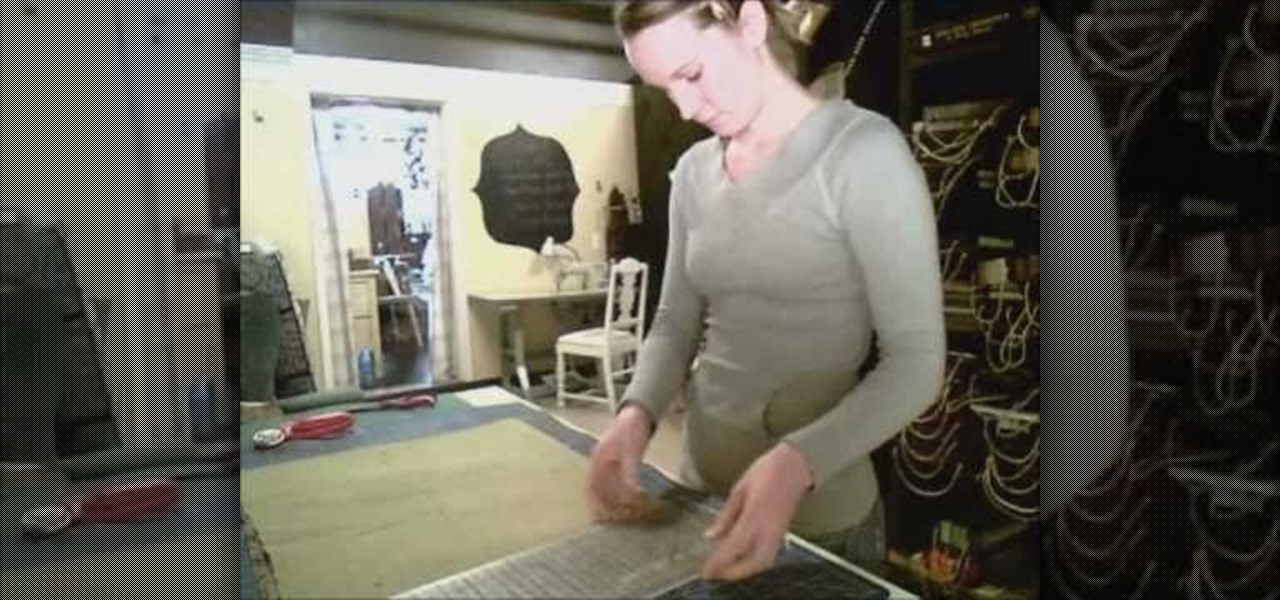
How To: Sew on a shade ring
In this video we learn how to sew on a shade ring with a sewing machine. First, lay your roman shade wrong side up. Next, place a pin inside of it and then fold the shade fabric where it is down. Next, set your sewing machine to a zigzag stitch with a width that is on the wider side. Now, slide your fabric underneath the needle so it just catches the needle on the side. Start to stitch the side of the fabric, removing the pins as you go. Make sure to sew the shade rings on as you go, then you...
How To: Upcycle a t-shirt into a Pikachu romper
Are you a big fan of anime and cosplay? Getting dressed up for anime conventions is super fun, but you can add to the excitement and save money by making your own costume.
How To: Make the Guitar Bar decorative knot
In this video, we learn how to make the guitar bar decorative knot. First, set up the bard then cow hitch two strips of rope side by side. Next, measure each bar to 12 inches long and make sure you have 12 feet of rope. After this, build the frets of the bar, and while you are doing this you will flip the bar over and start to half hitch. Continue to do this, tying all of the ropes together into the knot. Next, turn the knot over and continue on the other side. When you are near the end of yo...

How To: Use zig-zag stitch as an overlocking stitch
In this tutorial, we learn how to use a zigzag stitch as an overlocking stitch. First, put your fabric under the sewing machine and place the edge close to the needle. Sew the side of the fabric and when you are done, you will have the overlocking stitch. This will stop your edge from being raw and there won't be any frays on the side, which will reduce unraveling. This is very easy to do and just takes a few minutes. Make sure you prepare your fabric before you do this stitch and you will be...
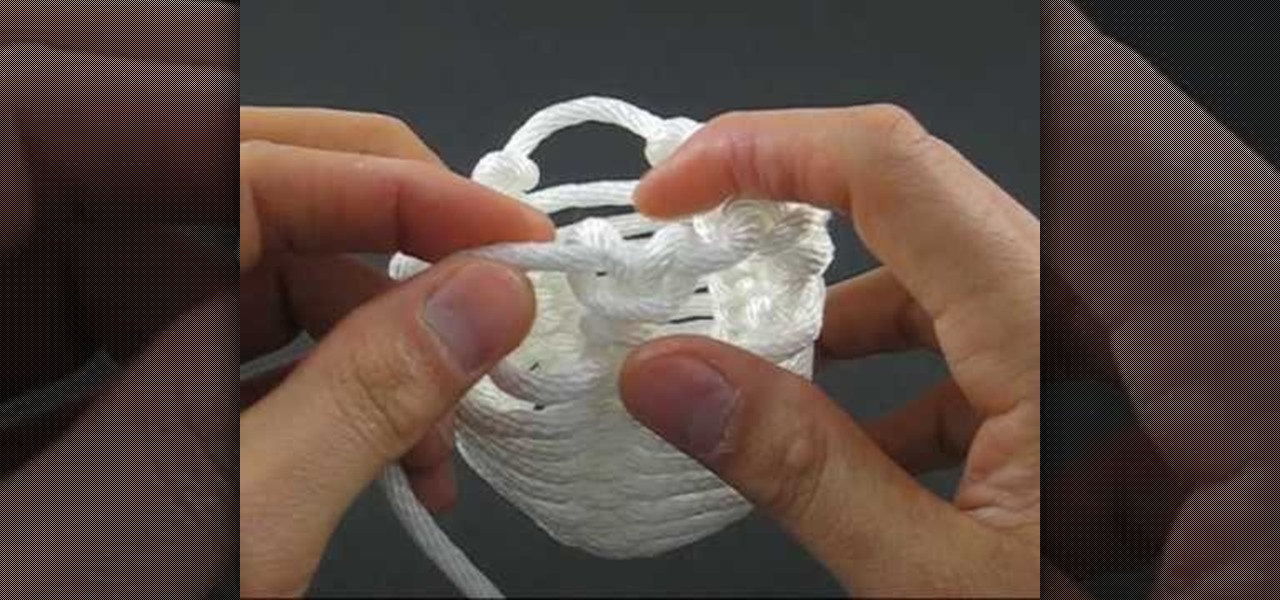
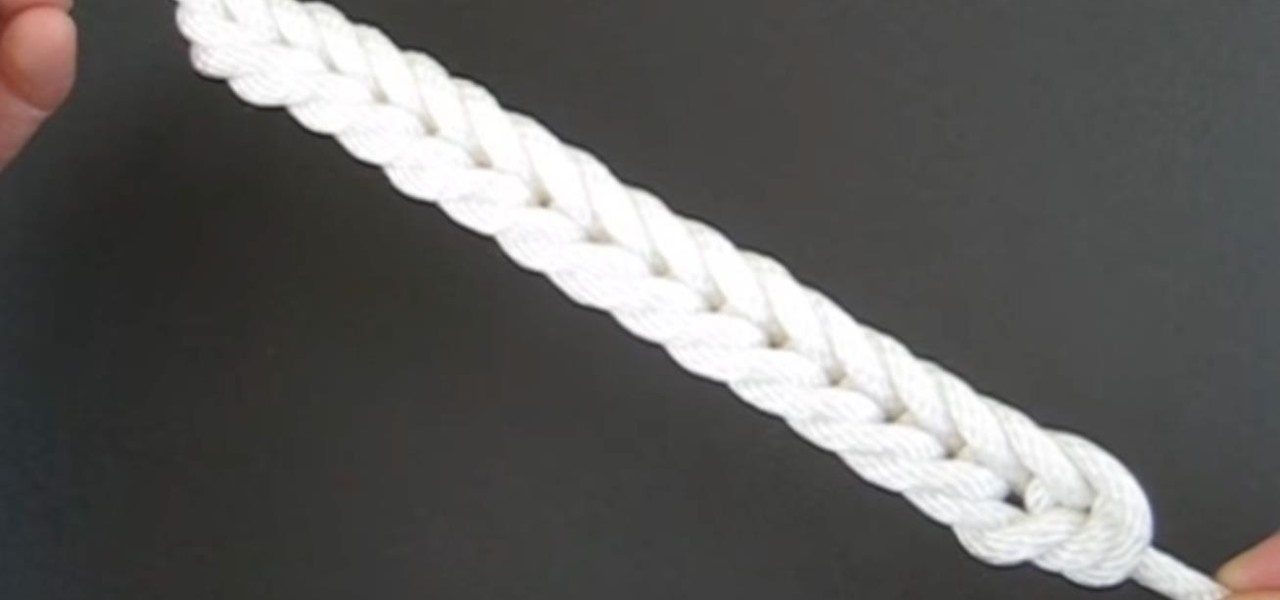
How To: Tie a honey rope basket knot
In this video, we learn how to tie a honey rope basket knot. To do this, you will need a 10ft of nylon rope. Start off by tying a counter-clockwise slipknot at one end of the rope. After this, pull the loop of the slipknot out four inches. Then, tie a second slip knot clockwise next to the first slipknot. Draw the loop length of the second so it's equal to the first. Next, continue to create slipknots next to each other until you've done five. No, hook your working end into the first loop and...

How To: Hem a sleeve
In this video, we learn how to hem a sleeve. First, turn your shirt inside out, then lay it flat. After this, grab the sleeve and fold it over to where you want it hemmed to. Next, place pins in the spots where you want your shirt hemmed, then go over the area with an iron. Next, go to your sewing machine and slip the sleeve around the platform arm. You will have to take the outer base off the machine to do this. Now, lower your needle and sew in the spots where the pins are, removing them as...

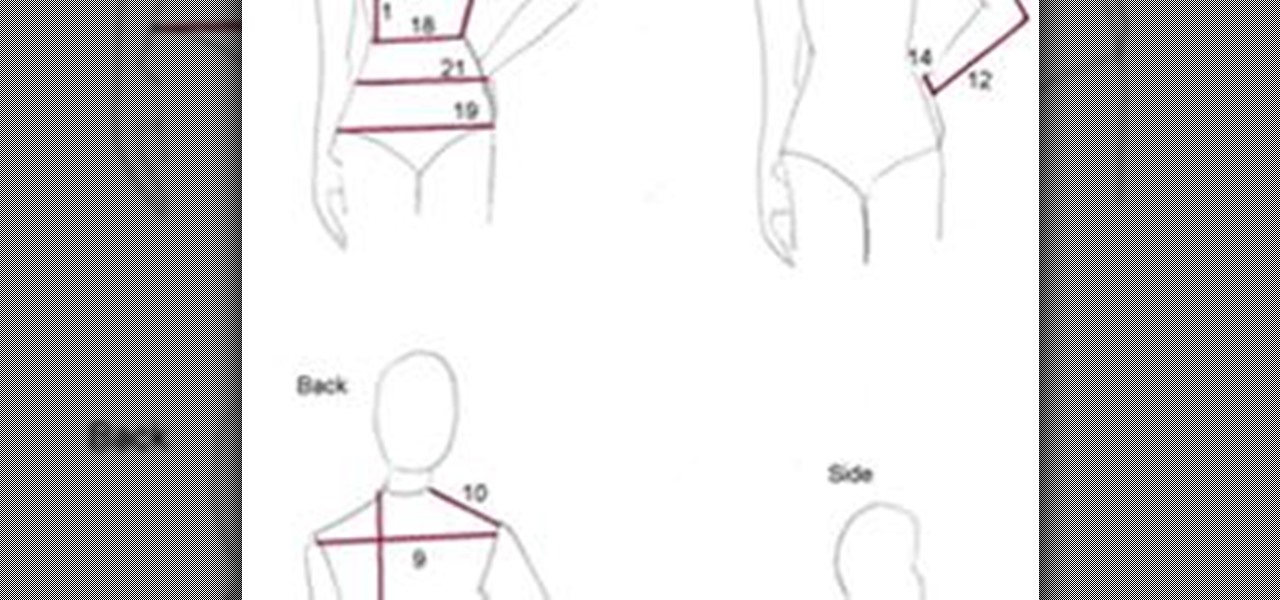
How To: Make a fitted sleeve sloper
In this tutorial, we learn how to make a fitted sleeve sloper with Don. First, graft a set in sleeve pattern. This will be based on a fitted bodice that is very close to the arm and high over the arm on the elbow. You will want to shape the shoulder to fit the contour of the body. You will put a series of darts into the fabric so it fits on the body perfectly. If you do a looser cut sleeve, you won't have to do this. After you make this, place it on your model and make sure the arm can move e...
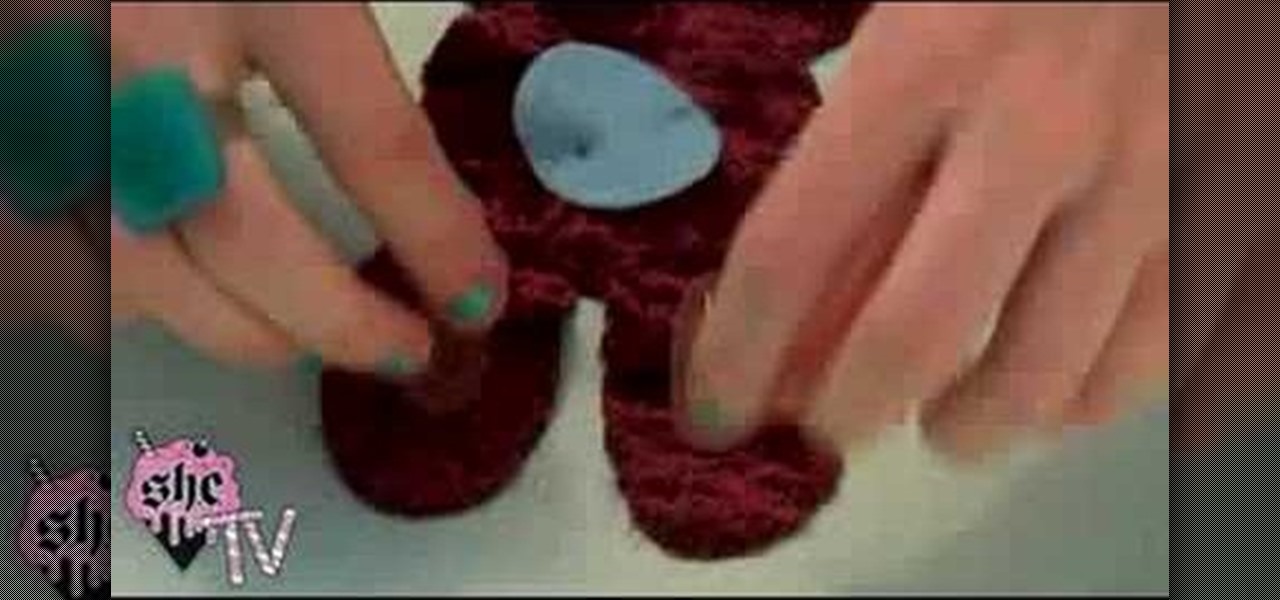
How To: Make a plush rabbit aka "a Wumpling"
This video teaches us how to make a plush rabbit. Start off with a piece of fabric, then cut out the shape for the bunny out of this fabric to make two sides. After this, cut out the color for the eyes out of various other colored fabrics. When finished, sew the eyes onto the bunny and then sew both sides together. After this, fill the bunny with stuffing and then sew the entire thing together. When you are finished, you will have a small and cute plush rabbit that is not only made cheap but ...
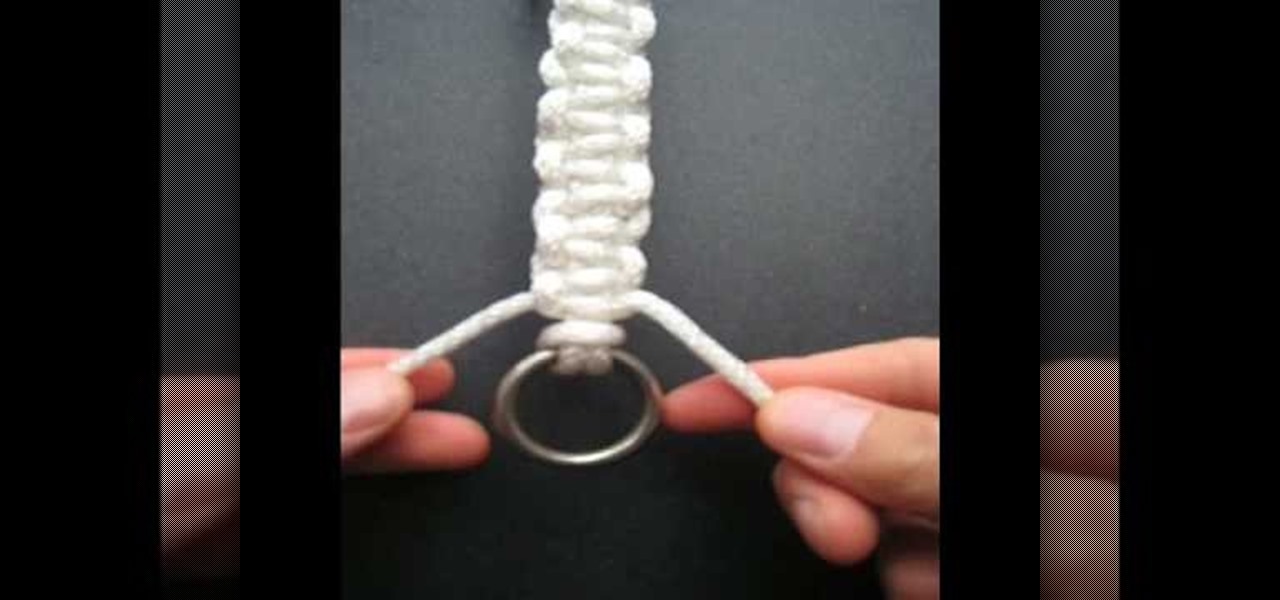
How To: Make a Solomon Bar decorative knot
In this tutorial, we learn how to make a Solomon bar decorative knot. You will start by grabbing the ring at the end of the string, then tie it to an opposite ring. Fold the left side of the string to the right and bring the right over to the left. Pull the left into the loop to create a knot. Now, you will have two string that are more up and two that are more down. Next, tie the top strings into a knot, then bring the right knot behind the bottom two, and thread the left knot into the right...
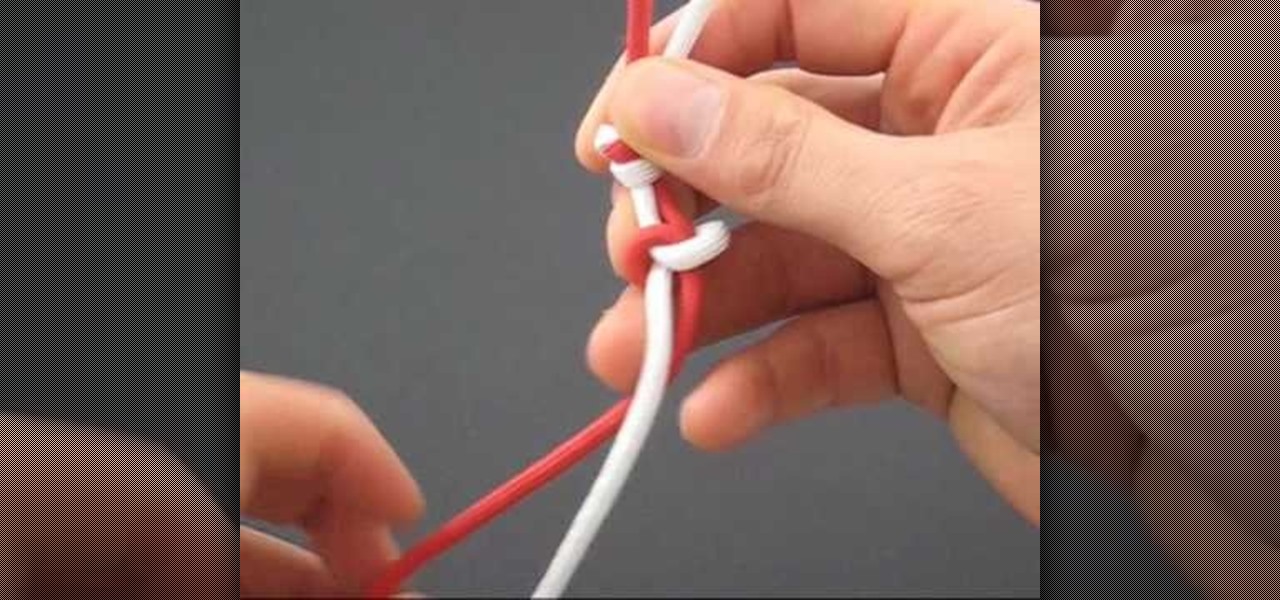
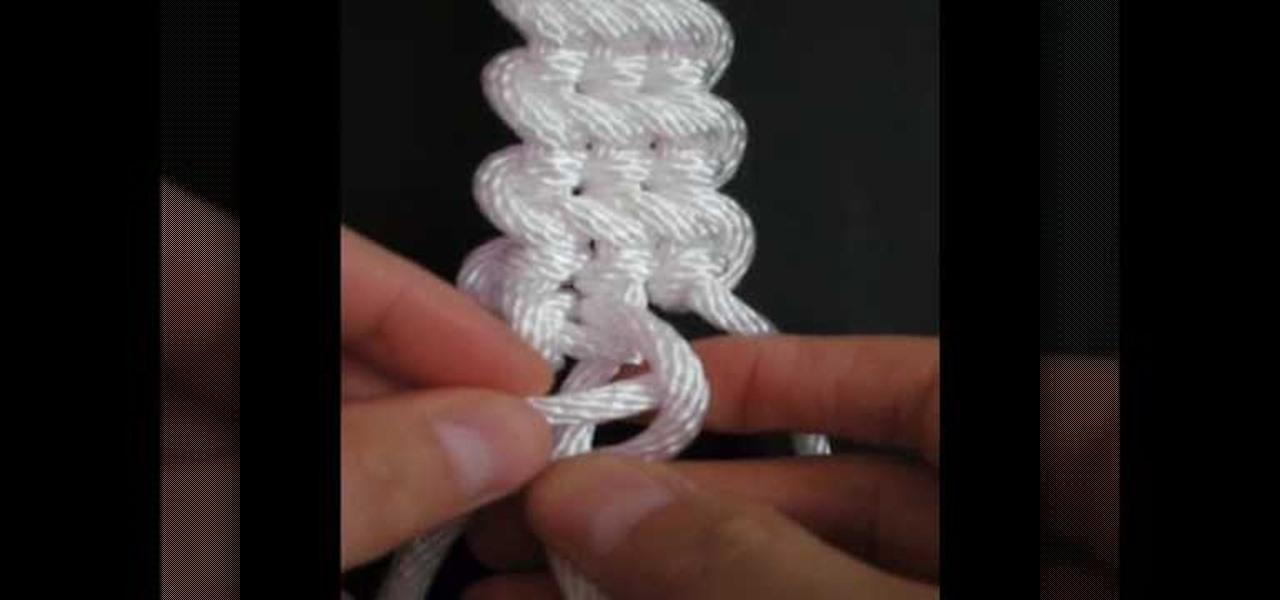
How To: Tie a Paracord Snake Knot
In this tutorial, we learn how to tie a paracord snake knot. Start out with a double overhand knot, by making a loop with two strings and tying it through. After this, start the snake knot by taking the left piece of string and wrapping it around into a loop. Then, take the other piece of string and place it inside the loop, then pull it to the left and wrap it around the other string, then push it through the loop. Continue to do the snake knot until you reach the bottom, then finish it off ...
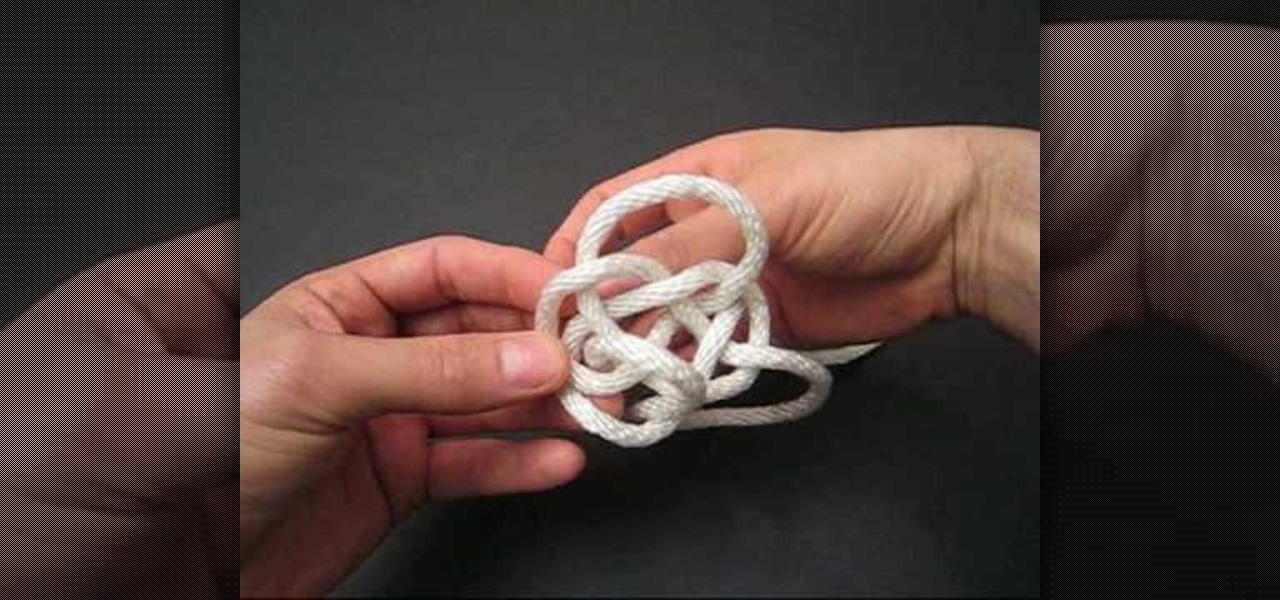
How To: Tie a Cloud knot
In this video, we learn how to tie a cloud knot. Start by making a loop in the middle of the string on the left side, then wrapping the right side around it and pushing it through the middle. Next, do the under-over weaving technique by bringing the string over one loop and weaving it into another. Continue to do this several times until you have done about four or five weaves. After this, pull the sides of the string out on both sides and you will have your finished knot! Pull tighter to hav...
How To: Craft a Pokemon Pikachu beanie hat for Cosplay
Cosplay, or "costume play," is basically dressing up with costumes and accessories to represent a specific character, usually one in anime (like Sailor Moon) or manga. Like most Japanese fashion trends, cosplay emerged from the trendsetting Harajuku district of Japan and continues to thrive today, even in America when people wear costumes to anime conventions.