

Active Sewing & Embroidery Posts


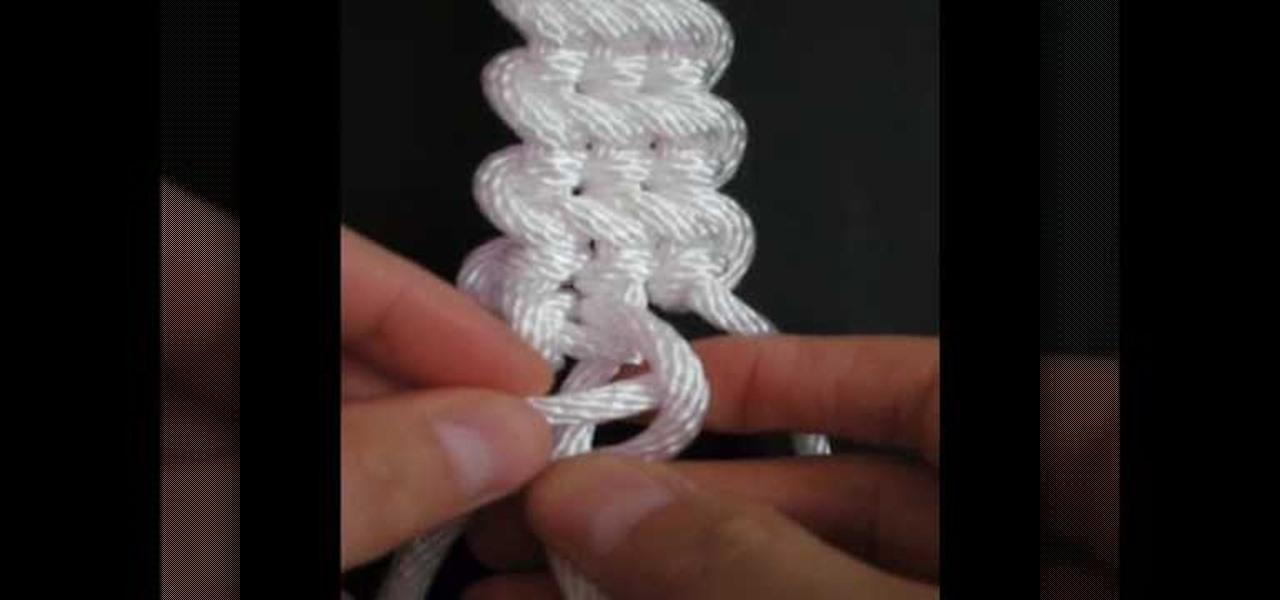
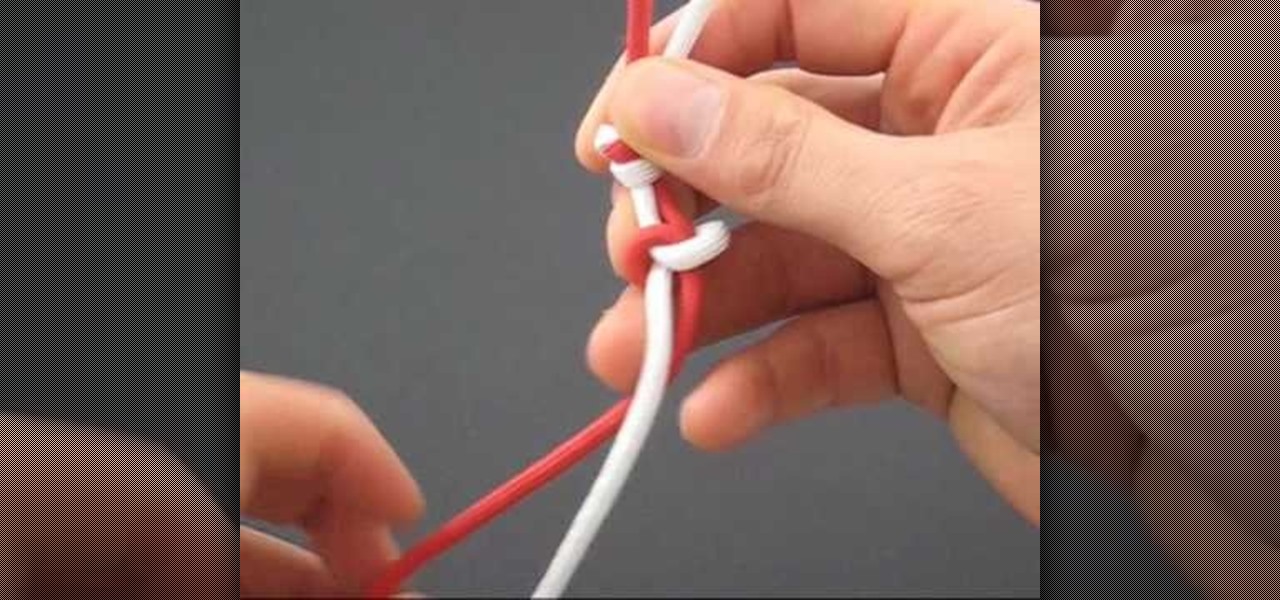
How To: Tie the Rising Sun decorative knot
In this tutorial, we learn how to tie the rising sun decorative knot. First, loop your string on the left side, then pull the right side over the top. Now, bring the bottom of the right side over and place the end into the first loop going over the other string. Next, remove the string from the last loop it was in, then bring the right over to the right loop and push through to the bottom. Next, bring the right string over to the left side and thread through the left loop closest to it. Next,...
How To: Tie a plafond (lanyard) knot
In this video, we learn how to tie a plafond knot. First, make a loop with your string, then make a smaller one directly underneath it. Make a larger loop underneath this, followed by another small one. After this, grab the bottom and lift it to the middle of the one on top of it. Next, bring the top down and push it into the middle of the bottom loop. Bring the left hand side of string through the top of the loop, followed by the right hand side through the right hand side middle. Now, pull ...
How To: Do an arrowhead stitch when embroidering
In this tutorial, we learn how to do an arrowhead stitch when embroidering. Start off by pushing the thread through, then pulling it under, then back through at a diagonal angle. After this, thread it back through, making the same angle on the opposite end. As you continue to do this, you will start to see arrows forming after two stitches. Place the arrows one in front of the last to make the stitch complete. When you are done, you will thread the needle through the bottom and tie it. After ...

How To: Do a Vandyke stitch when embroidering
First, bring the thread up and then make a diagonal line and bring the thread through again. Bring the thread through again below the diagonal line on the left side. Then, put your needle thread through the 'x' and make sure your loops are even. After this, bring your thread through and even up your stitch. Now thread through on the right hand side and go through the next 'x' shape. Continue to do this, and you will see the Vandyke stitch start to take form as you go on. There will be a verti...
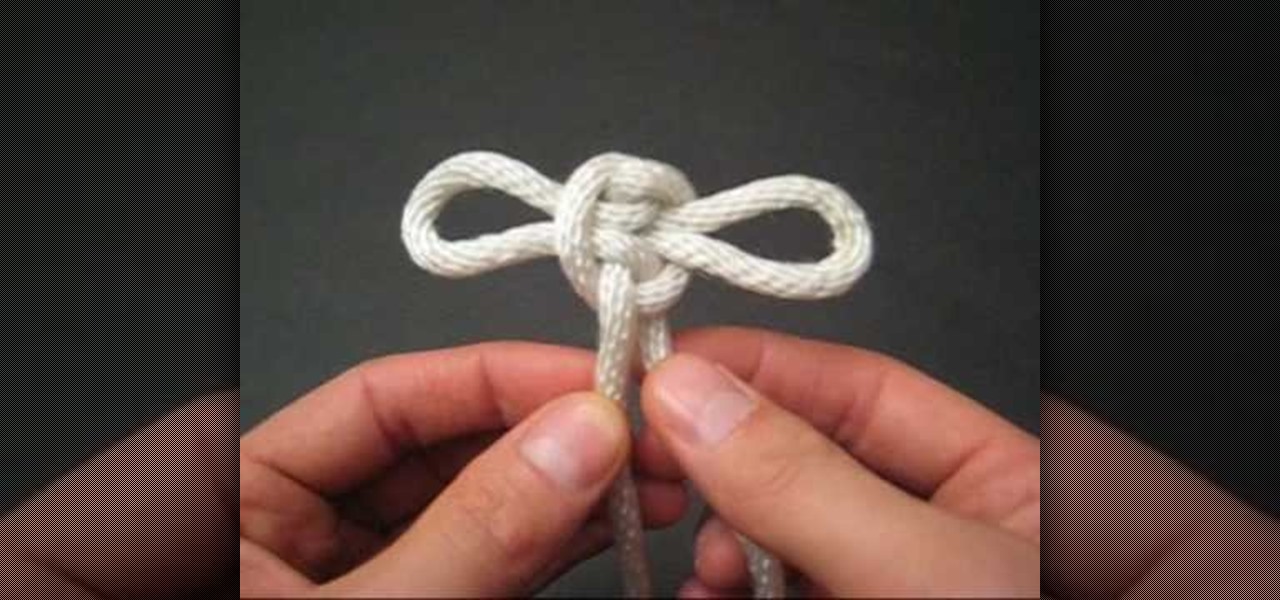
How To: Tie a Maedate knot
In this video, we learn how to tie a maedate knot. Start off by making a loop in the middle of the string followed by another loop placed next to it. Now, wrap these together in the middle and pull them out on the side. You will now have a shape that looks like a bow. Pull on both sides of the bow, where there will be two loops. You can pull on each of the loops if you want to back them larger. When you pull on the bottom strings, the loops will become smaller. After you do this, you will be ...

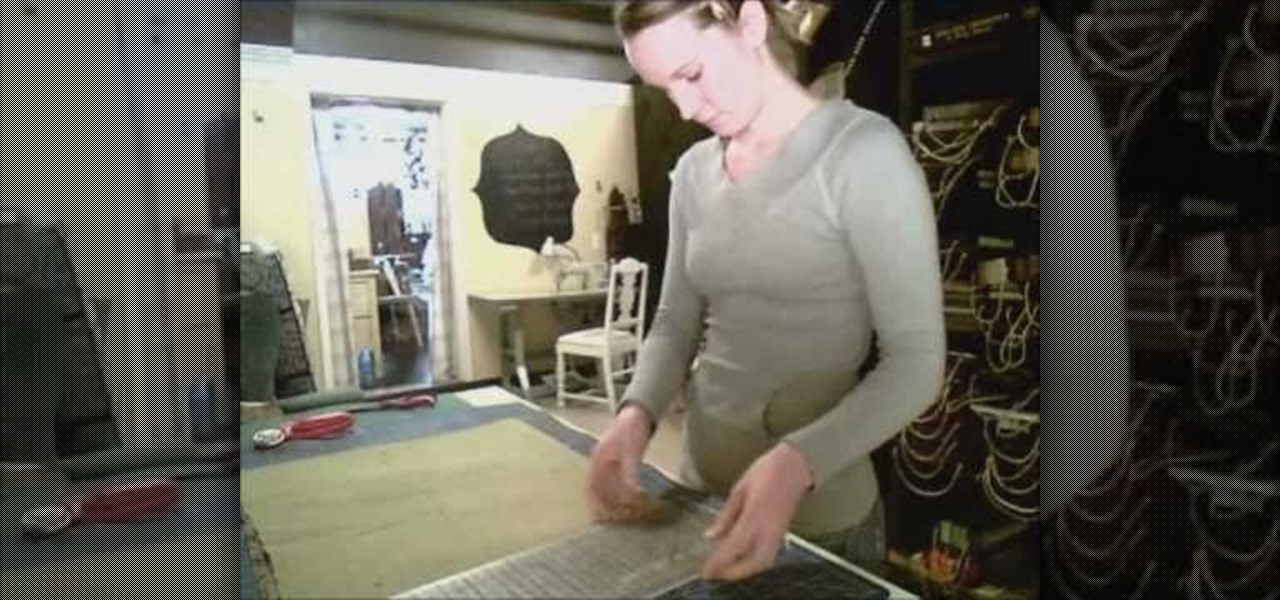
How To: Sew on a shade ring
In this video we learn how to sew on a shade ring with a sewing machine. First, lay your roman shade wrong side up. Next, place a pin inside of it and then fold the shade fabric where it is down. Next, set your sewing machine to a zigzag stitch with a width that is on the wider side. Now, slide your fabric underneath the needle so it just catches the needle on the side. Start to stitch the side of the fabric, removing the pins as you go. Make sure to sew the shade rings on as you go, then you...
How To: Upcycle a t-shirt into a Pikachu romper
Are you a big fan of anime and cosplay? Getting dressed up for anime conventions is super fun, but you can add to the excitement and save money by making your own costume.
How To: Make the Guitar Bar decorative knot
In this video, we learn how to make the guitar bar decorative knot. First, set up the bard then cow hitch two strips of rope side by side. Next, measure each bar to 12 inches long and make sure you have 12 feet of rope. After this, build the frets of the bar, and while you are doing this you will flip the bar over and start to half hitch. Continue to do this, tying all of the ropes together into the knot. Next, turn the knot over and continue on the other side. When you are near the end of yo...

How To: Use zig-zag stitch as an overlocking stitch
In this tutorial, we learn how to use a zigzag stitch as an overlocking stitch. First, put your fabric under the sewing machine and place the edge close to the needle. Sew the side of the fabric and when you are done, you will have the overlocking stitch. This will stop your edge from being raw and there won't be any frays on the side, which will reduce unraveling. This is very easy to do and just takes a few minutes. Make sure you prepare your fabric before you do this stitch and you will be...
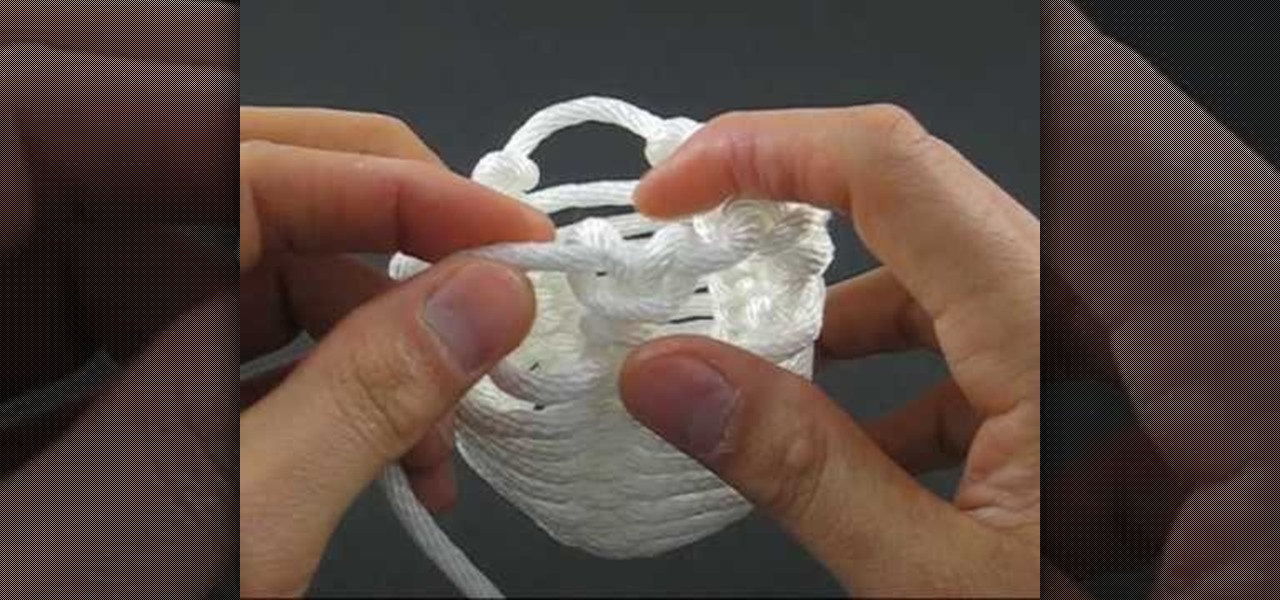
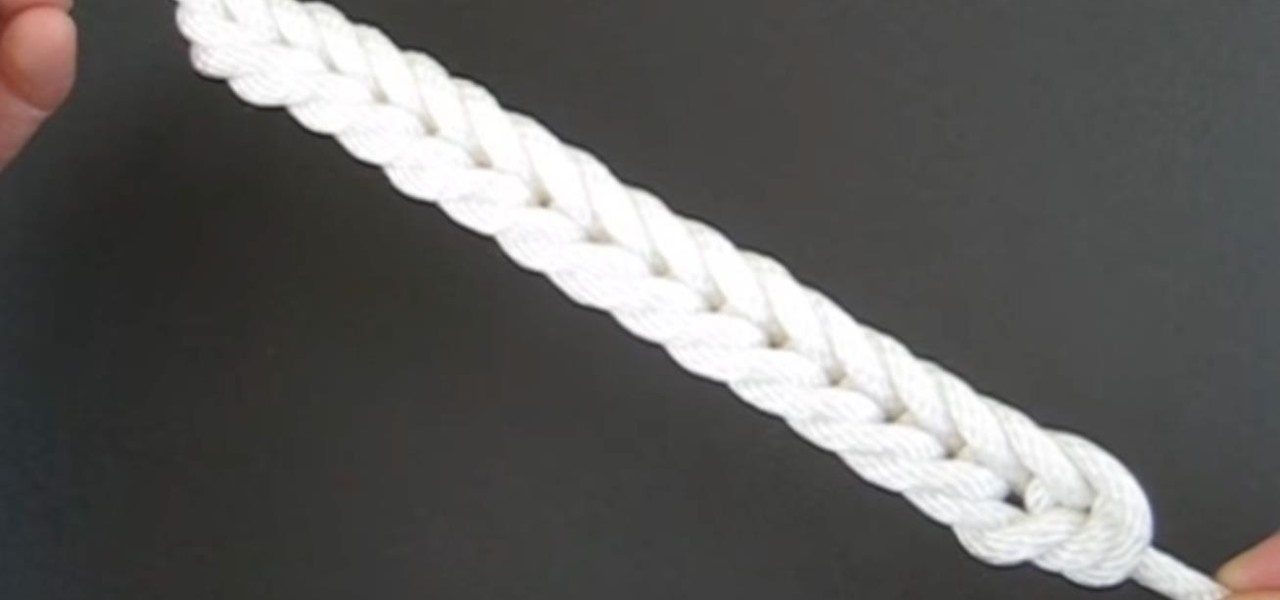
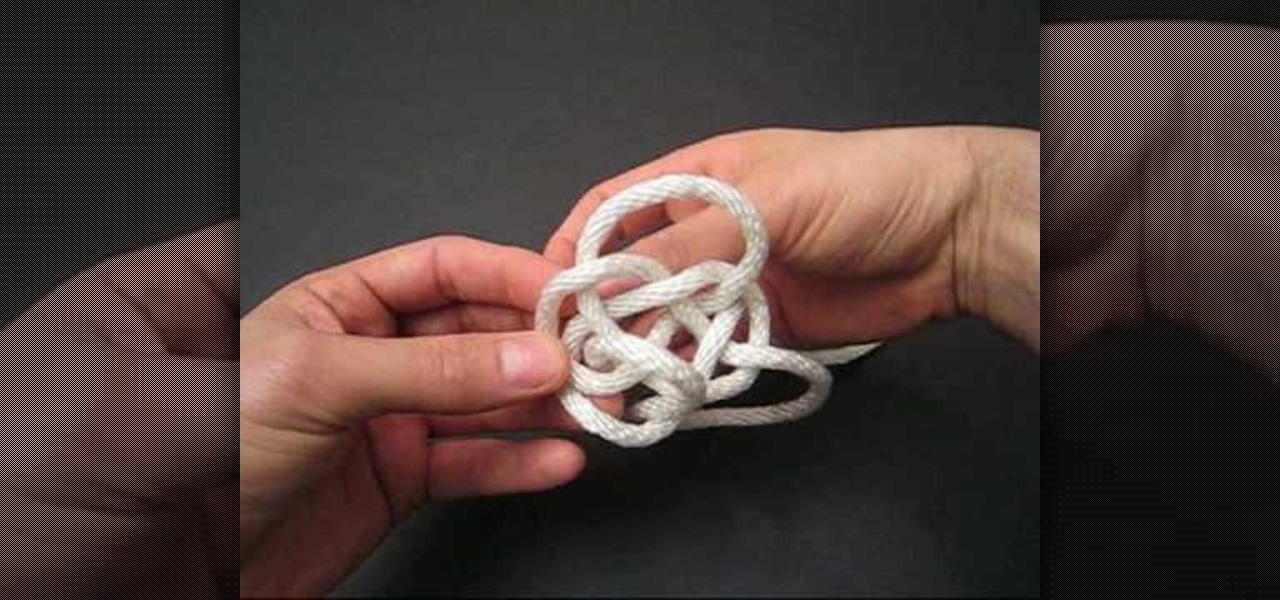
How To: Tie a honey rope basket knot
In this video, we learn how to tie a honey rope basket knot. To do this, you will need a 10ft of nylon rope. Start off by tying a counter-clockwise slipknot at one end of the rope. After this, pull the loop of the slipknot out four inches. Then, tie a second slip knot clockwise next to the first slipknot. Draw the loop length of the second so it's equal to the first. Next, continue to create slipknots next to each other until you've done five. No, hook your working end into the first loop and...

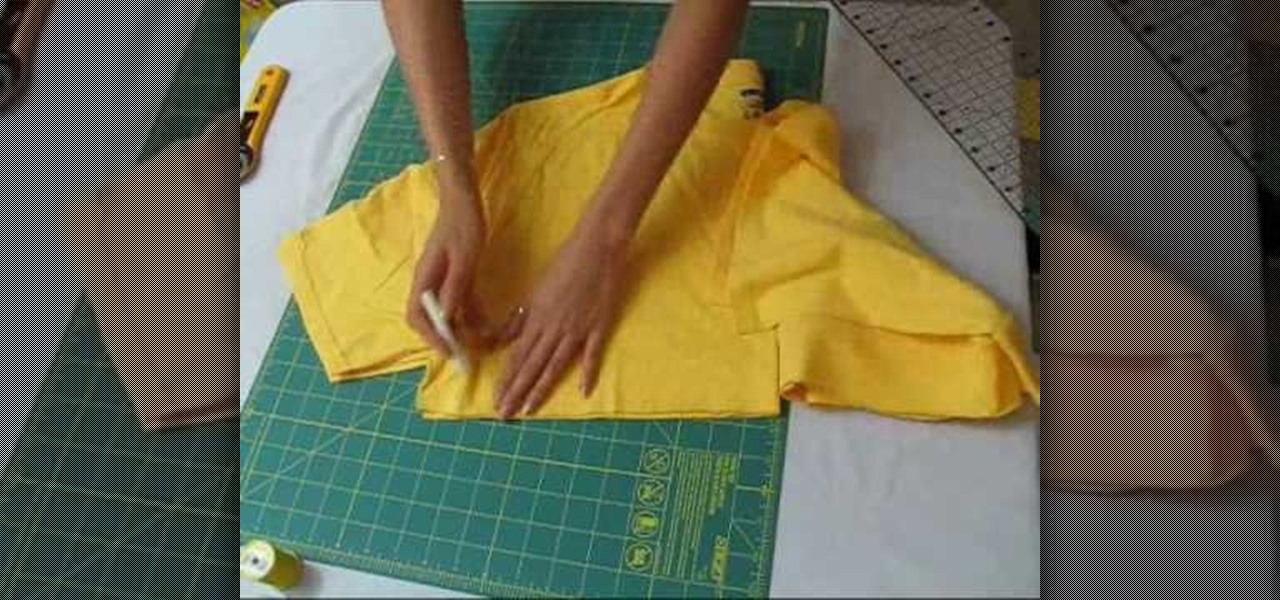
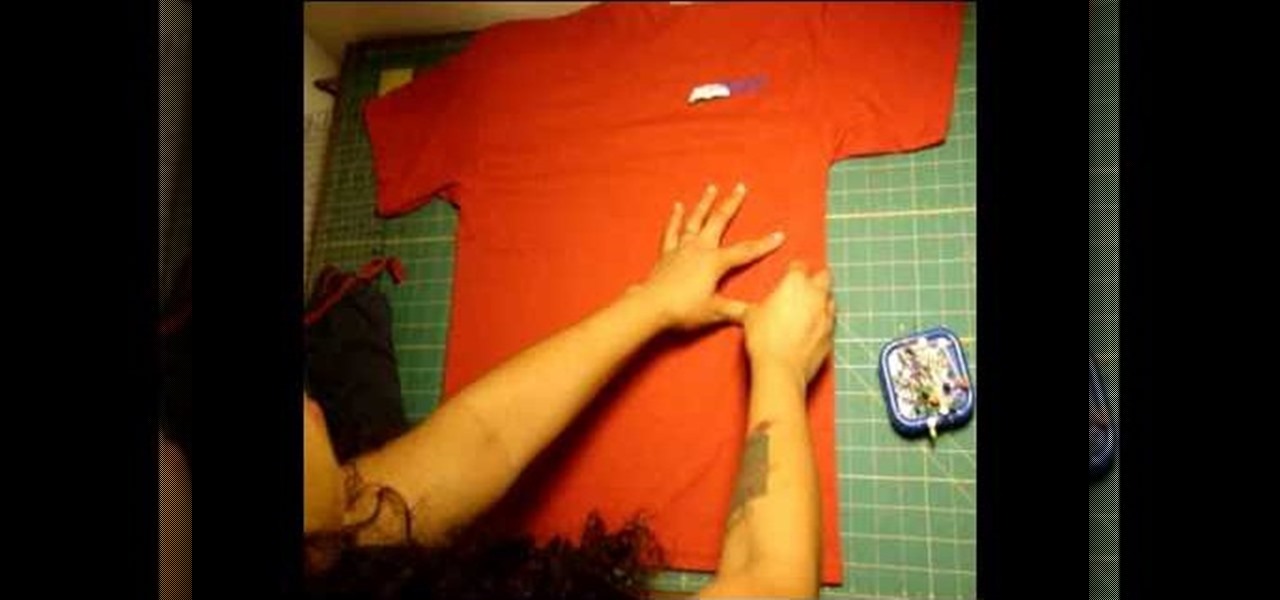
How To: Hem a sleeve
In this video, we learn how to hem a sleeve. First, turn your shirt inside out, then lay it flat. After this, grab the sleeve and fold it over to where you want it hemmed to. Next, place pins in the spots where you want your shirt hemmed, then go over the area with an iron. Next, go to your sewing machine and slip the sleeve around the platform arm. You will have to take the outer base off the machine to do this. Now, lower your needle and sew in the spots where the pins are, removing them as...

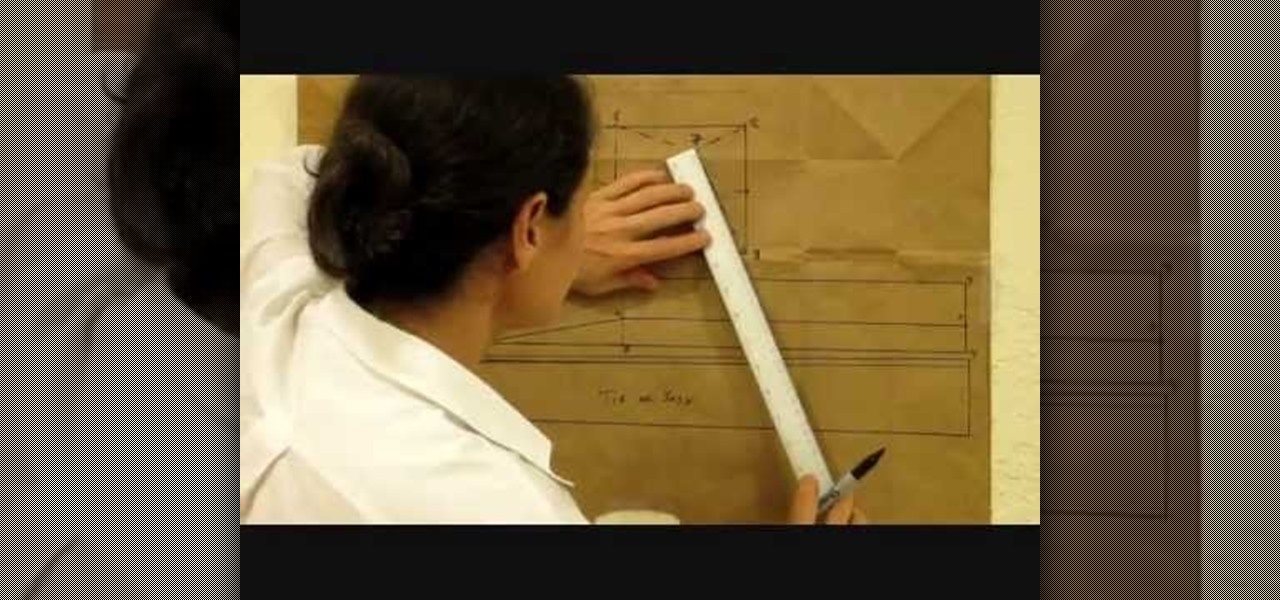
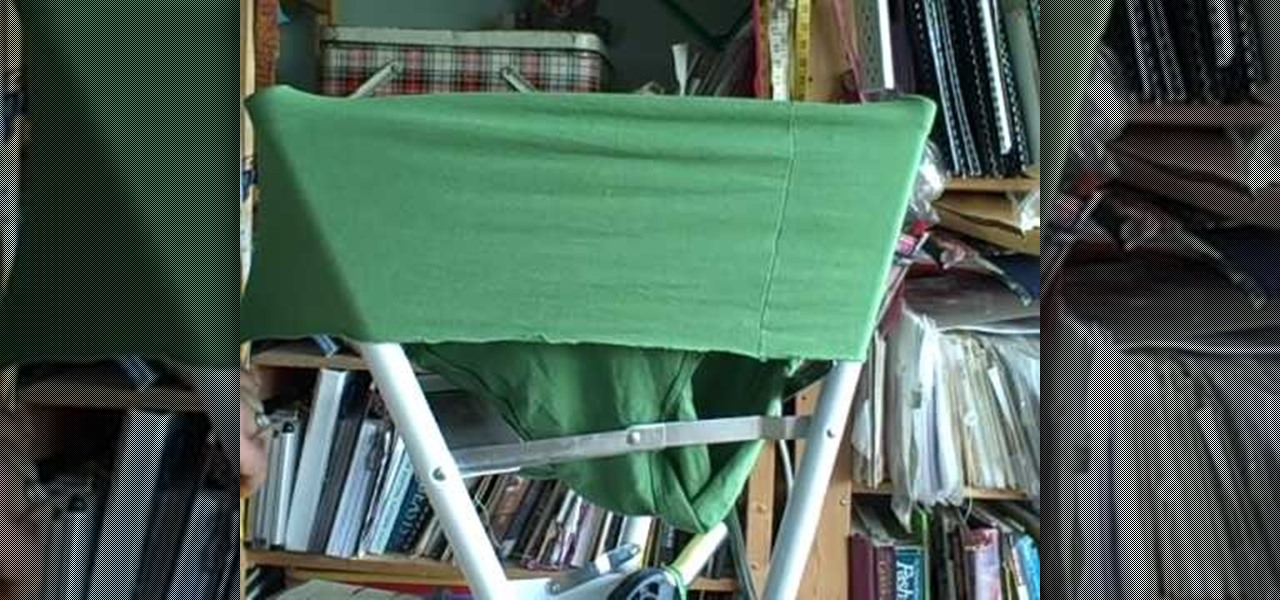
How To: Make a fitted sleeve sloper
In this tutorial, we learn how to make a fitted sleeve sloper with Don. First, graft a set in sleeve pattern. This will be based on a fitted bodice that is very close to the arm and high over the arm on the elbow. You will want to shape the shoulder to fit the contour of the body. You will put a series of darts into the fabric so it fits on the body perfectly. If you do a looser cut sleeve, you won't have to do this. After you make this, place it on your model and make sure the arm can move e...
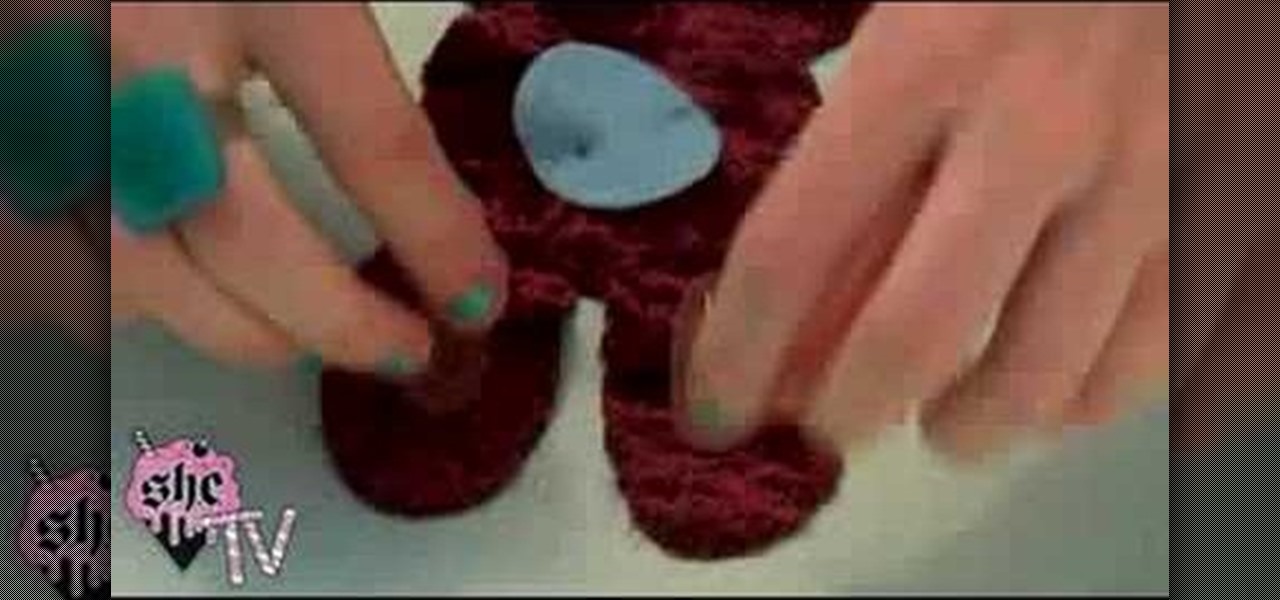
How To: Make a plush rabbit aka "a Wumpling"
This video teaches us how to make a plush rabbit. Start off with a piece of fabric, then cut out the shape for the bunny out of this fabric to make two sides. After this, cut out the color for the eyes out of various other colored fabrics. When finished, sew the eyes onto the bunny and then sew both sides together. After this, fill the bunny with stuffing and then sew the entire thing together. When you are finished, you will have a small and cute plush rabbit that is not only made cheap but ...
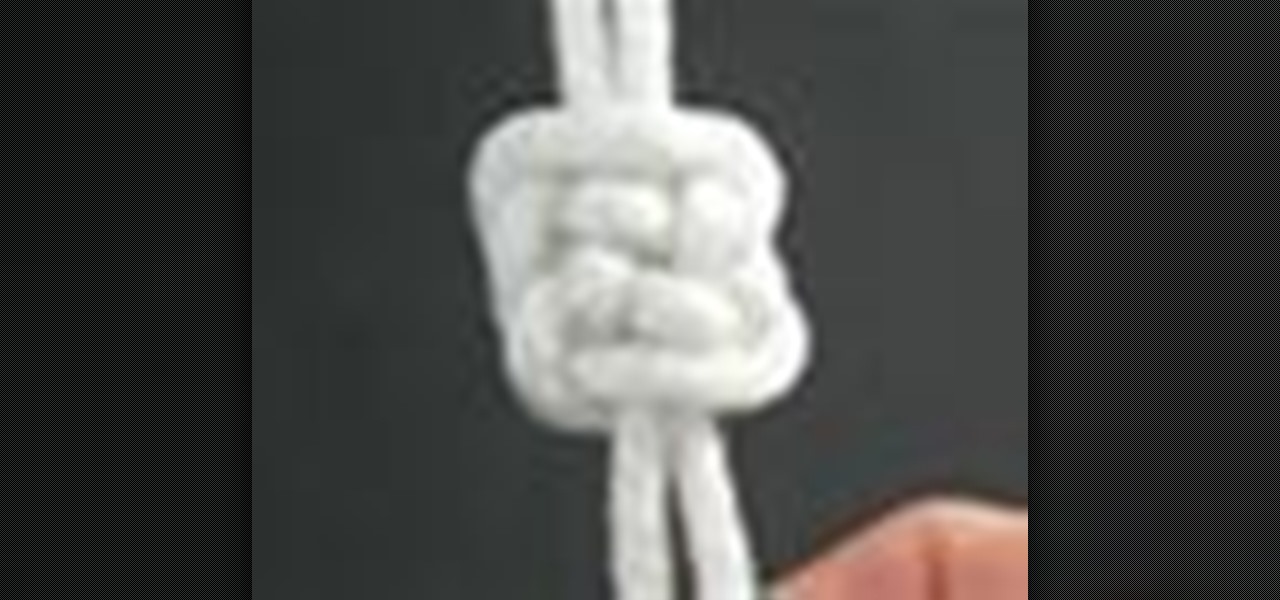
How To: Tie a Paracord Snake Knot
In this tutorial, we learn how to tie a paracord snake knot. Start out with a double overhand knot, by making a loop with two strings and tying it through. After this, start the snake knot by taking the left piece of string and wrapping it around into a loop. Then, take the other piece of string and place it inside the loop, then pull it to the left and wrap it around the other string, then push it through the loop. Continue to do the snake knot until you reach the bottom, then finish it off ...
How To: Tie a Cloud knot
In this video, we learn how to tie a cloud knot. Start by making a loop in the middle of the string on the left side, then wrapping the right side around it and pushing it through the middle. Next, do the under-over weaving technique by bringing the string over one loop and weaving it into another. Continue to do this several times until you have done about four or five weaves. After this, pull the sides of the string out on both sides and you will have your finished knot! Pull tighter to hav...

How To: Craft a recycled Kanzashi messenger bag with flowers
In Japan, kanzashi are hair ornaments, often in a floral or jeweled style, which adorn traditional female Japanese hairstyles. These are gorgeous long pins with a special adornment attached at the end.
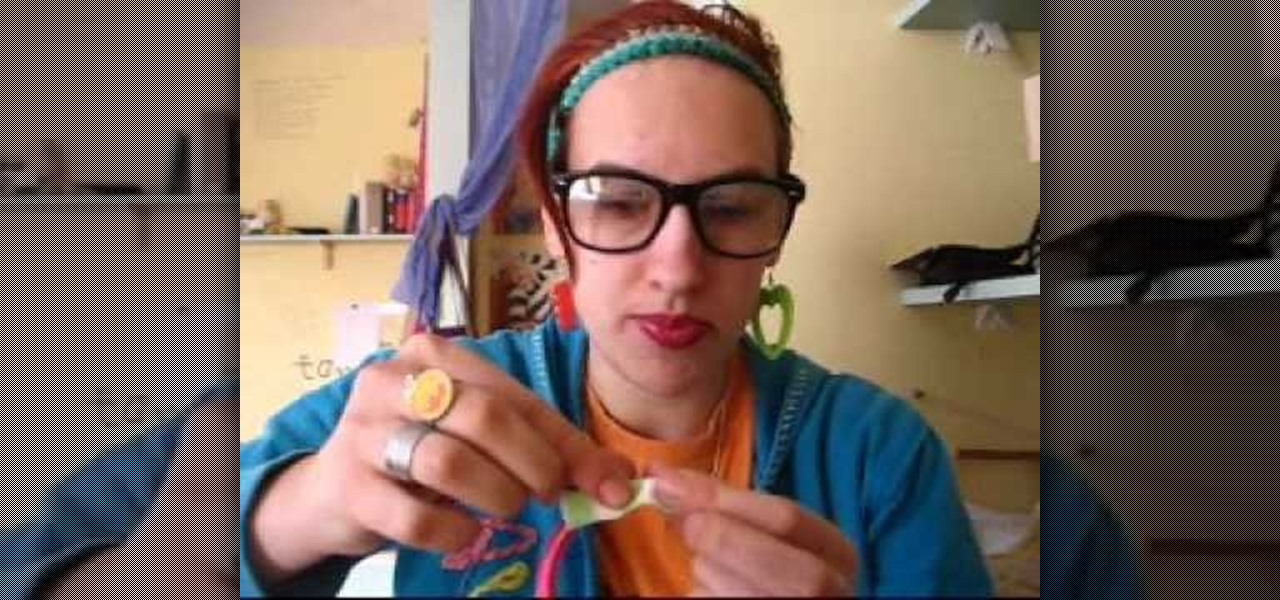
How To: Refashion a boring bangle using old clothing scraps
For the most part, bangles that you purchase at the store are pretty generic and boring. Sure, they look good on all the airbrushed models in store ads and on size 00 manequins, but then it hits you that moment you get home and try them on that they're really not all that. Which, inevitably, leads to not actually wearing your purchases.
How To: Upcycle old clothes into chic wine gift bags
We all have a bag of old clothes somewhere, or old clothes lying randomly around the closet. You know, the t-shirt that's too ratty or that dress you got from Ann Taylor that looked perfectly in season a few years ago but now you can't bring yourself to wear anywhere.
How To: Thread a cord lock
In this tutorial, we learn how to thread a cord lock. First, tilt the cord lock up and find the two different wheels on the inside of it. Now, push your lift cord up through the two wheels that are on the inside of the lock. After this, pull the thread up through the top and then slide the thread through the smaller hole on the lock. Now, you will repeat this again for another piece of string, but thread it through the larger hole once you reach the top. After this, thread another cord throug...

How To: Thread a sewing machine and wind a bobbin
In order to thread your sewing machine and wind a bobbin, you will need the following, a sewing machine an empty bobbin, thread, and a pedal control for your sewing machine. Choose a good quality thread. Place the thread in the holder on top of the machine. Place the cap on the end of the thread, in order to hold it in place. Loop the thread around the first guide. String the thread through the hole in the bobbin. Place the bobbin in the slot on the top of the machine. Hold the thread in you ...
How To: Make tarn (t-shirt yarn) from old t-shirts
Got a bag of old t-shirts that have been with you too long that you don't want to throw them away, but are piling up too fast that you're tempted to toss them on the counter at the Salvation Army? Keep your old t-shirts by your side without compromising storage space by making tarn.

How To: Combine sewing pattern pieces for beginners
Sewing patterns are a godsend if you're a beginner at sewing who's trying to get into making clothes and accessories like scarves and bags. A pre-drawn pattern helps you learn proportions, measurements, and drafting techniques you'll need later on when you design your own clothing.

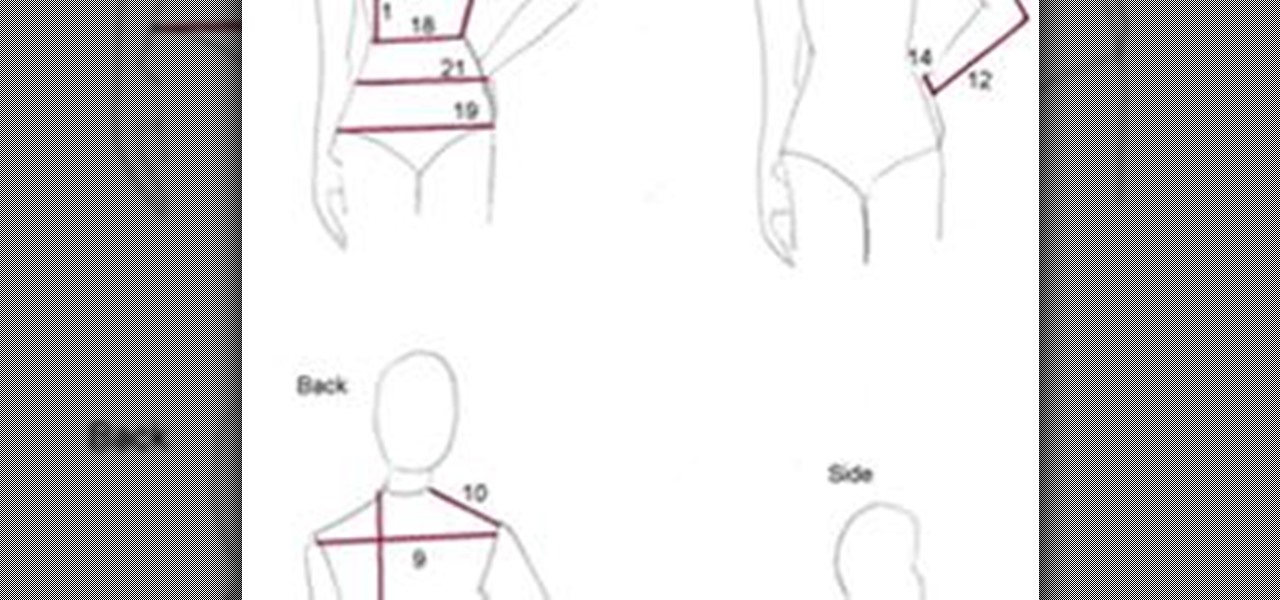
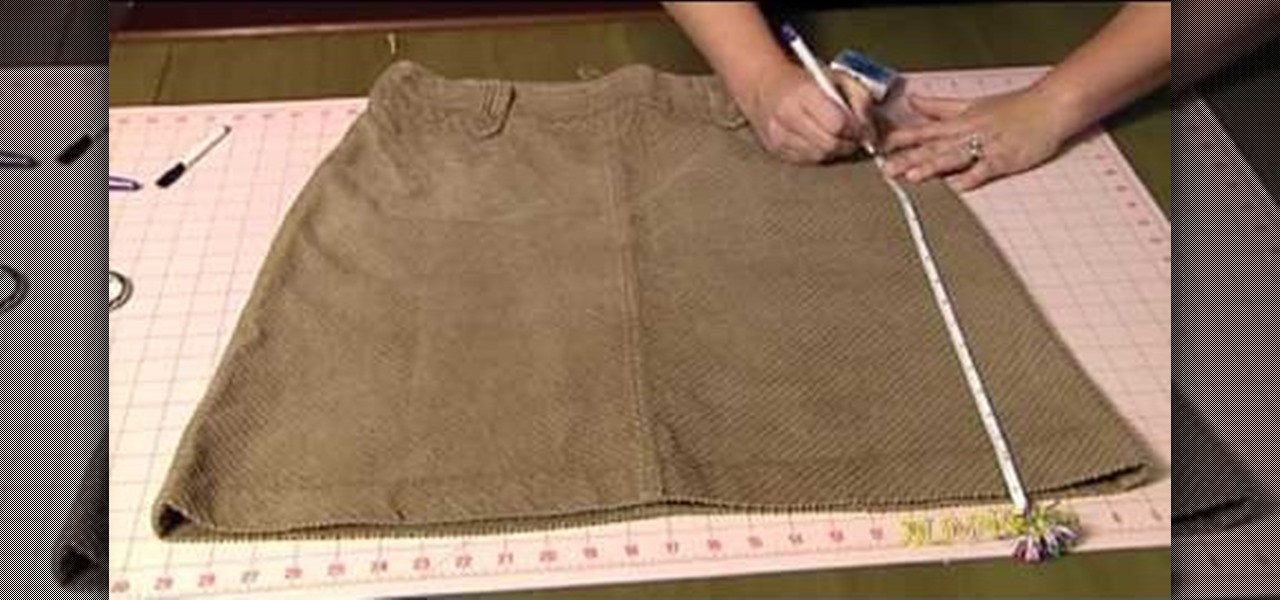
How To: Knit a bikini bottom
In this tutorial, we learn how to make a bikini bottom. First, measure the widest part of your bottom area, then write this number down. Next, place your fabric where the measurement device just was, then mark where you want your underwear to fit. Mark this spot, then measure the lines out on the fabric. After this, use a pen or marker to mark the underwear shape. After this, cut out the shape of the underwear and pin all sides together. Now, sew the sides of the bottoms together, then flip t...

How To: Sew ruffles three different ways
In this tutorial, we learn three different ways to sew ruffles. The first way, you will put your sewing machine setting on the highest, then take your fabric and place it underneath the needle. Let the fabric go through the machine and ruffles will start to create when it's ran through a couple of times! The next way is to scrunch the fabric together while it's underneath the needle on the machine, and sew the fabric completely together. Be careful not to hurt your fingers during this! the la...

How To: Make fabric favor bags and decor for your wedding
Due to the downturn of the economy, many smart shoppers have turned into smart crafters instead. Whether it's making crafts for your home or for friends, crafting saves money (we're talking a $2 craft versus a $50 present for a friend's birthday present).

How To: Recycle a soccer jersey or T-shirt into a patriotic bikini with Gianny L
Being patriotic for the Fourth of July doesn't mean you have to completely surrender your fashion sense! Gianny L, master DIY fashion guru, will show you in this video how to snip a bikini out of an old tricolored shirt.

How To: Do a feather stitch when embroidering
In this tutorial, we learn how to do a feather stitch while embroidering. To begin, you want to place your finger right next to where you are sewing so you are making a loop shape and helping guide your needle as you are doing this. You will want to chain the loops together, making the thread look like feathers as you continue. There should be no lines that are straight, all should be looped by placing the needle in between each circle and pulling it into the loop shape. When you are finished...

How To: Tie a decorative Door Knocker knot
This video tutorial is in the Arts & Crafts category which will show you how to tie a decorative Door Knocker knot. Take a piece of rope and make a loop at the center with the left hand end of the rope over the right hand end. Now pass the right end above and through the loop to make a half knot. Twist the loop to make a figure of eight, pass the right hand end through the lower loop of the "8" and back through the upper loop. Repeat this once again. Now repeat these steps with the left hand ...
How To: Create a quick & easy fleece blanket
In order to create a fleece blanket, you will need 2 layers of fabric, for a no-sew version. Cut them evenly. Cut the 2 pieces of fabric to equal size. Cut away a 4" square from each of the corners. Then, cut 1" strips around the edges. Then, tie each pair of strips in a knot.

How To: Sew on a missing button
In order to sew on a missing button, you will need the following: a needle, thread, scissors, and a button.

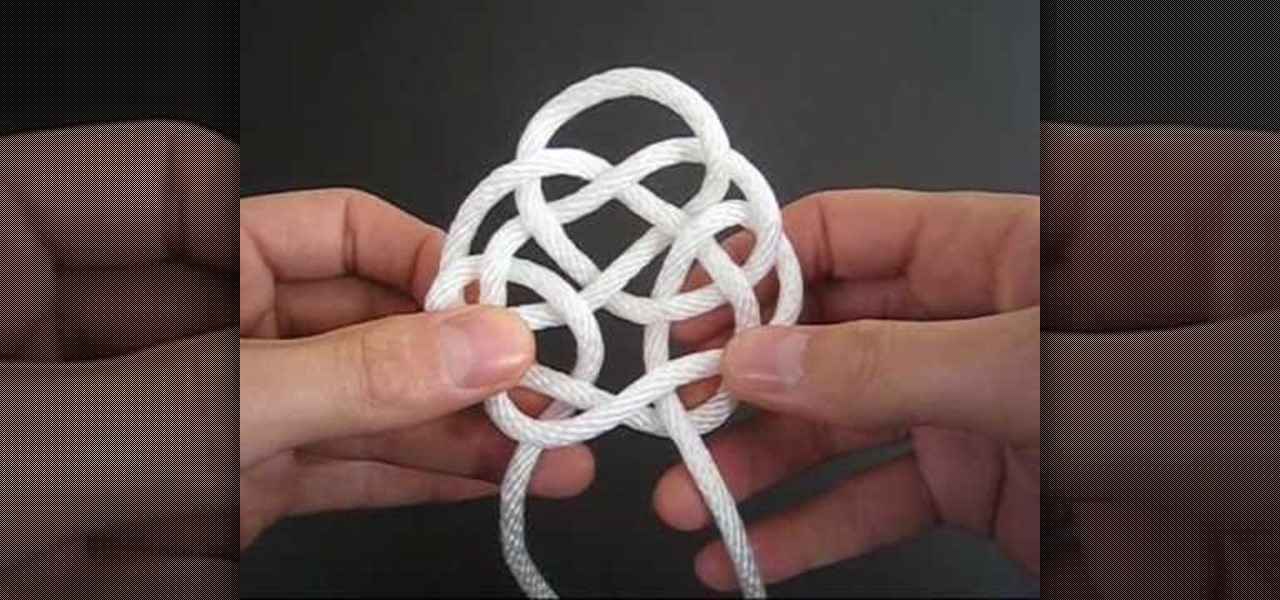
How To: Tie a celtic triangle knot easily
If you are interested in tying knots just for show and are looking for a challenge, this next tutorial might be what you need.

How To: Make stacked hair bows
In this tutorial, we learn how to make stacked hair bows. Start off with three separate bows: red, white, and blue. Make sure there is a string still hanging from the red one, but the strings on the white and blue are cut off. Now, put glue from a hot glue gun and place it on the middle/side of the blue ribbon, the glue the white one where the glue is and hold together. Next, take the red bow and glue it to the center of the blue and white bow. Hold the red bow in place until it's completely ...

How To: Sew a throw pillow
You hunt and you hunt, but you can never find the right pillows to go with you couch. Even your reupholstered chair needs a little pillow love, but it seems impossible to find the right color and design to make a perfect match. That's when you know it's up to you save the day. Why settle for simple decor when you can make your own chic throw pillow to match any room?

News: Armless Woman Becomes Embroidery Guru
If you are born without any arms, you will figure it out. Somehow, I doubt Ren Jiemei needed sewing tutorials on how to thread a needle with her feet. But here it is.
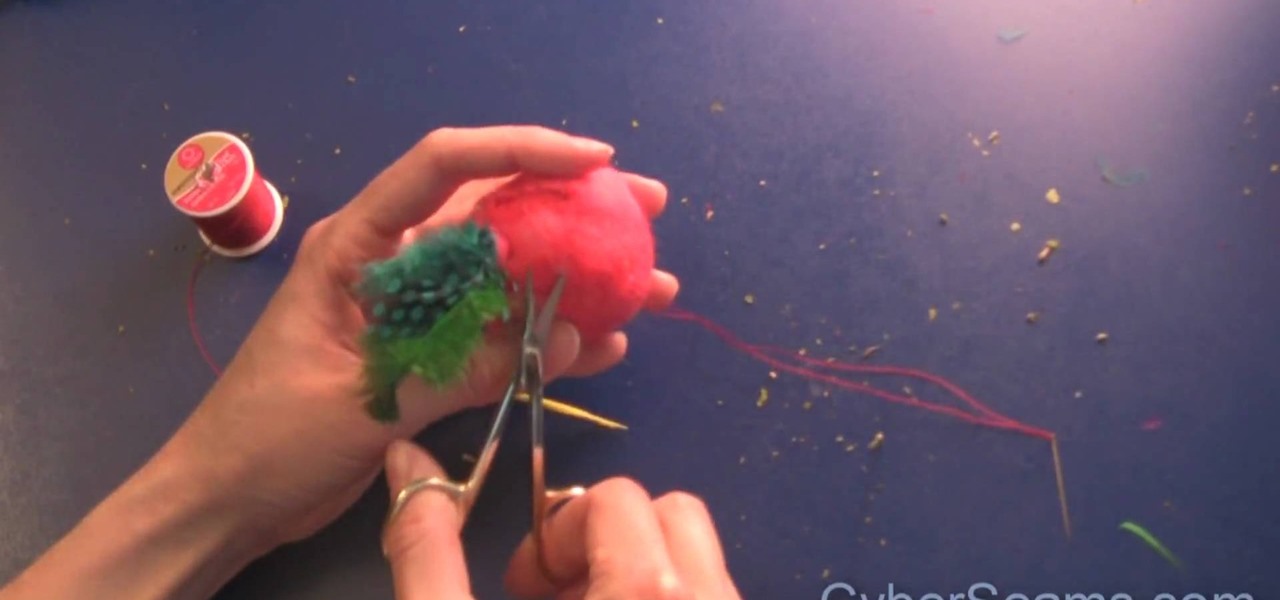
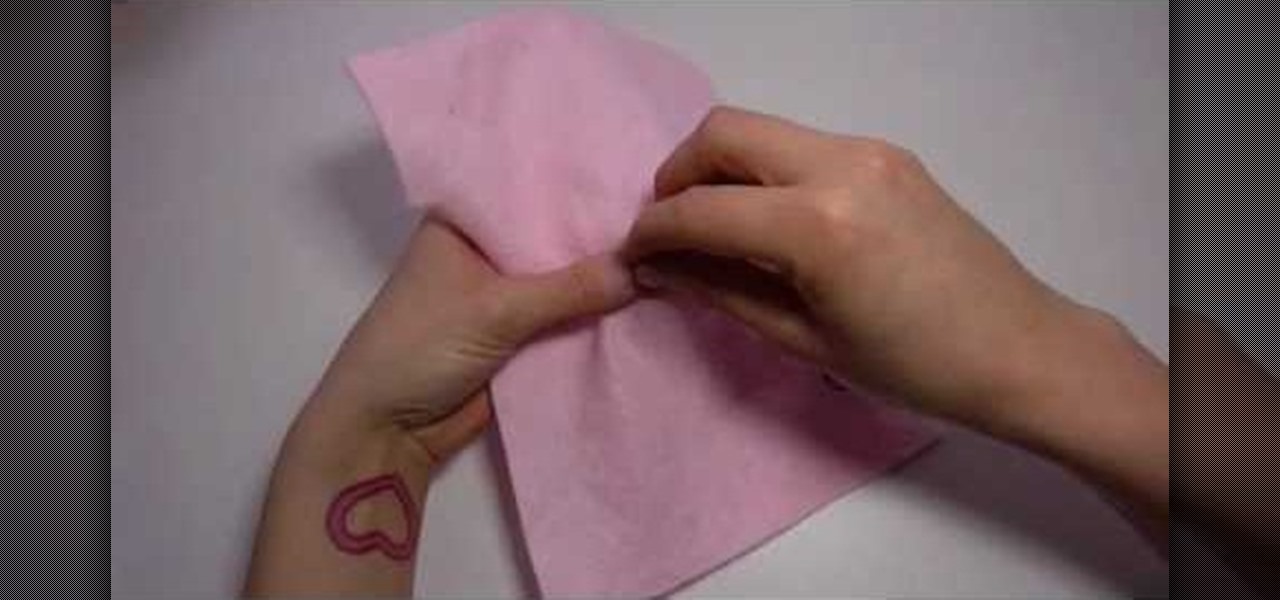
How To: Craft adorably chubby bird shaped felted cat toys
It's not easy being a cat. After all, sleeping twelve hours a day really takes its toll on your body after a while. Give your cat a break from her difficult day shift by crafting one of these adorable felted cat chew toys.
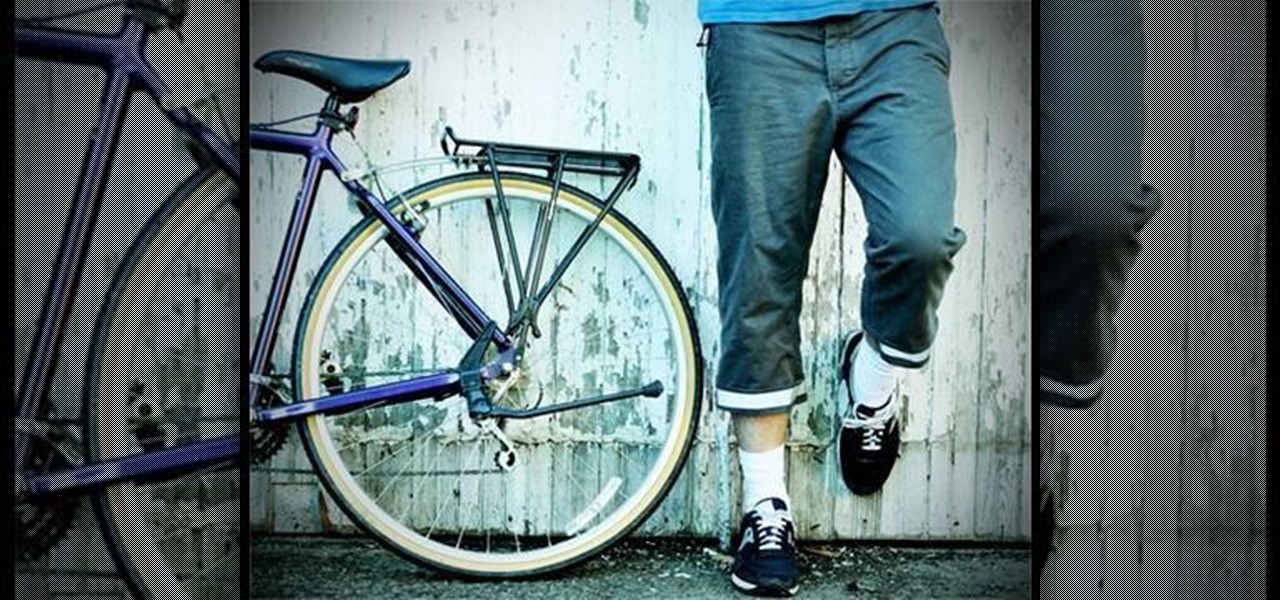
How To: Make a manly pair of bike pants for urban cycling
Sure, there's lots of bicycling clothing out there, but most of it doesn't work too well for everyday wear, leaving you a bit out of place when you've reached your destination. You know what we're talking about, guys: those too tight, super contouring bike pants that facilitate biking but majorly decrease our style points.
How To: Recycle an old t-shirt into baby pants
While some parents like to spoil their little babies with the highest quality (and most expensive) items from Dior, most of us know that babies and toddlers grow out of their clothes faster than weeds overgrow a garden. While their clothes should be appropriately cute, there's no need to shell out thousands of dollars on pricey apparel when you can make your own.
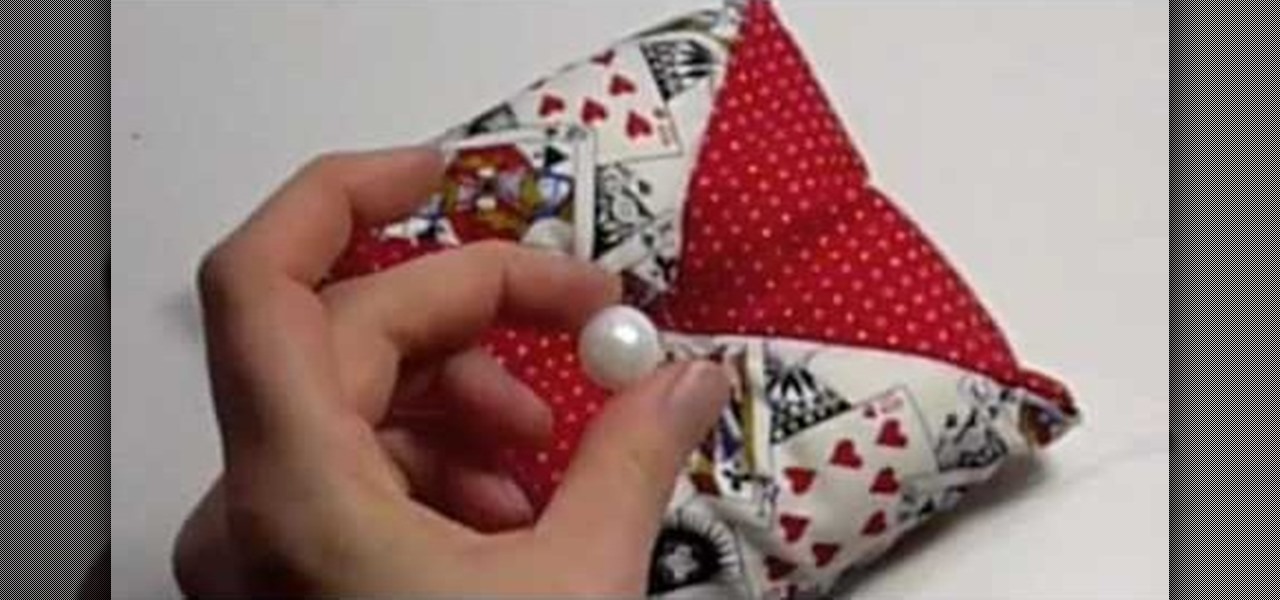
How To: Make a pin cushion for sewing
If you're a habitual sewer, especially one who switches between threads and needles frequently to work on a complex project, then a pin cushion is not only a nice tool to have, but also a necessity for good work flow.

How To: Make an easy Mother's Day lace flower brooch
Your mother puts up with your crap the entire other 364 days a year and constantly toils away making the most scrumptious meals and treats for you, so can you really even justify not making something for her in return on Mother's Day? Luckily, you don't have to be Martha Stewart to create this lovely lace flower brooch craft.
How To: Create a neat ladder stitch in sewing
Thankfully for sewing and embroidery beginners, the ladder stitch is one little animal that is completely guileless and straight to the point. Composed of vertical rows of neat horizontal stripes, the ladder stitch creates - you guessed it - a ladder shape.