Hot Sewing & Embroidery How-Tos

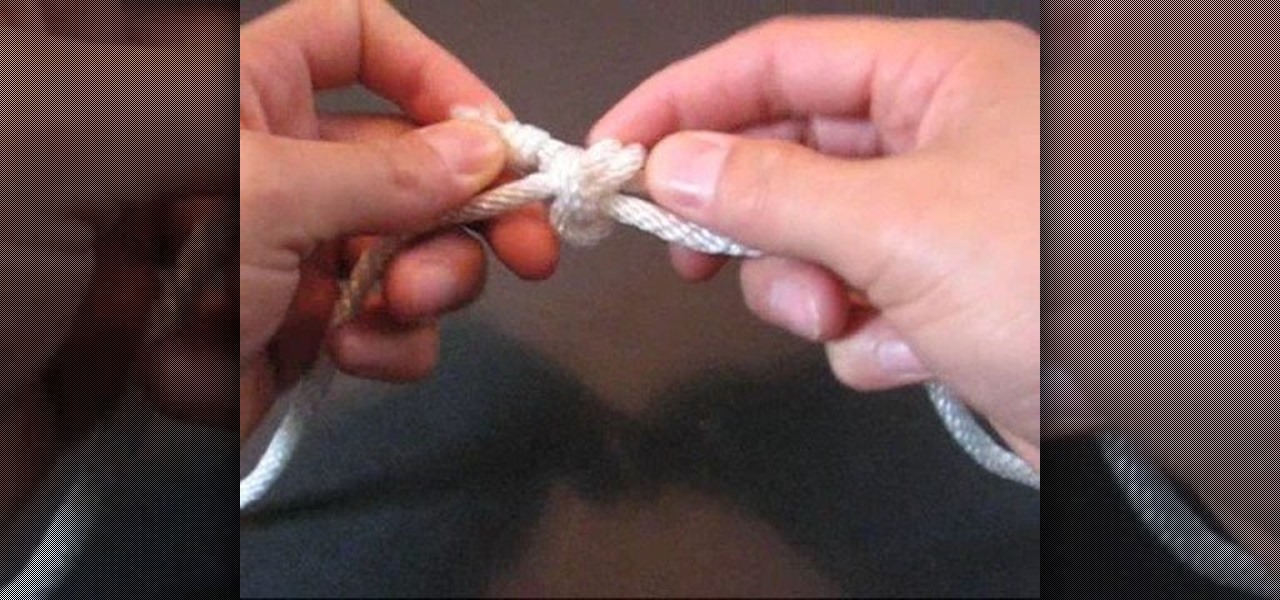
How To: Tie the Hunter's Bend decorative knot
In this video you will learn how to tie a knot known as the "Hunter's Bend". A "bend" is a type of knot used to join two ends of a rope together. Generally, it should be possible to untie this type of knot, once it's usefulness has passed. This knot was originally created by a man named Phil D. Smith during WWII, at which time he dubbed it the "Rigger's Bend". An English physicist, by the name of Edward Hunter, rediscovered the knot in 1978, and popularized it's use, leading to it's current n...

How To: Make a tied fleece blankie
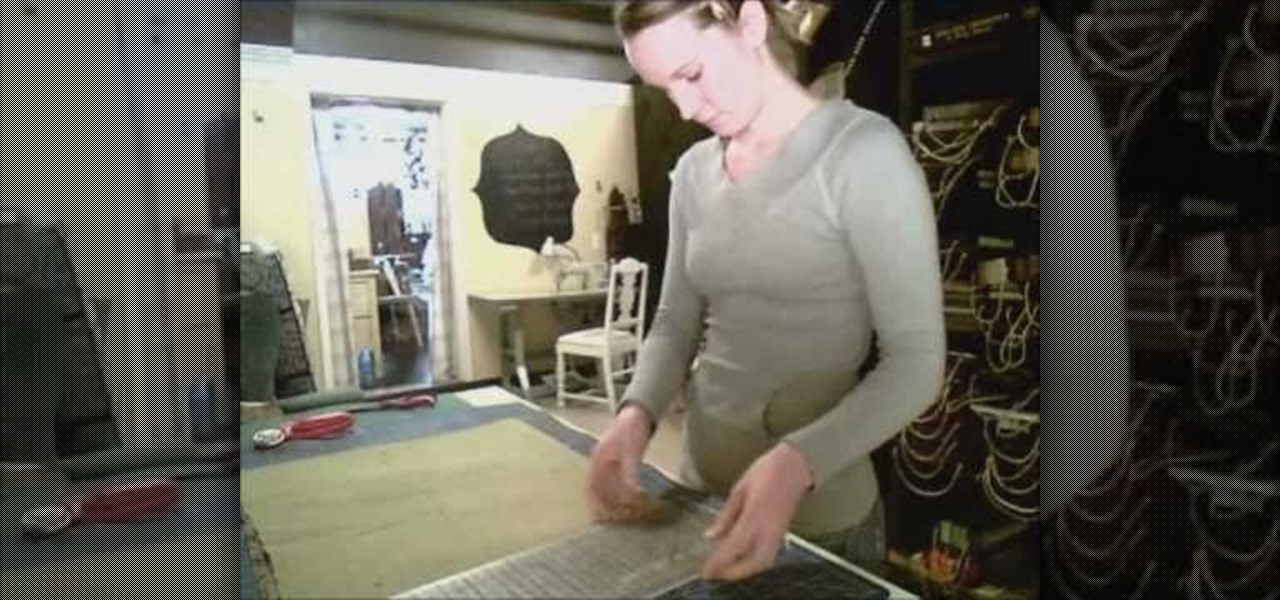
In this video tutorial, viewers learn how to make a tied fleece blankie. Select any colored fleece and a coordinated patterned fleece. Purchase one yard of each fleece. Cut the fleece so that you have two pieces of 36 x 30. You will need a pair of scissors and a ruler. Sandwich your fleece together and lay it on a flat surface. Make your first cut at the 4 inch mark. Continue to cut in on strips until you reach the end of the fabric. Then turn the corner and cut a 4 inch square out of the fab...
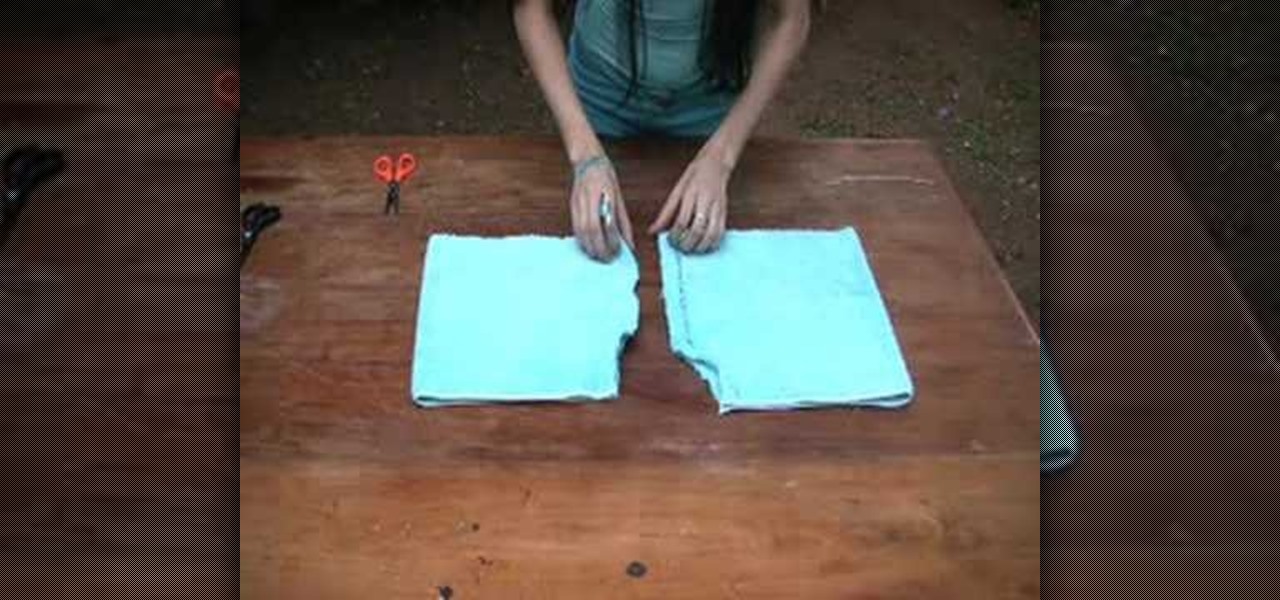
How To: Turn an old towel into shorts
To recycle an old towel into shorts, fold the towel and cut it into a short leg's length worth of fabric. Cut another piece into a short leg's length worth of fabric. Draw a curved seam on one edge. Stack the towels and pin them to hold the fabric in place. Cut out the seam on both of the towels. Separate the towels and sew up the seams on both of the fabric pieces. Do not sew the top seam and front side seam of the shorts. Instead, sew the front and back side seams together. Thread and sew a...
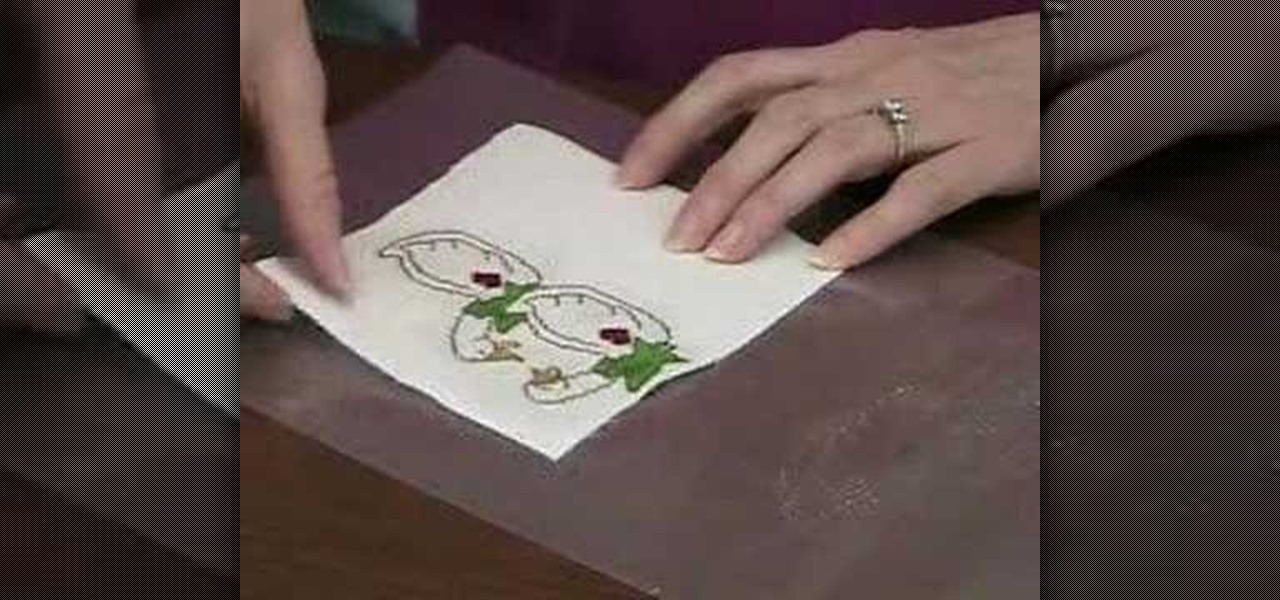
How To: Make a cross stitch ornament with Needlework finisher
Beth Johnson explains how to use Needlework Finisher to turn cross stitched pieces into ornaments. Needlework Finisher comes out of the bottle as a thick, white liquid, but turns into a clear plastic coating when dry. No special equipment is required, and Beth demonstrates how to daub the Needlework Finisher onto the cross stitched items with a finger tip. She allows one side to dry before coating the other side. The "wrong" side of the cross stitch can be covered with plain fabric, by using ...
How To: Make a felt strawberry
Felt food is a great substitute for unsafe toys for children. A real life mom gives tips in this video on how to create great felt food that her children absolutely love playing with! The instructions are easy: Use wool or wool-blend felt instead of craft felt; it feels nicer. The first thing you need to do is cut out the felt patters provided on the website. You will need a red half circle, and a four pointed star. Seeds can be added by tying French knots using white thread. The next step is...
How To: Make a simple tote bag
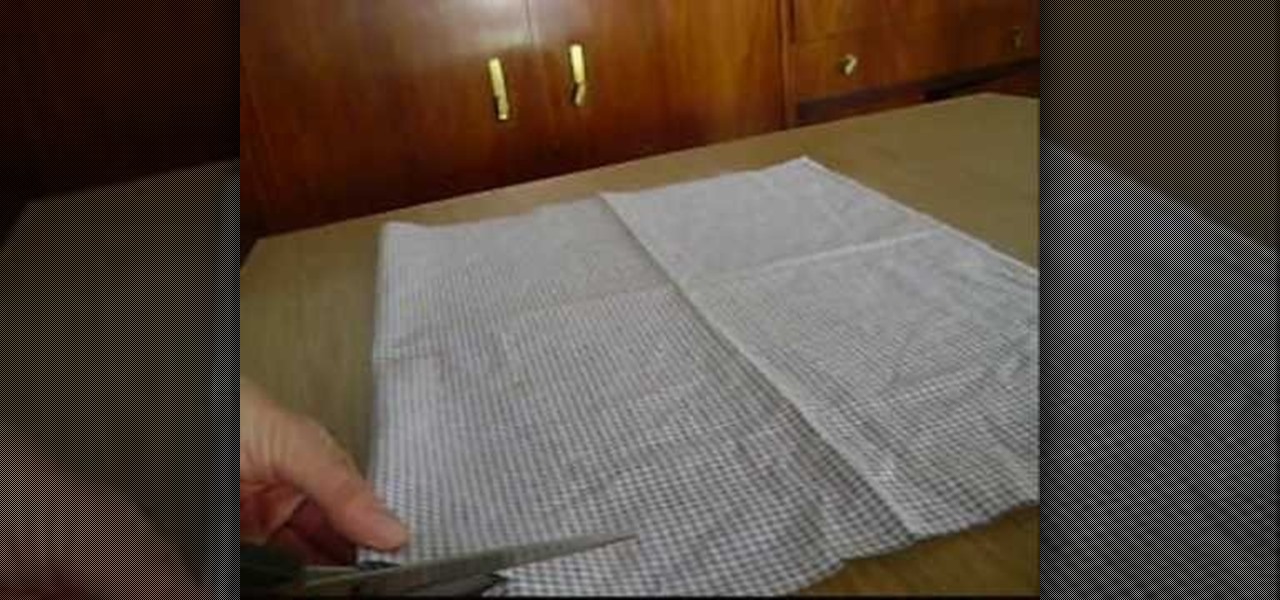
This is a great tutorial for making a simple tote bag from household items. Pick a basic fabric and you're on your way with a lightweight and versatile catch all for books, groceries, etc.
How To: Tie the Eternity knot to decorate a rope or string
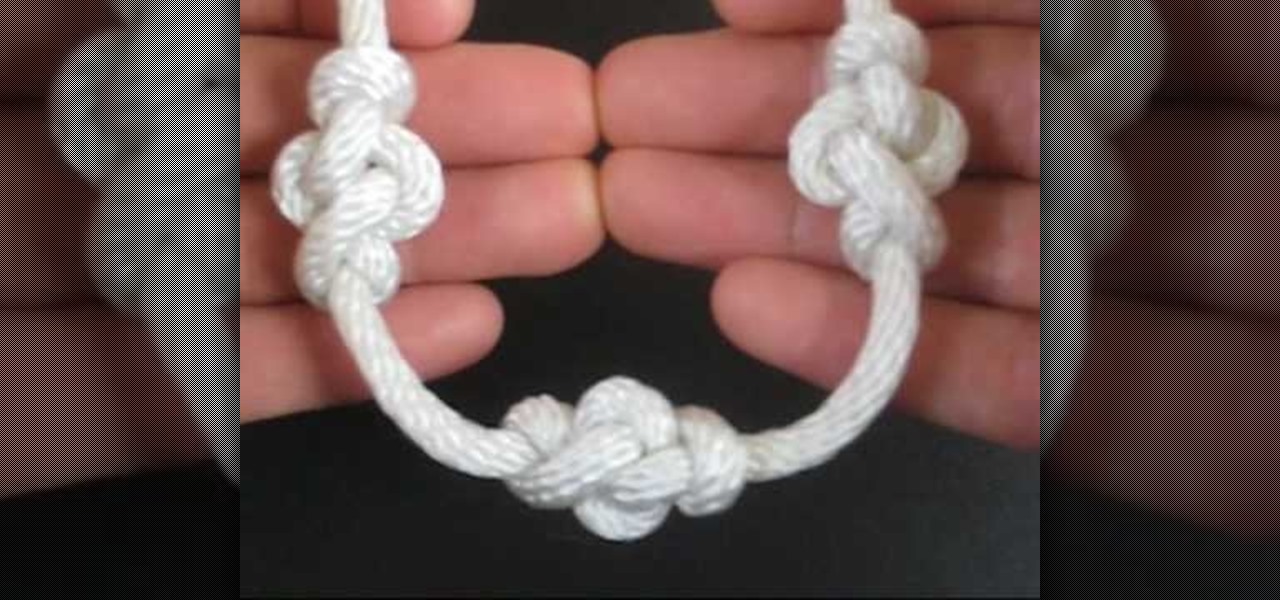
In this video the host of "Tying It All Together" demonstrates how to create a "Eternity Knot". This type of knot is an attractive way to decorate a rope or string. Strung along one after another on a rope or string, it creates elongated bead-like knots at intervals of your choosing. The Eternity Knot is named for it's resemblance to the symbol of Buddha's all-knowing wisdom and the uncommon quality of his realizations. In this video the host will lead you through the entire process of creati...
How To: Tie the Slatt's Rescue Belt knot design
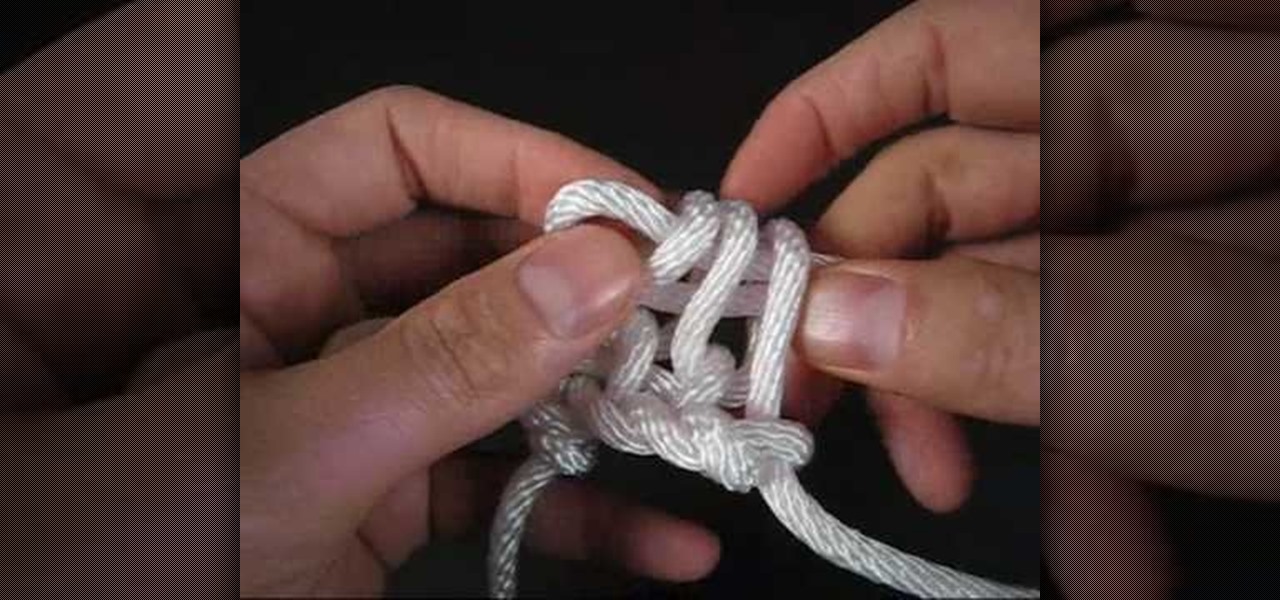
In this video TIAT shows you how to make a rescue belt. Begin by making a basic knot in the center, holding that knot on the top of your ring finger and between your thumb begin making loops. To create these loops extend the strand to the right side of the knot straight out parallel to your thumb, with your right hand curl the yarn first up, than forward, than back down forming a circle that you slid over your thumb. Take the tail of the cord and pull it snug. Repeat these circular loops unti...
How To: Make fabric dolls
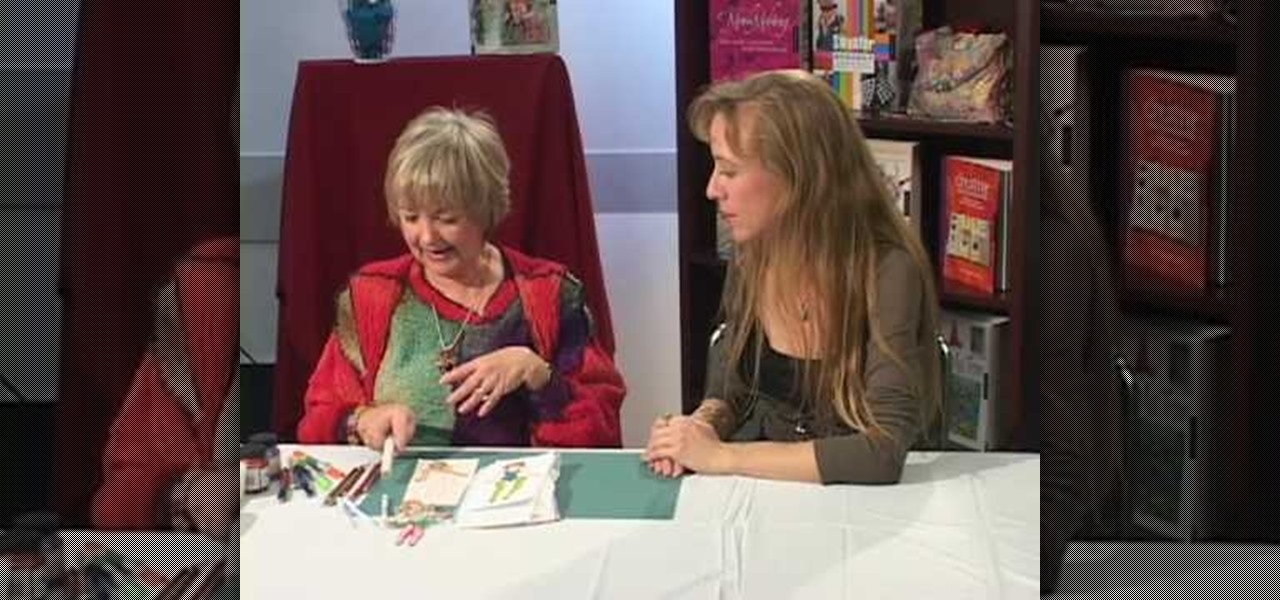
You start off with a printed design on your doll. Use regular paper, but you have to print the doll in individual pieces - body, hands, legs, head. You stick those on the front of hard materials like thick card stock or some thick fabric. Now you can putt the doll together and make adjustments. You put the doll together by using small thumb tacks. It's even better if you have ones that have a rhinestone on them. Once you've done the joints, you can also add a little tutu or some fairy wings. ...
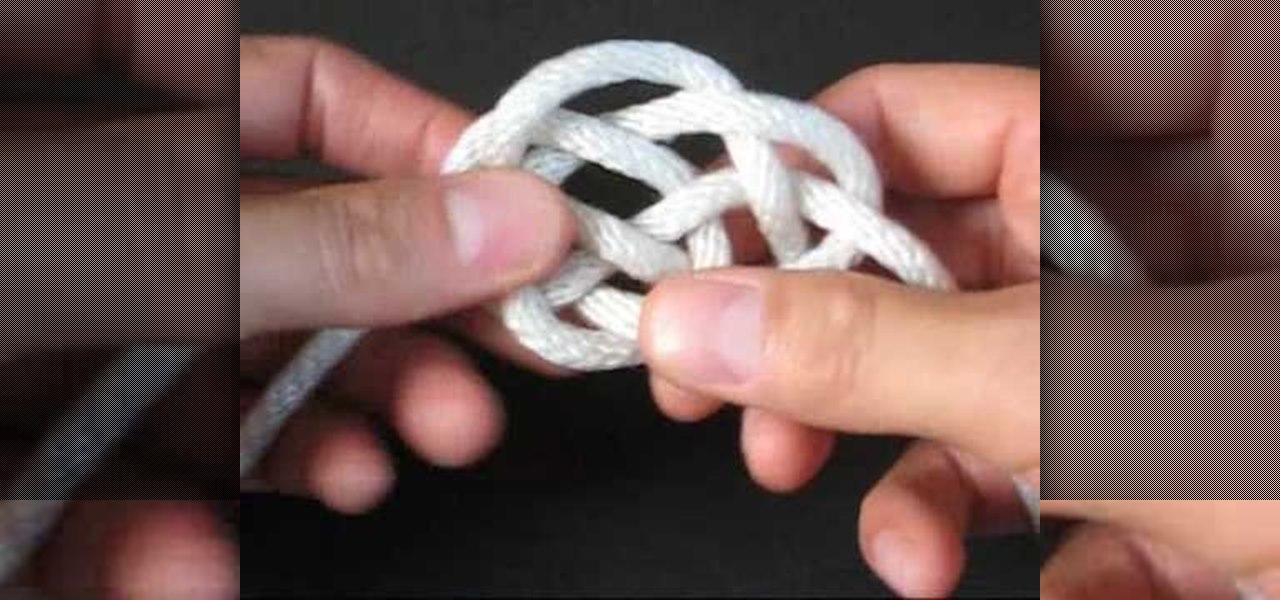
How To: Tie the decorative Basket Knot
Black Widow Mask In this video, the talented Angie teaches us to apply a Black Widow Mask for Halloween using make-up products that most women will already have in their collection. She uses detailed explanations and shows us exactly what she is doing and why, such as explaining that she's applying black eyeliner to camouflage the false eyelashes she will later be applying. Her application is easy to follow and results in a stunning finishing effect. By following her advice, you too can have ...
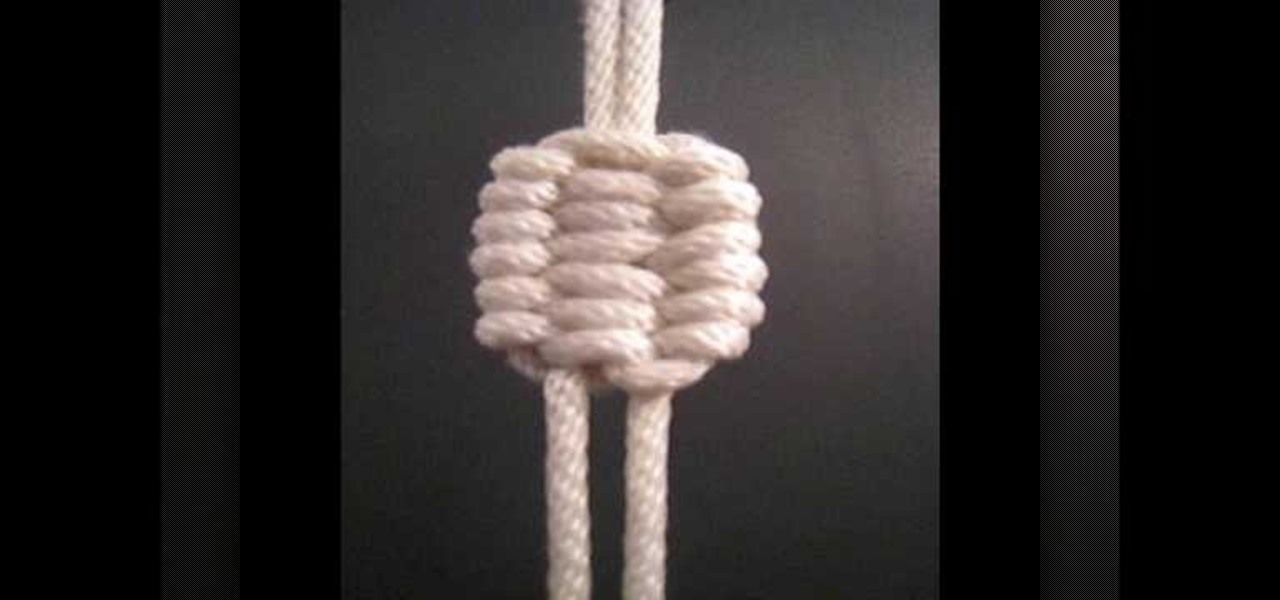
How To: Tie the Trilobite decorative knot
Learn the right way of tying the ‘Decorative Trilobite Knot’, by watching this video. Take a rope and form two bends, as shown. Now pass each bend over a hook to form two loops at the center, resembling number eight. The free end of the rope on the right side is then passed over the lower loop of the eight, to the left. The free end of the rope on the left side is then passed under the rope, just passed from the right. Thereafter, it is passed under the lower loop of the eight, and pulled thr...

How To: Make an adorable hair bow for girls
CookiesHugs teaches you how to make an adorable hair bow for girls. For this, you will need a ribbon, scissors, glue gun, a hair clip, and a ruler. Cut 14-15 cm of the ribbon. Put clear nail polish on the ends of the ribbon. Fold the ribbon in half, width wise. Glue one side of the ribbon to the crease in the middle. Do the same on the other side as well. Place glue in the middle and fold the top and the bottom together. Wrap a piece of ribbon in on the outside, in the middle. On the back of ...
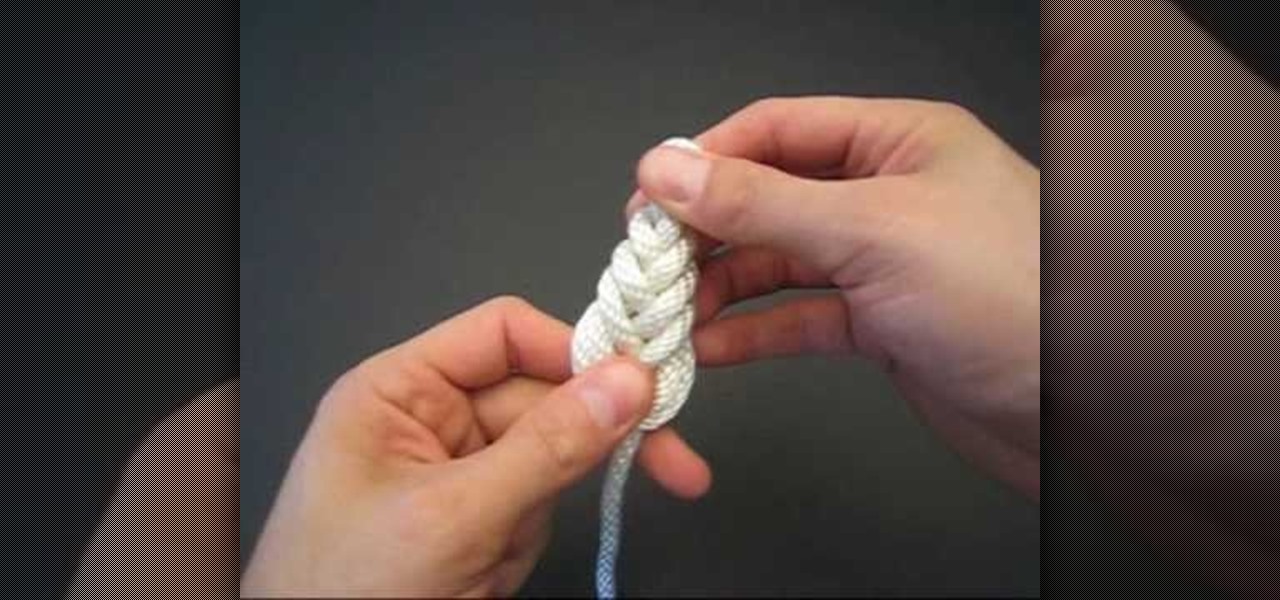
How To: Tie the decorative Pipa Knot
In this Tying It All Together video tutorial, you will learn how to tie a decorative pipa knot. To begin, take a piece of rope and fold so that you have two strands. Create a loop and take the left strand and loop it around the original loop. Continue doing this until you have layers of loop-like structures, gradually getting smaller and folding into one another. The effect is a woven-like structure. To actually secure the knot, fold the end strand into the last loop and then pull this end st...
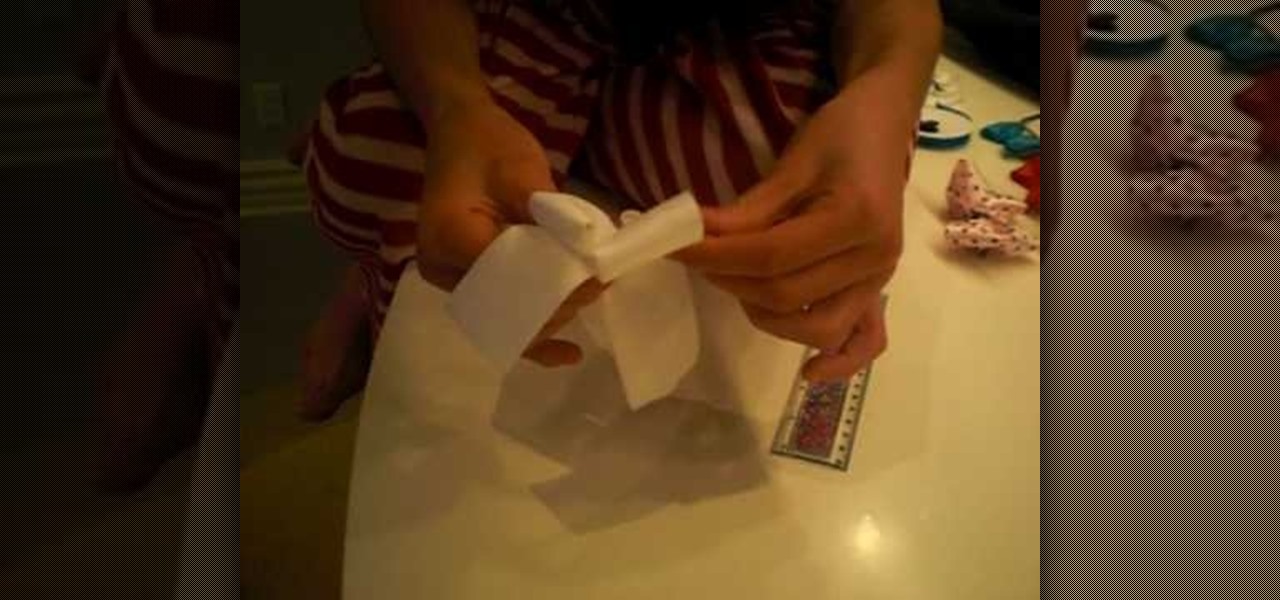
How To: Make a scene bow
This video teaches the viewer how to make a bow for your hair. You need a few materials to do this including 12 1/2 inches of ribbon that is approximately 1 inch wide, Two to three inches of contrasting ribbon for your center piece, a glue gun, 5 inches of craft wire and a hair clip. You can chose the colors or create several different ones to coordinate them with your wardrobe. They take only about 5 minutes to complete as long as you have all the materials on hand. Make sure to have a pair ...

How To: Tie a decorative snowflake knot
This video will show you how to tie a thick string or cord into a snowflake-like knot. Be sure to take your time, as there are a lot of loops to make. Also, you'll have to lightly pull the knots into shape a few times to retain the snowflake style. The instructor takes extended pauses to ensure that you can follow along easily. Near the end of the video, there is also a variation on the last few steps to make a slightly different knot. Whether you're a pro or novice at knot tying, you'll be m...
How To: Cut a hooded sweatshirt
You love your hooded sweatshirt but starting to feel like a weak person is strangling you all day long? With a quick snip with the scissors you can have a perfectly fitting sweatshirt and never have to worry about unnecessary discomfort again.

How To: Hem a skirt
Most of us aren’t lucky enough to get clothes tailored for our bodies so to get your skirts just the right length you may need to change the hemline yourself. In one evening you can change a mediocre skirt into your favorite piece of clothing.
How To: Tie the decorative Panel Knot
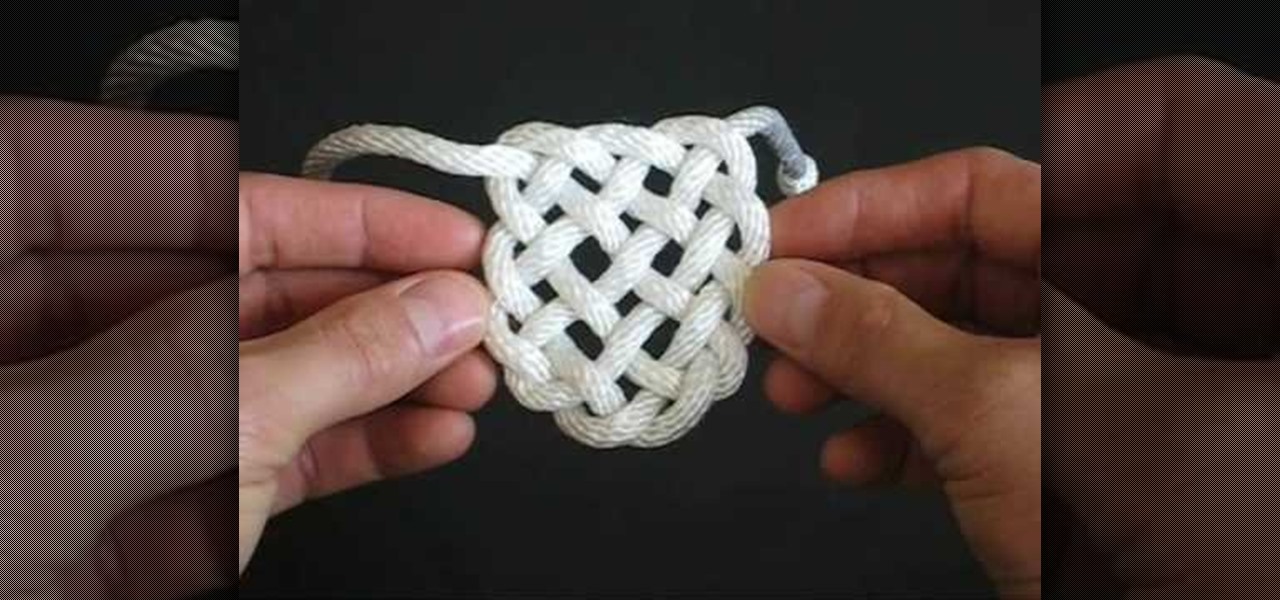
The Panel Knot can be used for a number of different occasions. These knots are a great decoration piece and can be done with different styles and colors of rope to get a splash of life in your home. These knots can also be used as an accessory to any outfit. All you need is a piece of sturdy rope, your hand, and about 3 minutes to learn this great trade. This can also be a great activity for your family to enjoy making together.

How To: Turn old jeans into a skirt
Summer is just around the corner and those jeans that seemed perfect for winter aren't looking so hot. Put those jeans to use, and make your very own jean skirt. Grab a pair of scissors and a sewing machine and get started.
How To: Recycle & reconstruct your denim jeans
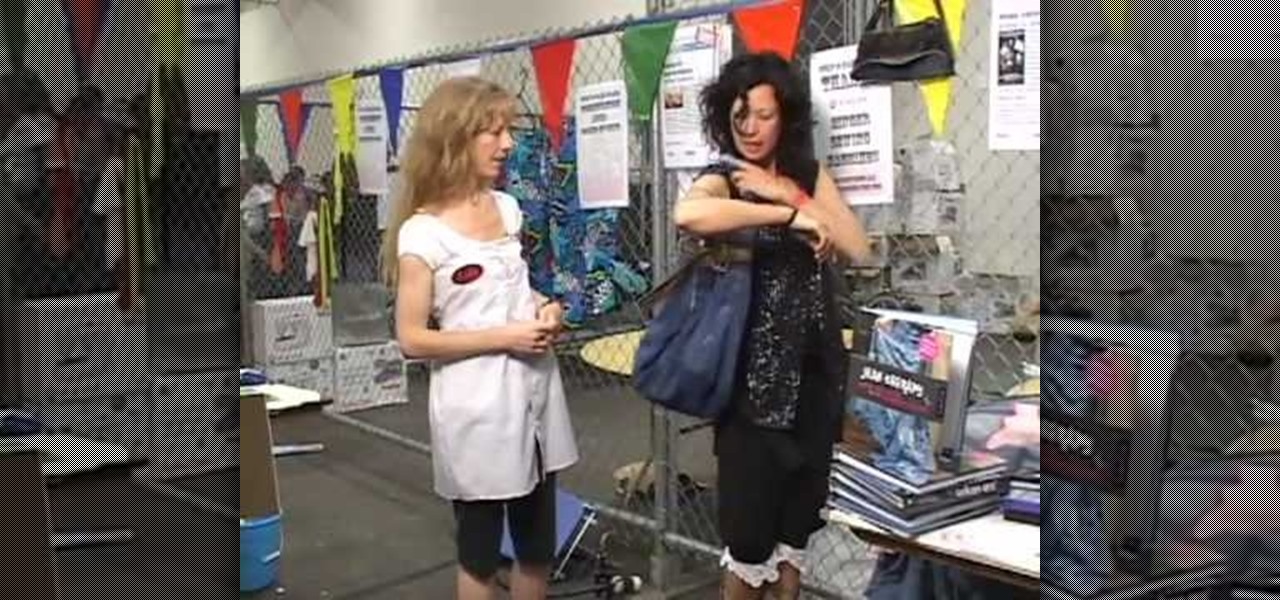
Learn how to recycle and reconstruct your denim jeans: Craft side Look, Learn and Create with Stefanie Girard and Jean Therapy with Scathe G. Allison demonstrate how to recycle and reconstruct your denim jeans. You can make a bag out of your jeans by using the leg as the strap. Customize jeans by adding patches to the legs and ruffles to the bottom. All the projects use simple sewing machines and stitches and don't require extra tools. A skirt can also be made by sewing together 14 pairs of d...
How To: Tie a Rorschach style decorative knot
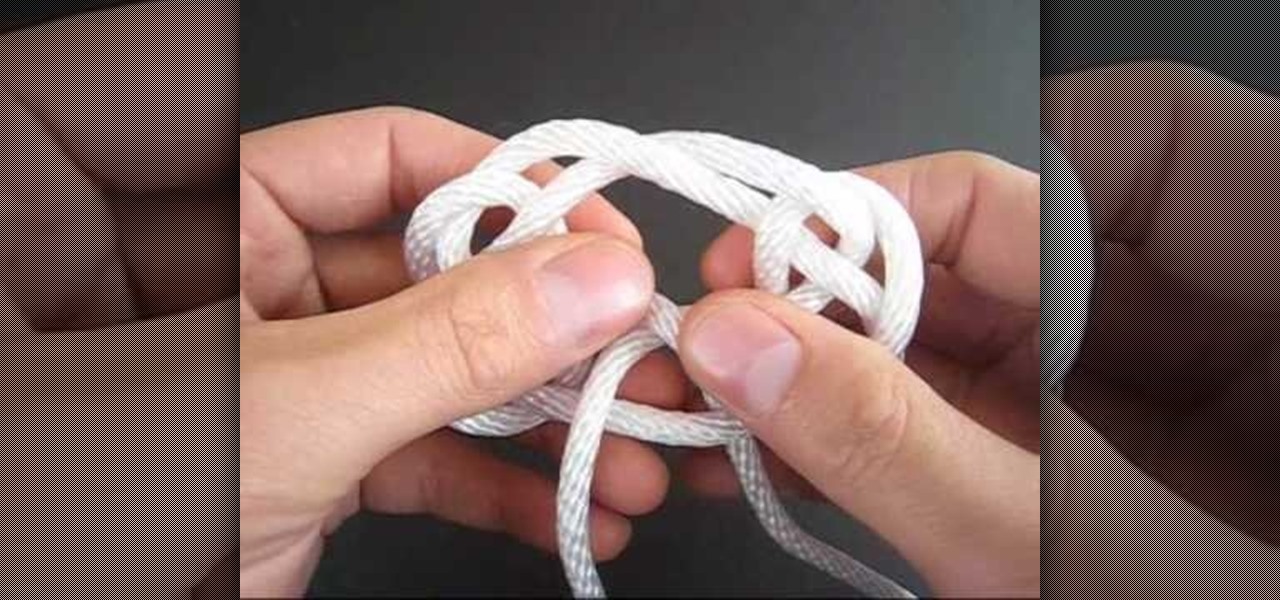
The Tying It All Together team, or TIAT, explains the origin of the Rorschach knot and demonstrates the techniques in order to make the decorative knot. The Rorschach knot, associated with psychological testing of a subject's perception of inkblots can become a decorative knot with just one string. TIAT shows how to make "bunny ear" loops consecutively around one another while repeatedly matting and firming the string to keep it in place. TIAT also pauses periodically for the viewer to keep t...
How To: Use buttonhole scissors
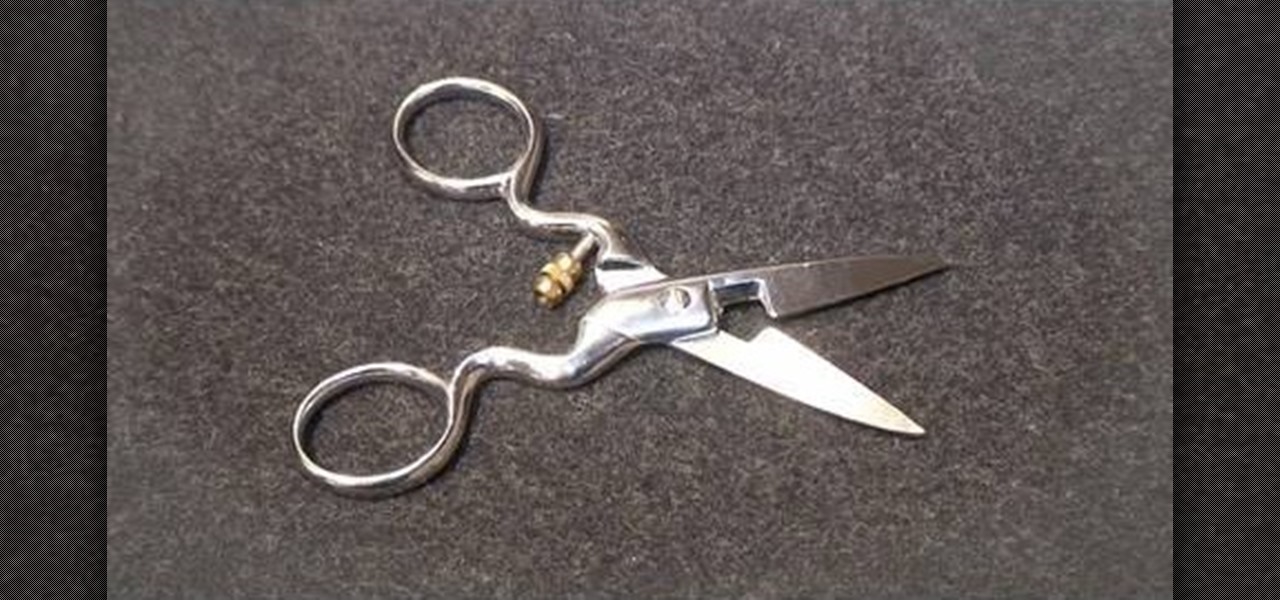
Couture designer Kenneth D. King is an expert in what you would need to fill up your sewing box. Here, he discusses buttonhole scissors. Buttonhole scissors are made for making buttonholes without stretching or damaging the fabric. By watching this video you can learn how to adjust your buttonhole scissors so that you can make different size holes. Make sure to never to use these scissors to cut through paper as it will make the scissors dull and make it a lot harder to cut through fabric.
How To: Tie the Diamond Ring decorative knot
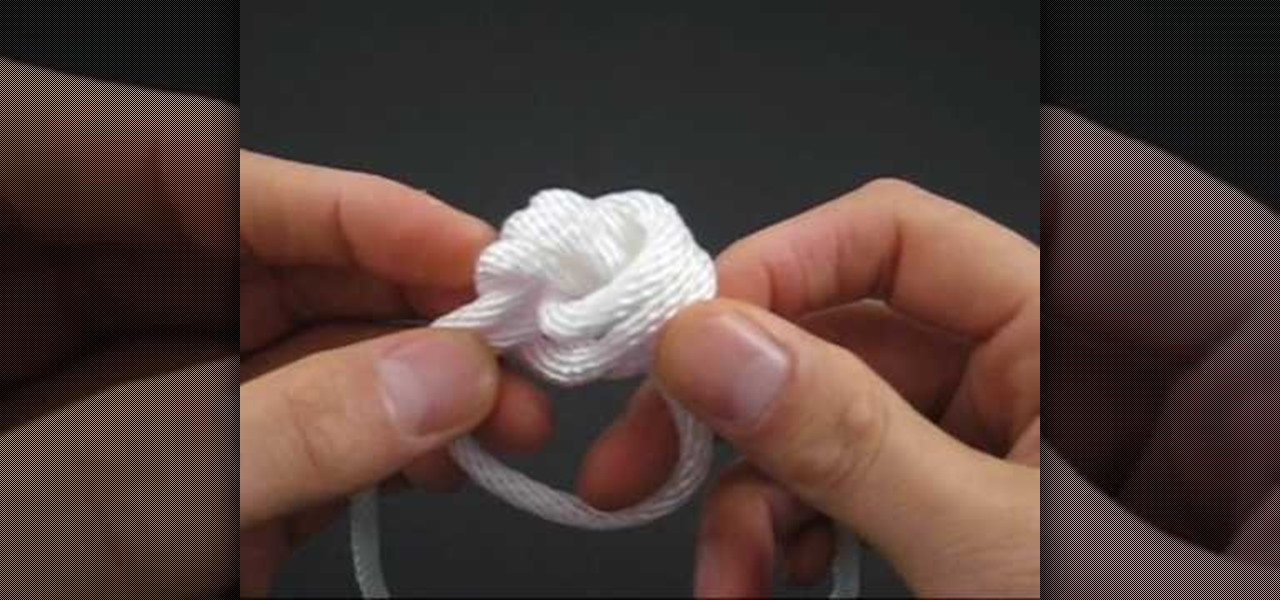
In this video tutorial, viewers learn how to tie a diamond ring knot. The name refers to the similar appearance of an actual diamond ring. The Diamond Ring knot is the fusion of an Overhand Knot and a tying technique called circling. Begin by making a loop; put one end of the string through the loop and pull it to form a pretzel shape. Continue putting one end the string through the loop. Eventually it will build up and it will just need to be tightened. This video tutorial will benefit those...
How To: Thread a sewing machine step by step
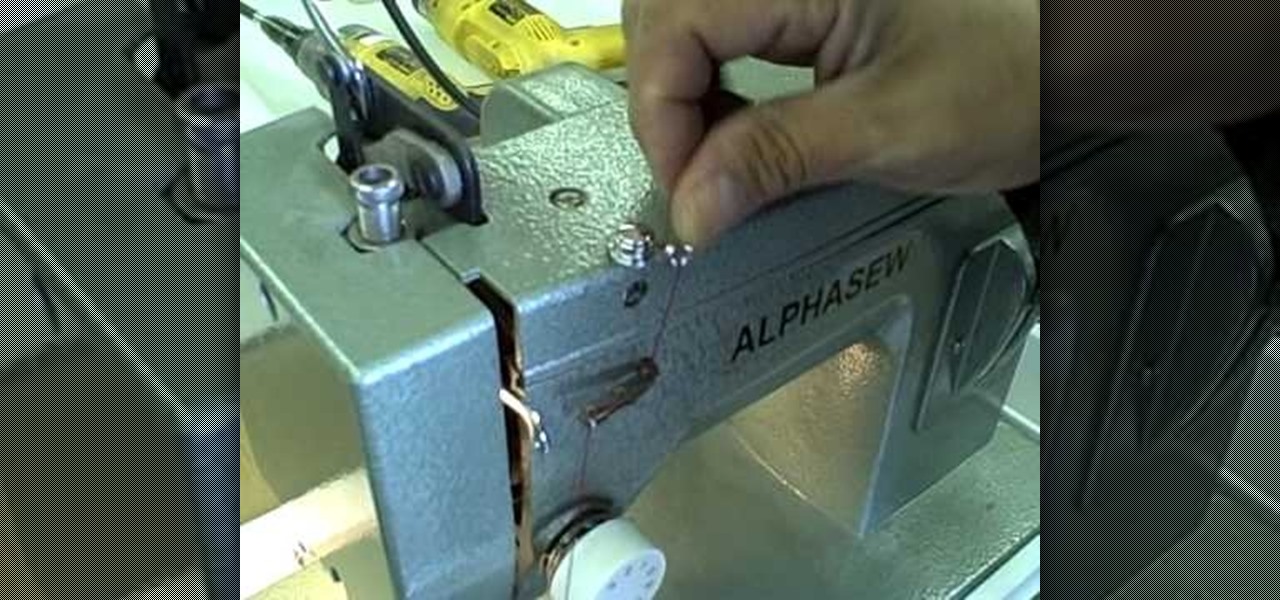
This video shows us how to thread a sewing machine step by step. To thread a sewing machine: Place the presser foot in the upward position. Place a spool of thread on the spool holder. Traveling from the spool holder, across the top of the machine, look for a minimum of one thread guide. Insert the thread in the thread guide(s). Now look for a tension mechanism. Bring the thread downward to the tension mechanism, slip the thread between the metal disks of the tension mechanism, and travel bac...
How To: Tie single Genoese knot bars
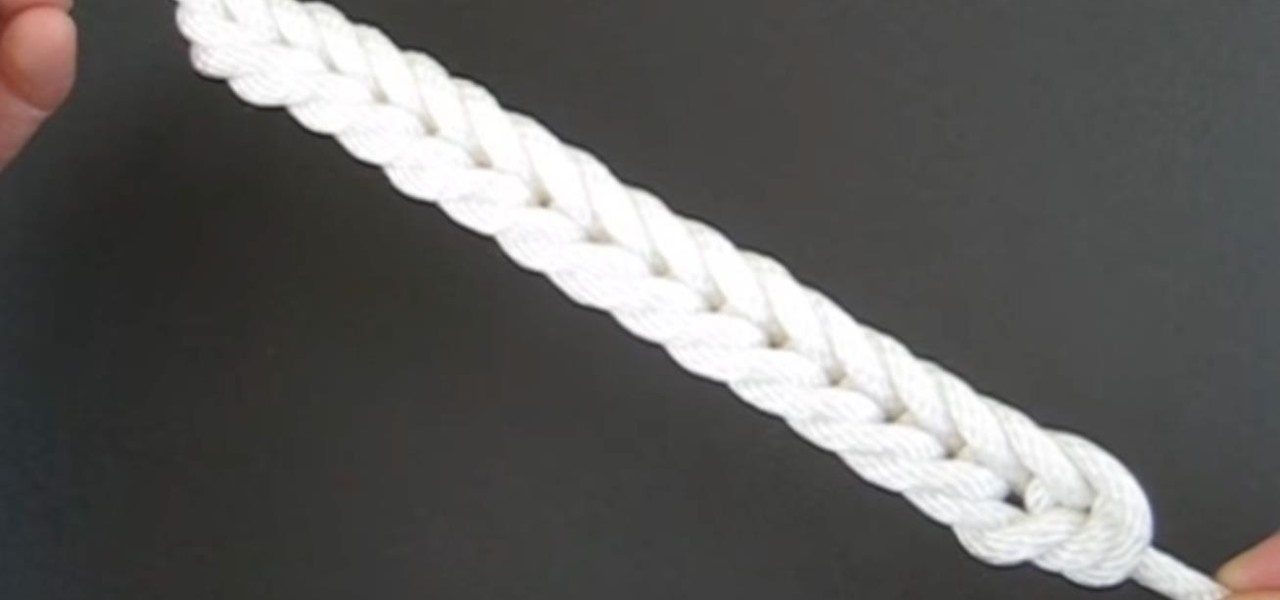
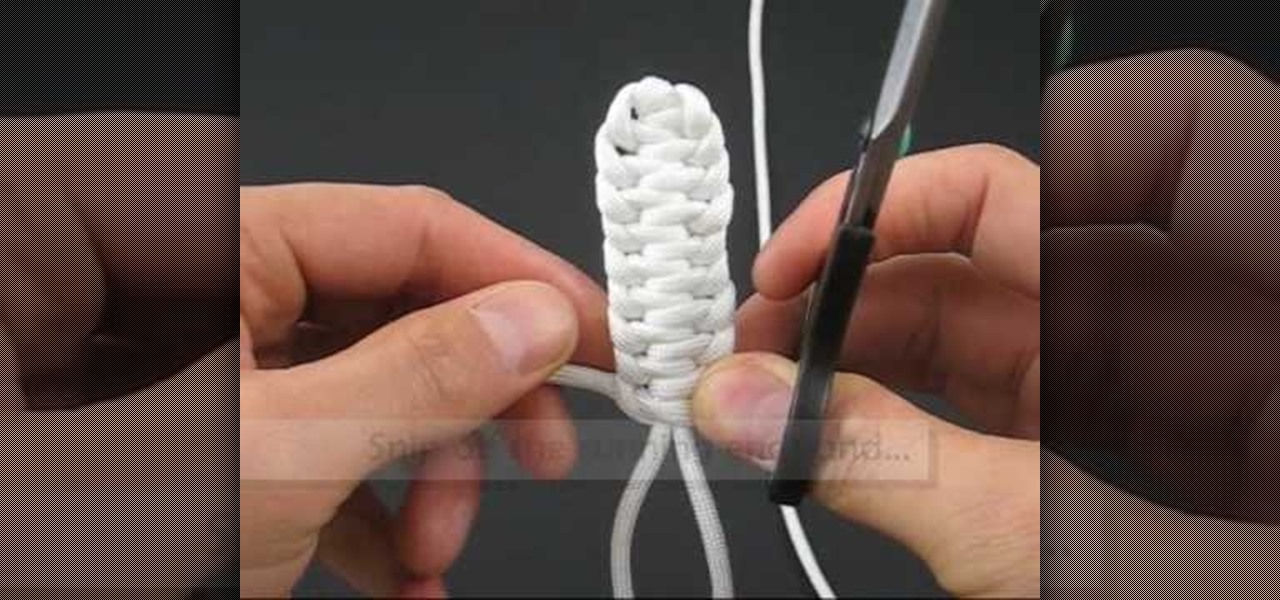
This video describes the technique used to tie a single Genoese bar knot. The presenter shows what the completed knot looks like, and then shows the technique used to tie the knot. The process for tying this knot is similar to braiding as the ends of the string are looped around and through the previous section. Each segment must be pulled very tight or the knot will fail to reach the correct shape. The hitches continue until the desired length of the knot is reached at which point the excess...
How To: Sew a dress shirt collar
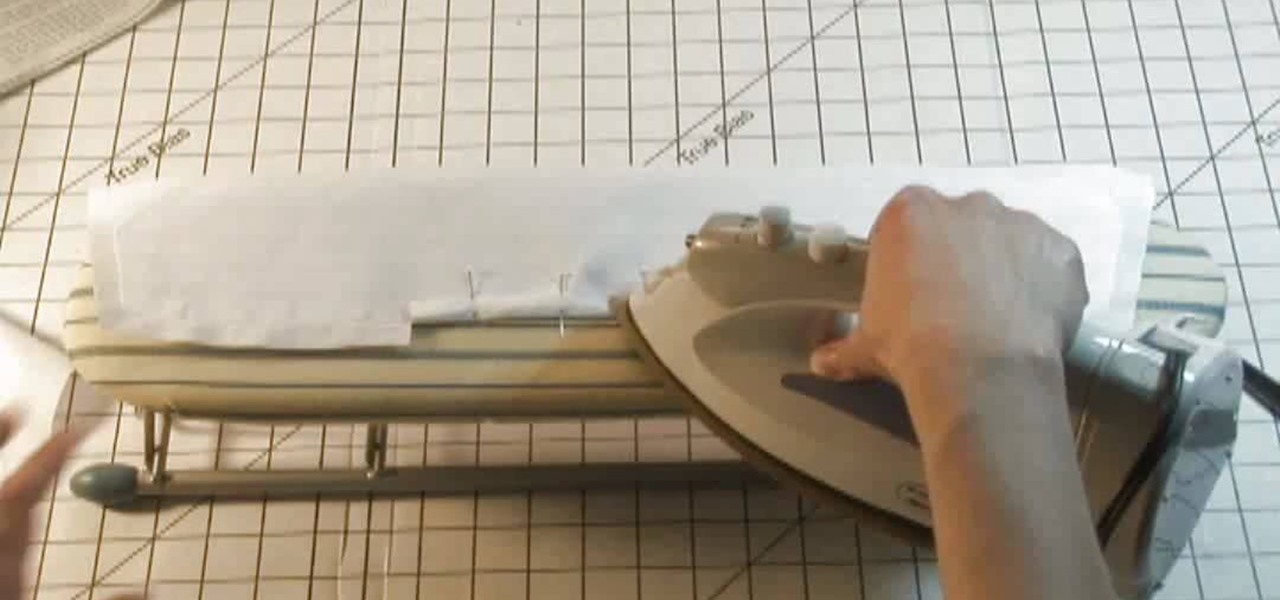
By using sewing pattern Simplicity 4670, the author of this tutorial video takes you through the steps needed to produce a great shirt collar. First you should attach interfacing to one piece of the shirt collar. Here you will be using fusible interfacing and taking the facing to the shirt collar iron the interfacing to the wrong side of the fabric. Sew a guide line that is 5/8ths of an inch wide along the notched edge of the shirt collar's facing piece. At the dot markings of the collar clip...
How To: Thread an industrial sewing machine
This quick tutorial video will show you how to thread an industrial sewing machine. Follow these quick steps to thread an industrial sewing machine: Wind the bobbin thread and pace the bobbin in the bobbin case. Pull out 4" of thread and place the bobbin case in the hook. Now feed the top thread right to left through the eyelet bar and feed through the thread holes around the tension discs and upward through the take up. Go down through the thread guides and through the needle bar thread guid...
How To: Tie a quick Rope Shackle
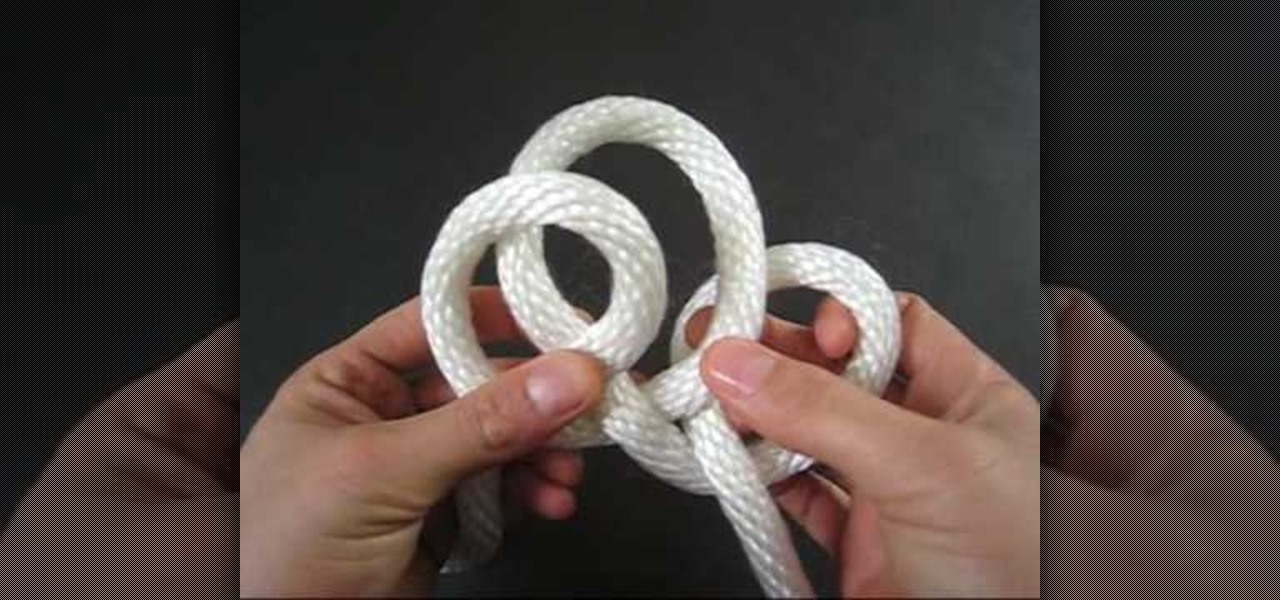
To tie a quick rope shackle, take a flat thread to make this knot. Take the thread and hold it in your hand fold it from right to left and hold it at the cross hold it once again catch both the crosses and fold it once again. Insert the send fold into the first hole and the third hole. Now pull the middle of the thread to make a tight. Pull the loose ends of the thread to make it tight. Now hold the two circular holes and insert a round stick or a bamboo stick and pull the loose ends of the t...

How To: Tie a Zigzag braid knot design
The video is about tying a Zigzag braid knot design. At first, make the tag or rope into two by folding it. Take one end and make a small knot at the folded junction. Then take the second and pass it through the first made loop. Then take the other end and pass it through the loop made by second end. Continue the hitches to end the rope. Finish the knot by tightening the rope. Then rearrange the position of the hitches. This is done with care. The knot is made beautiful and prettier by making...

How To: Make a boutique style bow
Learn how to make a boutique style bow: Use 23 inches a ribbon to make a 4 inch bow. First, trim and heat seal the edges. Wrap it around your fingers and stretch it so the ends are not overlapping the bottom. Make sure the end is on the bottom and stick a pin through the center. Flip it over so the needle is sticking straight up and take the end and the bottom of the two layers and twist into an "X" shape. Adjust the loops to the desired position. Use a needle and thread to complete the bow. ...

How To: Make a mermaid tail
This arts and crafts video teaches us how to make a mermaid tail in minutes. Our instructor tells us how she got requests for this after people saw her video, in which she swims in a mermaid tale. To make the mermaid tale, find some stretchy pants. Any pants that are light and are able to stretch will work. Do not use jeans. To make the tale, you put one leg in one hole of the pants, and then you put your other leg in the same hole. Next, take the other leg of your pants, wrap it around your ...
How To: Tie a River knot
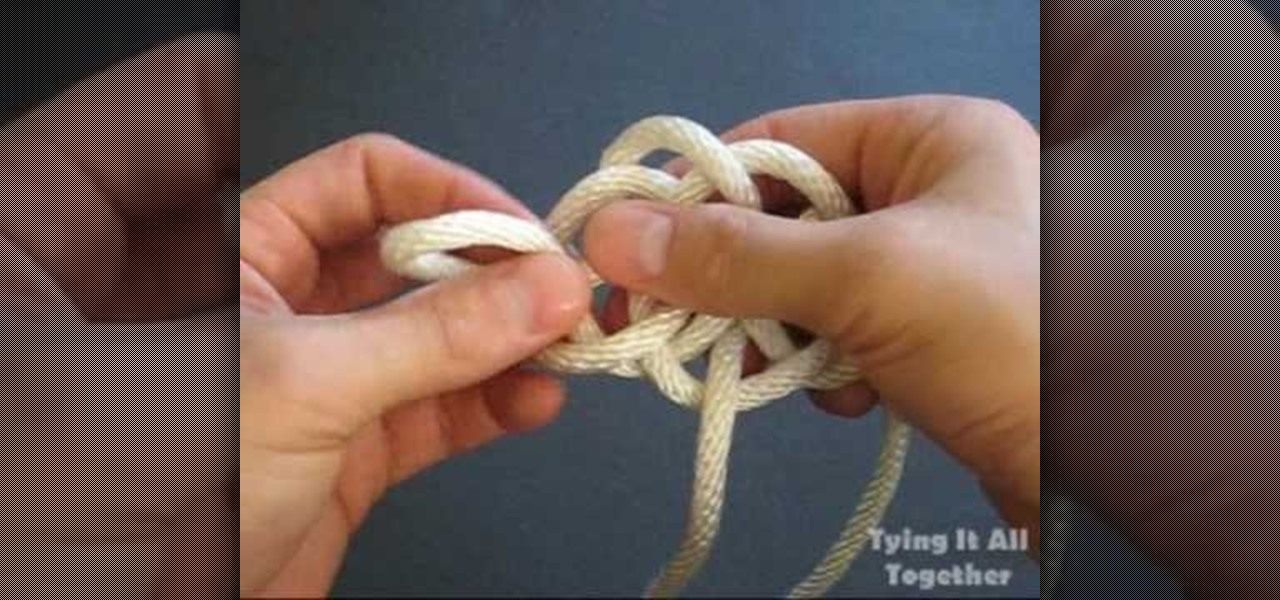
This video from Tying It All Together demonstrates how to tie a river knot. Holding the rope in your left hand, make a loop to the right and bring the rope down so it lies over the loop. Bring it up behind and pull it through the loop. This makes a loose knot with three overlapping loops. Make another loop on the right and pull the end through the lower part of the right loop. Then make another loop on the left and pull it through the lower part of the left loop. Take the rope from the left s...
How To: Make a rattlesnake key fob
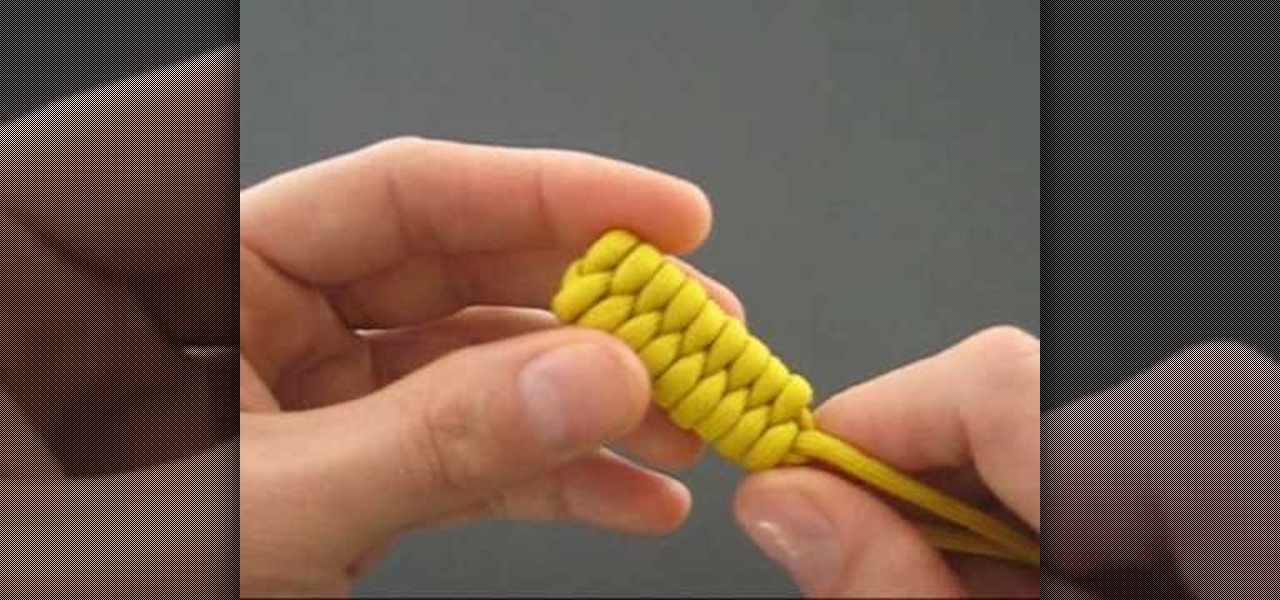
Looking for a stylish, slightly menacing way to store your keys? The "rattlesnake tie" is in actuality Clifford W. Ashley's Over-And-Under Heaving Line Knot or ABOK #541. That said, the rattlesnake tie is a whole lot easier to say and remember, so that name is used here.
How To: Weave a two color solomon bar
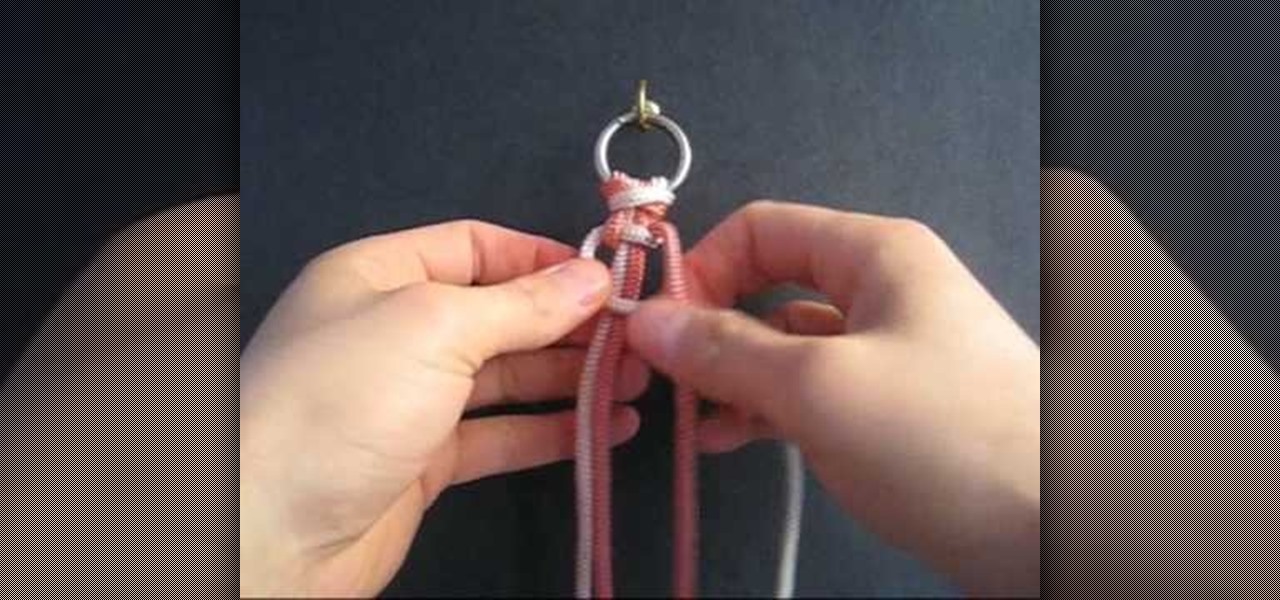
This video is a tutorial on how to weave a solomon bar bracelet with two colors. The author shows how to weave a solomon bar bracelet with two colors where there are vertical loops of one color and horizontal loops of yet another color. Combining this video with the author's previous video on how to weave a solomon bar bracelet (How to Make a Solomon Bar by TIAT) should provide sufficient information on completing a two colored solomon bar bracelet. While this way does work, it is mentioned i...
How To: Tie a decorative Diamond knot
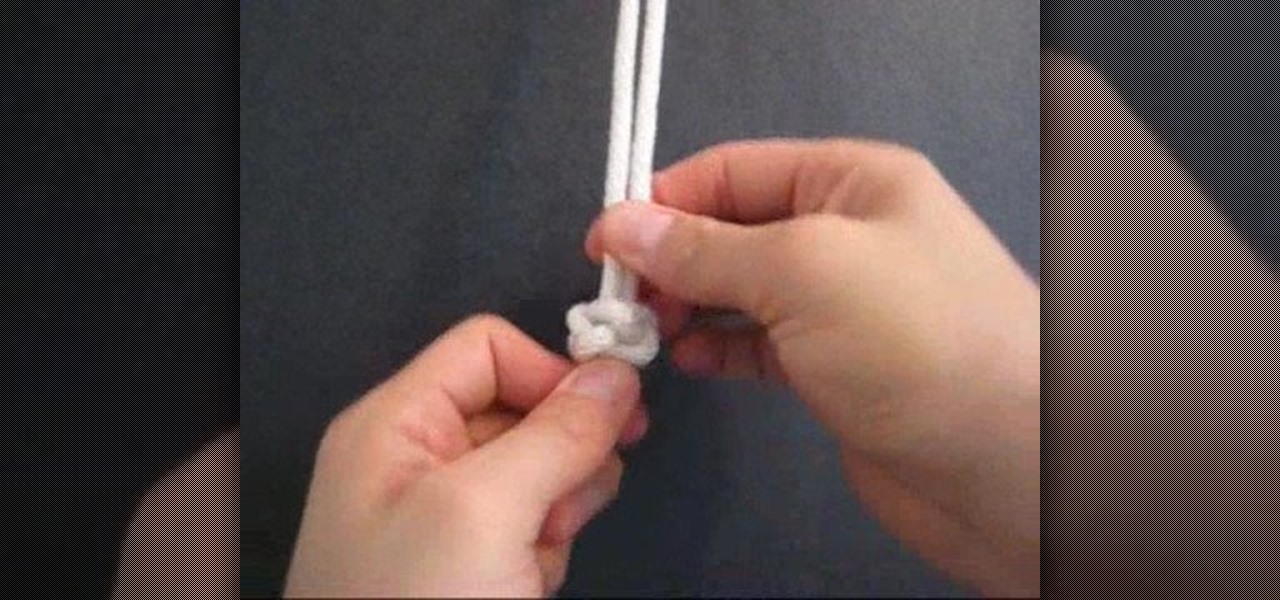
"How to Tie a Decorative Diamond Knot: Tying It All Together" explains how to tie a decorative diamond knot. The diamond knot is a decorative cylindrical knot, which is also known as the lanyard knot and the knife lanyard knot. Make a loop with one end of the string, and fold the other end parallel in the center of the loop. Feed the end of the right string over the left string and pull down. Fold the right string over and feed through the left side of the loop. Pull a second loop behind the ...
How To: Tie a Pagoda knot
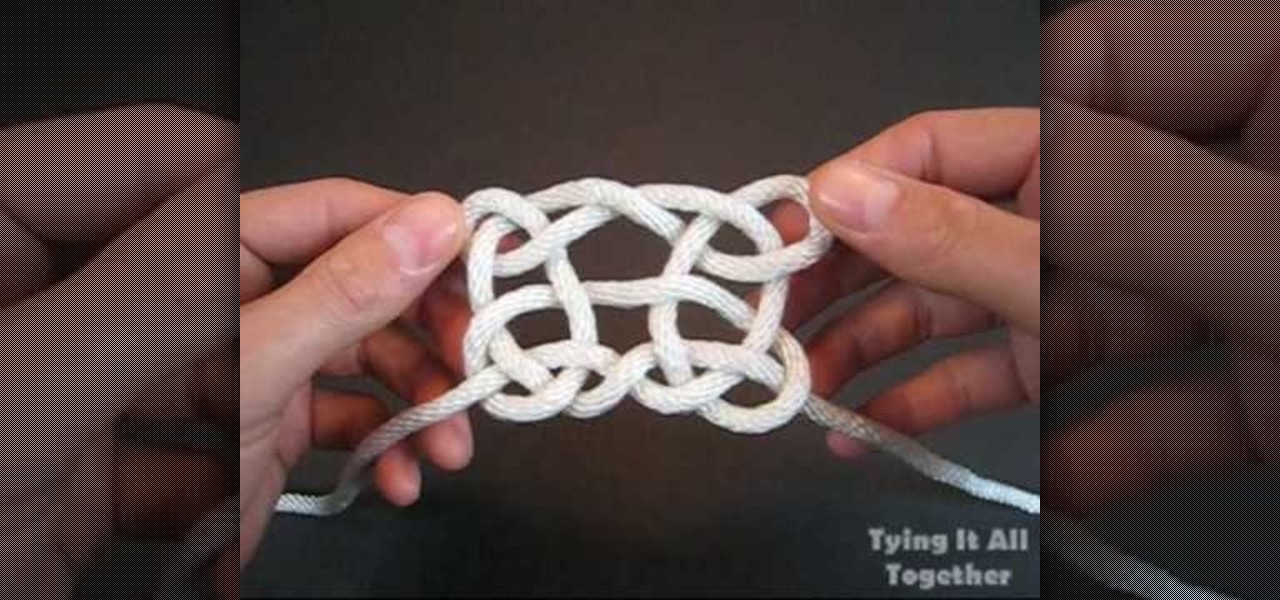
TyingItAllTogether explains that, "Pagoda is the English language term for a tiered tower with multiple eaves. Common throughout eastern Asia, most pagodas were built to serve a religious function. The Pagoda Knot was created in admiration of this sacred architecture." In this video, learn how to tie a decorative pagoda knot. Working with a single piece of string, follow along as the string is transformed into a work of art. Begin by making a series of four loops. Cross the tails, then weave ...
How To: Tie a Kinky Lover's knot
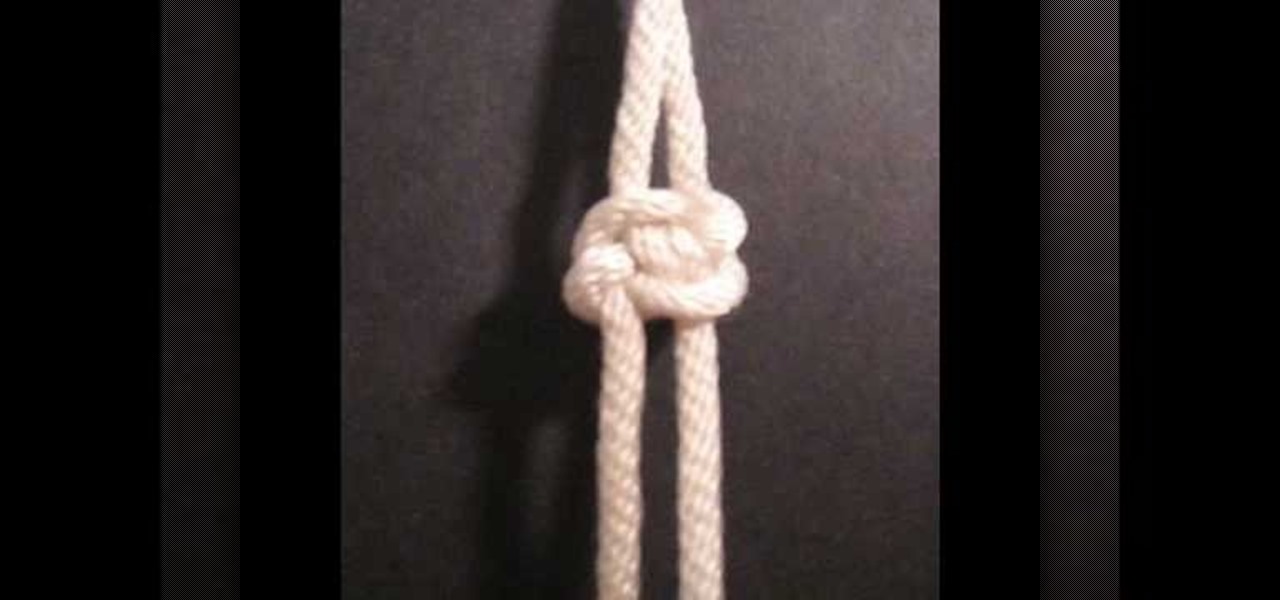
To make a Kinky Lover's knot, first hang or keep the tag on something. Then take the first end. Tie it by keeping a loop. Then take the second end and pass it through the loop by leaving a loop. Then take the second end, which was taken earlier , through the loop made by the first end. Then pass the second end through the loop, which was made by the second end. The knot is ready! All we have to do now is to tighten the knot by pulling the two ends. Make it beautiful by arranging the tag clearly.
How To: Make bows for your hair
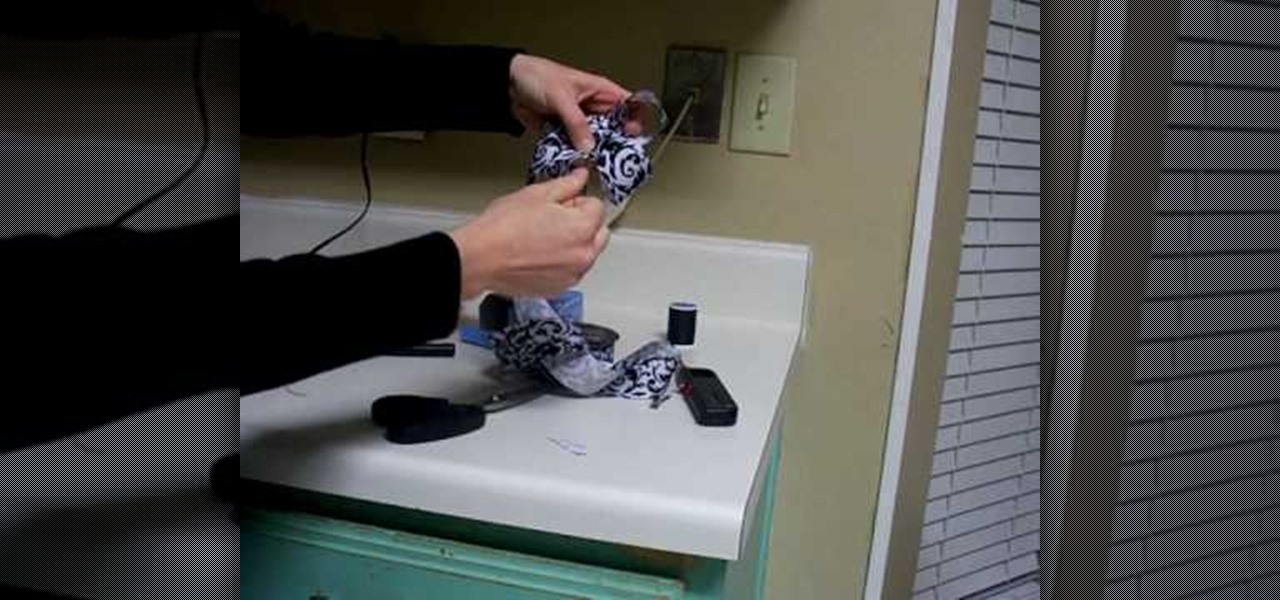
Learn how to tie a perfect bow. To do a basic pony bow, place the gathered hair in the center of the ribbon and tie a single knot to secure it. Making two loops, cross one loop over the other and pull the loop on top through the hole you've created. Straighten out the ends and tighten so the two loops are on top and the two tails on bottom. Make a headband bow. Run the ribbon along the hairline, drawing the ends up on top of your head. Secure a knot and tie a bow. By tweaking the loops out a ...
How To: Sew a Victorian skirt
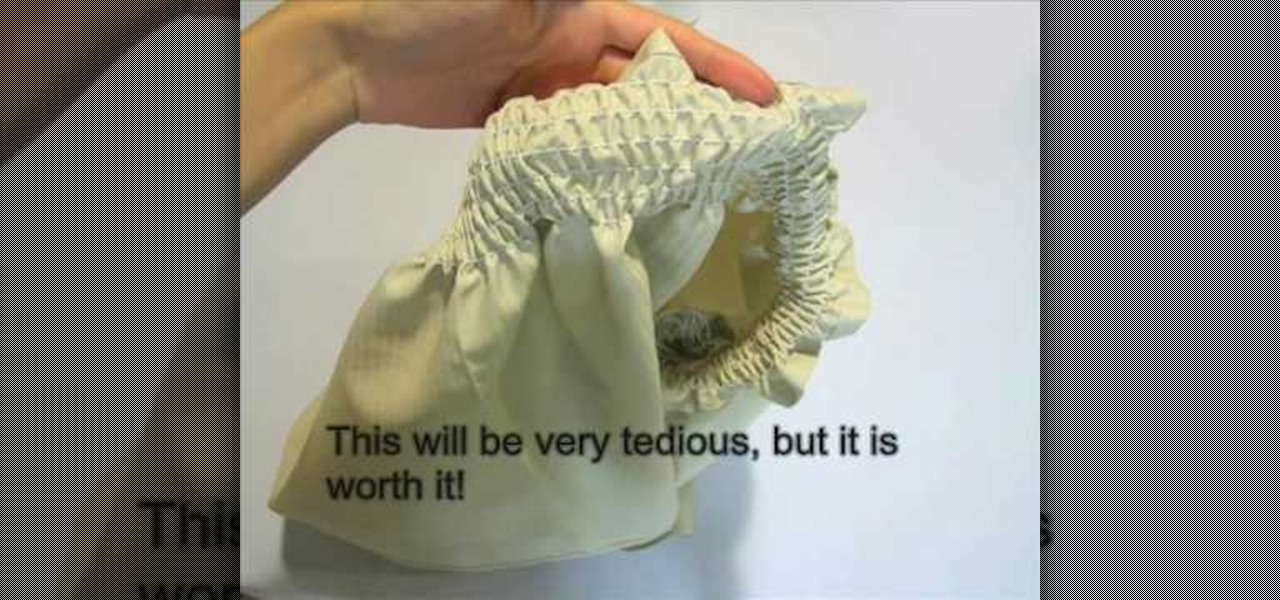
This video demonstrates how to sew a Victorian skirt. First take a cotton cloth and cut a rectangle piece twice the size of your waist. The length would be depending on your choice of height you require. Hem the top and the bottom of the cloth. Then use elastic thread to create 12 rows of shirring. Each row can be 1/4th inch apart. This is for sure a tedious task but it will look beautiful. Then take a chiffon cloth and cut the same size as your skirt. Hem one side of it and on the other side...
How To: Use bent handled trimmers
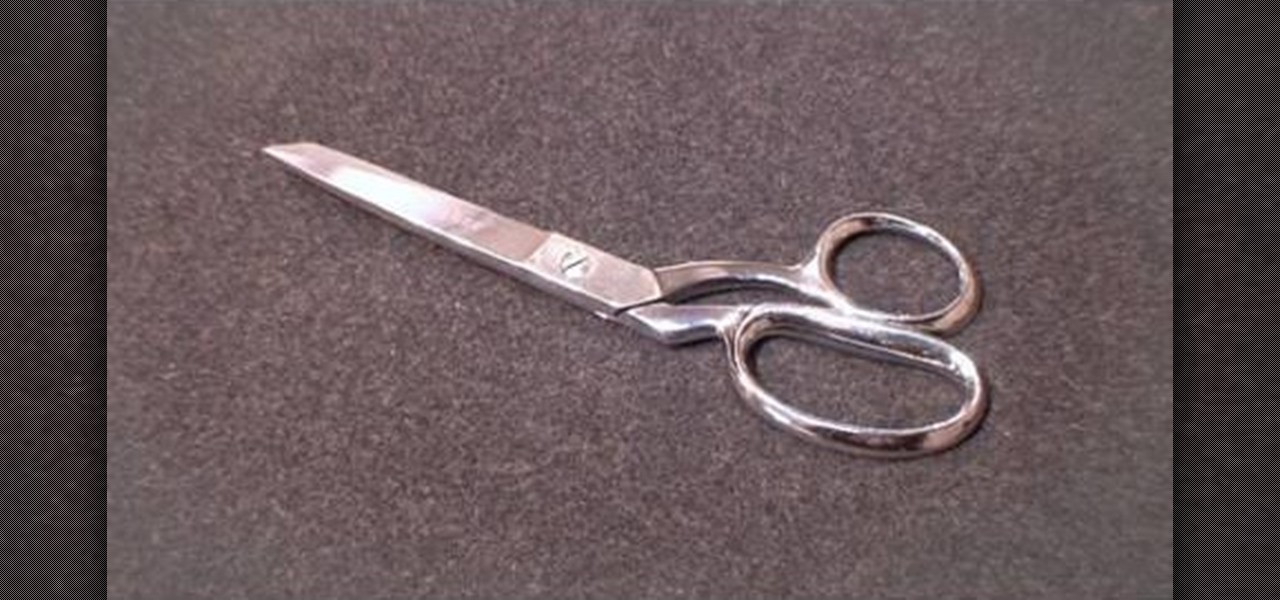
Learn how to use bent handled trimmers: Kenneth D. King of ThreadBanger Quickies and NextNewNetworks explain how to use bent handled trimmers for working with fabric projects. Bent handled trimmers are great for cutting out fabric patterns and designs. The scissor itself slides along the smooth plane of the cutting table and it lifts the fabric just enough to successfully cut the pattern out. Bent handled trimmers make a very accurate cut. Never ever use your fabric scissors for cutting paper.


