

Active Sewing & Embroidery Posts


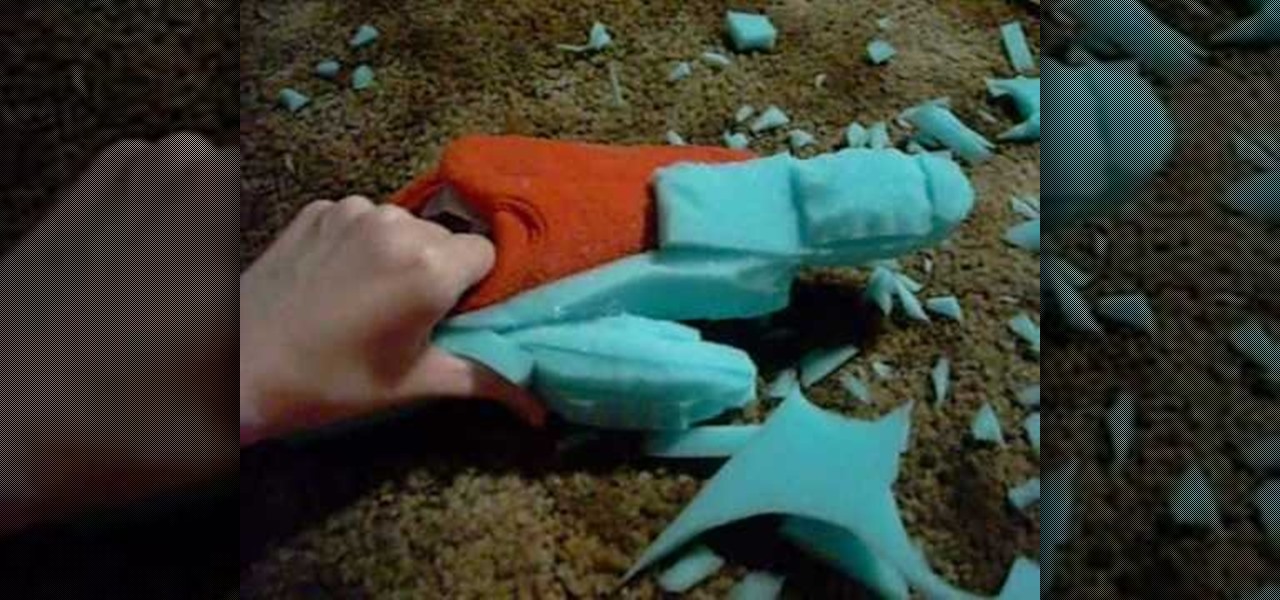
How To: Make koala footpaws for a fursuit out of slippers for cheap
If you're into fursuits, check this video out. It will show you how to make cheap, durable footpaws for a koala, lemur, or other primate costume out of slippers and other cheap materials. Now get out there and fur it up!
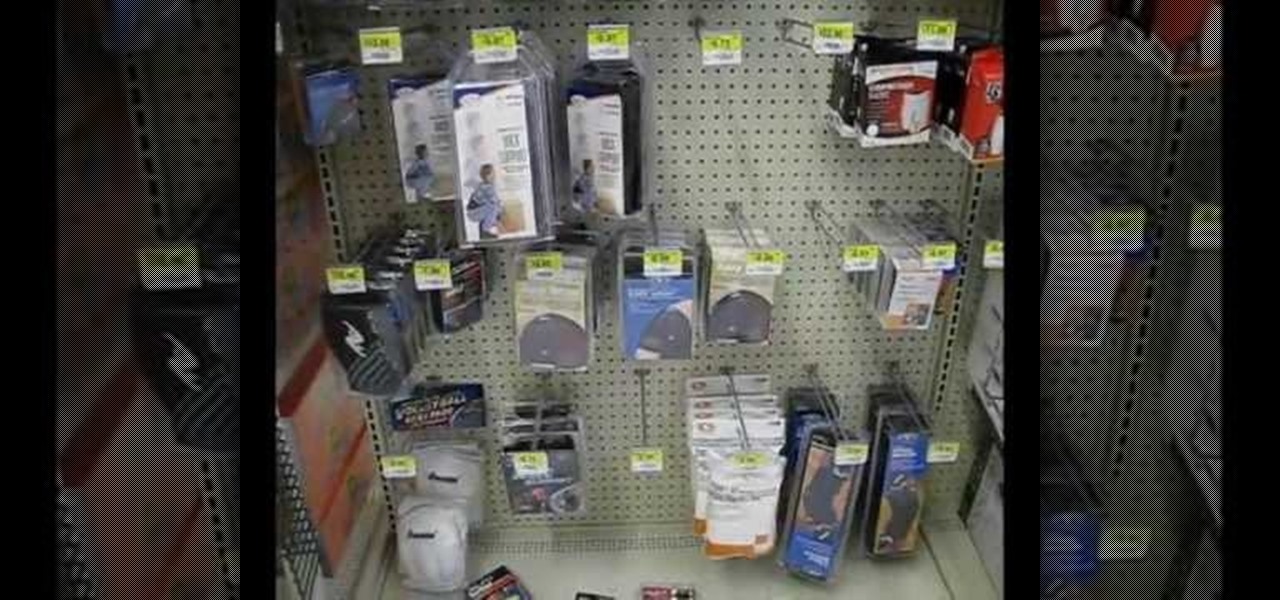
How To: Use and get the right materials for making a fursuit or other costume
Cosplay-friendly conventions are going through a sort of renaissance right now. AnimeExpo, ComiCon, A-Kon, PAX. All over the country people are dressing up as anime characters and furry animals and filling exhibition halls to mingle. If you want to have a really badass costume, you're going to need the right materials. In this video, a semi-professional costume-maker will walk you through the materials you need to make a great fursuit or other elaborate costume and where to get them.
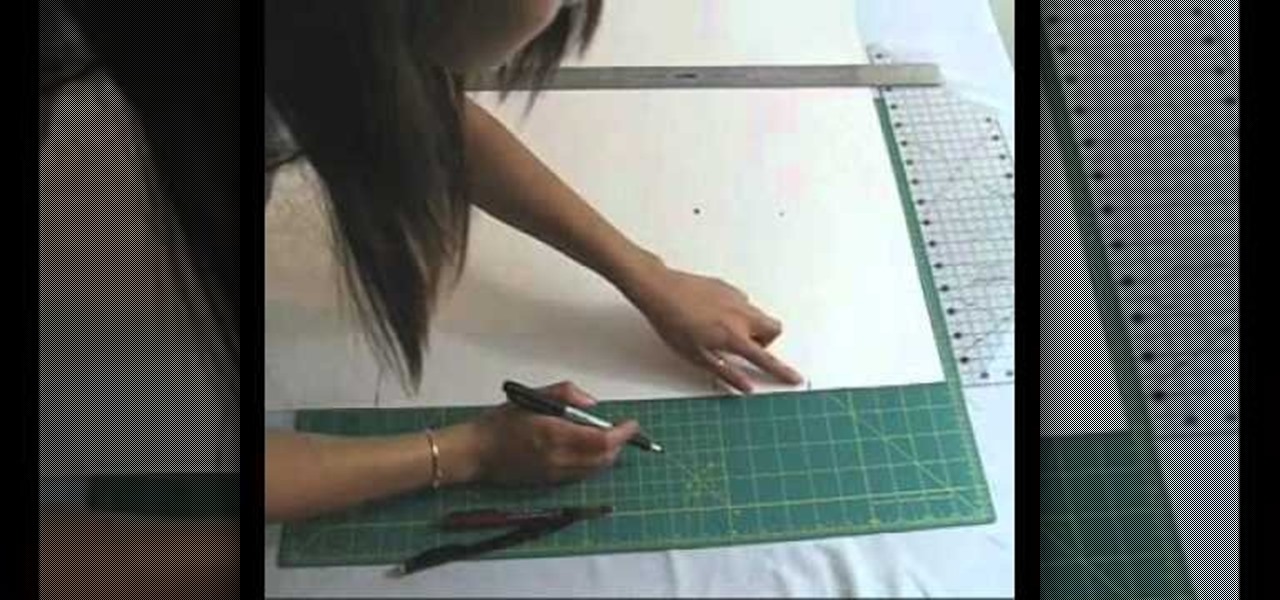
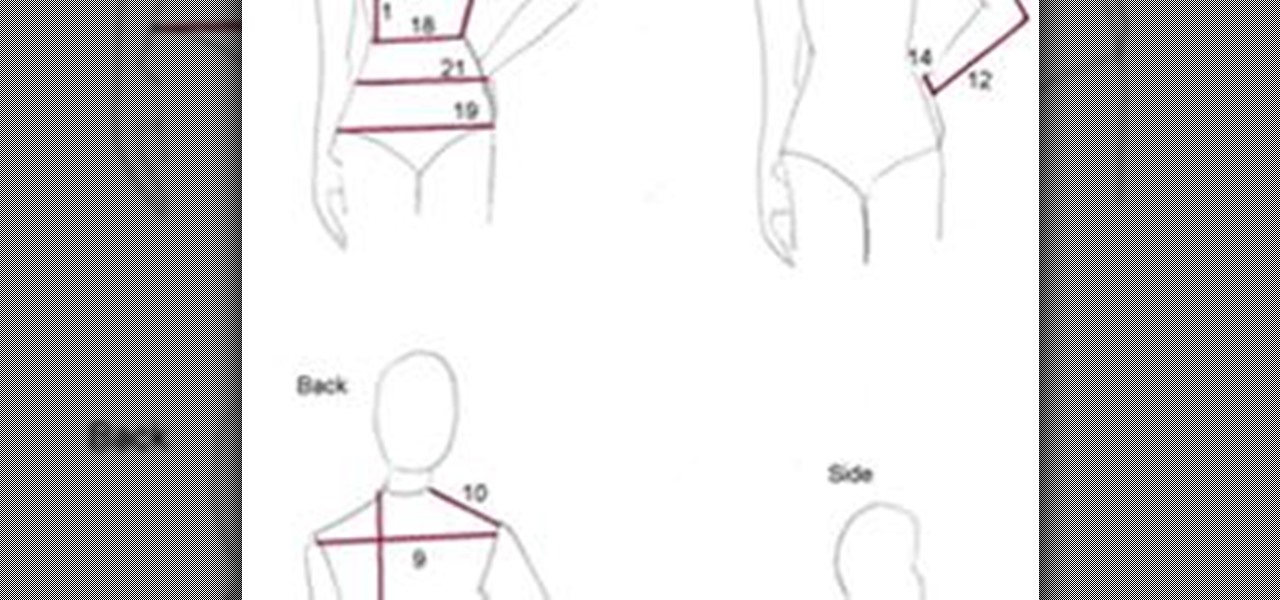
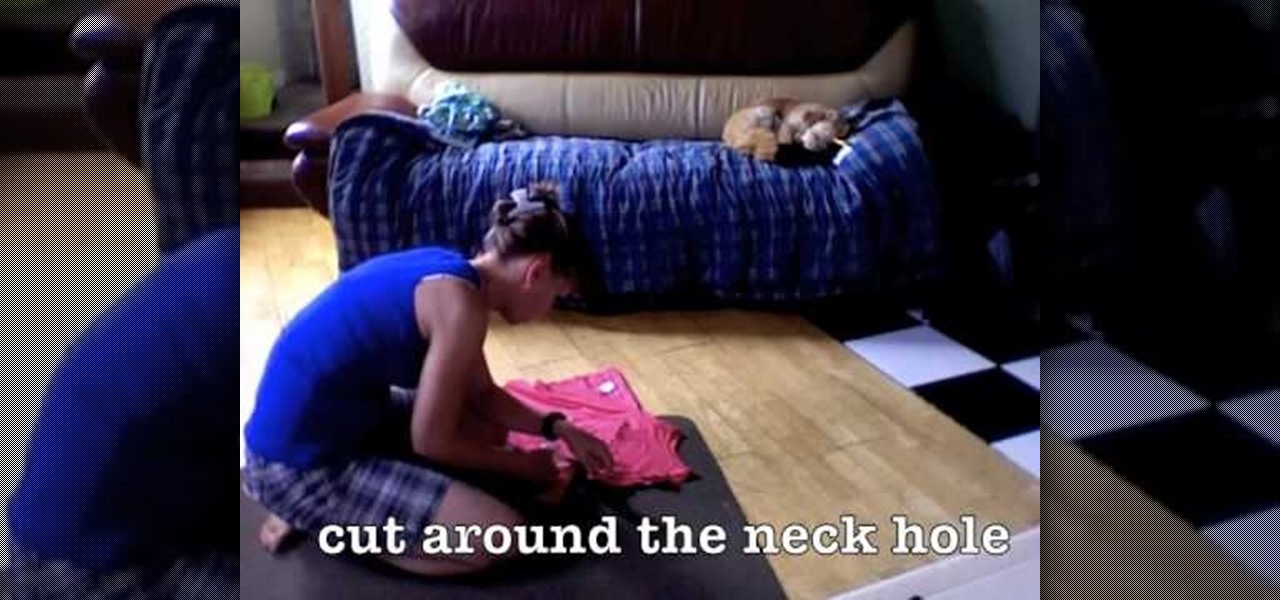
How To: Make your own customizable tank top pattern for beginners
What's the most efficient way to become a fashion designer? By challenging yourself to creating your own clothes from the ground up. And while you probably already know this means cuting, sewing, and embroidering your fabrics, it also means making your own patterns.

How To: Make a monster hoodie
In order to make a monster hoodie, you will need the following: a hoodie, black felt, white felt, fabric glue, scissors, pencil, and tape measurer.

How To: Make a hedgehog plushie
In this tutorial, we learn how to make a hedgehog plushy. First, choose a fabric to use, then cut out the shape of it. Once you have done this, cut it out again and pin the two pieces of fabric together. After this, use a sewing machine to sew all of the sides together, leaving a hole in the bottom. Now, turn the hedgehog inside out and then iron him flat. Place some stuffy cotton into the plushy until it is as full as you would like it. Then, sew the hole together so none of the stuffing can...
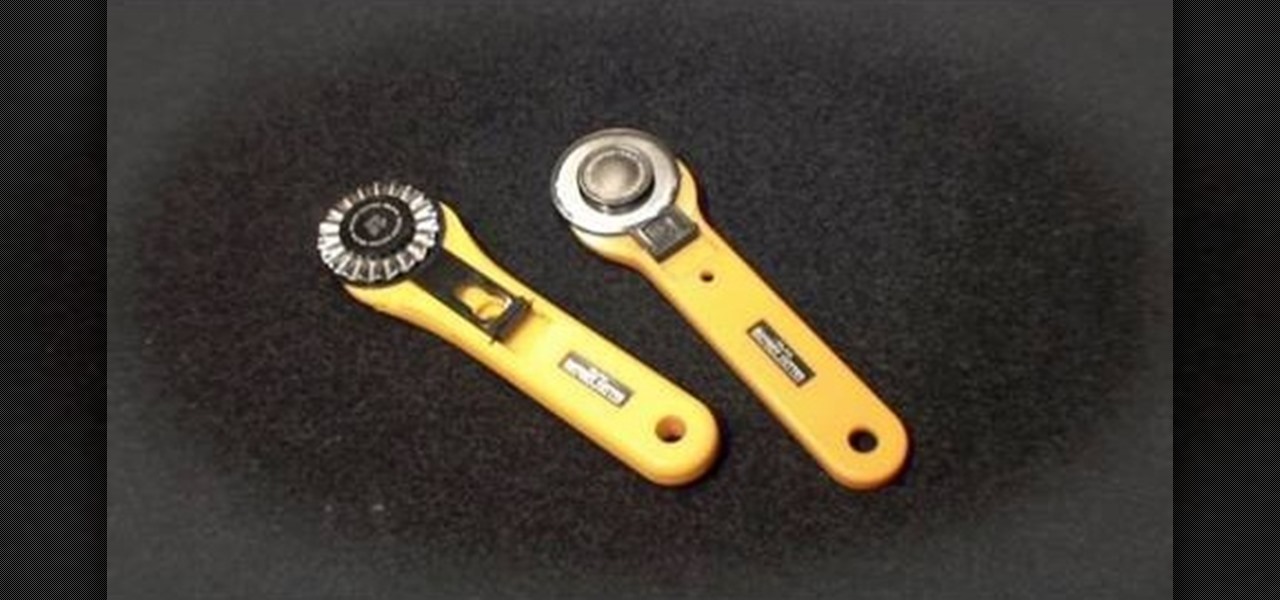
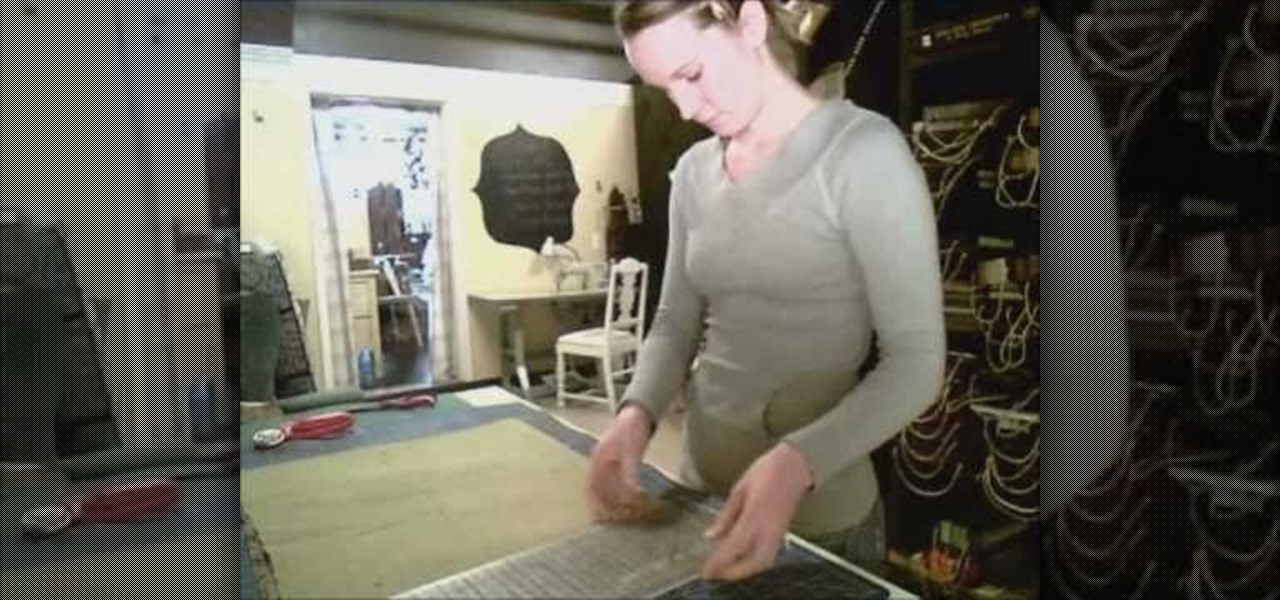
How To: Use a rotary cutter
In this video, we learn how to use a rotary cutter with Kenneth D King. Before you begin, make sure to use a cutting mat so you don't damage the top of your surface. To cut your item, you simply place the rotary cutter on the bottom of the item, then run it through until you have reached the top, or the desired area you want to cut. If you want to cute with a different shape, then you can purchase different cutters that will create shaped edges on what you are cutting. After this, place your ...
How To: Make a pair of distressed jeans
For just a fraction of the cost of a pair of expensive designer distressed jeans, you can make your ripped pants own at home! With just a few household items and a bit of time, you can get that worn appearance by adding a few holes and using bleach to get the right faded look.
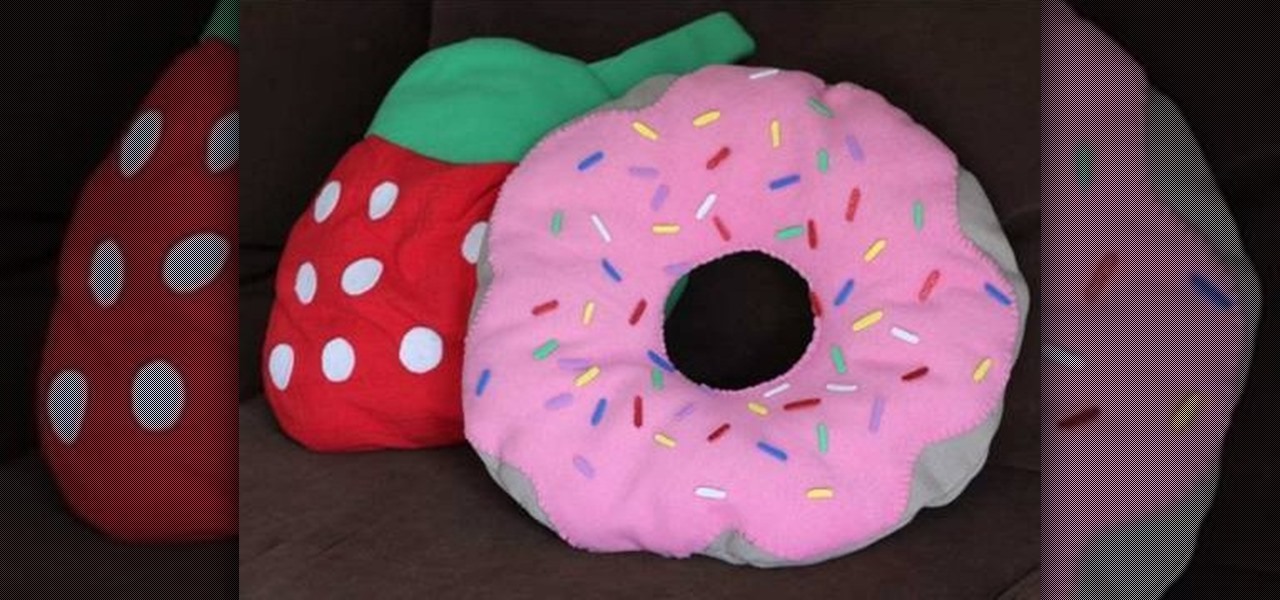
How To: Make a kawaii donut pillow with strawberry frosting and sprinkles
Homer Simpson would have an absolute fit over this delicious-looking kawaii donut pillow. Embellished with a thick layer of strawberry frosting and then topped lightly with candy-colored sprinkles, this pretty donut looks almost good enough to eat.
How To: Make six different types of flower rosettes
You probably already have a plethora of white t-shirts and plain blue jeans, and while having outfits you can lean on no matter the time of day or occasion, going with the same neutral tones and combinations gets a bit boring (not to mention visually dull) after a while.
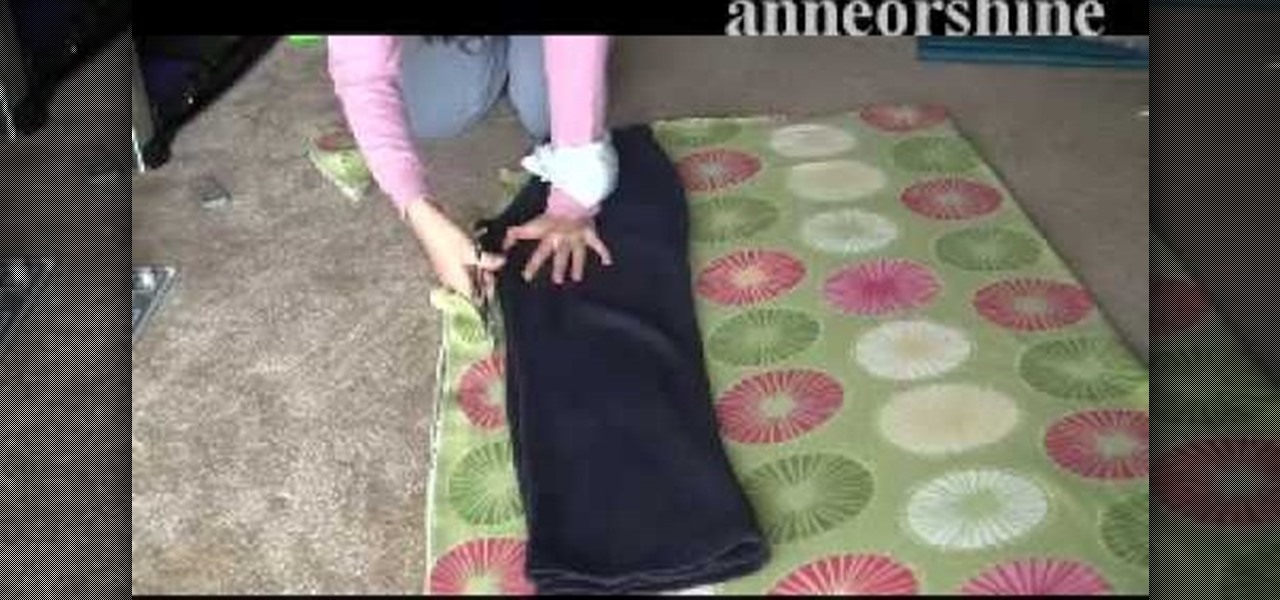
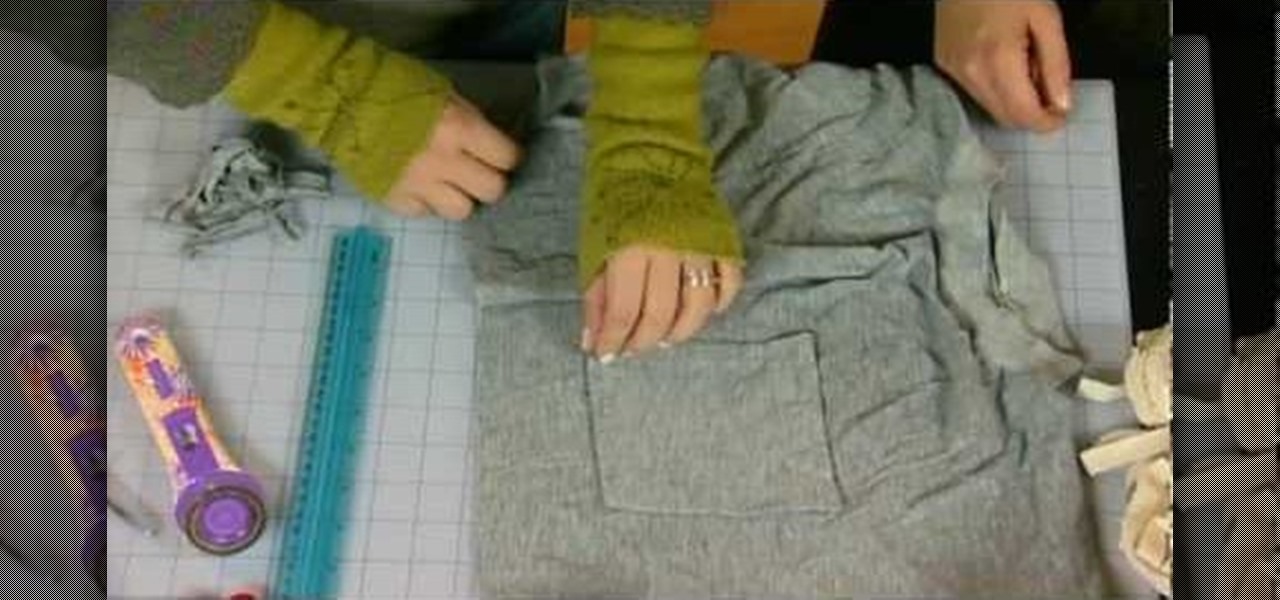
How To: Make cozy fleece pants for a Christmas present
We know how hard it is to buy a present for a woman during the holidays. 99% of the time she's not going to wear what you buy her, and giving her a practical gift like a blender or a new microwave - despite your best intentions - is just cause for a good talkin' to. So how do you indulge that special woman in your life this Christmas without getting slapped?
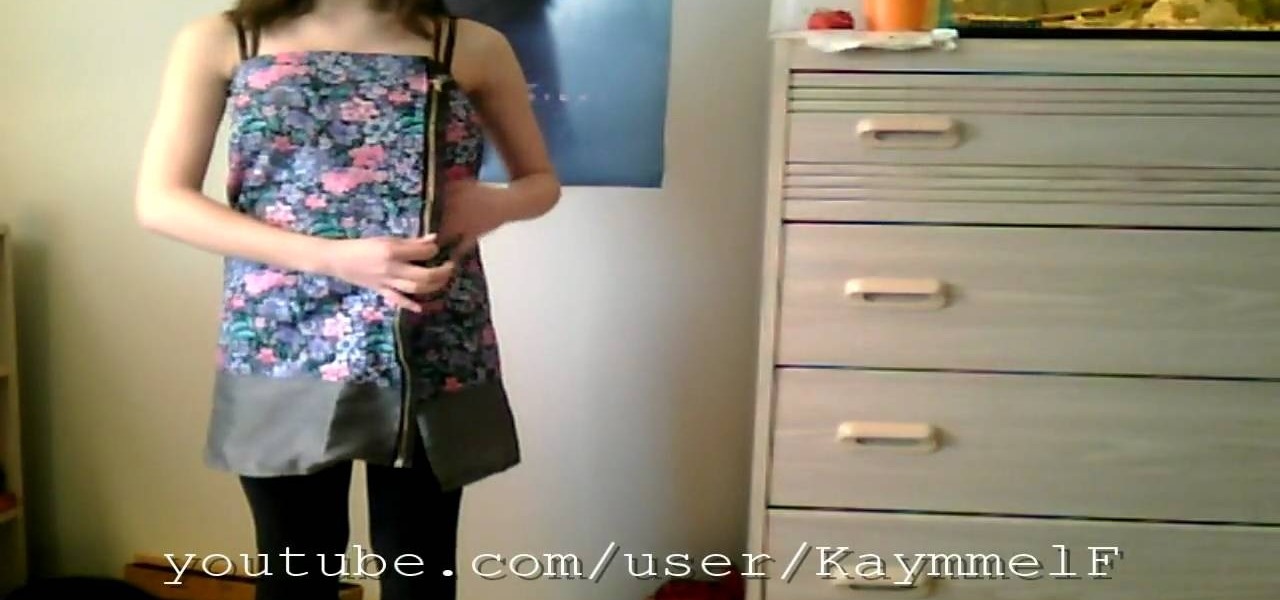
How To: Construct an edgy floral dress with a zipper front
You really can't go wrong with florals and zippers. The two fashion trends are indeed opposites, with florals being overly dainty and zippers being more punk rock, but when you combine them together you achieve a striking balance.
How To: Tie off when sewing by hand
In this video, we learn how to tie off when sewing by hand. First you want to sew your fabric and complete your desired project. Next, you will push the needle into the bottom of the fabric where you won't be able to see the tie off from the front. Now, loop the thread and push the needle with thread through it, before you finish, push the needle through one more loop. Now, pull tightly until there is a tight knot at the bottom of the thread. Now, take your scissors and cut tightly next to th...

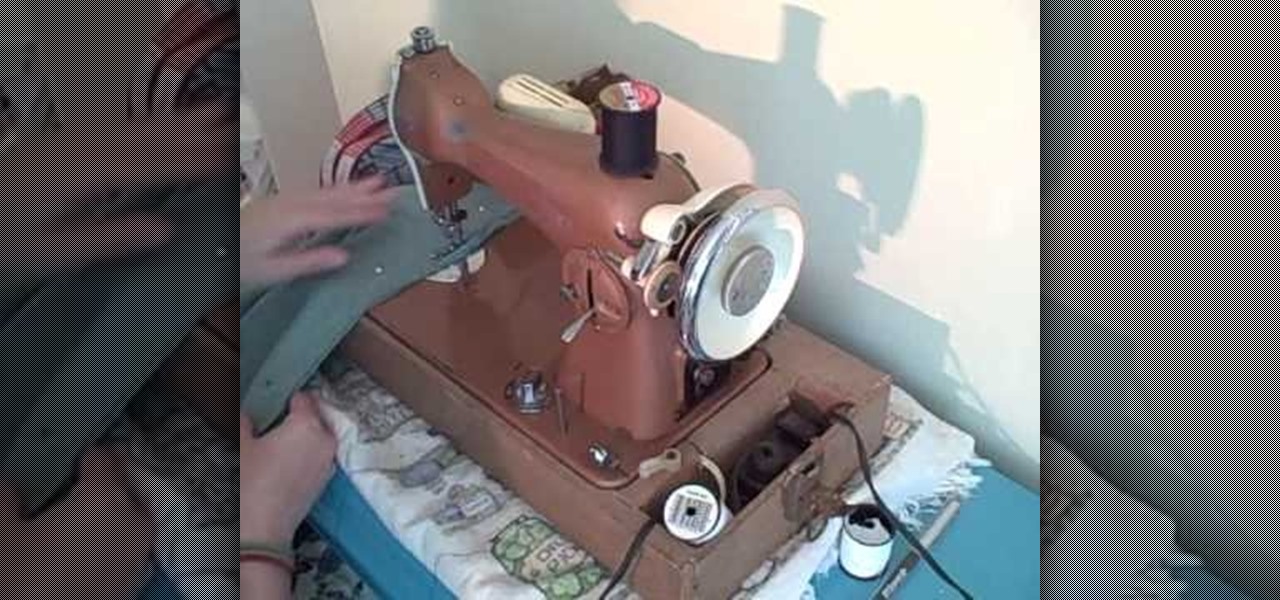
How To: Setting up your sewing machine
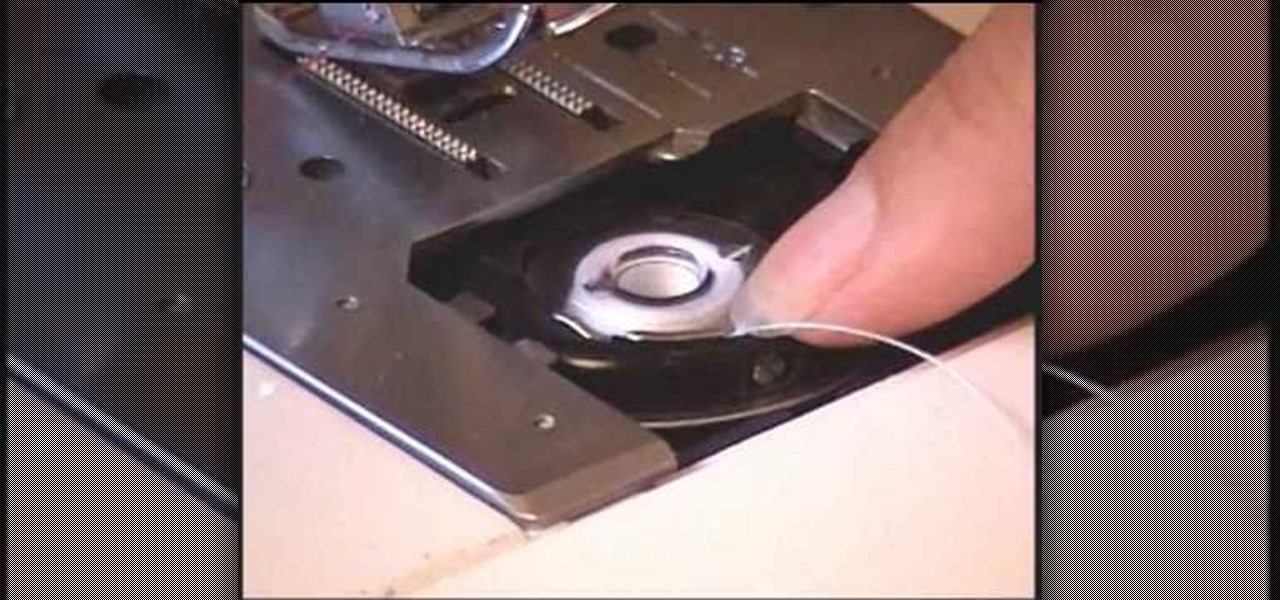
In this video, we learn how to set up your sewing machine. First, place the thread onto the top pin and pull it down. Then, wrap the thread around the bobbin pin and then push the pin onto the top next to the pin. Now, run the foot petal and keep threading until the spool is fully threaded. Next, place the spool in the bottom of the machine and place the lid back onto the bottom area. Now, thread the top thread down through the tension setting, through the hook, then into the needle. Now you ...

How To: Sew a man's shirt
Stephany is going to take you through the process of sewing a mens shirt. She is going to use a pattern and talk to you first about choosing a pattern and knowing what the package means before you start. This is a very long video series, but sewing a shirt has many components to it, so be patient you'll finish the shirt eventually!
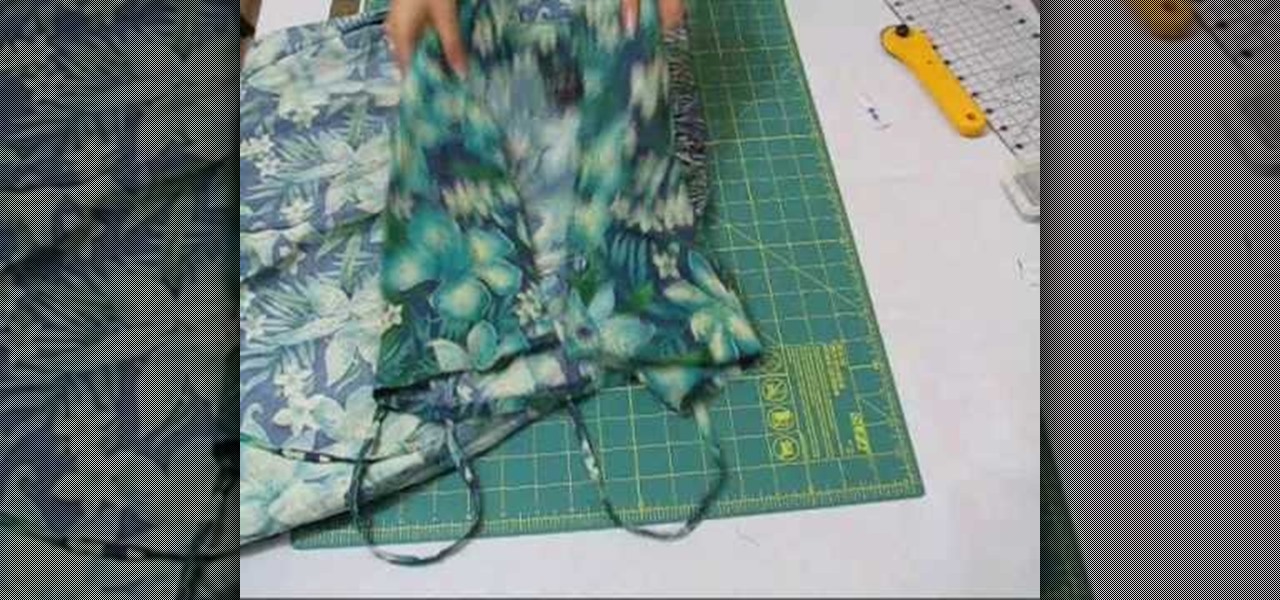
How To: Turn an old dress into a fashionable romper
Some dresses we just never get around to wearing. Like that hideous one our mom gave us with a decent tropical print but hemlines that go down to our ankles. Cute...if you live in the Pennsylvania Dutch Country. We're sure you probably have an ever accumulating stash of similar dresses that you know you'll never wear but don't want to toss either.
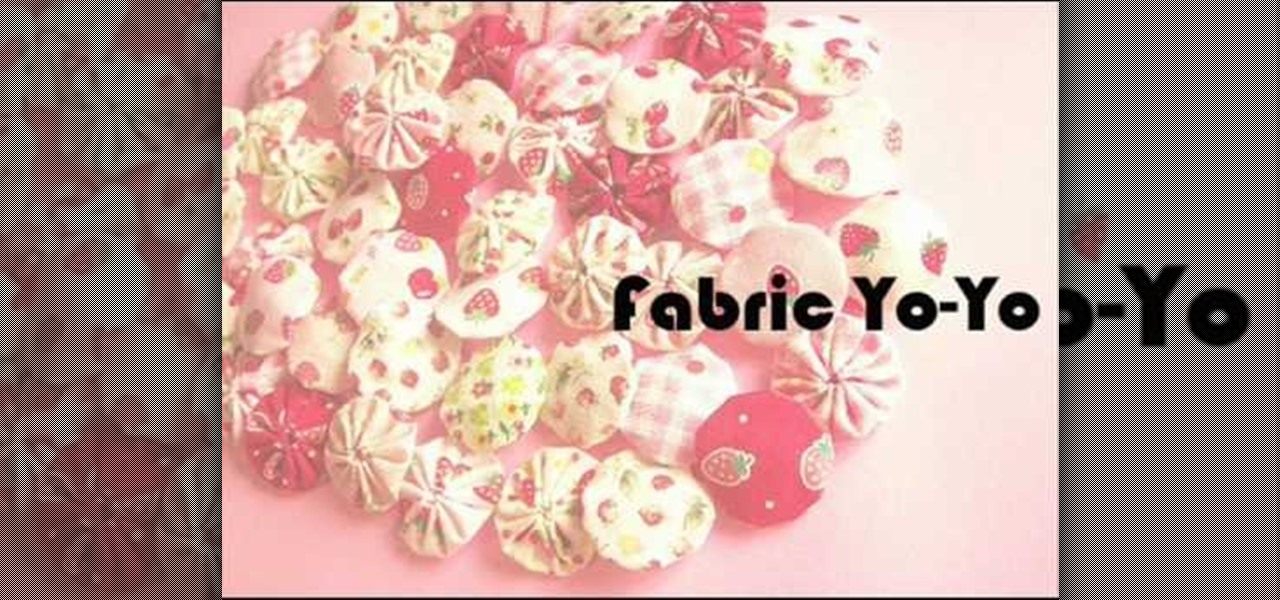
How To: Make cloth flowers
In this tutorial, we learn how to make cloth flowers. Start out by grabbing several different strips of fabric and folding it into a shape that makes a flower. After you do this, place a needle into the fabric so it doesn't come unraveled. After this, start to twist the fabric and then thread the needle through the strip. Now, pull the fabric up and it will scrunch up into a flower shape. Now, wrap this around a stick with a piece of fabric on it, that will become the middle of the flower. Wh...

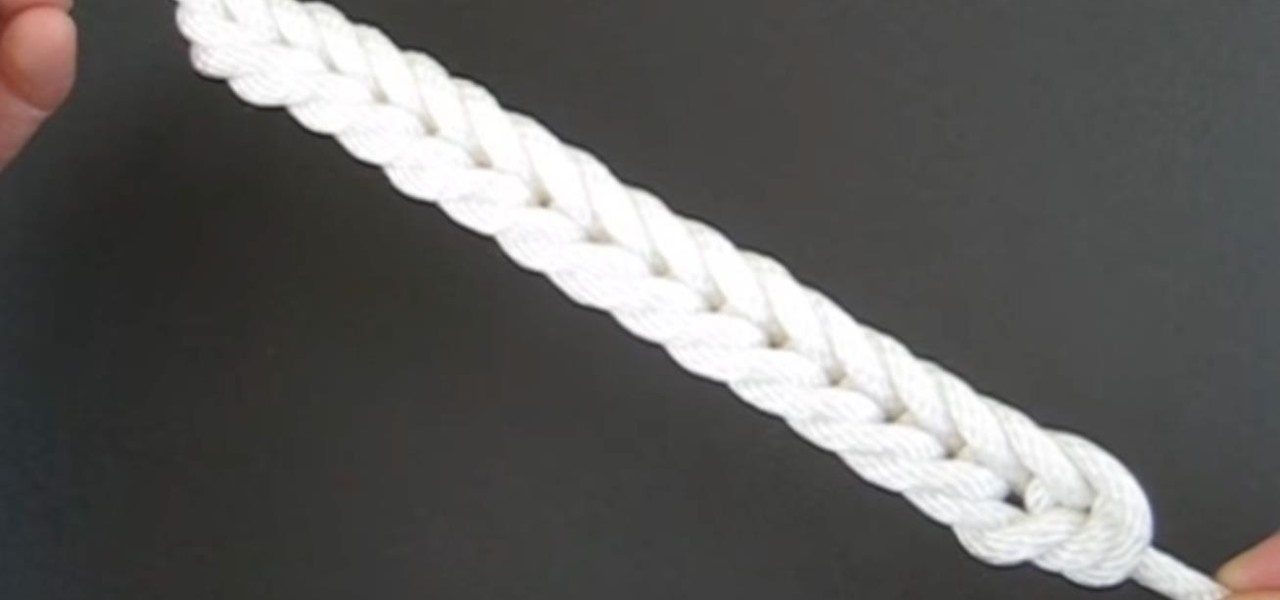
How To: Tie a triskelion knot
In this video, we learn how to tie a triskelion knot. First, create the knots base by tying a knot at the end of the ropes. After this, weave the knot by pushing a side loop into the side loop next to the end pieces. Once you push these through the middle, push the ends through the loops and then pull the sides tight until you have a "y" shape. After this, your knot will be finished and you can use this however you would like. You can turn it around the see the best design on the rope and enjoy!
How To: Thread a horizontal sewing machine
In this tutorial, we learn how to thread a horizontal sewing machine. Start off by setting the spool on the top of the machine and placing a cap on the top to hold it on. Next, thread the string through the thread guide and then through the number one. After this, it will go down through the slit and end up at the bottom. It will go through the number two, then go up to the top and go through the number three turn. Once you reach the bottom of the machine, thread the needle, then put the bobb...
How To: Use the cross stitch 'n paint technique
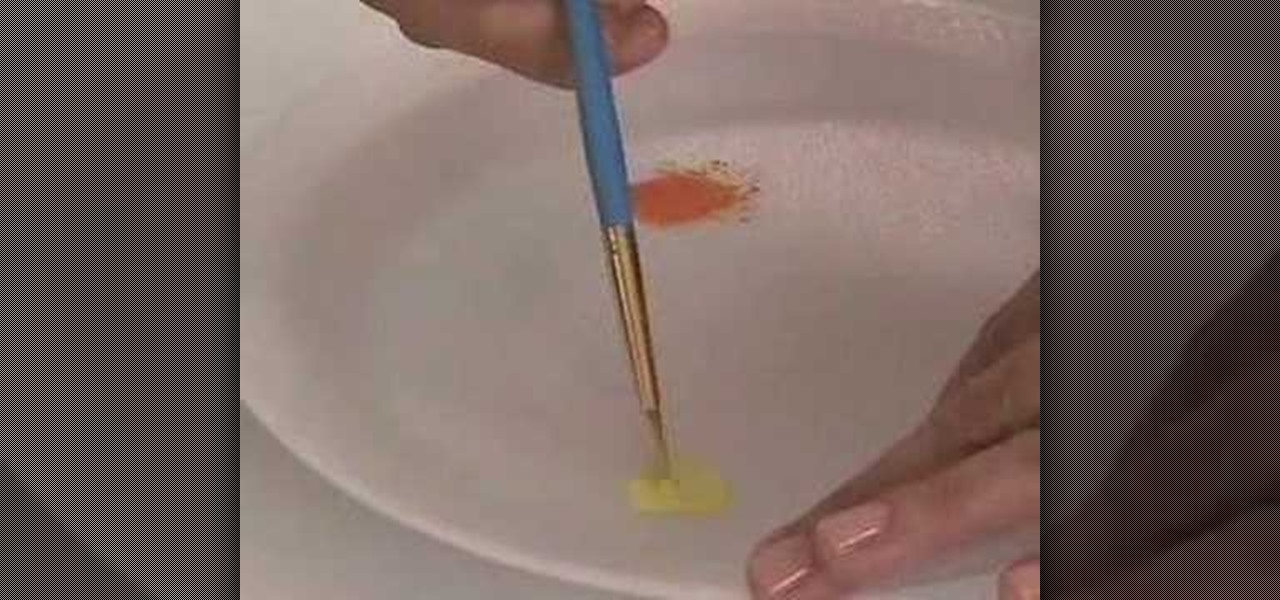
In this Arts & Crafts video tutorial you will learn how to use the cross stitch 'n paint technique. It combines simple back stitching and water color painting. Most of the materials are found in your kitchen. You will need wax paper, paper towels, and a plate to use as your paint palette, some water colors and paint brushes. After choosing your design, back stitch the outline on the fabric. Place the white paper towel over the wax paper and spread the stitched fabric over it. Now you are read...

How To: Make a ribbon tree
In order to make a ribbon tree, you will need the following: 50 2" pieces of ribbon, scissors, a hot glue gun, hot glue sticks, and a floral tree.
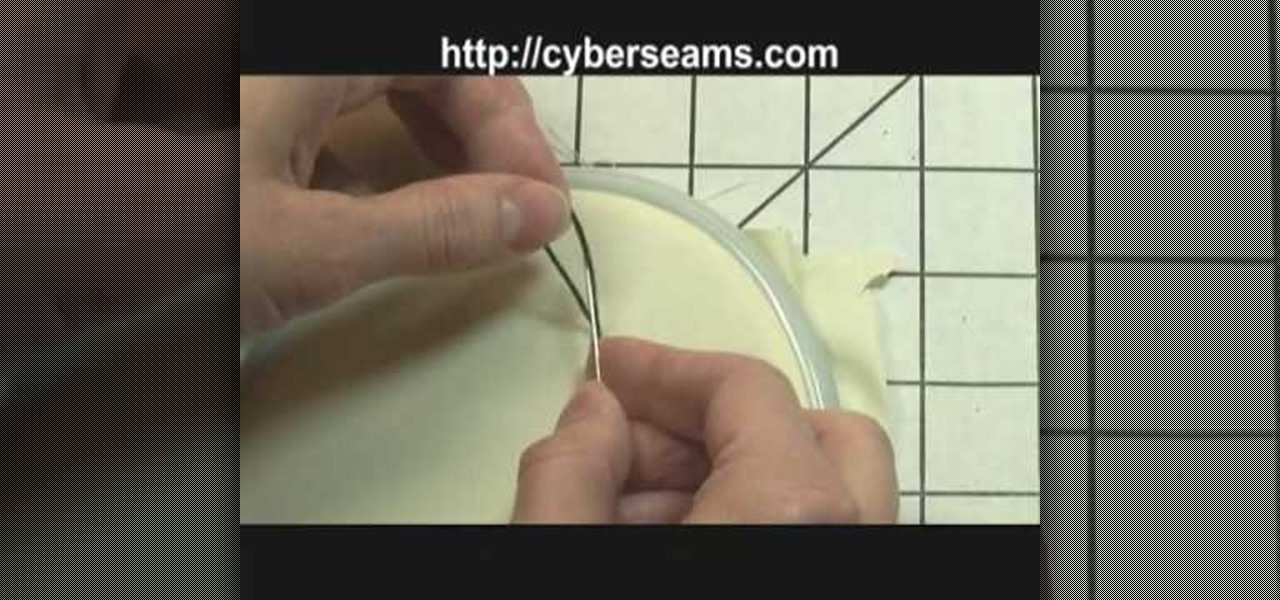
How To: Edge finish with lingerie elastic
In this tutorial, we learn how to edge finish with lingerie elastic. First, grab your elastic and place it onto your fabric. Line up the elastic so it matches in perfectly with the fabric. Use a sewing machine to sew the elastic onto the fabric. Go slowly while you are doing this and lift the elastic in your hand as you continue to sew it on the fabric. When you get to the end of the fabric, the elastic will be sewn on, and you will be able to wear it! This only takes a few minutes, just make...
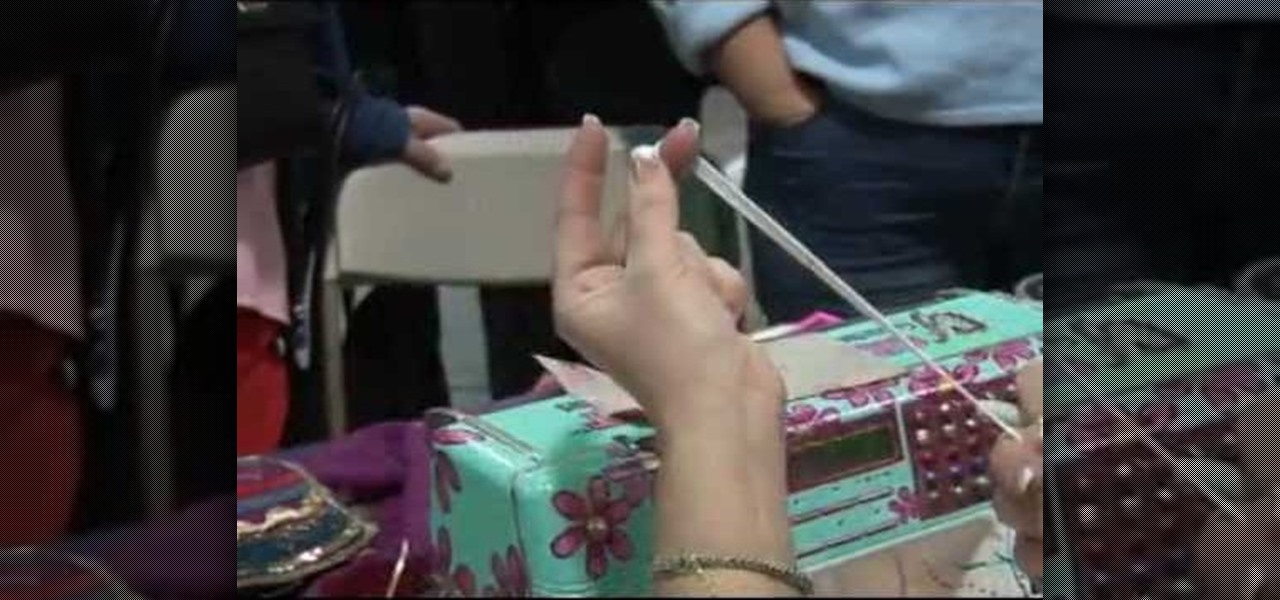
How To: Embroider with beads and sequins
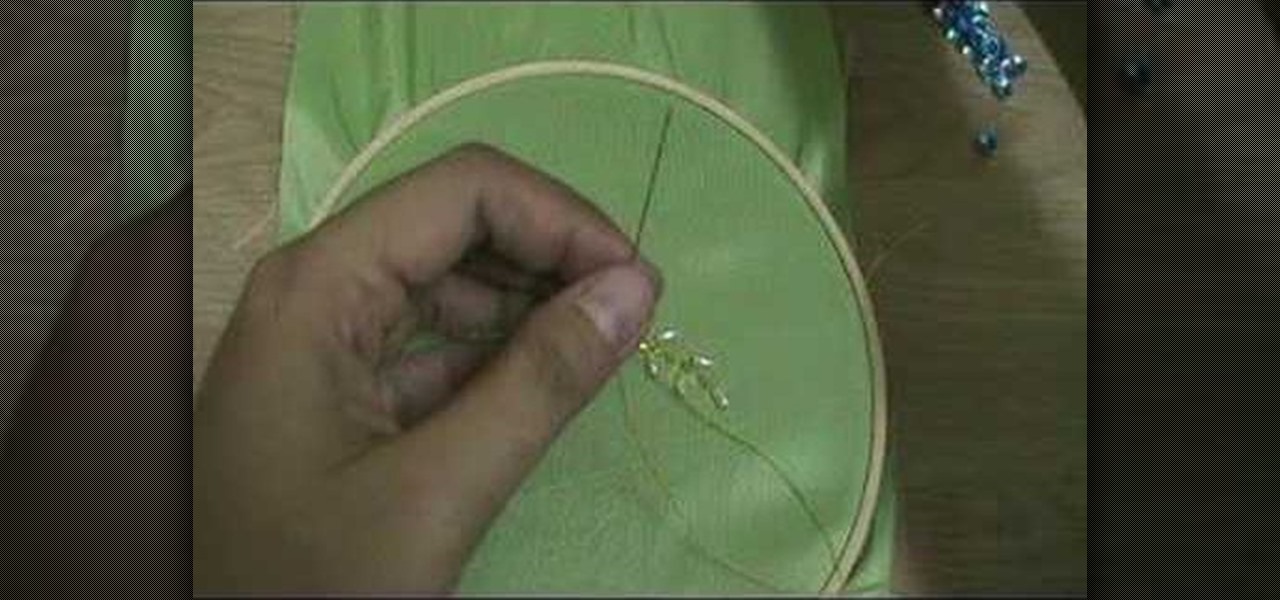
In this video, we learn how to embroider with beads and sequins. First, push the needle through the bottom of the cloth into the top where the sequin is at. After this, continue to thread in beads and more sequins. Make sure you are pulling through on the bottom so you attach the beads to the thread and they don't fall off. When you are done with this, you will push the needle through the top of the cloth, then tie it at the bottom and cut off the excess thread. When done, you will have a bea...
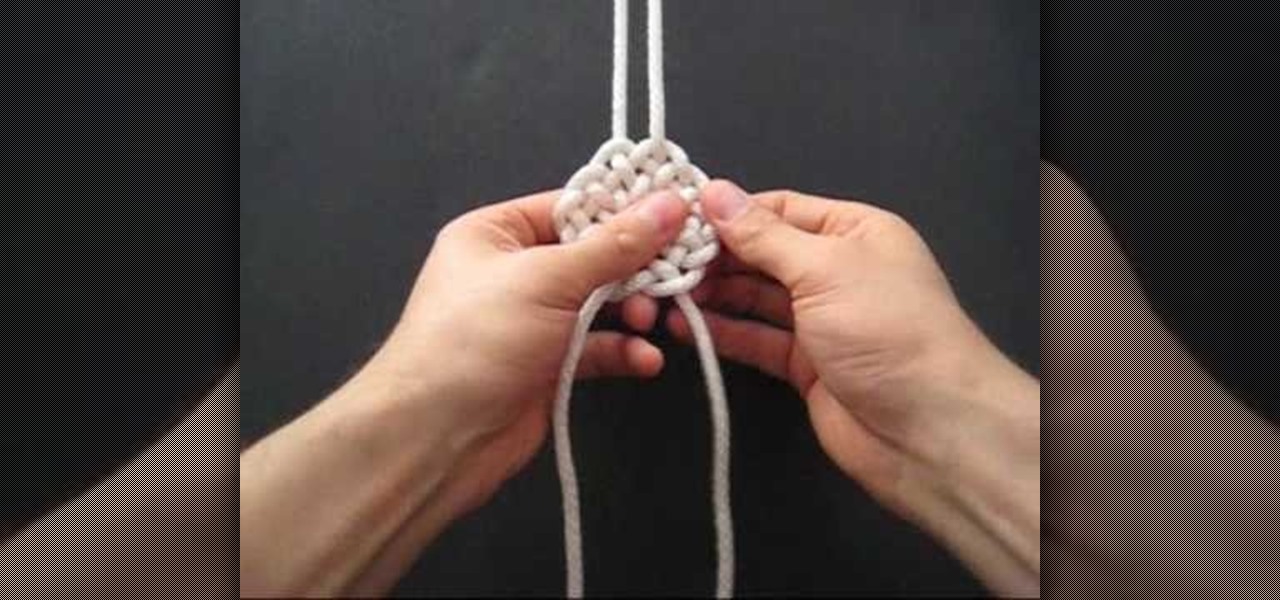
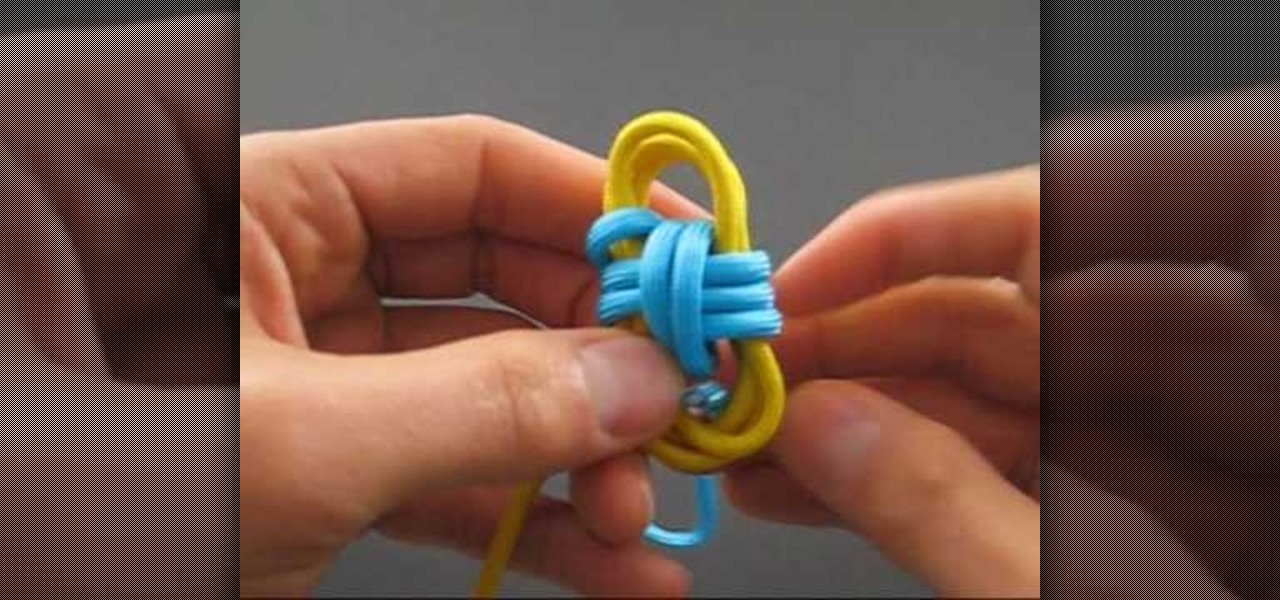
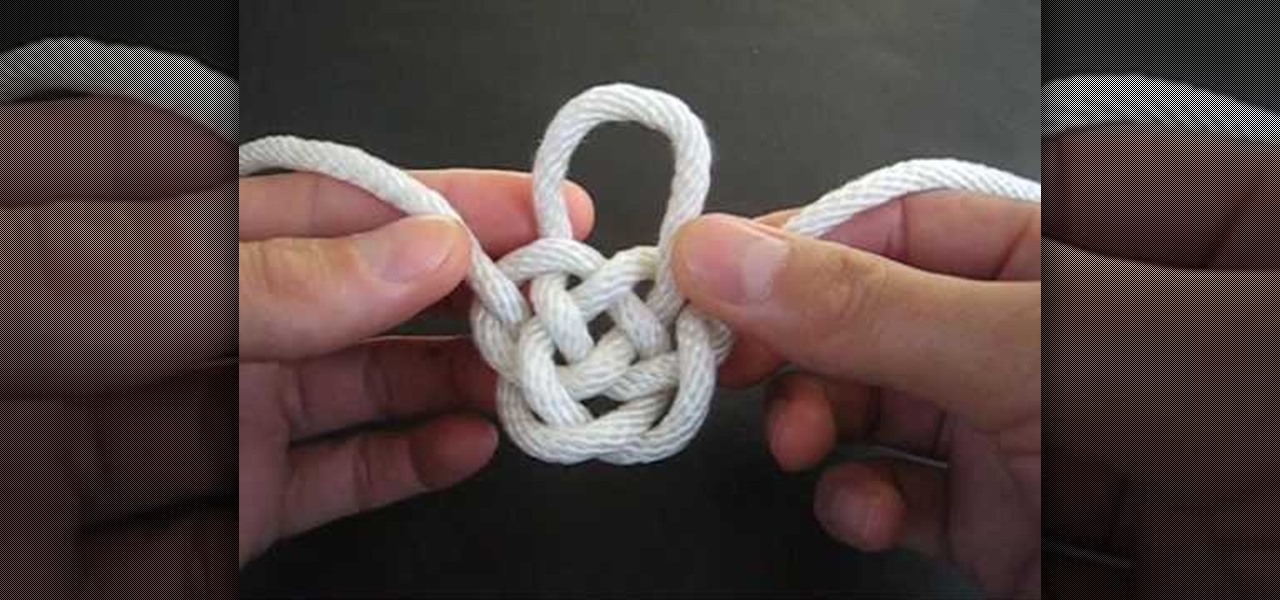
How To: Tie a compound double Coin knot
In this tutorial, we learn how to tie a compound double coin knot. First, take two strings and make a loop with the left one, then loop right right one into that. Tighten these together, then bring the end of the right working string over the loop and through the bottom of the shape, then continue to thread it through. Now, repeat this on the left side with the left string. Next, loop the right side of the string and push through the loop with the end of it. After this, tighten up the ends of...
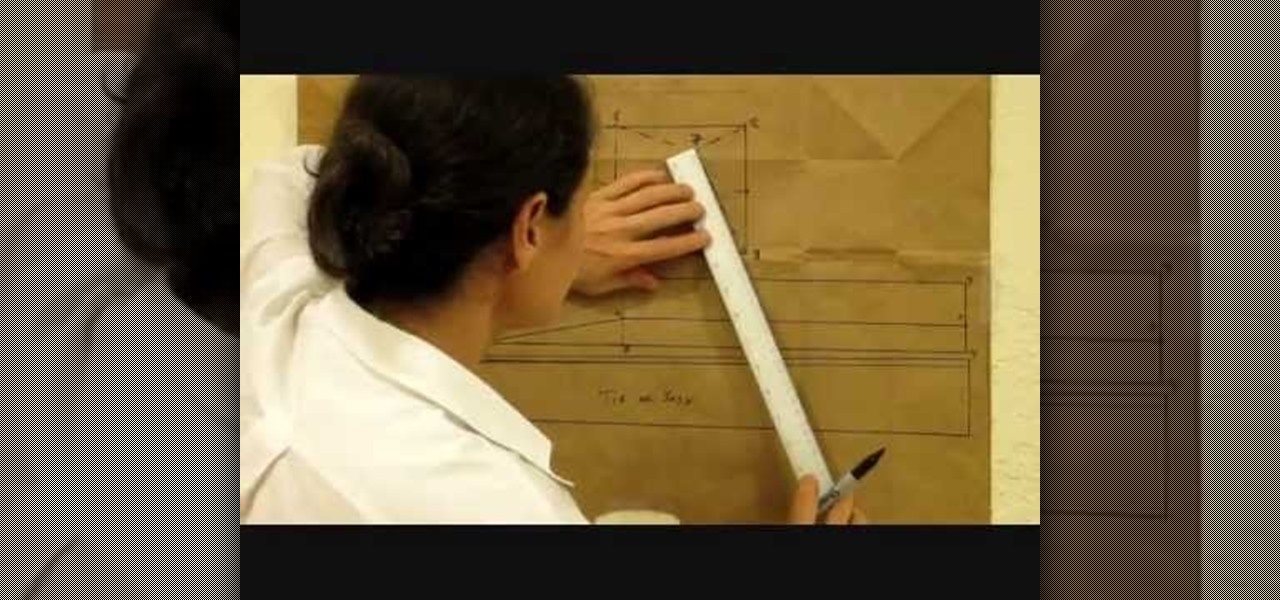
How To: Draft a pants sloper
In this tutorial, Don McCunn teaches us how to draft a pants sloper. First, measure out the center line of the leg and then draw the center line onto a piece of paper. Now, measure from the waist and mark the measurements along with where you drew the center line. Now, measure down to the hip level and mark this as well, making sure to use the fullest area of the hips. Next, you will need to determine the crotch from the waist to the area where the subject is sitting, then mark it. Use a stan...
How To: Sew & measure elastic
In this tutorial, we learn how to sew and measure elastic. First, place the elastic over your waist and think about what you are making. Decide if you want it to be comfortable or if you want it to be tighter if you are wearing it out during the day. Also take into account what type of fabric you are going to be using so you know how much elastic is needed. Fold the elastic and mark the inside and outside of the fold, now do the same thing with your fabric. Now you will know if you need to ea...
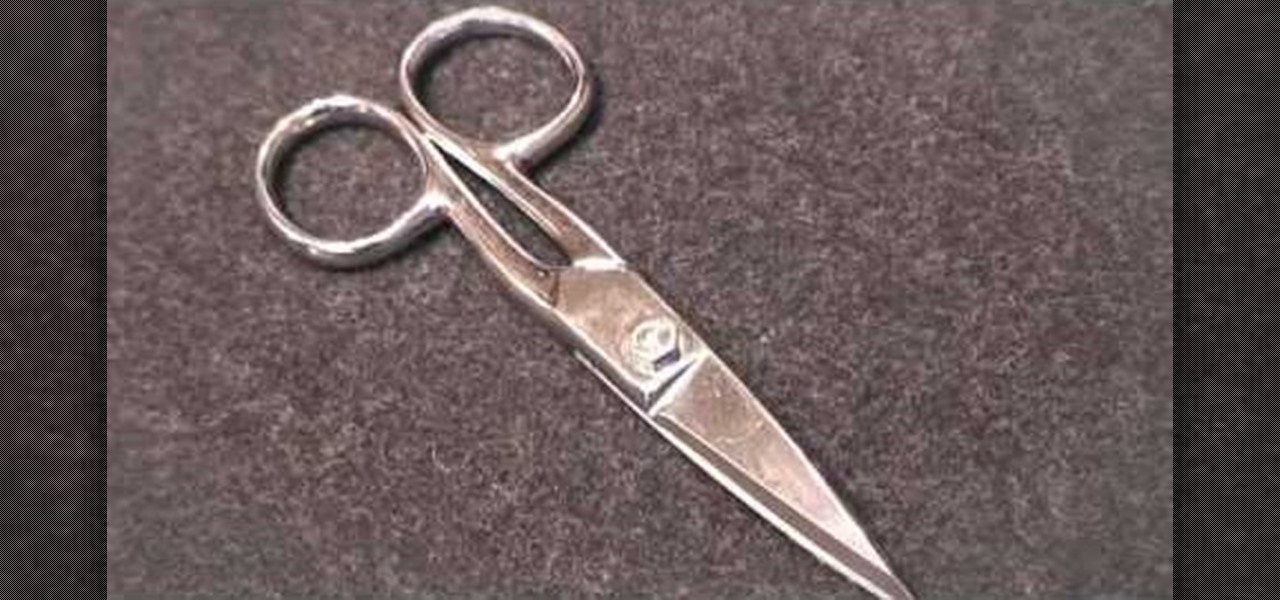
How To: Use tailor point scissors
In this video tutorial, viewers learn how to use tailor point scissors. These scissors are short, have a broad spine on the blades and contains both a knife and bevel edge. The knife edge allows the scissors to go through the fabric and the bevel edge allows users to cut in layers without cutting what's underneath. The broad spine prevents the separation of the blade points. The short blades allow better control and easily movable. This video will benefit those viewers who enjoy stitching and...
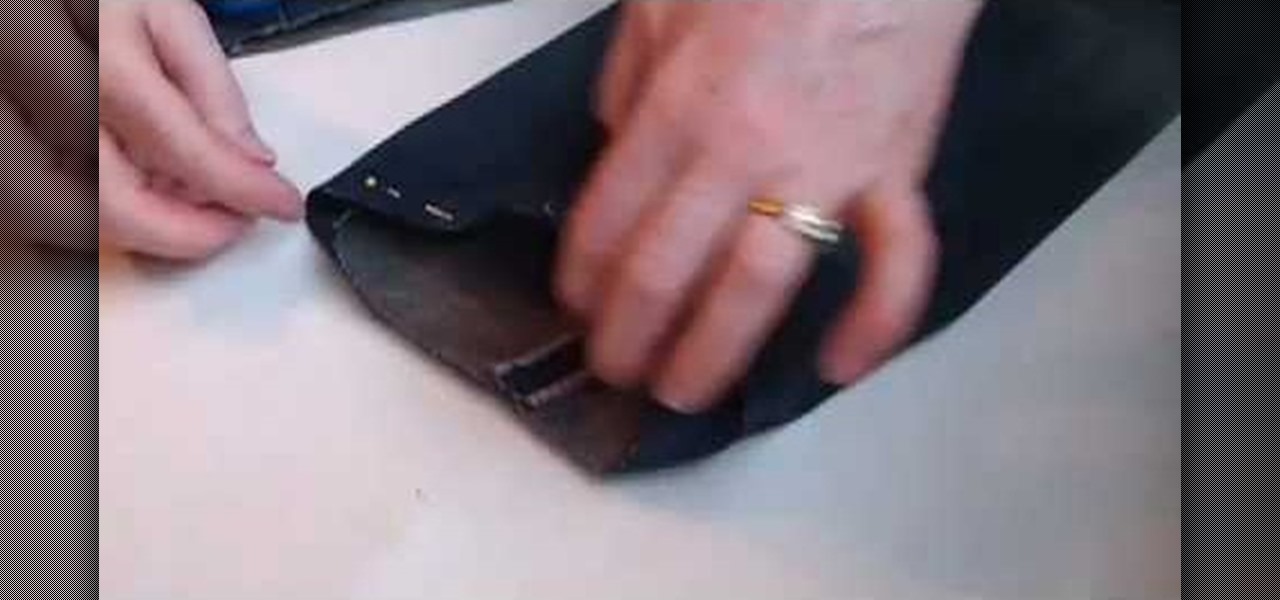
How To: Hem your favorite jeans
In this tutorial, we learn how to hem your favorite jeans with Laura. First, place your jeans on your body, then cuff them where you want to hem them. Next, take your jeans off and pin the cuffs where you wan to hem them to keep them in place. Next, measure out the length of the hem and mark it with a piece of chalk, then you can take out the pins. Next, you will cut the pants, then pin them back where you want to hem them at. After this, you will take them to the sewing machine. After this, ...
How To: Make yarn for a scarf from recycled strips of silk
If you're a habitual knitter, then you probably go through spools of yarn faster than you can buy them. And while rolls of yarn aren't all too expensive, purchasing many of them frequently does take its toll on your wallet. So why not opt for a cheaper and more eco-friendly approach to your knitting?

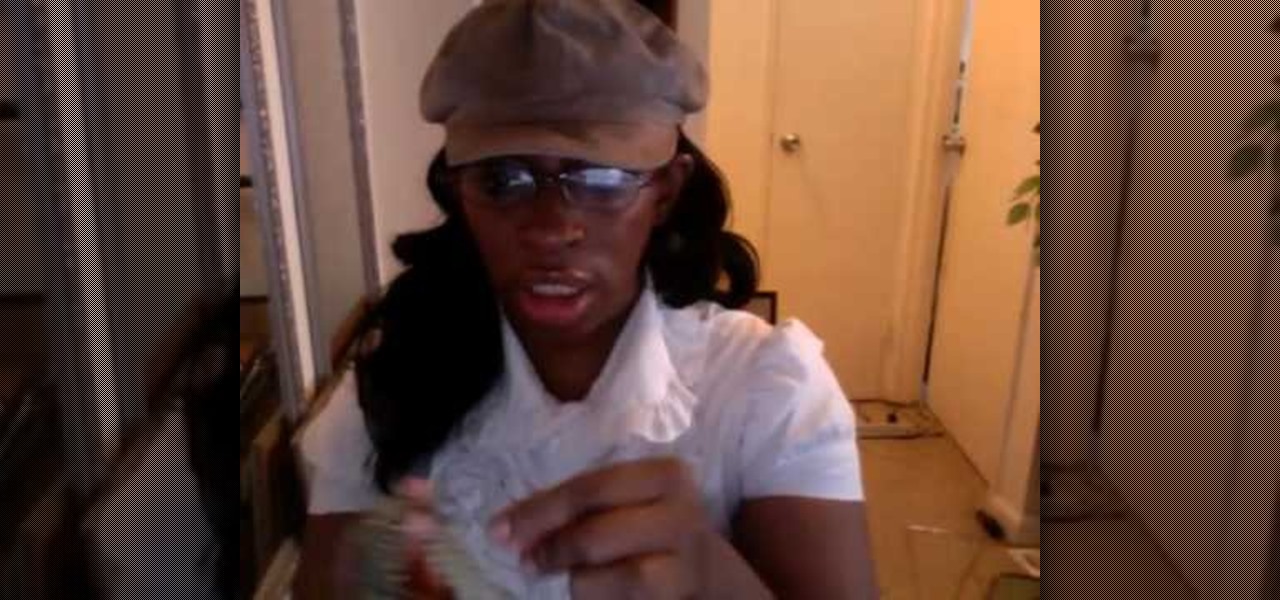
How To: Reuse an old t-shirt by turning it into a grocery bag
Got a pile of old clothes collecting dust in the corner of your closet? Before you get the incentive to finally donate that lump to the Salvation Army, consider reusing some of those seemingly "useles" clothing.
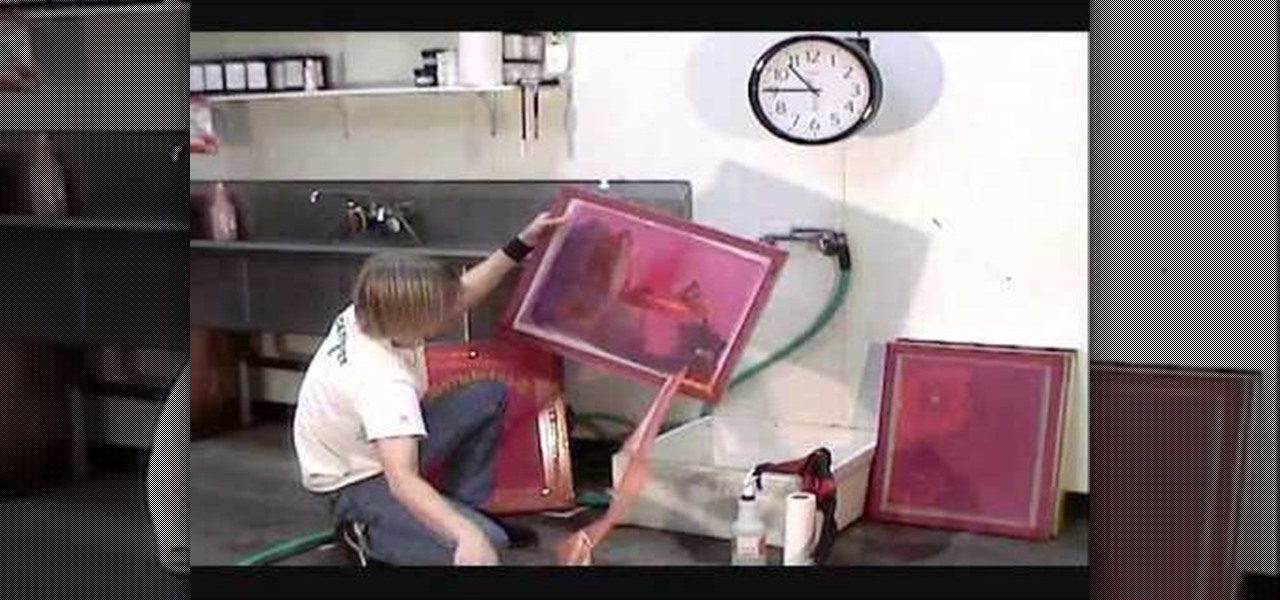
How To: Reuse screens to screen print t-shirts at home
Screen printed t-shirts cost you quite the chunk of change at most clothing stores. Whether it's to prove your street cred with a screen-printed Nike shirt or to wear a screen-printed tee promoting a major cause like the Susan G. Komen Cancer Foundation, you probably already have a few in your closet.
How To: Upcycle an old t-shirt into a reusable shopping bag
Old t-shirts really don't get the loving they deserve. Most of us would either toss or donate our old clothes, thinking there's really no use for them other than the obvious clothing purpose.

How To: Make a quick ruched tank top from a t-shirt
Old t-shirts can be given new life when you take a gander at this upcycling tutorial. Using nothing but a raggedy old t-shirt, you'll learn how to make a cut here and put a stitch there in order to magically transform the shirt into a wonderous tank top.
How To: Make a DIY eco-friendly shopping bag from an old t-shirt
These days, everything is about efficiency. We're always looking for the fastest way to do things, from producing faster cars to faster internet. This need to get things done fast also extends to home organization, where we basically have a "keep" and "toss" pile.

How To: Sew together a creative felted cuff bracelet with a needle felting machine
Make a creative and fun felted cuff bracelet! This could be a difficult task for beginners, but overall it's an easy craft. You'll need a needle felting machine for this though, which means you might have to hunt one down or improvise. Watch and learn how to use the needle felting machine to create a cool felted cuff.
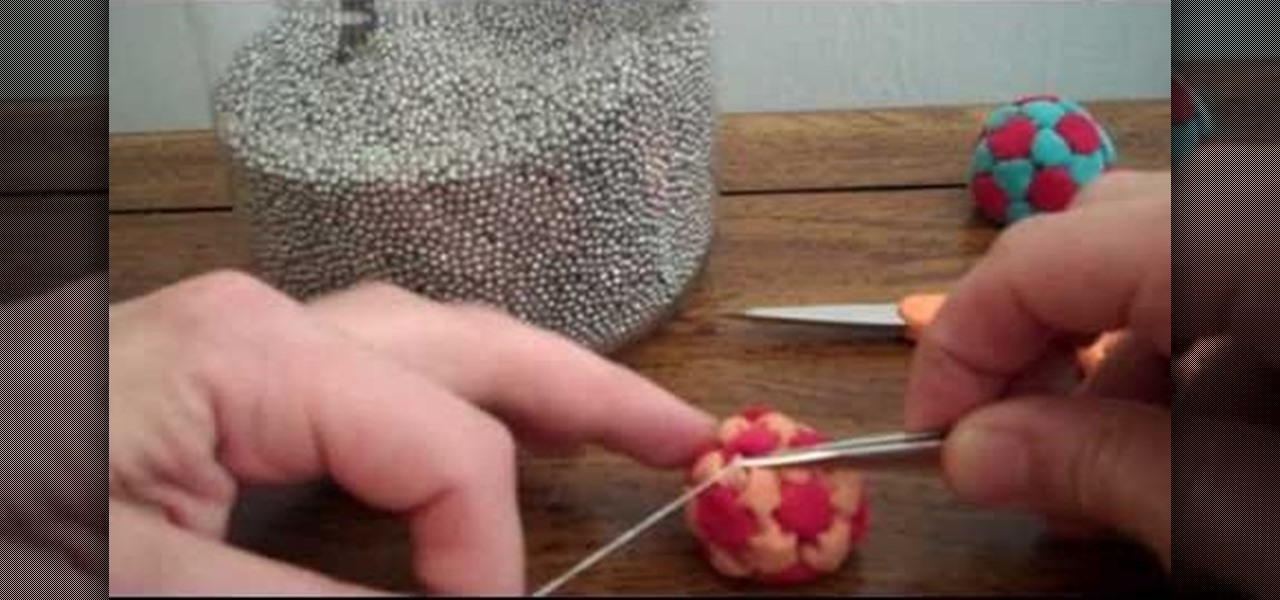
How To: Stitch a 32-panel footbag using a Hacky Sack pattern
If you're tired of buying your footbags, aka Hacky Sacks, and you want to create your own awesomely designed footbag, this video will walk you through the steps of doing it. First, you're going to want to get a footbag pattern to follow, which can be found at the Online Footbag Pattern Generator. In this video, you learn how to stitch a 32-panel footbag together. See the whole process and follow along!
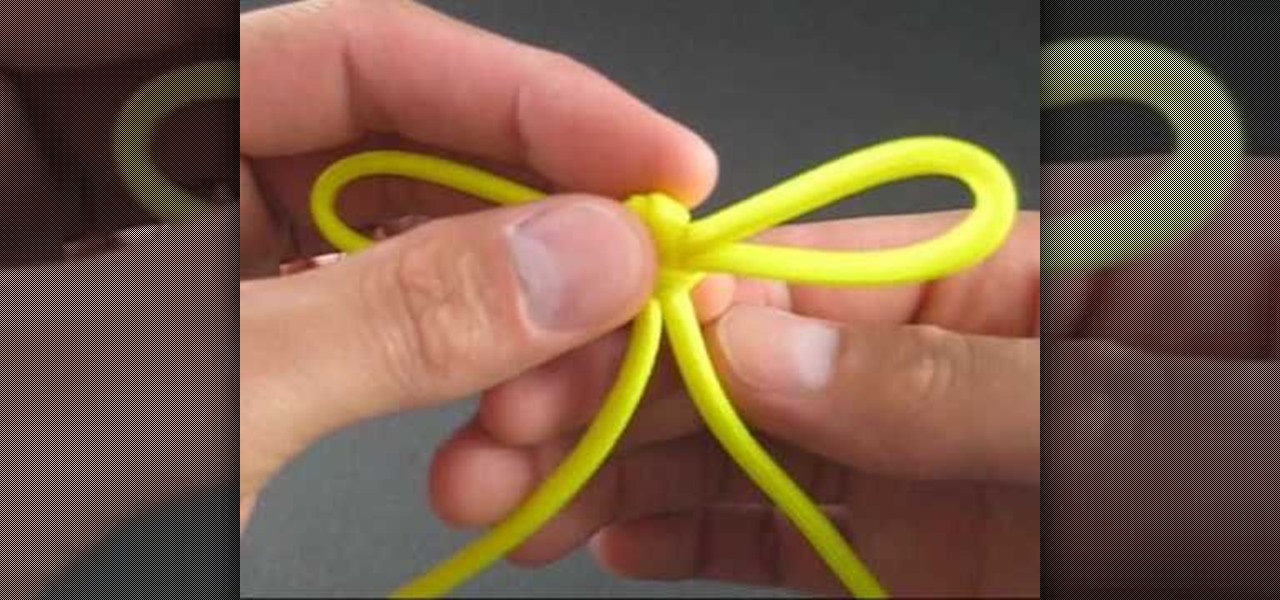
How To: Tie a Japanese bow knot
If you're looking to tie something that is elegant and beautiful, then this next tutorial has something for you. This video is going to show you step-by-step on how to tie a Japanese bow knot.
How To: Tie the two color monkey's fist knot
In this tutorial, we learn how to tie the two color monkey's fist knot. First, make a double overhand knot, and snip the edges off. Next, create the monkey's fist by taking one of the ropes and looping it around the fingers several times. After you do this, push the knot through the fingers and tie the other string around the entire loop several times. Push the string through the loop, then continue to tie on the opposite side around itself. To finish this up, Pull the two outside strings tog...

How To: Back stitch when embroidering
This video tutorial belongs to the Arts & Crafts how category which is going to show you how to do back stitch when embroidering. This is really simple and easy to do and takes no time to learn. For starting, mark five dots on the cloth. Then you stitch from point 1 towards 5. First you pass the needle from under the cloth through point #1, pull up the thread and pass it down through point #2. Now pull the thread up through point #3 and pass it back down through point #2. Then you pull the th...

How To: Thread a school sewing machine
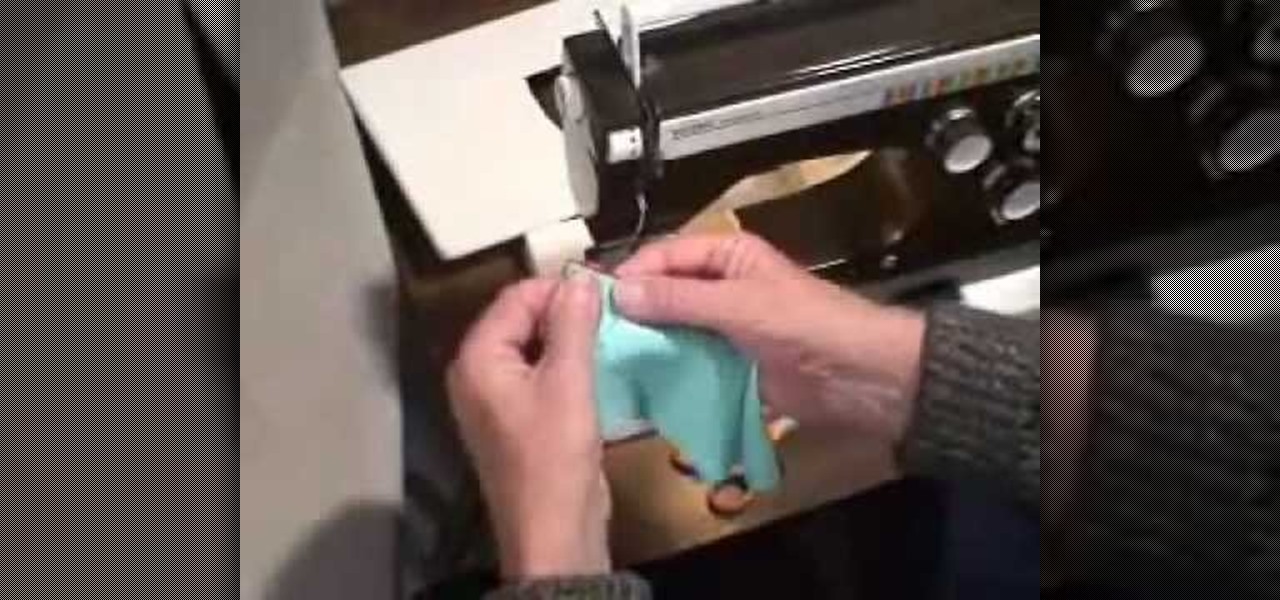
In this video, we learn how to thread a school sewing machine. First, apply the top thread to the bevin on the top of the sewing machine. You will thread this from the spool onto the side hook, then around the top and through the needle at the bottom. Next, thread the thread into the bobbin next to the sewing machine door, then push it through the bottom and thread it around the needle. After this adjust the settings on your sewing machine until they fit what you like. Then you will be ready ...
How To: Tie the Djinn Bottle decorative knot
In this tutorial, we learn how to tie the Djinn bottle decorative knot. First, make a loop on the left side of the string, then bring the other side around it and pull the top up. After this, twist the two strings underneath the bottom of the knot and push the right string through the side of it. Then, push the left string into the left side of the knot through the back. Pull on the top, then twist it into a loop and push the left string through the back, making a loop, then pushing the right...