

Everything Else


How To: Turn old jeans into a skirt
Summer is just around the corner and those jeans that seemed perfect for winter aren't looking so hot. Put those jeans to use, and make your very own jean skirt. Grab a pair of scissors and a sewing machine and get started.
How To: Recycle & reconstruct your denim jeans
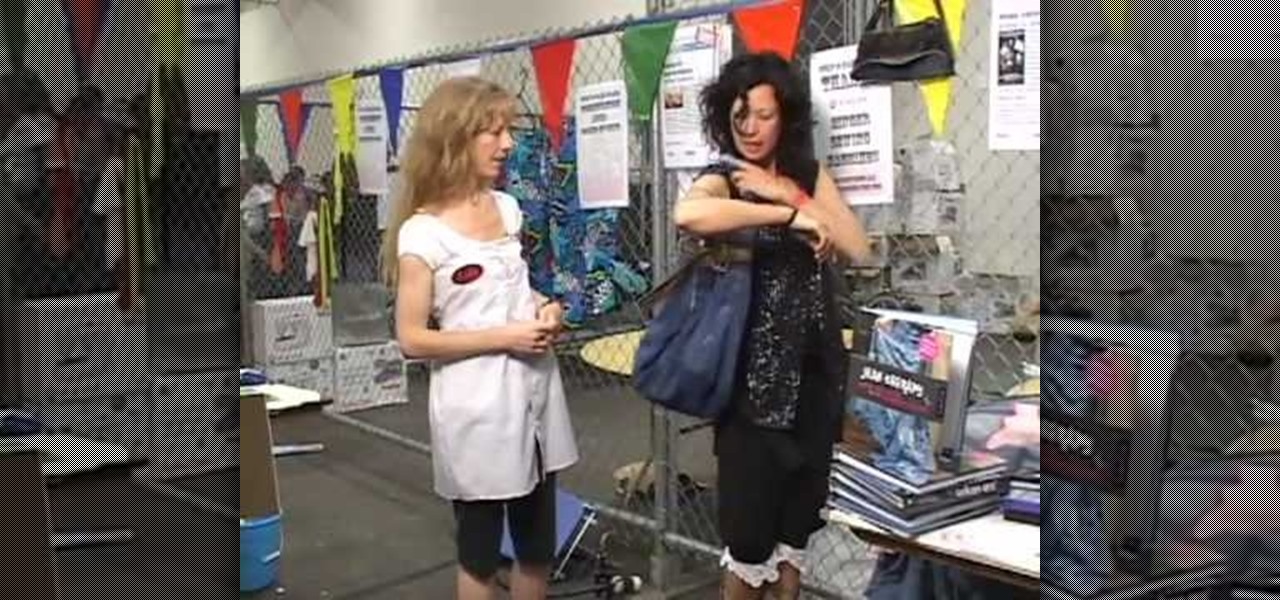
Learn how to recycle and reconstruct your denim jeans: Craft side Look, Learn and Create with Stefanie Girard and Jean Therapy with Scathe G. Allison demonstrate how to recycle and reconstruct your denim jeans. You can make a bag out of your jeans by using the leg as the strap. Customize jeans by adding patches to the legs and ruffles to the bottom. All the projects use simple sewing machines and stitches and don't require extra tools. A skirt can also be made by sewing together 14 pairs of d...
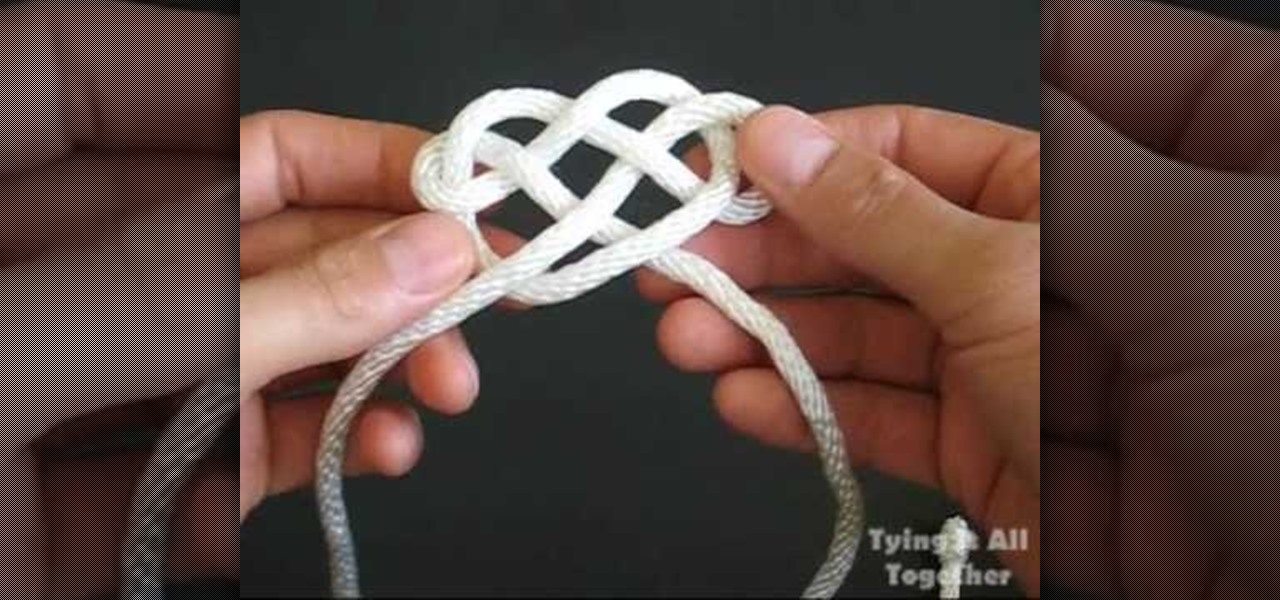
How To: Tie a Rorschach style decorative knot
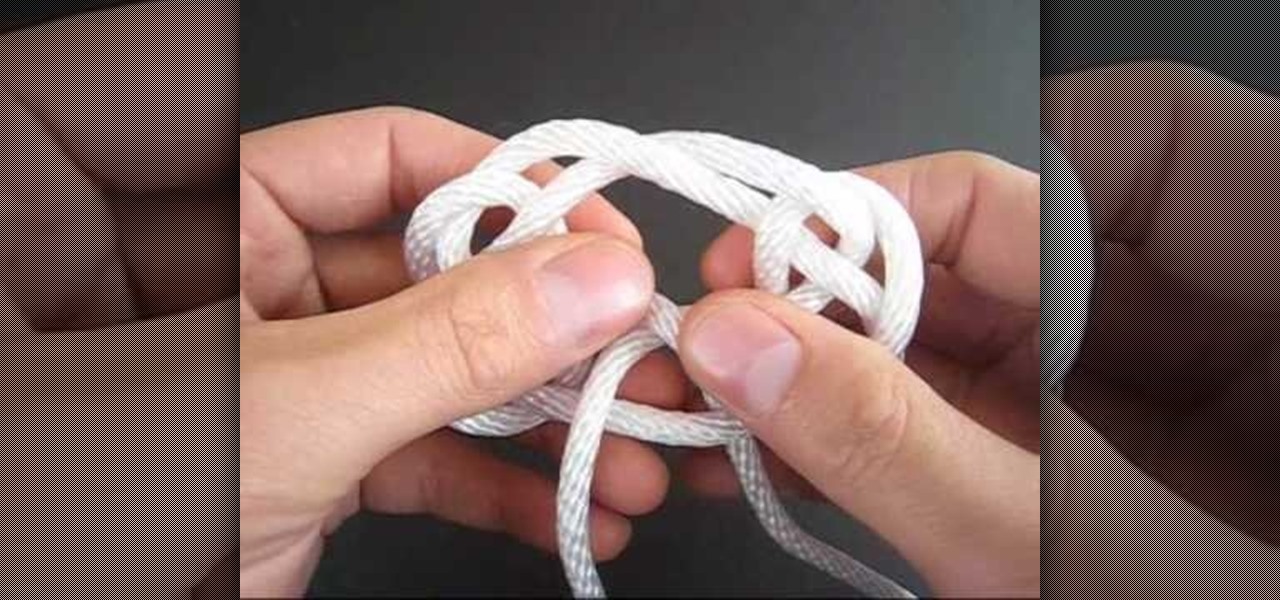
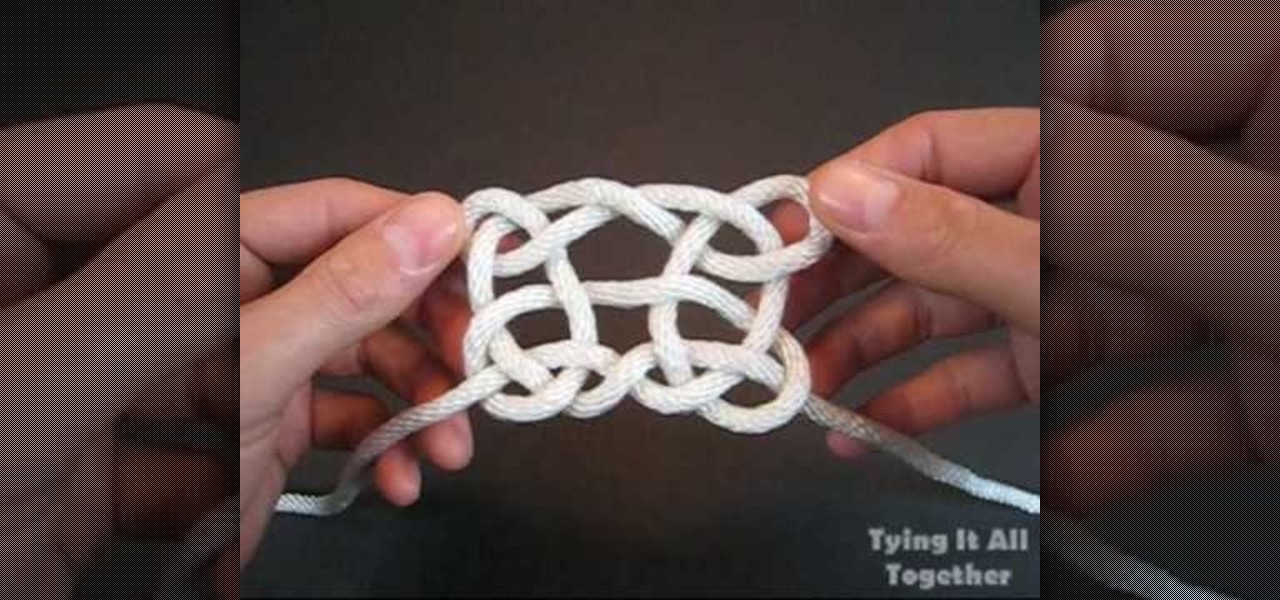
The Tying It All Together team, or TIAT, explains the origin of the Rorschach knot and demonstrates the techniques in order to make the decorative knot. The Rorschach knot, associated with psychological testing of a subject's perception of inkblots can become a decorative knot with just one string. TIAT shows how to make "bunny ear" loops consecutively around one another while repeatedly matting and firming the string to keep it in place. TIAT also pauses periodically for the viewer to keep t...
How To: Use buttonhole scissors
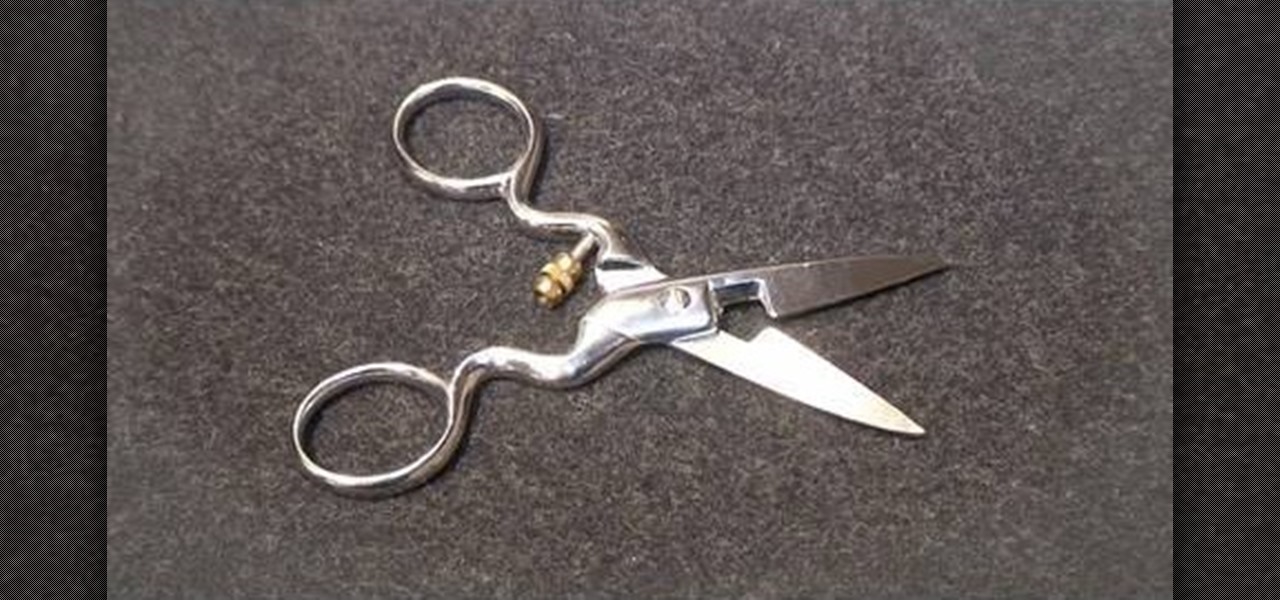
Couture designer Kenneth D. King is an expert in what you would need to fill up your sewing box. Here, he discusses buttonhole scissors. Buttonhole scissors are made for making buttonholes without stretching or damaging the fabric. By watching this video you can learn how to adjust your buttonhole scissors so that you can make different size holes. Make sure to never to use these scissors to cut through paper as it will make the scissors dull and make it a lot harder to cut through fabric.
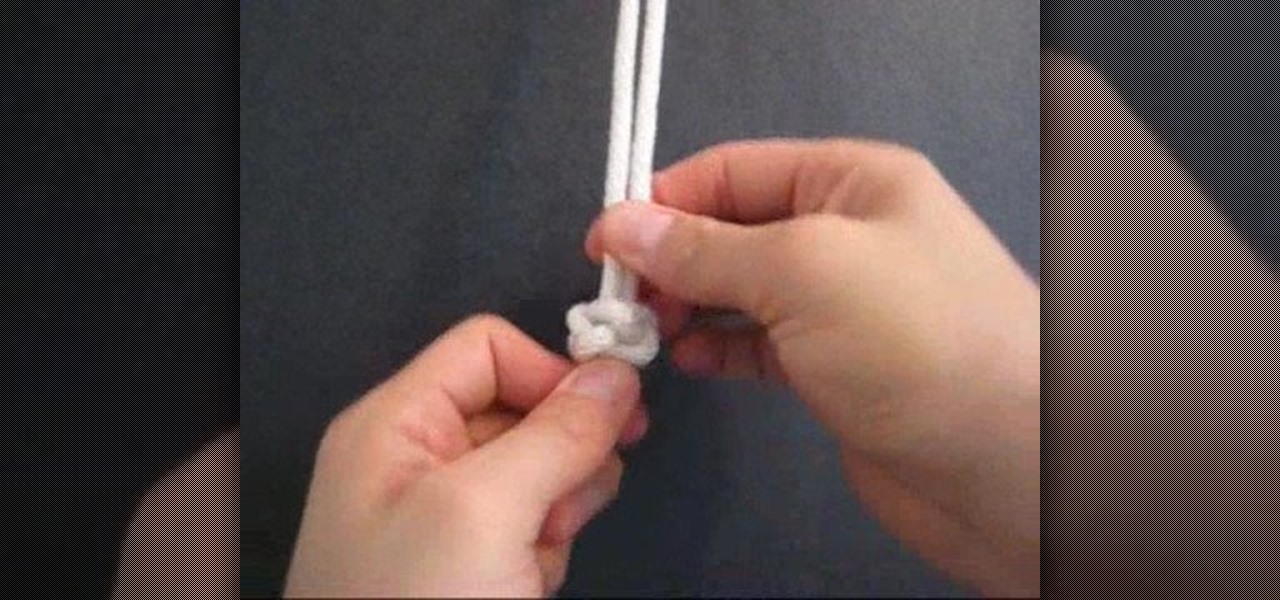
How To: Tie the Diamond Ring decorative knot
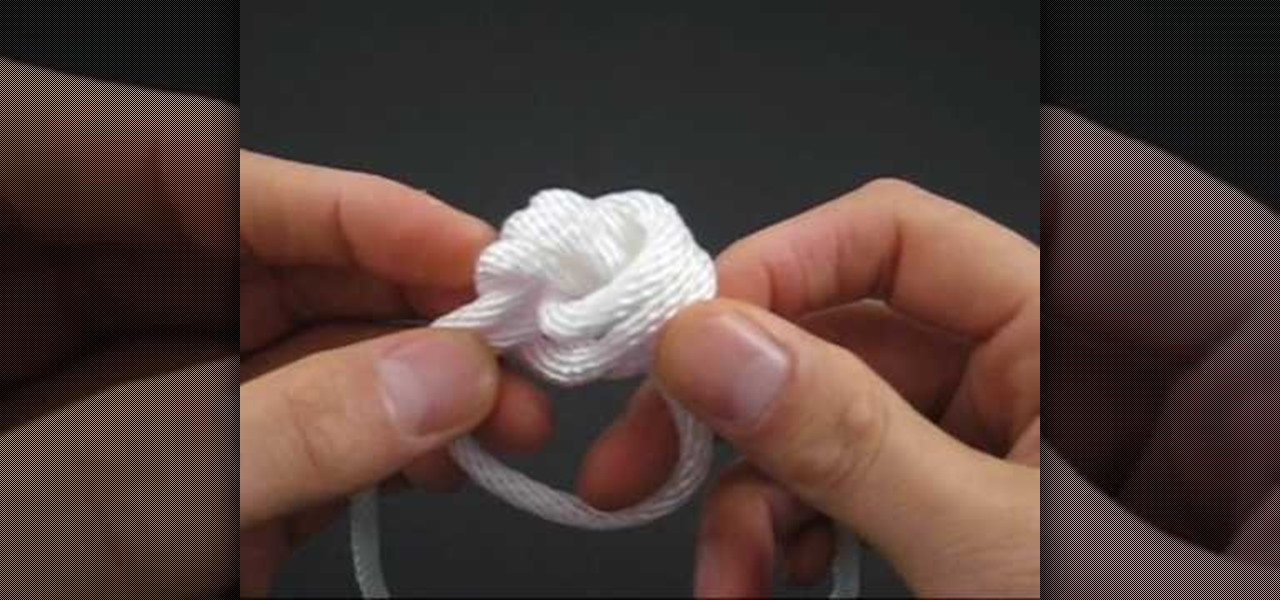
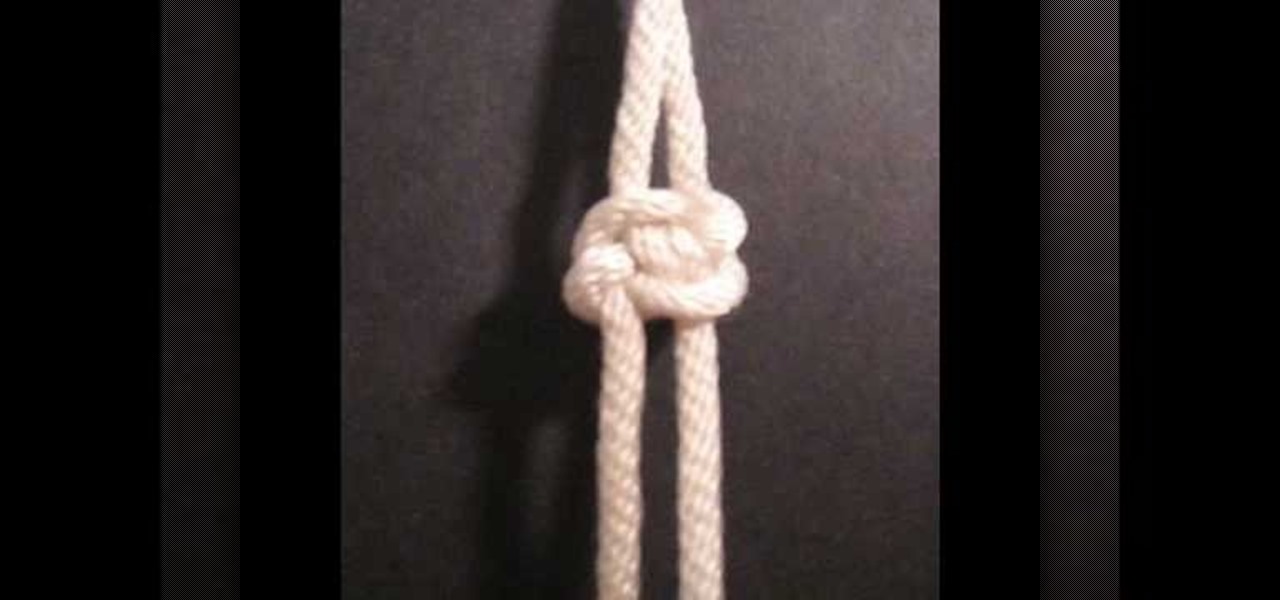
In this video tutorial, viewers learn how to tie a diamond ring knot. The name refers to the similar appearance of an actual diamond ring. The Diamond Ring knot is the fusion of an Overhand Knot and a tying technique called circling. Begin by making a loop; put one end of the string through the loop and pull it to form a pretzel shape. Continue putting one end the string through the loop. Eventually it will build up and it will just need to be tightened. This video tutorial will benefit those...
How To: Thread a sewing machine step by step
This video shows us how to thread a sewing machine step by step. To thread a sewing machine: Place the presser foot in the upward position. Place a spool of thread on the spool holder. Traveling from the spool holder, across the top of the machine, look for a minimum of one thread guide. Insert the thread in the thread guide(s). Now look for a tension mechanism. Bring the thread downward to the tension mechanism, slip the thread between the metal disks of the tension mechanism, and travel bac...
How To: Tie single Genoese knot bars
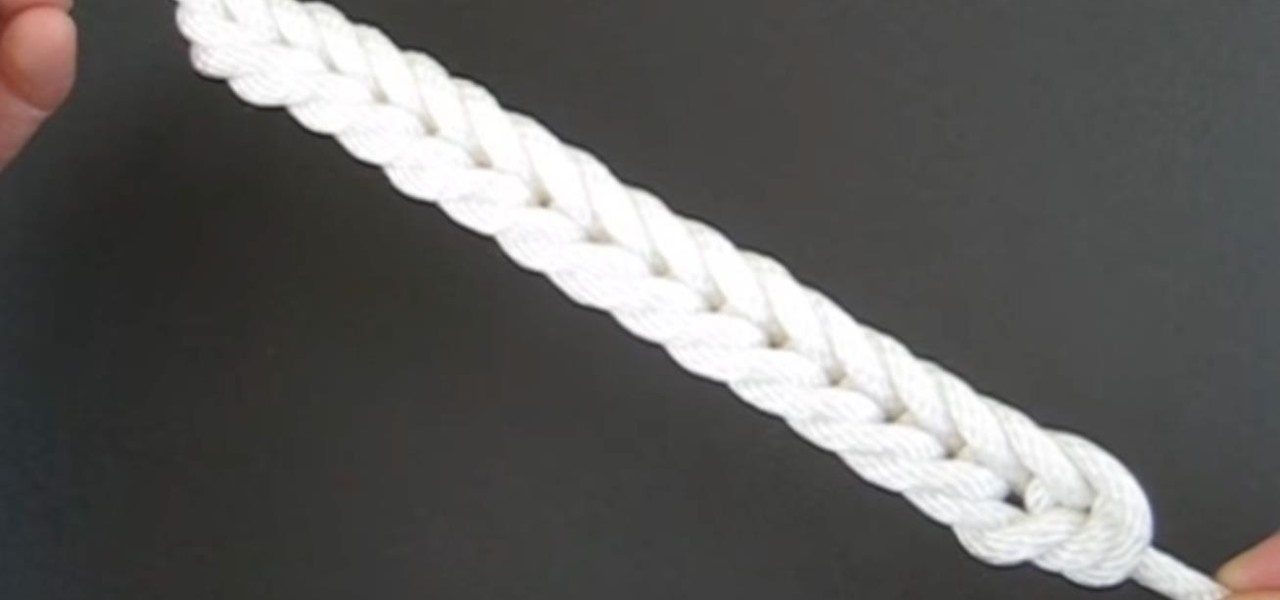
This video describes the technique used to tie a single Genoese bar knot. The presenter shows what the completed knot looks like, and then shows the technique used to tie the knot. The process for tying this knot is similar to braiding as the ends of the string are looped around and through the previous section. Each segment must be pulled very tight or the knot will fail to reach the correct shape. The hitches continue until the desired length of the knot is reached at which point the excess...
How To: Sew a dress shirt collar
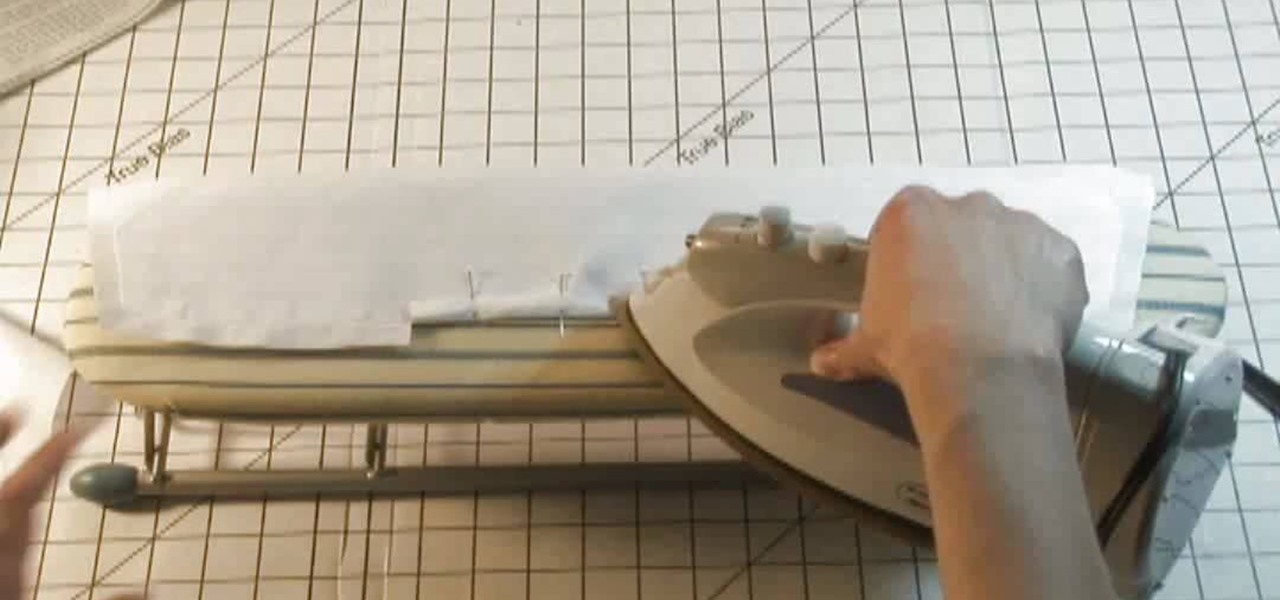
By using sewing pattern Simplicity 4670, the author of this tutorial video takes you through the steps needed to produce a great shirt collar. First you should attach interfacing to one piece of the shirt collar. Here you will be using fusible interfacing and taking the facing to the shirt collar iron the interfacing to the wrong side of the fabric. Sew a guide line that is 5/8ths of an inch wide along the notched edge of the shirt collar's facing piece. At the dot markings of the collar clip...
How To: Thread an industrial sewing machine
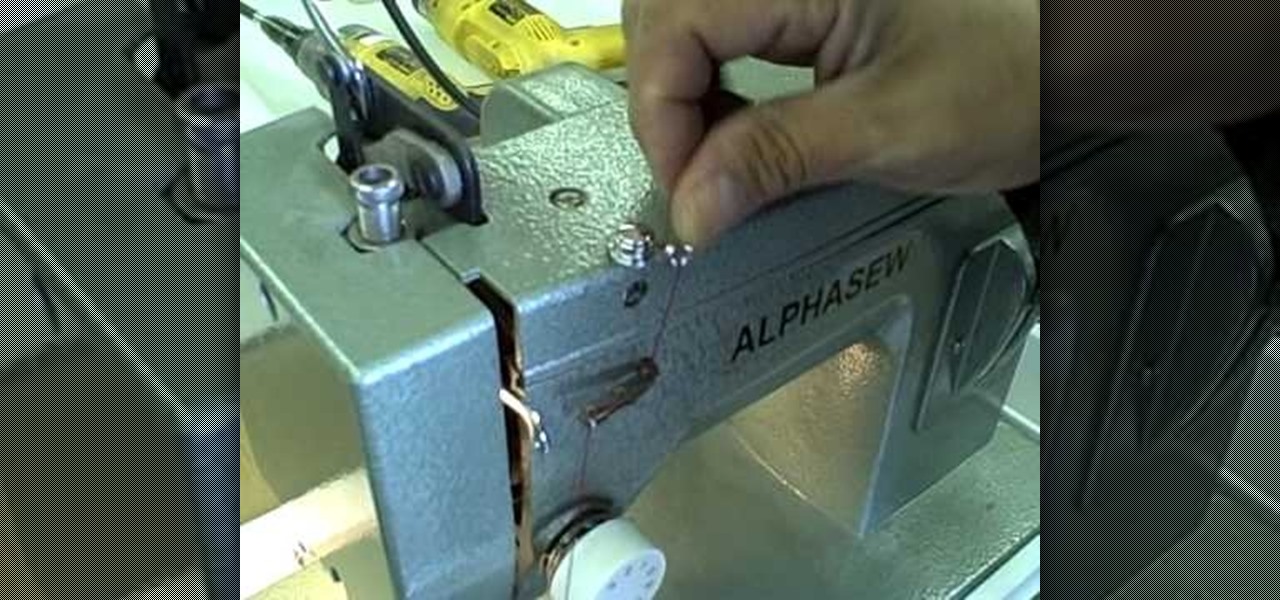
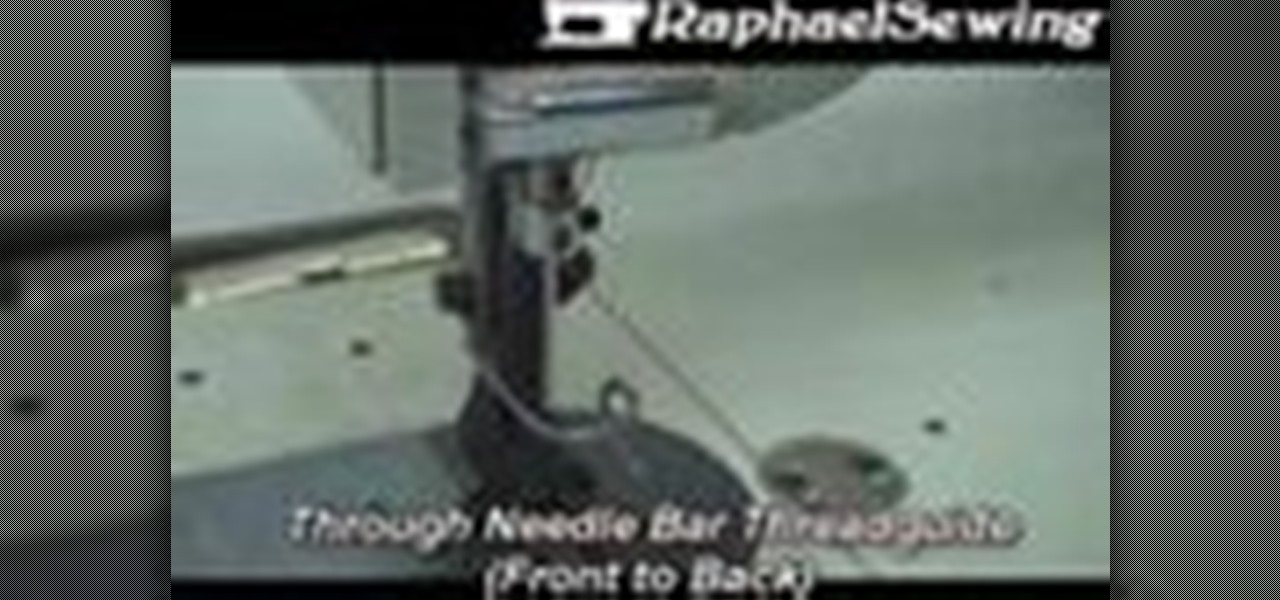
This quick tutorial video will show you how to thread an industrial sewing machine. Follow these quick steps to thread an industrial sewing machine: Wind the bobbin thread and pace the bobbin in the bobbin case. Pull out 4" of thread and place the bobbin case in the hook. Now feed the top thread right to left through the eyelet bar and feed through the thread holes around the tension discs and upward through the take up. Go down through the thread guides and through the needle bar thread guid...
How To: Tie a quick Rope Shackle
To tie a quick rope shackle, take a flat thread to make this knot. Take the thread and hold it in your hand fold it from right to left and hold it at the cross hold it once again catch both the crosses and fold it once again. Insert the send fold into the first hole and the third hole. Now pull the middle of the thread to make a tight. Pull the loose ends of the thread to make it tight. Now hold the two circular holes and insert a round stick or a bamboo stick and pull the loose ends of the t...

How To: Tie a Zigzag braid knot design
The video is about tying a Zigzag braid knot design. At first, make the tag or rope into two by folding it. Take one end and make a small knot at the folded junction. Then take the second and pass it through the first made loop. Then take the other end and pass it through the loop made by second end. Continue the hitches to end the rope. Finish the knot by tightening the rope. Then rearrange the position of the hitches. This is done with care. The knot is made beautiful and prettier by making...
How To: Tie Pendant knots
In this tutorial from the TyingItAllTogether Channel, you can learn how to make double and quadruple looped pendent knots. These knots are commonly found in Celtic designs. Once you learn how to create these knots, you can use them in arts and crafts projects for necklaces or bracelets. To begin, the double looped knot is done by taking a piece of rope and folding it in half, allowing the two sides to be next to each other. With one side of the rope, loop it around the other side of the rope,...

How To: Make a boutique style bow
Learn how to make a boutique style bow: Use 23 inches a ribbon to make a 4 inch bow. First, trim and heat seal the edges. Wrap it around your fingers and stretch it so the ends are not overlapping the bottom. Make sure the end is on the bottom and stick a pin through the center. Flip it over so the needle is sticking straight up and take the end and the bottom of the two layers and twist into an "X" shape. Adjust the loops to the desired position. Use a needle and thread to complete the bow. ...

How To: Make a mermaid tail
This arts and crafts video teaches us how to make a mermaid tail in minutes. Our instructor tells us how she got requests for this after people saw her video, in which she swims in a mermaid tale. To make the mermaid tale, find some stretchy pants. Any pants that are light and are able to stretch will work. Do not use jeans. To make the tale, you put one leg in one hole of the pants, and then you put your other leg in the same hole. Next, take the other leg of your pants, wrap it around your ...

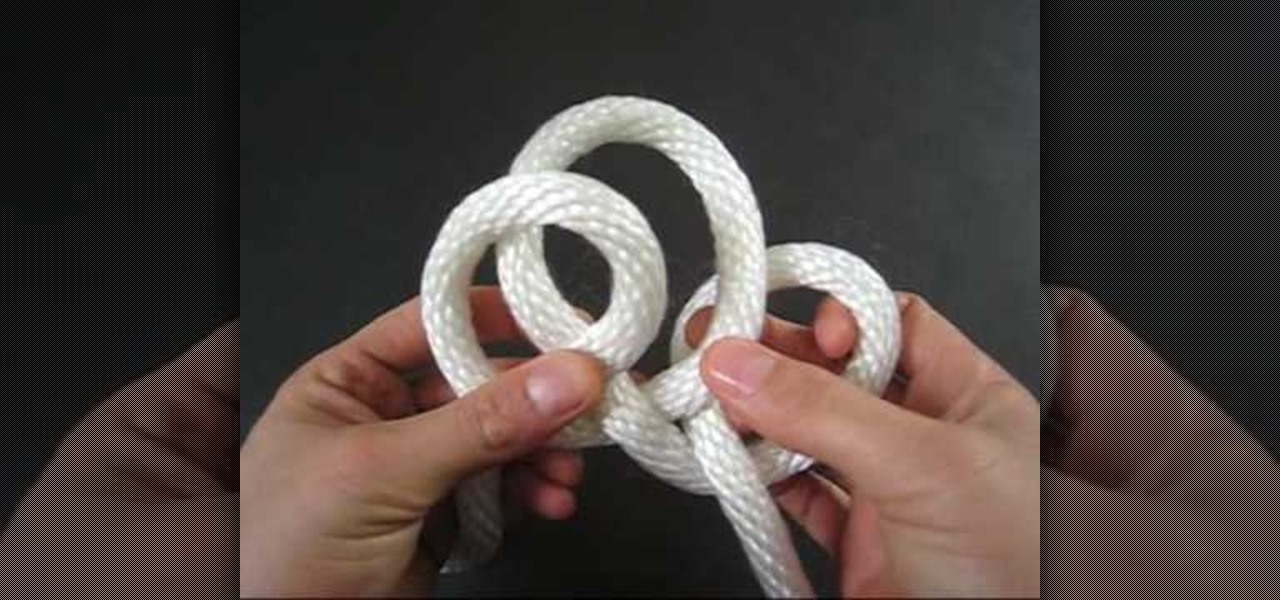
How To: Tie a River knot
This video from Tying It All Together demonstrates how to tie a river knot. Holding the rope in your left hand, make a loop to the right and bring the rope down so it lies over the loop. Bring it up behind and pull it through the loop. This makes a loose knot with three overlapping loops. Make another loop on the right and pull the end through the lower part of the right loop. Then make another loop on the left and pull it through the lower part of the left loop. Take the rope from the left s...

How To: Make a rattlesnake key fob
Looking for a stylish, slightly menacing way to store your keys? The "rattlesnake tie" is in actuality Clifford W. Ashley's Over-And-Under Heaving Line Knot or ABOK #541. That said, the rattlesnake tie is a whole lot easier to say and remember, so that name is used here.
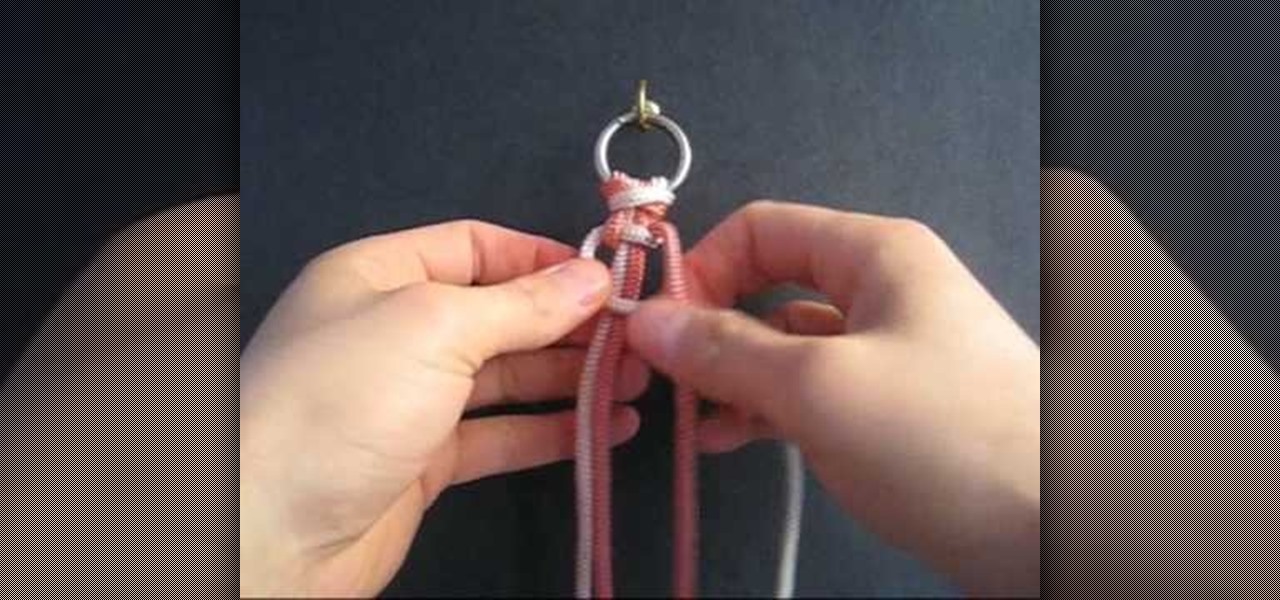
How To: Weave a two color solomon bar
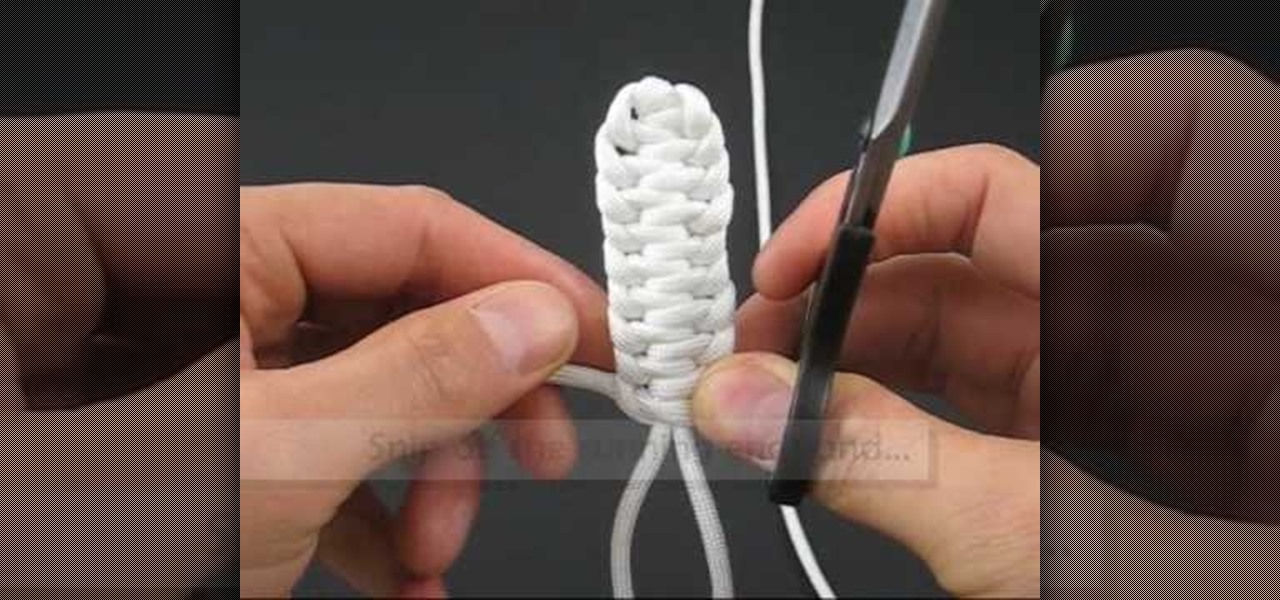
This video is a tutorial on how to weave a solomon bar bracelet with two colors. The author shows how to weave a solomon bar bracelet with two colors where there are vertical loops of one color and horizontal loops of yet another color. Combining this video with the author's previous video on how to weave a solomon bar bracelet (How to Make a Solomon Bar by TIAT) should provide sufficient information on completing a two colored solomon bar bracelet. While this way does work, it is mentioned i...
How To: Tie a decorative Diamond knot
"How to Tie a Decorative Diamond Knot: Tying It All Together" explains how to tie a decorative diamond knot. The diamond knot is a decorative cylindrical knot, which is also known as the lanyard knot and the knife lanyard knot. Make a loop with one end of the string, and fold the other end parallel in the center of the loop. Feed the end of the right string over the left string and pull down. Fold the right string over and feed through the left side of the loop. Pull a second loop behind the ...

How To: Tie the Spinal Sinnet decorative knot
To tie the spinal sinnet, take the thread folded from left to right and hold it at the cross. Now insert the right thread in to the hole and pull the left thread to make it tight. Take the end of the thread and insert it and pull the thread which is close to the knot, you will get another hole. Now cross the hole and then insert the right side of the thread and pull down the thread close to the knot. Repeat the same till the end of the thread. Now the spinal sinnet is ready to use.
How To: Tie a Pagoda knot
TyingItAllTogether explains that, "Pagoda is the English language term for a tiered tower with multiple eaves. Common throughout eastern Asia, most pagodas were built to serve a religious function. The Pagoda Knot was created in admiration of this sacred architecture." In this video, learn how to tie a decorative pagoda knot. Working with a single piece of string, follow along as the string is transformed into a work of art. Begin by making a series of four loops. Cross the tails, then weave ...
How To: Tie a Kinky Lover's knot
To make a Kinky Lover's knot, first hang or keep the tag on something. Then take the first end. Tie it by keeping a loop. Then take the second end and pass it through the loop by leaving a loop. Then take the second end, which was taken earlier , through the loop made by the first end. Then pass the second end through the loop, which was made by the second end. The knot is ready! All we have to do now is to tighten the knot by pulling the two ends. Make it beautiful by arranging the tag clearly.
How To: Make bows for your hair
Learn how to tie a perfect bow. To do a basic pony bow, place the gathered hair in the center of the ribbon and tie a single knot to secure it. Making two loops, cross one loop over the other and pull the loop on top through the hole you've created. Straighten out the ends and tighten so the two loops are on top and the two tails on bottom. Make a headband bow. Run the ribbon along the hairline, drawing the ends up on top of your head. Secure a knot and tie a bow. By tweaking the loops out a ...
How To: Sew a Victorian skirt
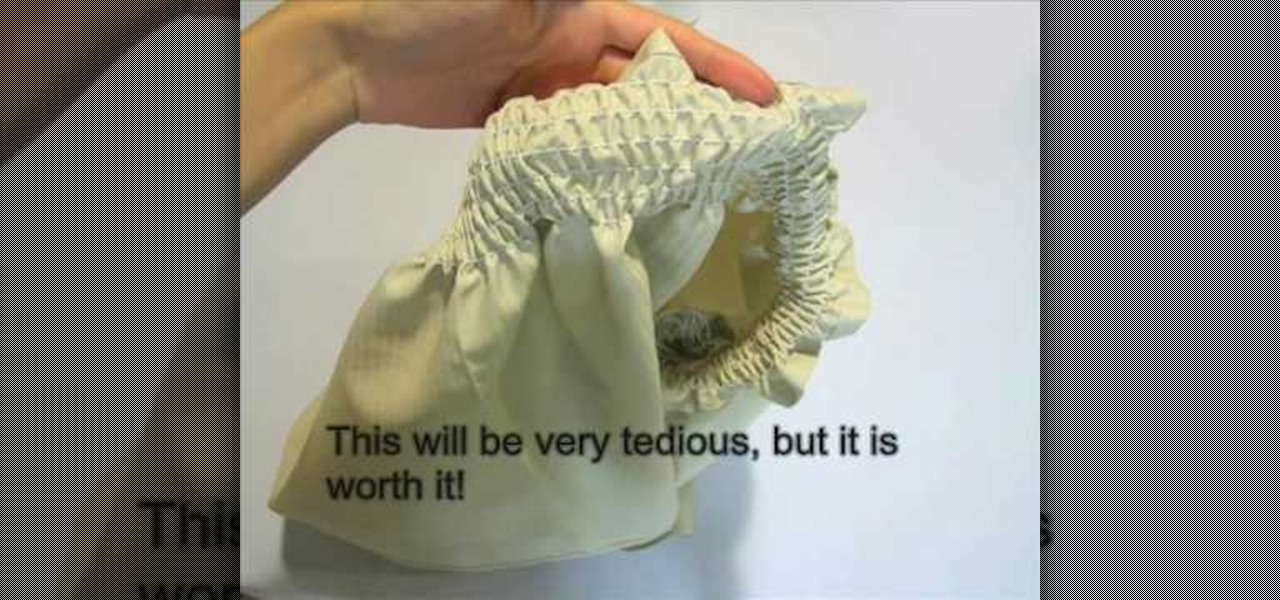
This video demonstrates how to sew a Victorian skirt. First take a cotton cloth and cut a rectangle piece twice the size of your waist. The length would be depending on your choice of height you require. Hem the top and the bottom of the cloth. Then use elastic thread to create 12 rows of shirring. Each row can be 1/4th inch apart. This is for sure a tedious task but it will look beautiful. Then take a chiffon cloth and cut the same size as your skirt. Hem one side of it and on the other side...
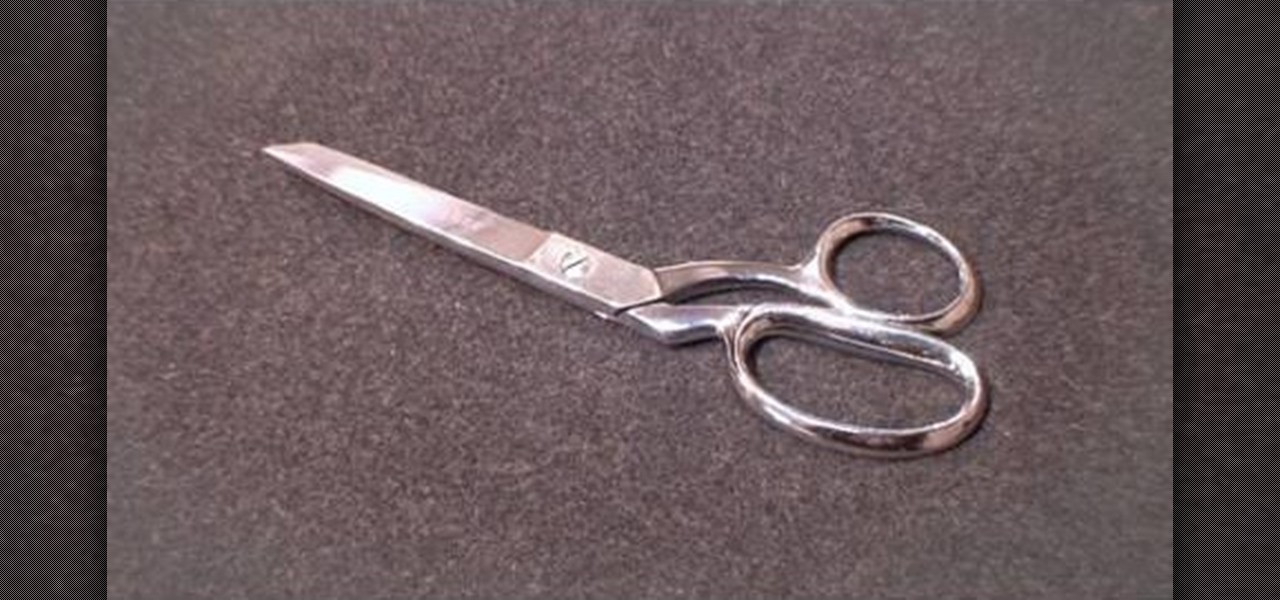
How To: Use bent handled trimmers
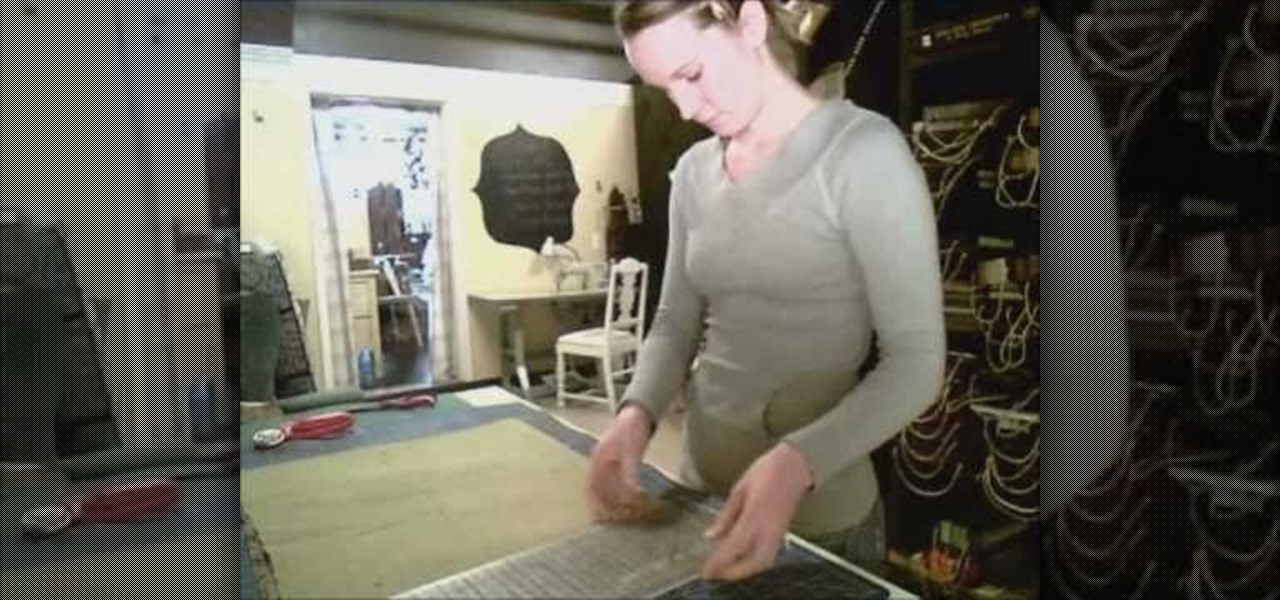
Learn how to use bent handled trimmers: Kenneth D. King of ThreadBanger Quickies and NextNewNetworks explain how to use bent handled trimmers for working with fabric projects. Bent handled trimmers are great for cutting out fabric patterns and designs. The scissor itself slides along the smooth plane of the cutting table and it lifts the fabric just enough to successfully cut the pattern out. Bent handled trimmers make a very accurate cut. Never ever use your fabric scissors for cutting paper.
How To: Transform a hoodie into a laptop bag
Got a hoodie? Got a laptop? But you're missing a laptop bag? That's okay, get a little resourceful and follow the steps in this quick vid to learn how to transform an everyday hoodie into a rather innovative laptop carrier. Follow along as this demonstrator shows some deft folding skills to protect your most precious piece of equipment - your laptop. Not only is this hoodie soft and flexible, it'll keep your laptop from getting scratched or scarred.

How To: Tie the Celtic tree of life decorative knot
TyingItAllTogether presents this interesting video that shows you how to tie the Celtic tree of life decorative knot. To do this, you make a series of intertwining loops, until they form a circle. This wordless video is very easy to follow along. Watch, and master the art of knot-making with this great video. For more great videos on decorative knot-making, search on WonderHowTo.
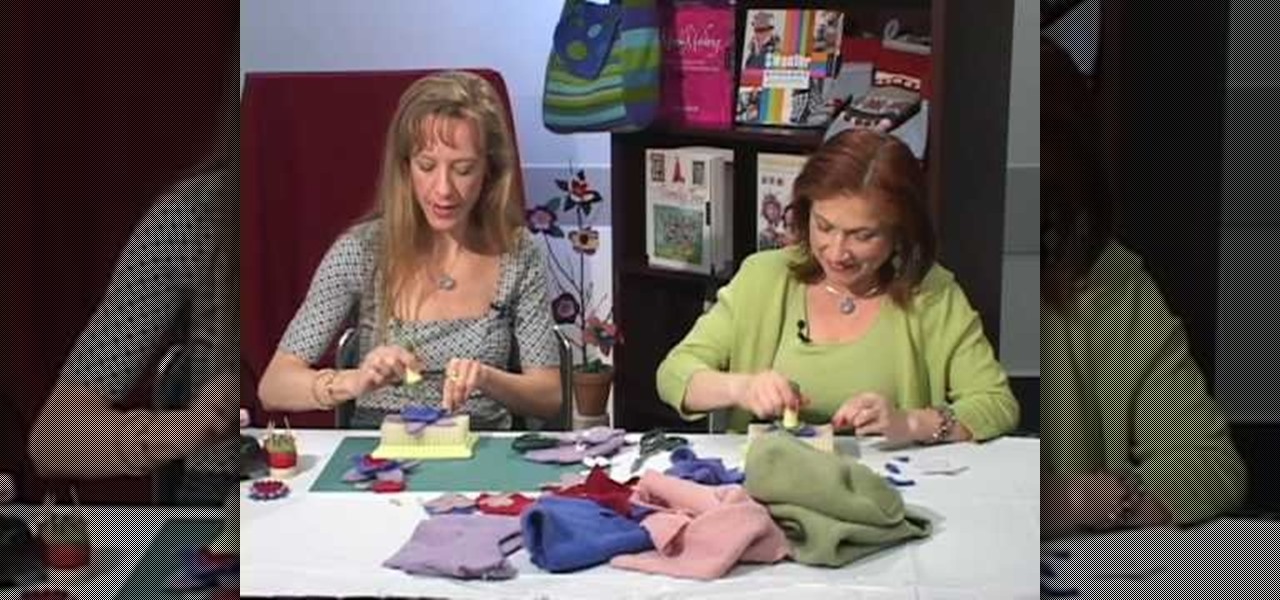
How To: Make felted flowers
This video is basically about how to make felted flowers with Craftside. For making felted flower things we will need are assorted felt, assorted rhinestones (any size), embroidery floss (any color), a needle, some tacky glue and a pair of scissors. First of all cut out the shape of the flowers from the felt using the scissors. Try experimenting with different shapes and sizes for variety. Then stitch the detail on the petals using the embroidery floss. Use the backstitch for this; then glue ...

How To: Tie the Tea Cup decorative knot
If you're into arts and crafts then you know that there is more that you can do with a long piece of string than just tie your shoes. On this TyingitAllTogether video you have the opportunity to tie the teacup decorative knot using one long piece of string folded in half. The author of the video first shows you what the end product will look like then methodically begins to walk you through setting up the string in Y-configuration to "crossing each bights crook" which involves overlapping and...
How To: Transform your hoodie into a pillow
Need a place to rest your head on the go? Just check out this quick vid to find out how to transform your hoodie into a porta-pillow. Seems like it'd be great for late night bus rides!
How To: Transform your hoodie into a backpack
It's not difficult to transform a hoodie into a quick little backpack, you just gotta think outside the (sweater) box! Follow the steps in this video and you'll be on your way in no time!
How To: Transform your hoodie into a baby carrier
Hooray for resourcefulness! You don't need a fancy expensive trendy baby sling to carry your little one around. Learn how to transform your favorite hoodie into a baby carrier with this little video.

How To: Make a denim skirt from jeans
Vicky Taylor from The Crafts Channel teaches us how to transform an old pair of jeans to a trendy denim mini skirt. Get a pair of denim jeans and cut the front side from the end of the zipper downwards to the crotch. Do the same at the back making sure that it is at the same length on the front. Measure the length of the skirt you wanted. Cut it off and make sure they are the same length. Overlap the flaps created at the front and stitch them together. There will be a triangular open part at ...

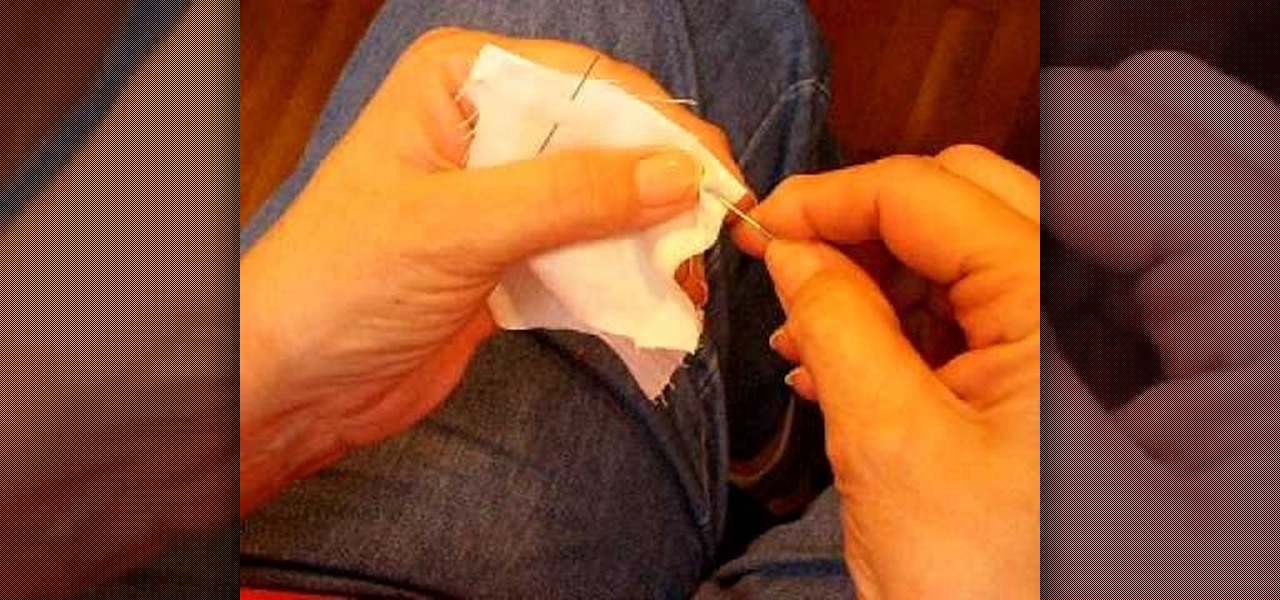
How To: Sew by hand
Watch this video to learn how to sew by hand! You need scissors, thread (or floss), a needle, and fabric. First, stick your threaded needle through the cloth and pull the thread through. To make a running stitch, push it back through to the opposite side. Your stitches should look like a dashed line. For a whip stitch, keep pushing the needle through the fabric from the same side each time, near the edge. It will wrap around the edge. To tie it off, push the needle back through the loop of a ...
How To: Sew a straight stitch
The video shows us how to sew a straight stitch which is really simple. The needle which is already being threaded and knotted on the other side is made to weave in and out in a straight line. It is done as straight as possible and though the video doesn't show it being done perfectly but its just a demonstration on how the straight stitch works. It is just made to weave in and out along a straight line and is made to end up with the needle on the back side and make a knot. This way you get t...

How To: Use serrated scissors
Thread and clothing designer, Kenneth D. King, give quick instruction to us on the importance of our cutting tools, more especially the serrated scissors. Here we learn what makes this particular style of scissors so efficient and necessary to our sewing work, as well as what types of materials they ought to be used on. He also gives warning that we should never use our fabric scissors on paper. Great tips for the beginning designer in us all.
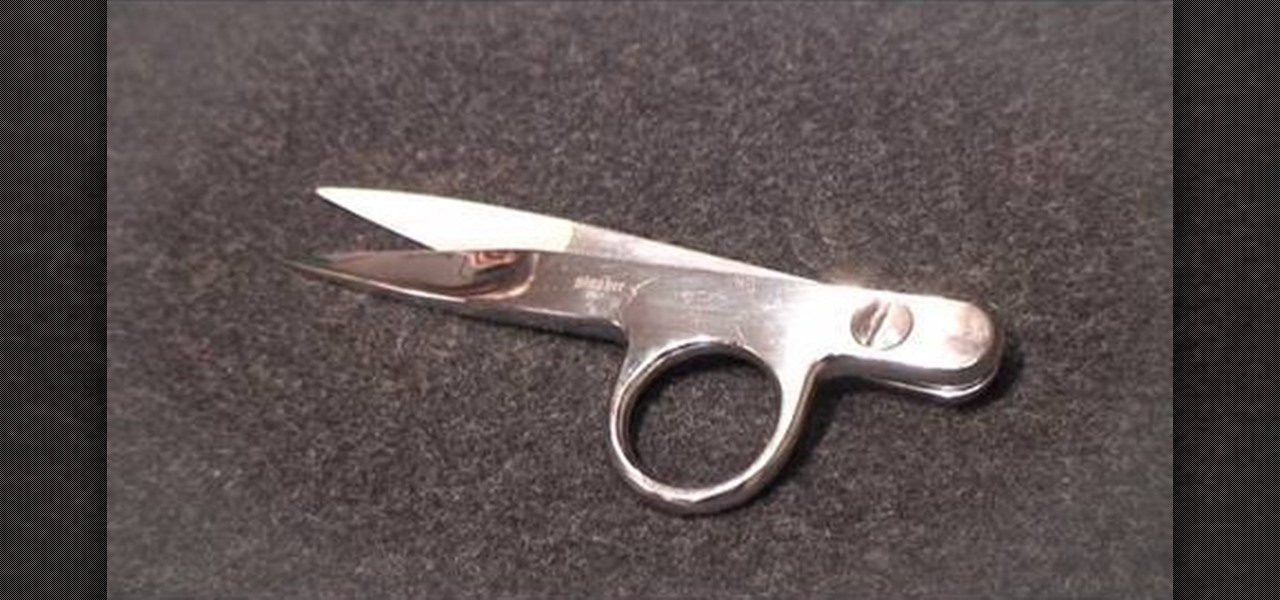
How To: Use thread snip scissors
Thread banger, Kenneth King shows you how to save your good fabric scissors by using thread snips, a simple but important tool you must always have in your sewing workshop. Thread snips are small pairs of scissors that are specifically used for trimming off any excess thread in your material. Kenneth explains that using fabric scissors to trim these excess threads eventually causes them to wear dull spots. Always keep your thread snips handy and do all your thread trimming at the machine.
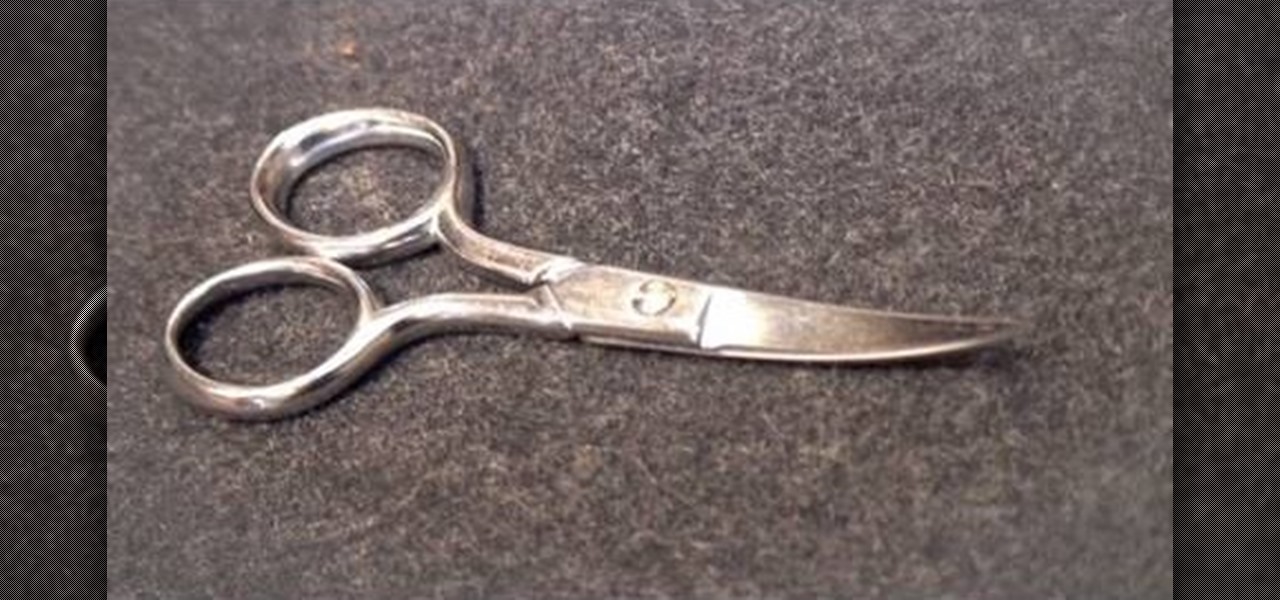
How To: Use embroidery scissors
Kenneth D. King of ThreadBanger demonstrates one way to use a scissor known as an embroidery scissor, which is a very tiny scissor with a slightly curved blade. The curved blade prevents the points of the scissors from poking through the fabric, which is very important when you need to trim something close to the fabric. This comes in handy for uses other than embroidery.
How To: Sew by hand without making knots
Put needle in place anywhere you are starting a stitch. Pull the needle through, but leave a tail (with string).

How To: Make a flapper coin purse
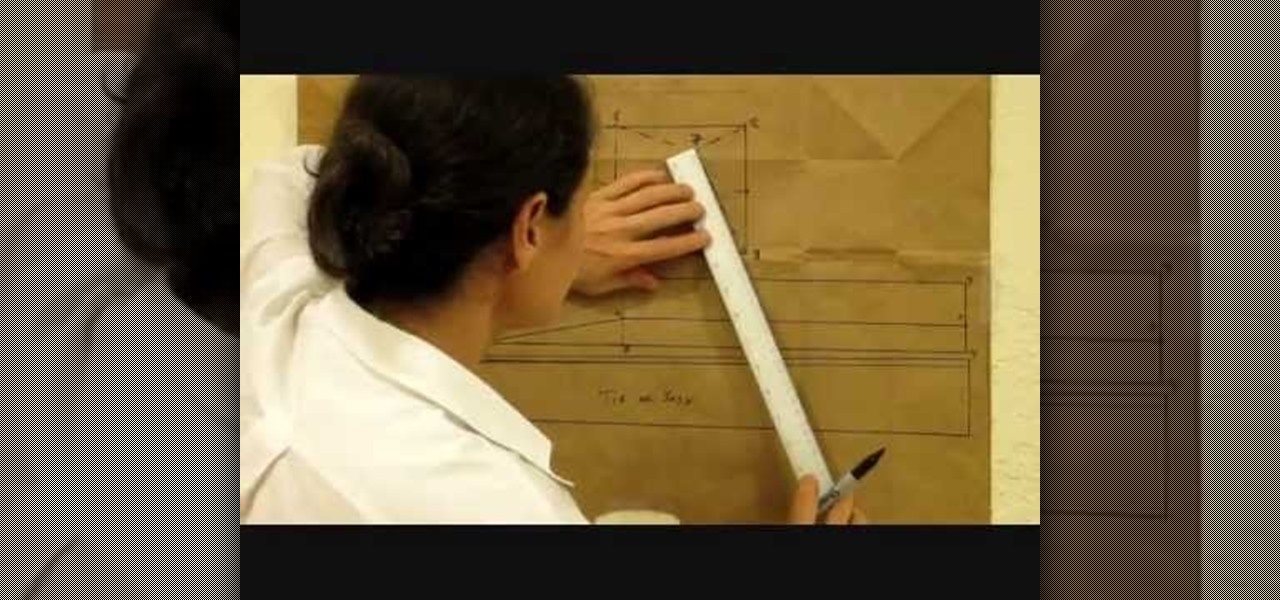
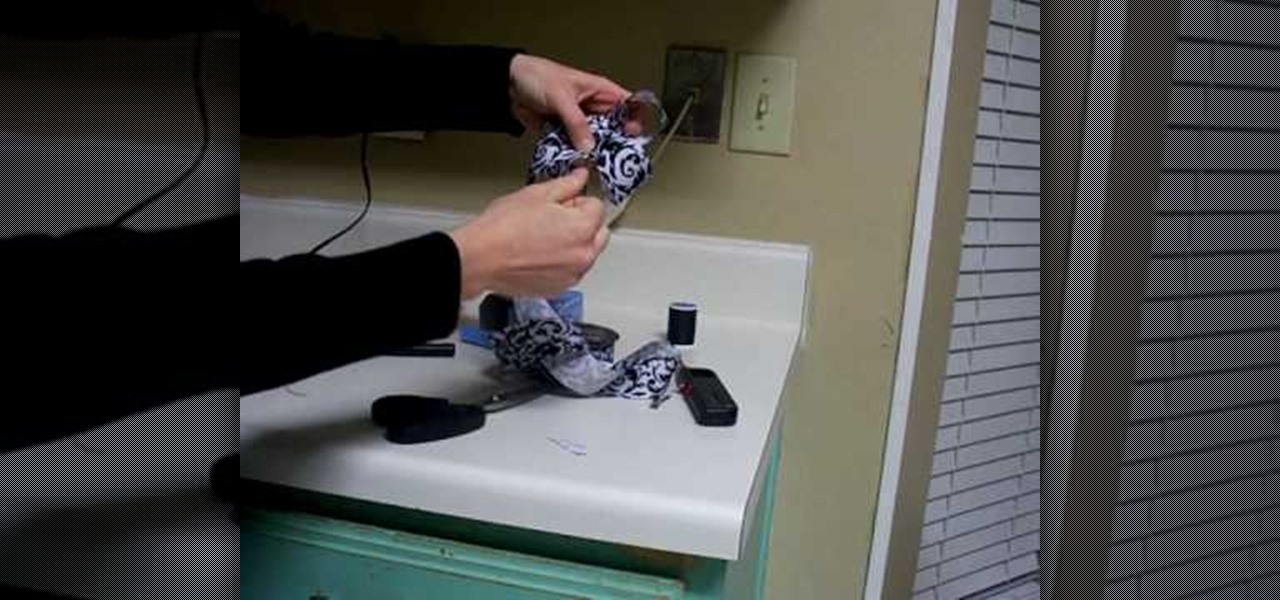
Need a new purse but no money in the budget to go out and by one? Missa from fashionclub.com will show you a do-it-yourself option. In this instructional video, you will learn how to make a flapper 1920's style purse. Step by step instructions take you through the materials you will need, how to make a pattern for the purse and how to construct the purse. You will need a basic sewing machine and sewing skills to complete this design.
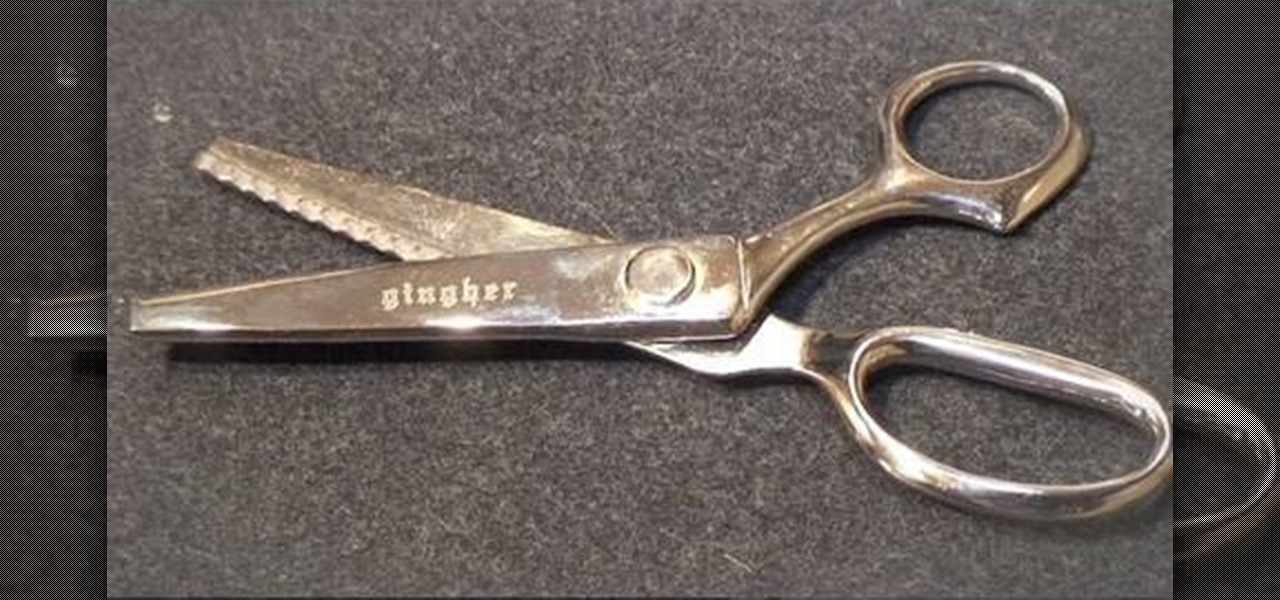
How To: Use pinking shears with Threadbanger
Pinking shears are scissors with an blade that is spiked instead of straight across like a regular pair. Pinking sheers are used to finish off fabric that does not necessarily need a strong hem. They can be used for any type of material that will not unravel - such as silk or charmeuse. This tutorial from Threadbanger will show you how to finish off your fabric by pinking, which is actually incredibly simple to do.