

Hot Sewing & Embroidery Posts


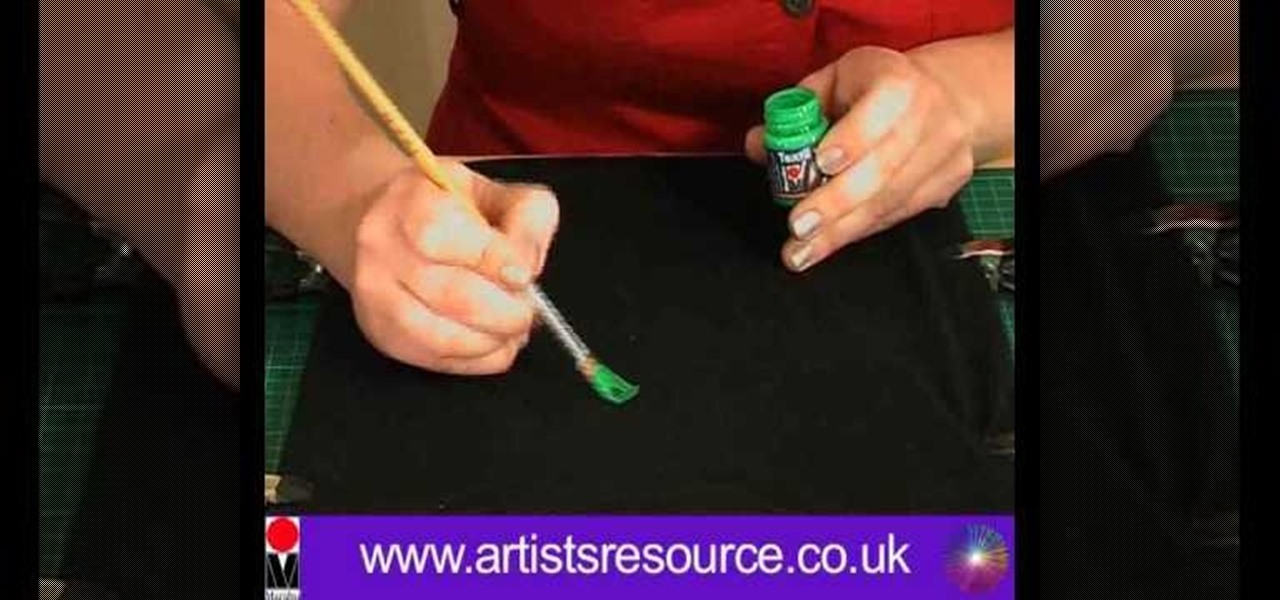
HowTo: Lady Gaga Telephone Bra
Damn, I wanted to learn how to make those cigarette smoking glasses in Lady Gaga's Telephone music video, but the sparkly silver and black bra is fun, too (and perhaps a bit more practical). Previously, HowTo: Lady Gaga Video Glasses.

How To: Measure your body parts
Trying to lose some weight and inches off your belly, bottom, or legs? It is essential to measure your body before starting an exercise program. In this video, learn how to accurately measure your body parts for the purpose of monitoring your weight loss' progress.
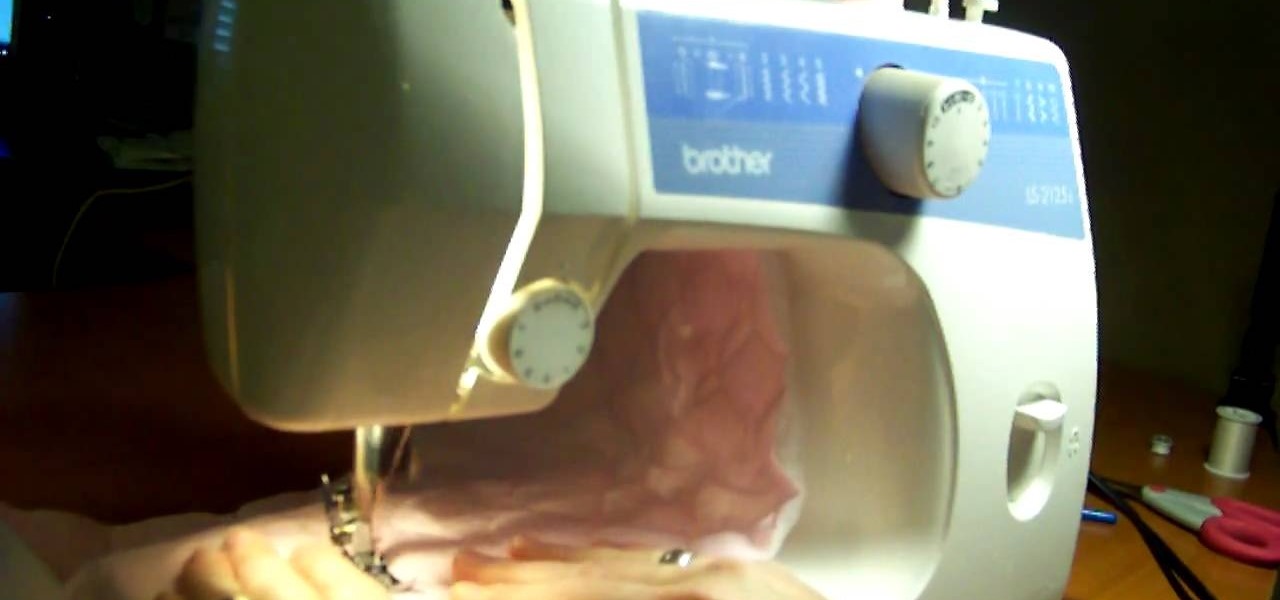
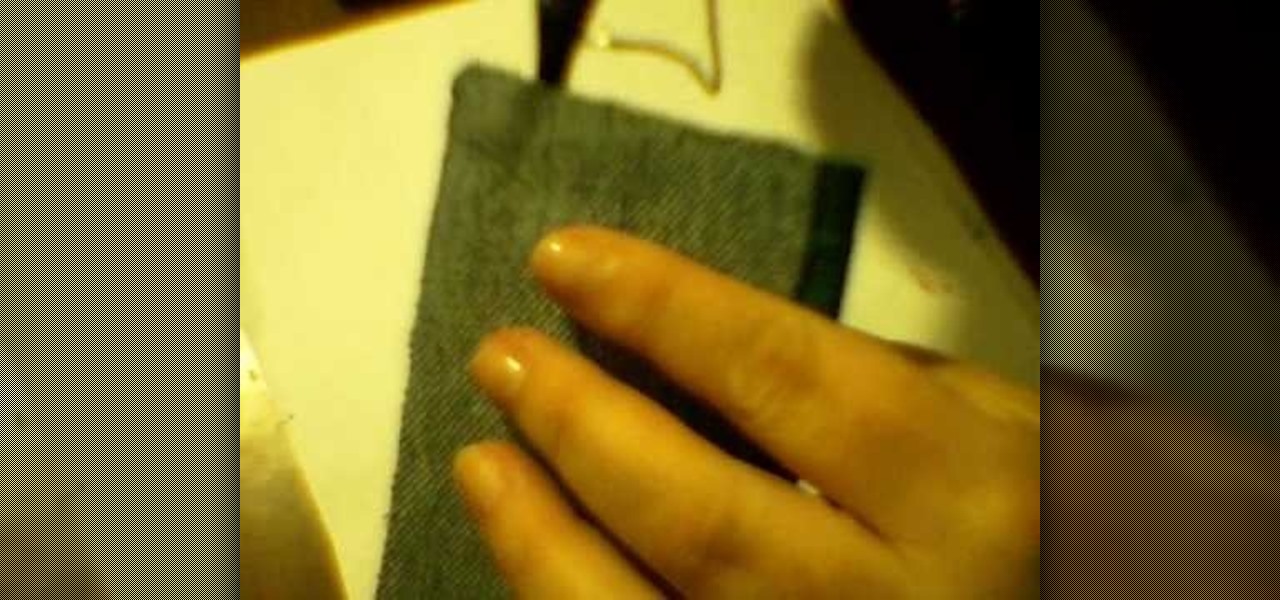
How To: Sew a buttonhole pattern
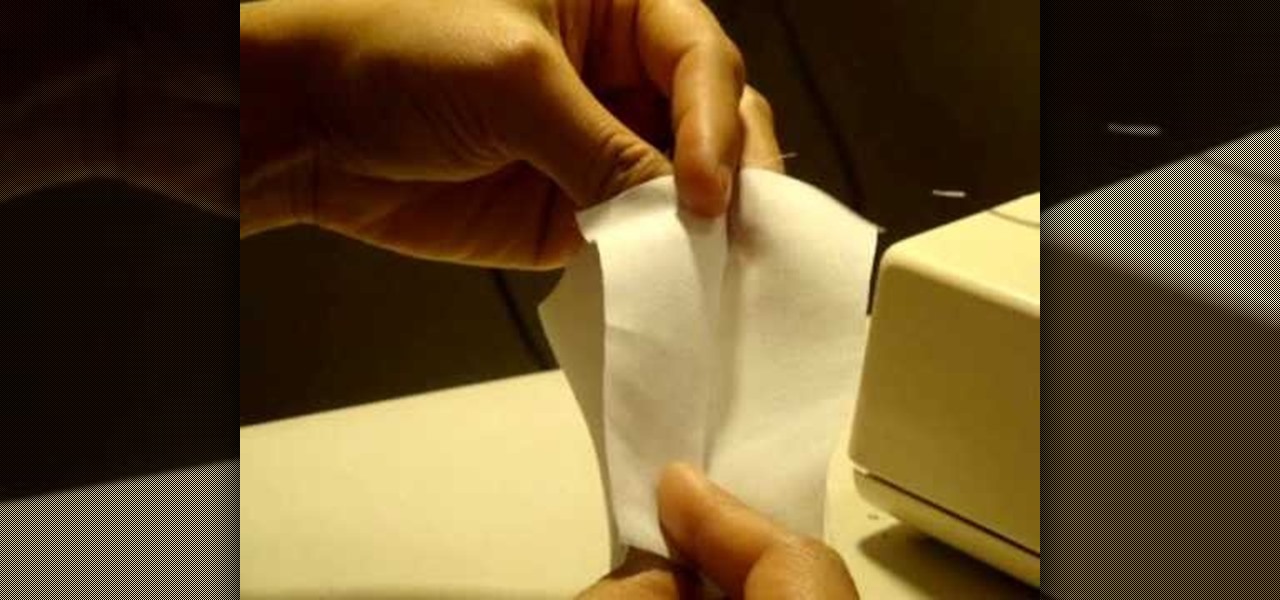
This video will show you how to use your sewing machine to create a buttonhole stitch. The buttonhole patter is very useful when making clothing because it does exactly what it’s name implies. It is the stitching used to sew a hole for your button. The pattern is not as hard as it looks. You follow an ABC sewing pattern to create the four sides of your buttonhole and if you go slowly and follow the pattern with appropriate height adjustments your will be butting stuff up in no time. To finish...
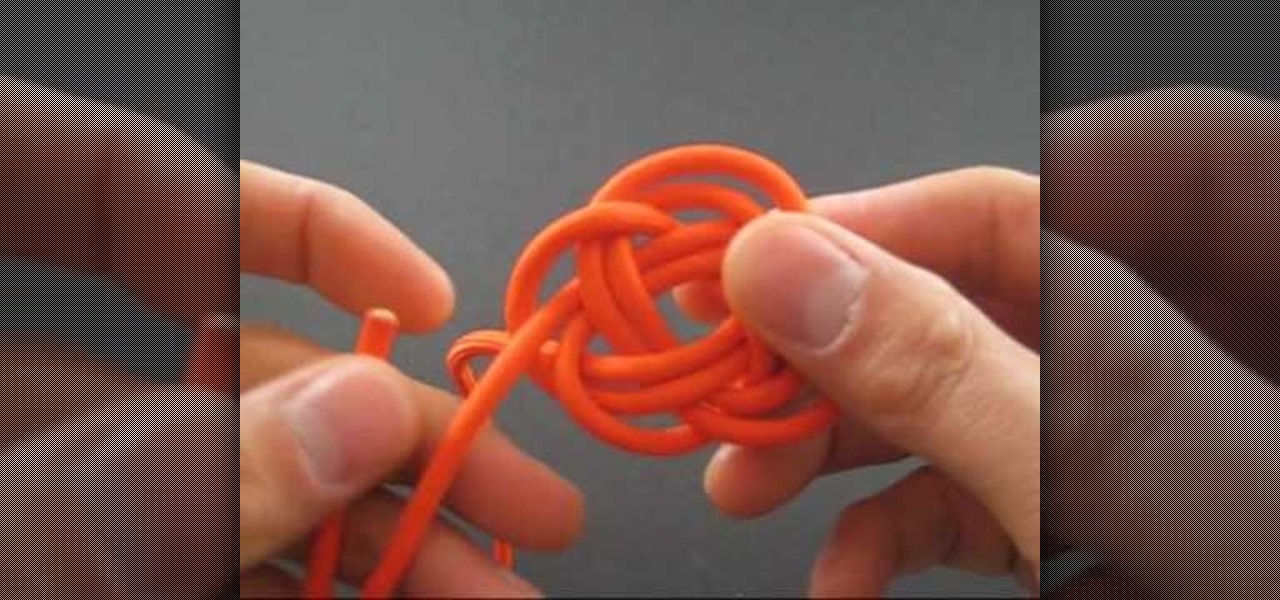
How To: Tie paracord knot balls
Have more paracord than you know what to do with? If so, and if you're interested in storing it in a creative, esthetically-pleasing fashion (that is completely without any sort of material utility) then the paracord knot balls outlined in this video are for you! Tie some with this free video lesson.
How To: Make wool mittens
Olivia shows how to make ‘Woolen Mittens’ in this video, by recycling an old sweater! She begins by washing an old sweater in cold water. After washing, she puts the sweater in a dryer at high heat mode, to shrink it. The washed, dried and shrunk sweater is then placed on a table. The required length of the mitten is decided, taking care that the bottom end of the sweater shall be placed at the point where the mitten ends on the arm. The arm is then placed on the sweater and a mark is made ab...

How To: Make a tote bag out of an old t-shirt
This video demonstrates how to make a tote bag out of an old T-shirt. For this project, you will need the following: scissors, a T-shirt, duct tape, a sewing machine, thread, and a leather sewing needle.
How To: Sew your own dream catcher baby blanket
Don't overpay for a marked up baby blanket at a department store or fancy boutique? You can make a beautiful blanket for your newborn and future family heirloom right at home. All you need are some basic sewing materials and your imagination. This video will show you how to sew a dream catcher baby blanket.
How To: Sew elastic (polybraid & Lastin)
This video is a tutorial on sewing both polybraid elastic and lastin elastic. Polybraid is a very sturdy fabric elastic, while lastin is a thin, clear, very stretchy elastic, good for use in diapers. It is important to buy name brand lastin elastic to ensure good quality.
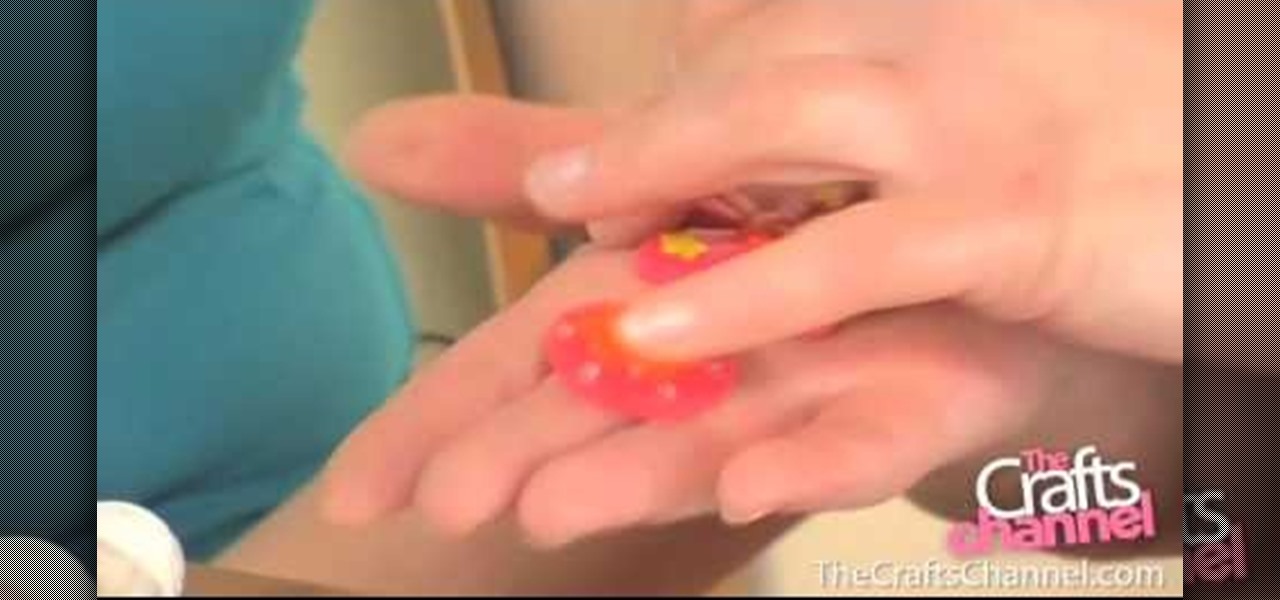
How To: Use a paper punch with fimo
First of all take a small fimo punch. You can also use decorative buttons because the smaller cutters are not easily available. Now you need to take the sheets that have thickness less than one millimeter. You have to check them because the larger size shall not fit. Pop in the inlet just like a paper and try to fit. If not then use a roller to roll them to reduce their thickness. Now lift it with a ruler and then insert it into the inlet. The best way to do is to drop them in. Once it fits e...
How To: Make a pocket wallet out of recycled blue jeans
Digsart demonstrates how to make a wallet from a pair of blue jeans. First, with a pair of scissors he cuts out the back pocket of the jeans. You can paint the pocket with acrylic paint to give it a more sturdy feel. Once they are painted, he dries them out by placing them on plastic bottles. Once the paint is dry, he cuts a slit in the middle of the pocket, creating two sides for change and bills. Then, using a hot glue gun and Velcro, he glues the Velcro patches onto the pocket. Once the Ve...

How To: Thread a bobbin on a side threading sewing machine
This video shows how to thread your bobbin on a side threading sewing machine. We start off by making sure that the needle is in the most upright position. The upper thread guide when moved to the most top of its travel, the needle is in the most upright position.Then you take the bobbin case and your bobbin. Make sure the thread is coming up over the top towards you and not underneath and over the back. Slip in the bobbin into its case, put the thread through the groove under the potential s...
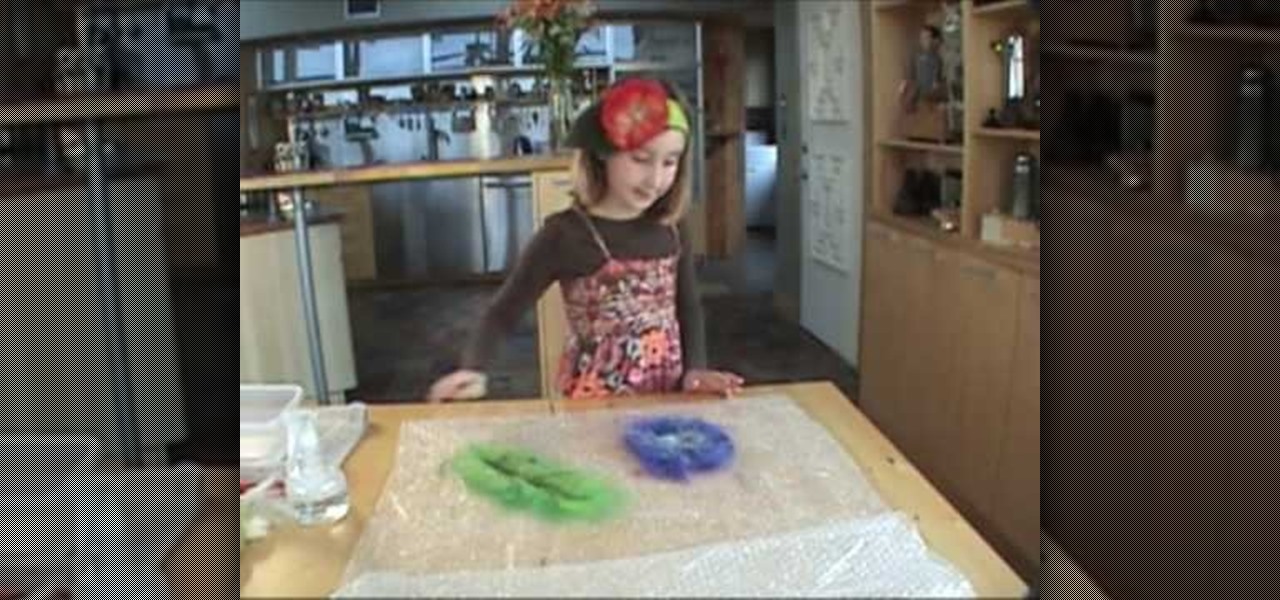
How To: Make a felt flower accessory
This is a demonstration of making a felt flower accessory for your head bands, waist band and even for your clothes. You will require wool fibers, bubble wrap, felt sponge rolling pin, washing bags and a container of hot water and a spray for soap water. First loose fibers are taken of the color you prefer for your flower and laid in one direction to the size and shape of the flower. Then a second layer is laid at right angle to the previous layer. Some strand of fiber is twisted and laid on ...
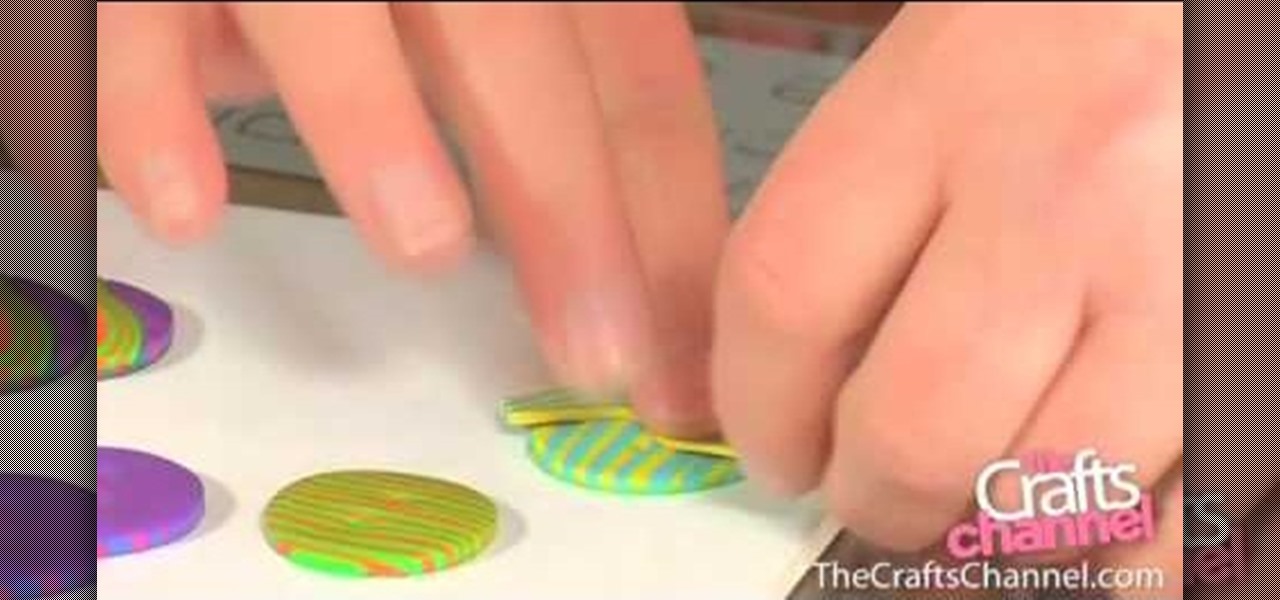
How To: Make stripy fimo buttons
In this video Corinne Bradd explains the steps involved in the creation of stripy fimo buttons. It is rather simple and requires only a few materials such as polymer clay, rollers, cutters and needles. At the start you have to place clay pieces (varying color) in the form of a rectangle one on top of the other and fusing them together by making use of rollers. After they have been fused they are shaped into circles by making use of cutters. Holes are punched into the circle by making use of n...

How To: Make a homemade hoodie out of an old t-shirt
This video tutorial in Arts & Crafts category will show you how to make a homemade hoodie out of an old t-shirt. Katia is presenting this video. First you cut out a T-shirt shape out of an old newspaper. You can do it freehand also. For the front piece, take the neckline down a little bit. Then draw a hood shape. To draw the neckline of the hood watch the video. So, you now have the back, front and the hood pattern pieces. Now take your t-shirt and cut it open from the side. Place the back an...

How To: Sew a cape
In this how-to video, you will learn how to sew a cape. The pattern is made of three pieces. The main part is made of a circle with a hole in the center. There is a cut made from the center to the edge of the circle. The diameter is about 145 centimeters. The hood is two half circle pieces, with a diameter of about 62 centimeters. The two parts will be sewn together along the green marks shown. Fold the rest fabric above the seam and sew it to the fabric next to the seam. Next, sew at where t...

How To: Wind a bobbin and thread the needle on a machine
Tracie Cunniliers demonstrates how to wind a bobbin and thread the needle using an automatic needle threader in 'Elna 2800'.To wind a bobbin, place a spool of thread on the holder. Place a thread holder next to the spool of thread. Take the end of the thread and wind it around the clip situated on the other side of the machine. Now take a bobbin and pull the needle through the bobbin inside-out. Now place the bobbin on the holder and click into place. Hold the end of the thread and slowly pre...

How To: Wind a sewing machine bobbin right every time
Ruth demonstrates how to wind a bobbin successfully every time you attempt. Place the spool of thread on the machine and wind the thread between the two disks on the spindle (found in all machines). It is better to wind the thread twice to avoid the thread come off the spindle. This does not damage the machine in any way. Pull the thread towards the bobbin and pull it through the hole in thy bobbin inside-out. Place the threaded bobbin into the winder making sure the extra thread is on top an...

How To: Decorate your home fabrics
Making your own Mondrian-inspired cushion cover is demonstrated in this clear and concise crafting video. Materials required are a plain cushion cover( preferably in a tight weave such as canvas or cotton; water; medium size, firm, flat edge paint brushes; scissors; one inch wide masking tape; a sturdy piece of cardboard , saran wrap and 4 jars of textile paint - one color should be black or graphite. You may choose plain or glitter paints. Cut the cardboard about one inch smaller than the si...
How To: Paint on a t-shirt
Learn how to ‘Paint onto your T-Shirt’ by watching this video. Materials required for this include the following:•Marabu Textil Plus Start Kit – 6 colors included with paint brush•Marabu Metallic Outliner Paints•Crocodile clips•Masking tape•Pencil•Design printed from the computer•Tracing paper•A large cardboard wrapped in cling film•A dark colored T- ShirtBegin by placing a tracing paper over the design and secure it to the table using masking tape. Next, use a pencil to trace the design on t...
How To: Cross stich with beads
Add a little flare to your creative sewing projects by adding beads! In this two-part video tutorial, learn how to cross stitch with beads to enhance your needlwork. Hosted by the Needlework Shoppe, tips are shared for cross-stitching with seed beads and petite seed beads.

How To: Sew a vintage smock
Get creative this weekend and start a new sewing project! In this five-part video tutorial, learn how to sew a stylish vintage frock! Why pay those ridiculous prices on eBay for vintage goods, when you can sew them yourself in the comfort of your own home? Learn all you need to know about sewing this adorable clothing piece in this series of five how-to videos.

How To: Sew a ballgown using a dressmaker
Are you going to the prom and nothing hanging in your retail stores is making the grade? Why not make your own prom ball gown at home? With some sewing skills, you might just top the best dressed list! In this two-part sewing tutorial, learn how to sew a ball gown using a dressmaker.
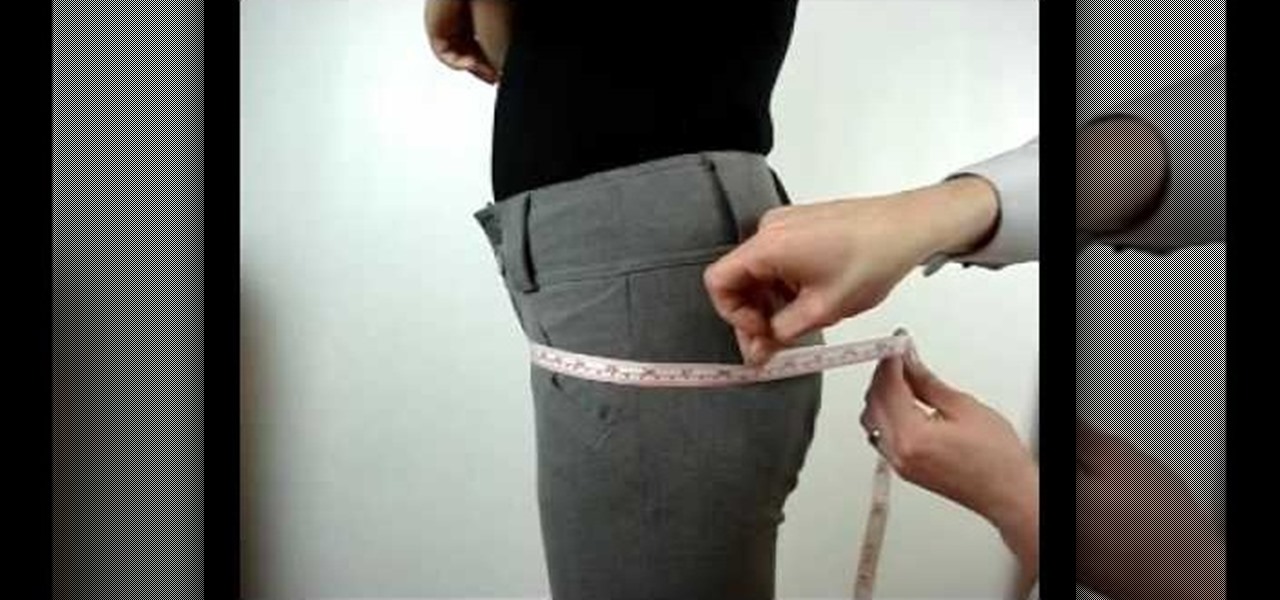
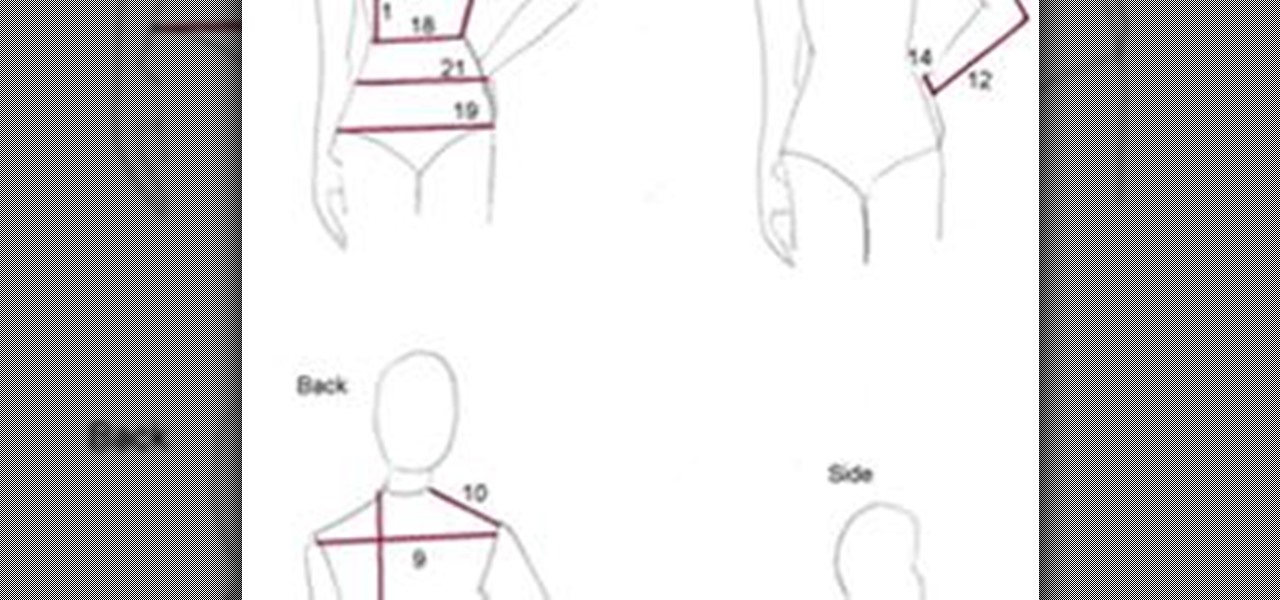
How To: Measure a female's hips for trousers
In this short video, learn how to measure a female's hips for a tailored suit or blouse. Aspiring tailors: With the slightest measurement off, a blouse or suit can be ruined so it is important to watch this guide closely! Good luck with your sewing project!
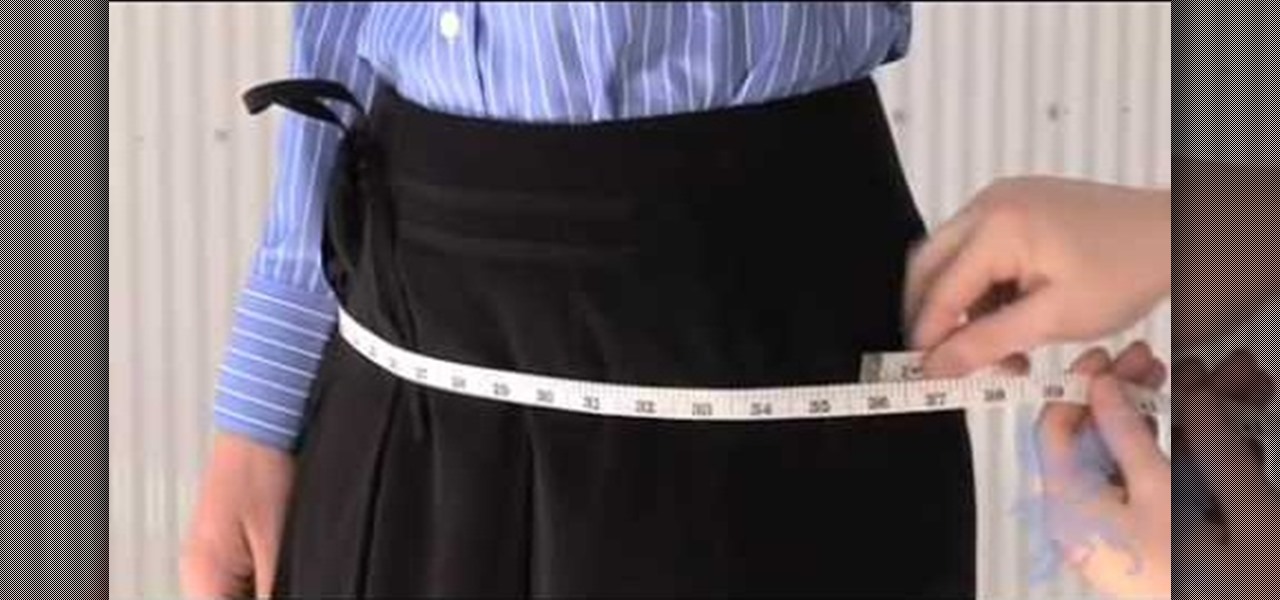
How To: Measure a woman's hip circumference for a suit
If you're interested in making a woman's tailored suit, chances are you will be taking some measurements beforehand.... and important ones. With the slightest centimeter or milimeter, a tailored suit can fit incredibly different than it's supposed to. In this video, learn how to properly measure a woman's hip circumference for a tailored suit.
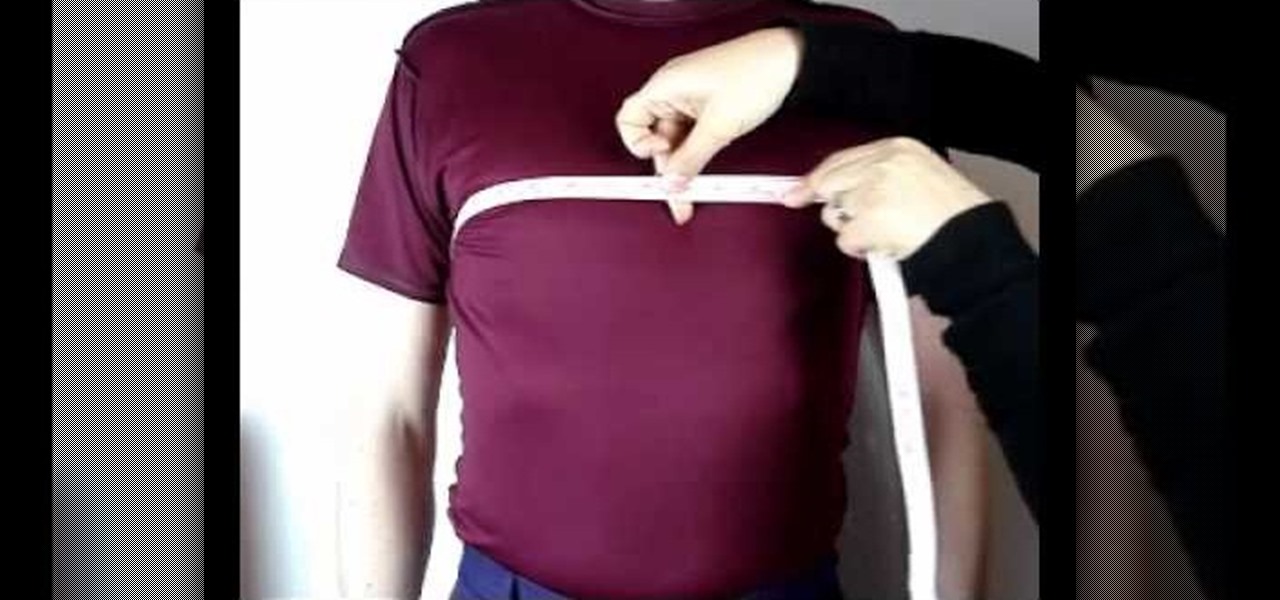
How To: Measure male chest girth for suits
Are you an aspiring fashion designer? Or how about just someone who loves to sew and make clothes? If you're in the market to make male dress suits, it is a must that one learns how to properly measure a man's chest girth for the proper suit jacket fit. Learn how to take this imperative measurement in this video.
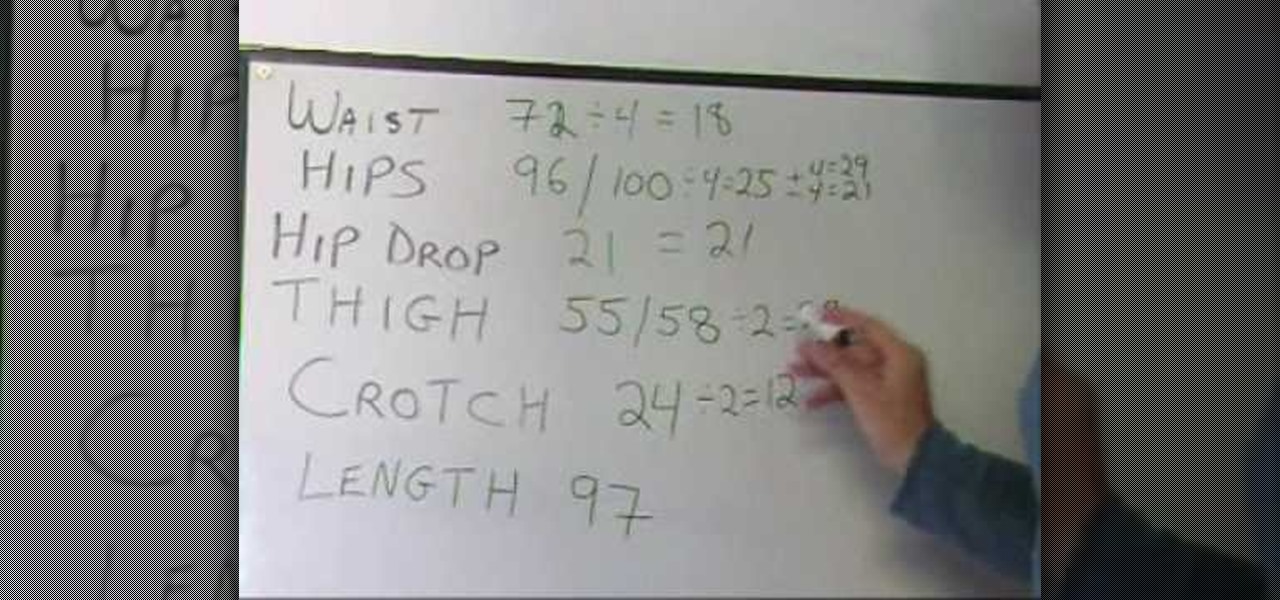
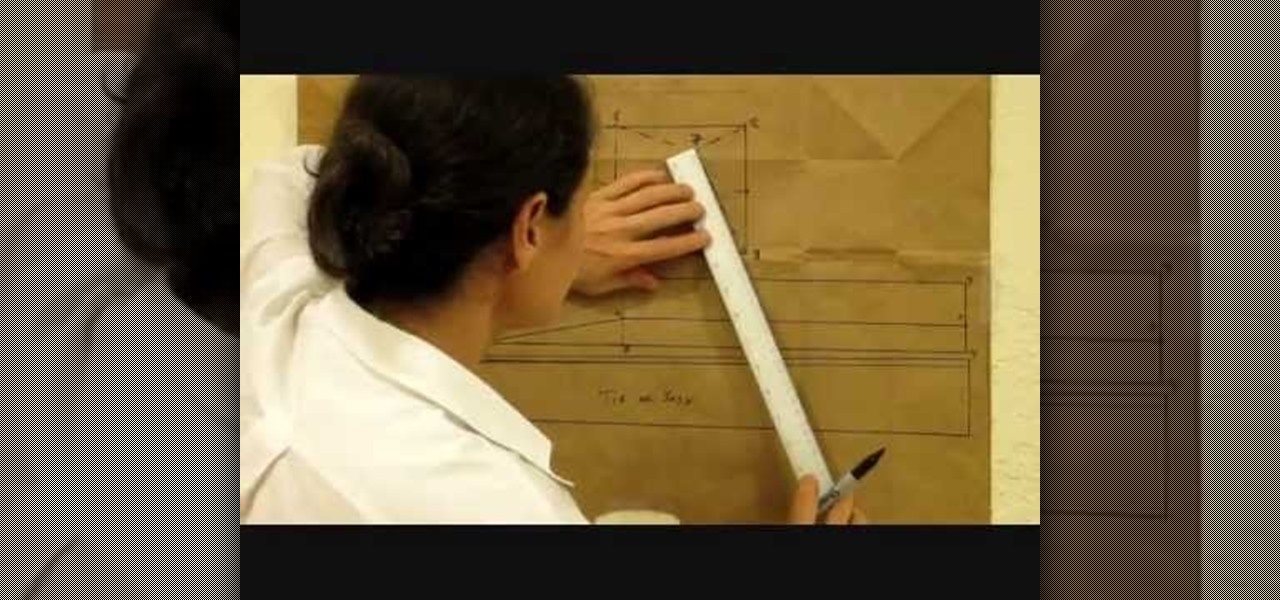
How To: Make a basic pant
In this three-part sewing tutorial, learn how to make a pair of pants that fit like a glove! In the first video, you will learn to take measurements and calculate measurements to plan out your pattern. In the second video, learn how to draw the pant pattern based on your measurement calculations, make a test pant and finalize your pattern design. Lastly, in the third installment of this series, learn how to sew on the zipper and button and stitch the legs of your pants.

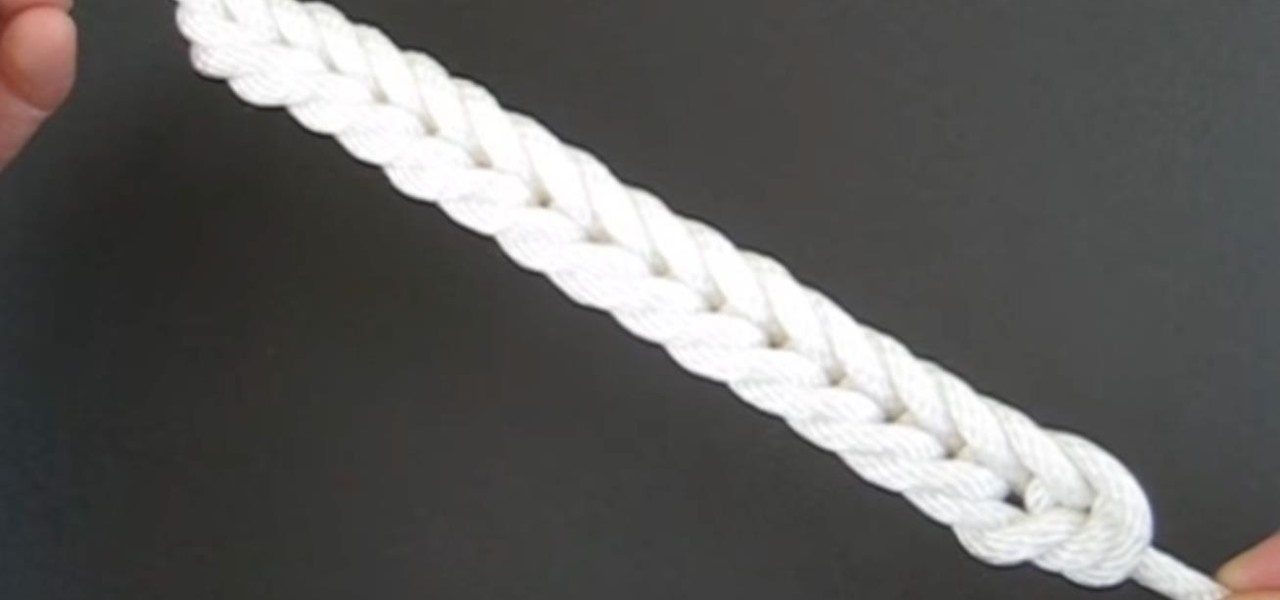
How To: Tie a paracord river bar bracelet
Learn how to make a River Bar bracelet, which is also known as a Paracord bracelet, by following the steps outlined in this video tutorial. To start your bracelet, you will need to tie a reef knot. This is done by taking two loops (in two different color strings) and then placing one loop within the other, pulling this through the first loop to secure the two loops together. This knot creates the end of your bracelet. To actually make the River Bar design, bend the two colors of string so tha...
How To: Spice up your cross stitching with beads and charms
This video shows ways to spice up your stitching using beads and charms. It’s a great way to add 3D aspects without having to do complicated techniques. Examples of good places to add beads are eyes, punctuation marks, and similar things. They can be used instead of stitches such as French knots. Sometimes using embroidery needles can make it easier to add beads to the stitching. Since the beads don’t wash well, wash your design after the stitching but before adding the beads. You can also st...
How To: Whipstitch
In this Arts & Crafts video tutorial you will learn how to do Whipstitching. The video demonstrates how to stitch the bottom of a cloth basket to the sides of the basket. A whipstitch is a very basic stitch. Start at one end of the basket; attach the bottom to the sides with a pin. Pass the needle from the inside so that the knot is hidden. All you have to do is taking the thread and whipping it around the edge. At the beginning, give it a bit of binding stitch before stitching the rest of th...
How To: Finish garments with a serger or French seam
The video shows how to finish garments with serger or French seam. If you have a serger sewing machine then you can straight away place the seam along the seam and stitch on the machine. The advantage of this machine is that it gives 3 fledge serger stitch at one go. If do not have a serger machine then you can use the French seam. First the rough seam is stitched on the wrong side of the fabric and frayed edges are trimmed. Now the fabric is turned over and ironed over the stitch and a strai...

How To: Stitch a bland hem
This video demonstrates how to stitch a blind hem. A blind hem does not show stitching on the outer side of the garment, like a pair of pants or a shirt. If you turn the garment you do see the stitching. The reason you don't see the stitching on the outside of the garment is that it's not complete stitching. Depending on your machine it is actually a half of a zigzag stitch and then 3 or 4 strait stitches repeated down the seam. The only stitch that shows is the half a zigzag stitch. Before y...
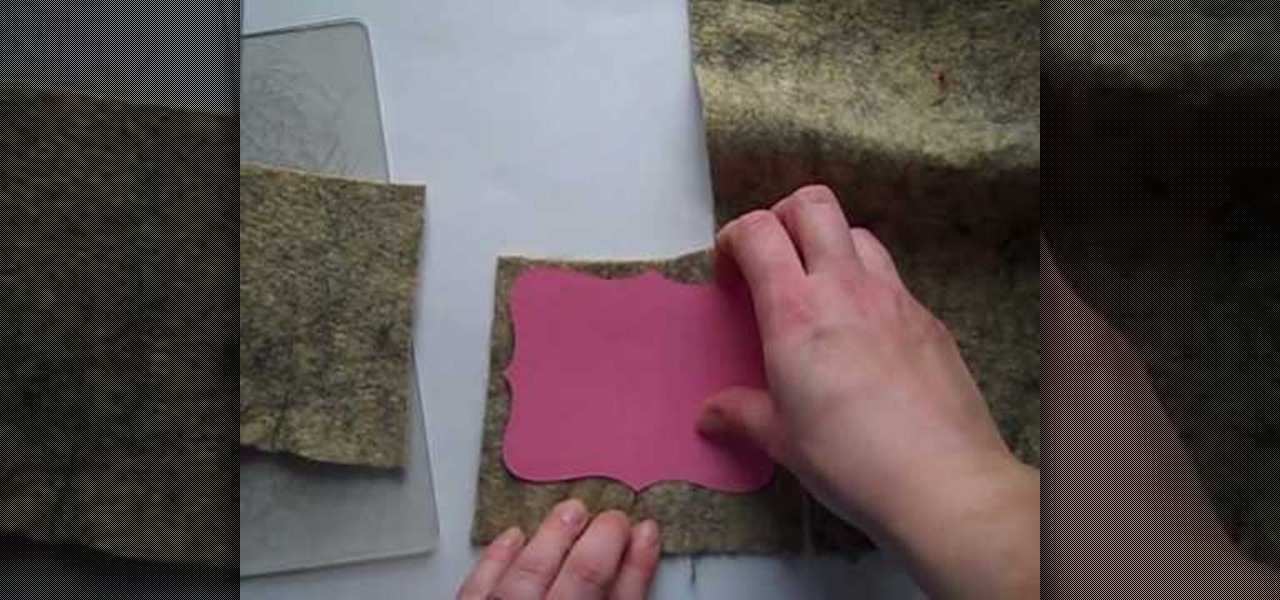
How To: Cut felt with the Big Shot
First cut out card stock using the Big Shot Dye. This card stock is great as a template to make sure you are getting the most out of your felt. Cut out pieces of your felt around your card stock template trying to get as close as you can to the border of the card stock. Next take your Big Shot machine and place your cutting plates on the bottom, as well as your dye. Then layer your cut out felt pieces on top of your dye. Start rolling your felt through by cranking the handle on your Big Shot....

How To: Stitch a EZ cross stitch frame
In this video tutorial, viewers learn how to use the Stitch EZ Cross Stitch and Needlework Frame. This frame is designed to provide hours of stitching enjoyment without pain to the hands or damage to the fabric. It simply is held under the edge of your leg. It allows users to work with both hands, allowing users to stitch much faster. It has a magnetic needle holder and it can flip over. The panel is also removable and has 3 adjustments for the height. This video will benefit those viewers wh...

How To: Sew an arm/leg warmer for a baby or toddler
Vanessa is teaching you how to make arm and leg warmers for babies or toddlers. She is simply using some socks that she got by going to the dollar store and buying them. They only need one seam. You need to cut off the top of the sock first. Then you cut the heel and toe off the remaining sock piece. You need to fold the bottom part of the sock in half and make it into a loop. Put the loop over the raw end of the top of the sock. This will make it so all of the round edges are together. Stitc...
How To: Do a blanket stitch
In this video tutorial, viewers will learn how to do a blanket stitch. Begin by threading your needle. Then put the needle through only one side. Now run the needle through the other side, at the same place. Run another one through the same place to bind the edge. Now run the needle through the top bound stitches. Now run the needle from behind and go through. Put the needle through the loop of the thread and pull it tight. Continue this for this rest of the stitching. This video will benefit...
How To: Transform a hoodie into a strap bag
This video visually explains how to convert your hoodie into a strapped bag. First lay the hoodie face-up onto a table or other flat surface. Then you take a normal belt and, holding it in one hand, feed it in from one sleeve all the way through to the opposite side. Once the belt is peeking out through both sleeves, buckle it together. You can then place the items of your choosing inside the hood, tying it shut, while using the belt as a strap that you can hang around your shoulder like any ...

How To: Stitch a full length wedding veil
In this two-part easy-to-follow tutorial Corinne Bradd shows Kate Hemmings how to stitch a full length, two tiered wedding veil for just a small amount. Budget busting brides will love the stylish veil for the big day. It'll be perfect for any bride and mean that much more if sewn it yourself.
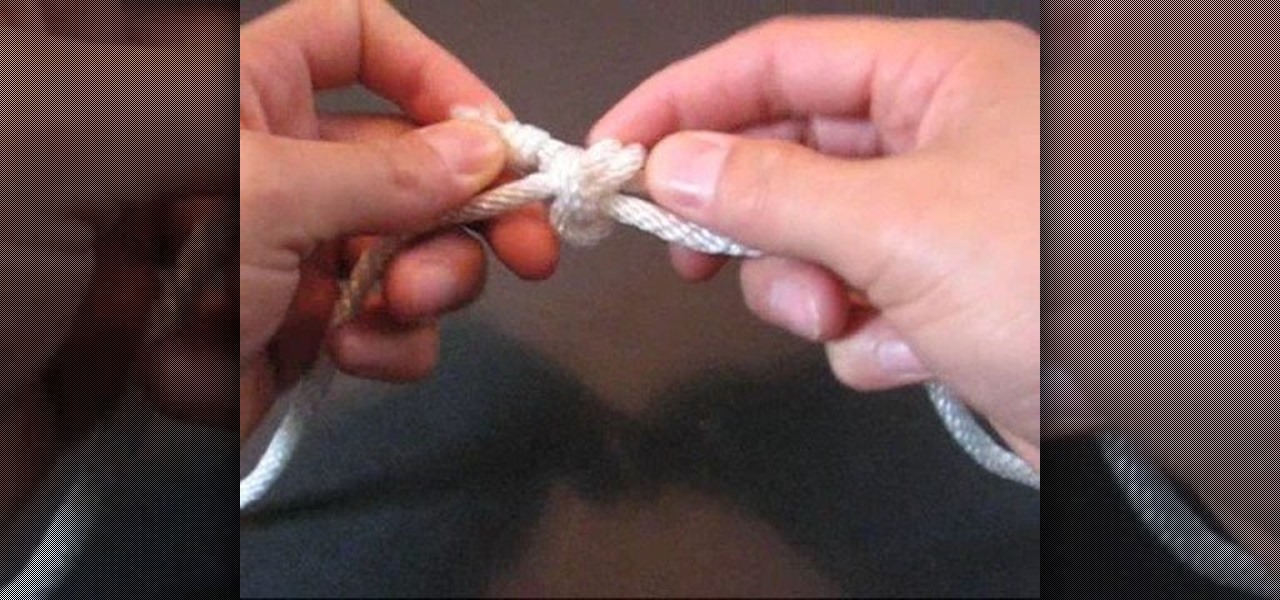
How To: Tie the Hunter's Bend decorative knot
In this video you will learn how to tie a knot known as the "Hunter's Bend". A "bend" is a type of knot used to join two ends of a rope together. Generally, it should be possible to untie this type of knot, once it's usefulness has passed. This knot was originally created by a man named Phil D. Smith during WWII, at which time he dubbed it the "Rigger's Bend". An English physicist, by the name of Edward Hunter, rediscovered the knot in 1978, and popularized it's use, leading to it's current n...
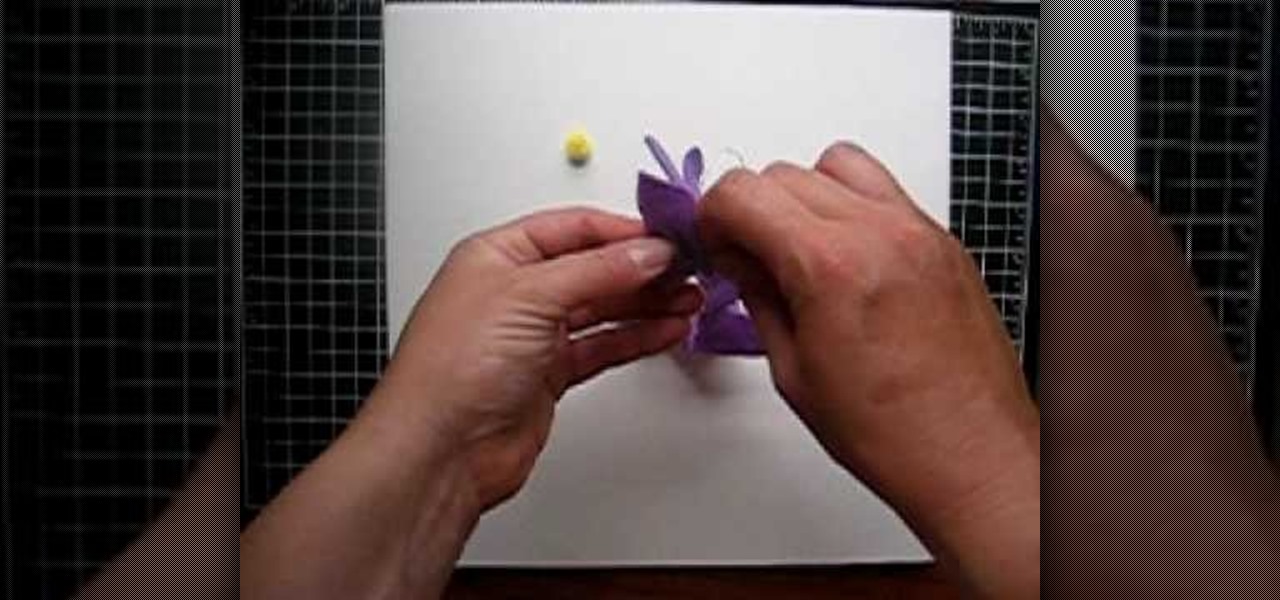
How To: Make a purple felt flower
This video is going to show you how to create purple felt flowers for your children or a nice little gift. The items you will need are an 18in piece of tread doubled knotted at the end, hot glue gun, a needle, a pom pom, and felt cut into the shapes you want to make your flowers out of. You want to begin by take the thread attached to the needle and doing a running stitch through the felt. Pull the thread as much as possible and then take the two ends and do a whip stitch to connect the two e...
How To: Make a tied fleece blankie
In this video tutorial, viewers learn how to make a tied fleece blankie. Select any colored fleece and a coordinated patterned fleece. Purchase one yard of each fleece. Cut the fleece so that you have two pieces of 36 x 30. You will need a pair of scissors and a ruler. Sandwich your fleece together and lay it on a flat surface. Make your first cut at the 4 inch mark. Continue to cut in on strips until you reach the end of the fabric. Then turn the corner and cut a 4 inch square out of the fab...