

Sewing & Embroidery How-Tos

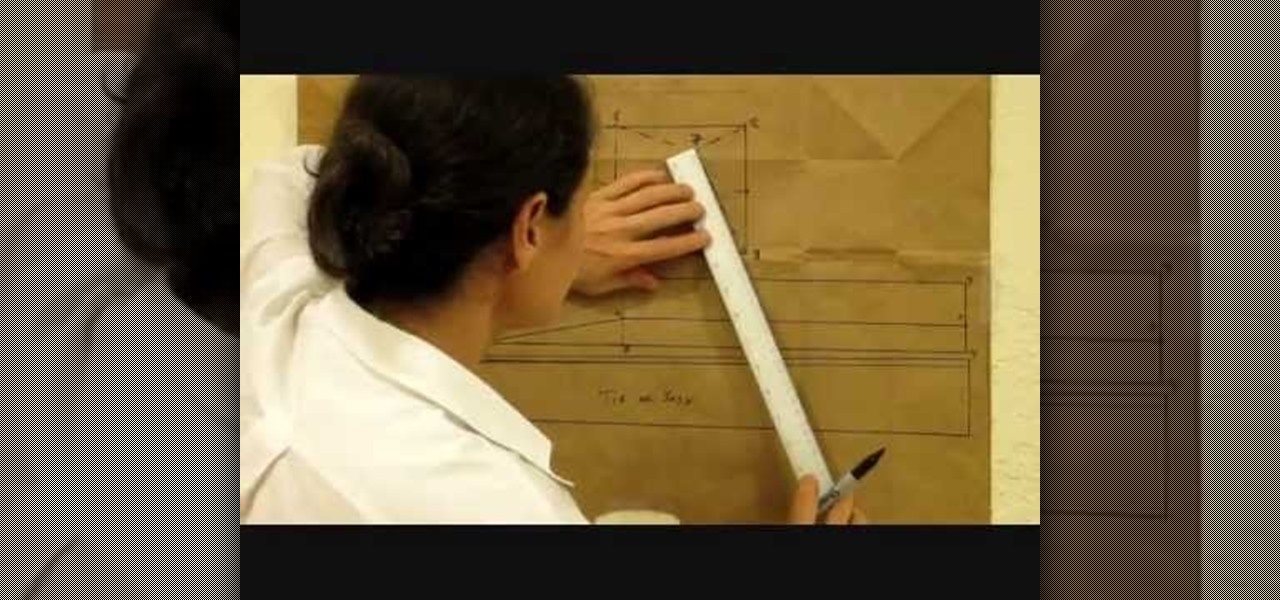
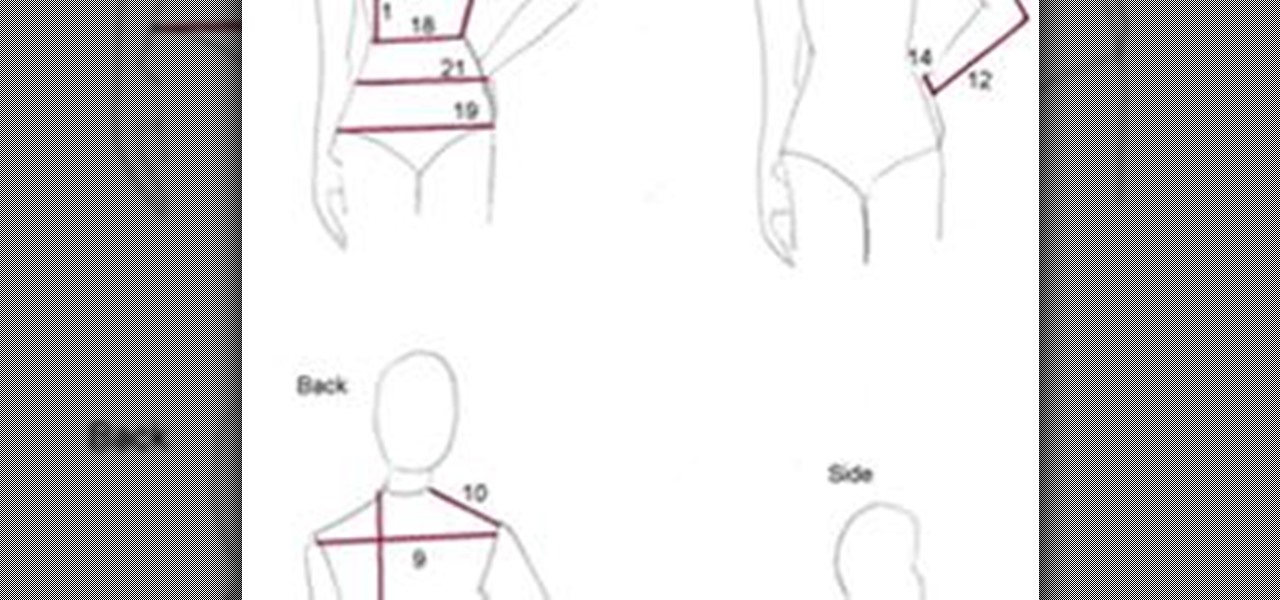

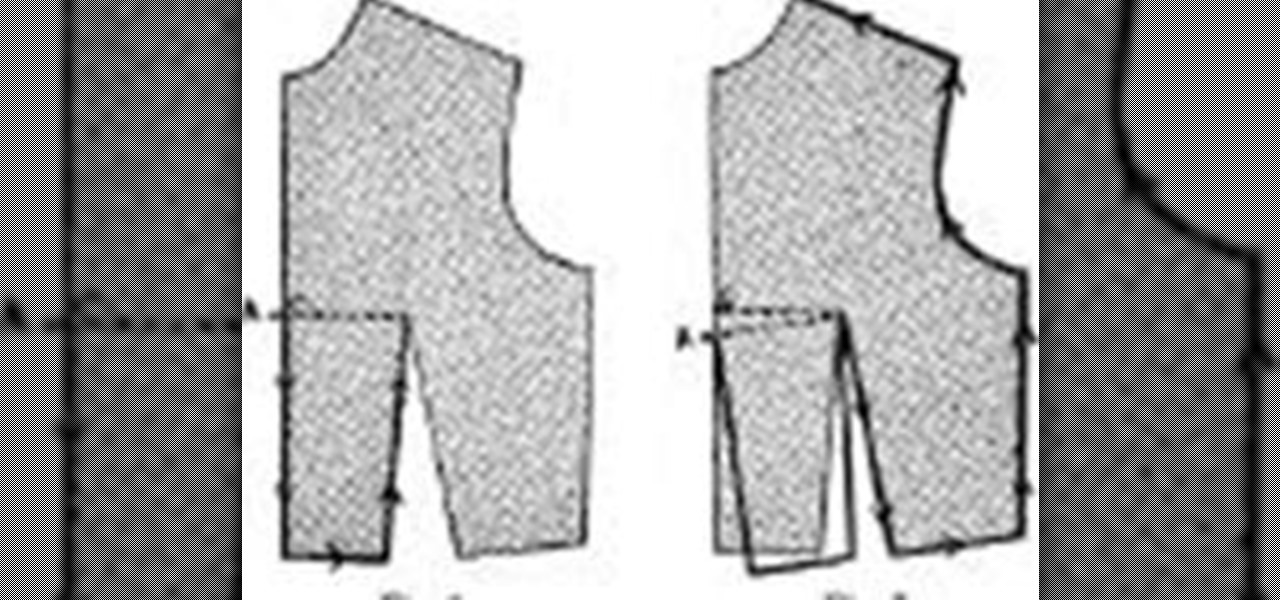
How To: Draft a Basic Bodice Pattern
Unlock the secret to clothing design. If you can draft and sew a basic bodice you can design virtually any kind of t-shirt, blouse or other top! Attach a skirt and you now have a dress! Take your measurements by using the guide in the " How to Take Your Measurements" section and let´s get started! If you would rather just whip up an easier beginners t-shirt go to How to Design a Quick T-Shirt.
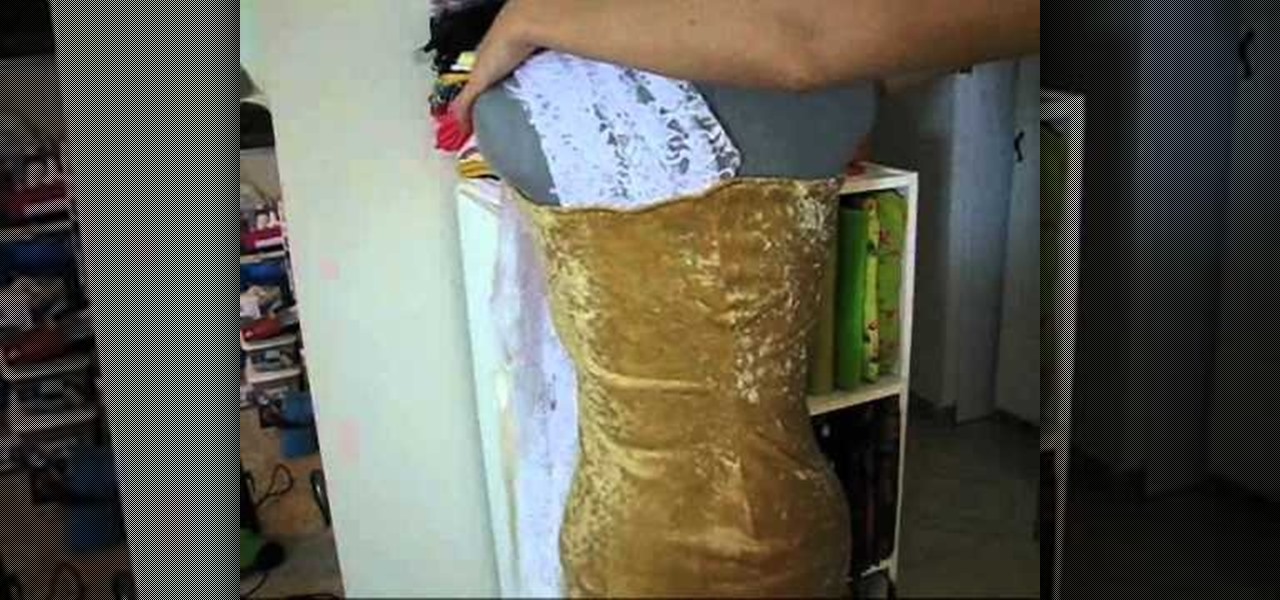
How To: Create a lacy gold and white greek goddess costume for Halloween
Really the question is why you WOULDN'T want to look like a greek goddess for Halloween. After all, many of them, like Aphrodite and Eos, are damn near perfect in all their glowing gorgeousness, at least we assume from the artistic depictions.

How To: Make elegant, hand-sewn fabric flowers out of lace scraps
Add an elegant touch to your next crafting project! You can turn scraps of lace fabric, cut into circles, into beautiful little flowers. Fold your circles into small wedges, sew them together at the base and then attach them to a string necklace or your favorite piece of clothing!
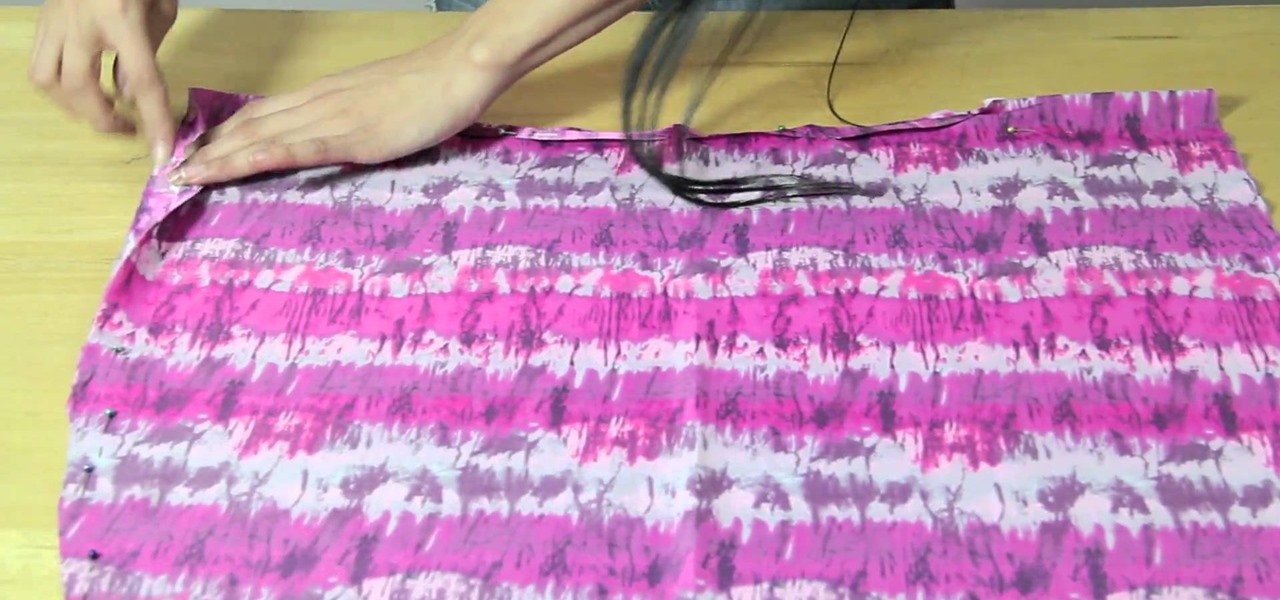
How To: Make DIY curtains for any window
Having trouble finding curtains that fit your decor and your price range? Why not make your own? Watch this video to learn how with a little sewing skill you can make curtains yourself that will match any decor and fit any window.

How To: Make a pillowcase and re-cover a pillow
Pillows are one of the most important things you own. If you've had the same pillowcases forever and they are threadbare and faded, why not make new ones? This video will show you how to make a fun pillowcase from scratch.
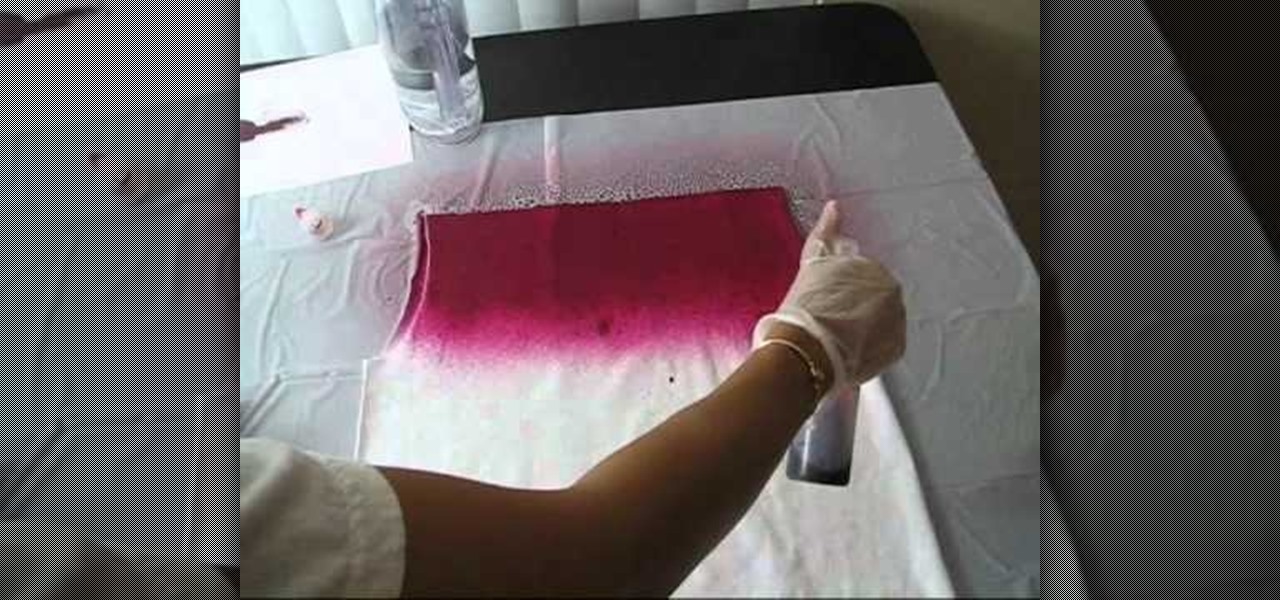
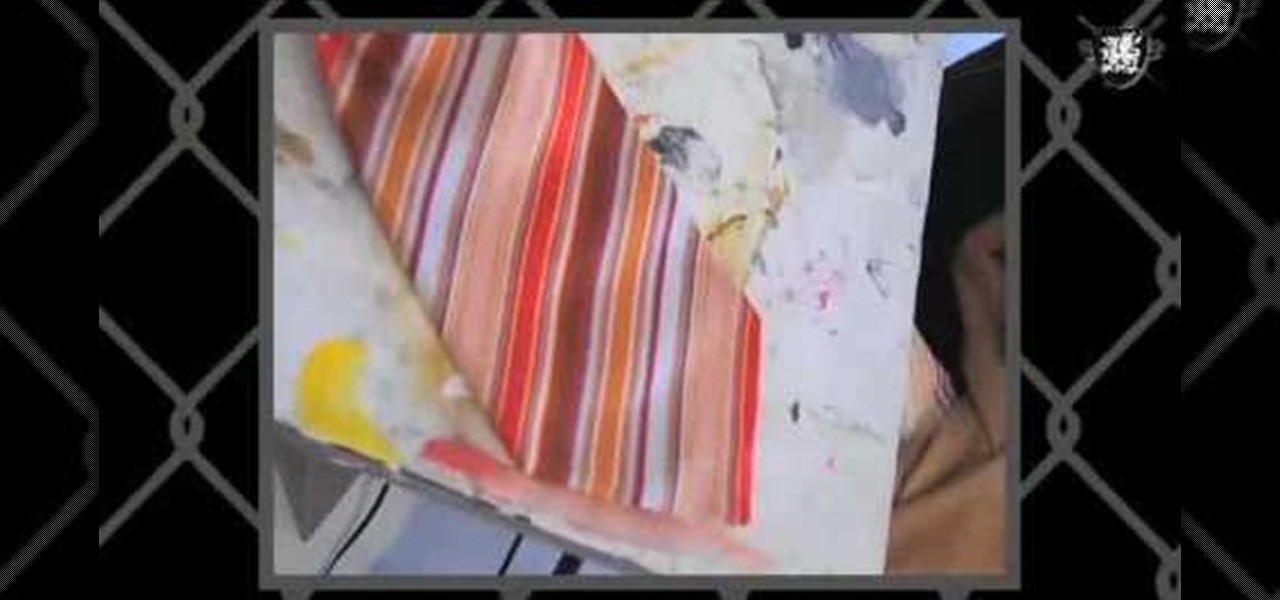
How To: Make a red and white ombre shirt with loose flapper fringe
The ombre fashion trend began a few seasons ago on all the biggest fashion runways, from Alexander Wang to Michael Kors. And the fun, colorful trend is still going strong. Ombre simply describes the fading of one color to another, from high saturation to (usually) white or another lighter color.
How To: Sew an easy centered zipper onto clothing with a sewing machine
If you already know how to sew a lapped zipper, than it's time to move onto the centered zipper, and that's exactly what you'll learn in this sewing tutorial. There's easy-to-follow directions for sewing lapped zippers using a basic sewing machine. If you don't have a sewing machine, check out all of the other zipper sewing tutorials. A center zipper is easy on any type of clothing fabric!
How To: Pick a sewing machine and thread a sewing machine and serger
Did you think sewing was complicated? Then don't even get us started on threading a sewing machine. Each sewing machine is slightly different in the way it's constructed, which makes threading a puzzle (read: pain in the butt).
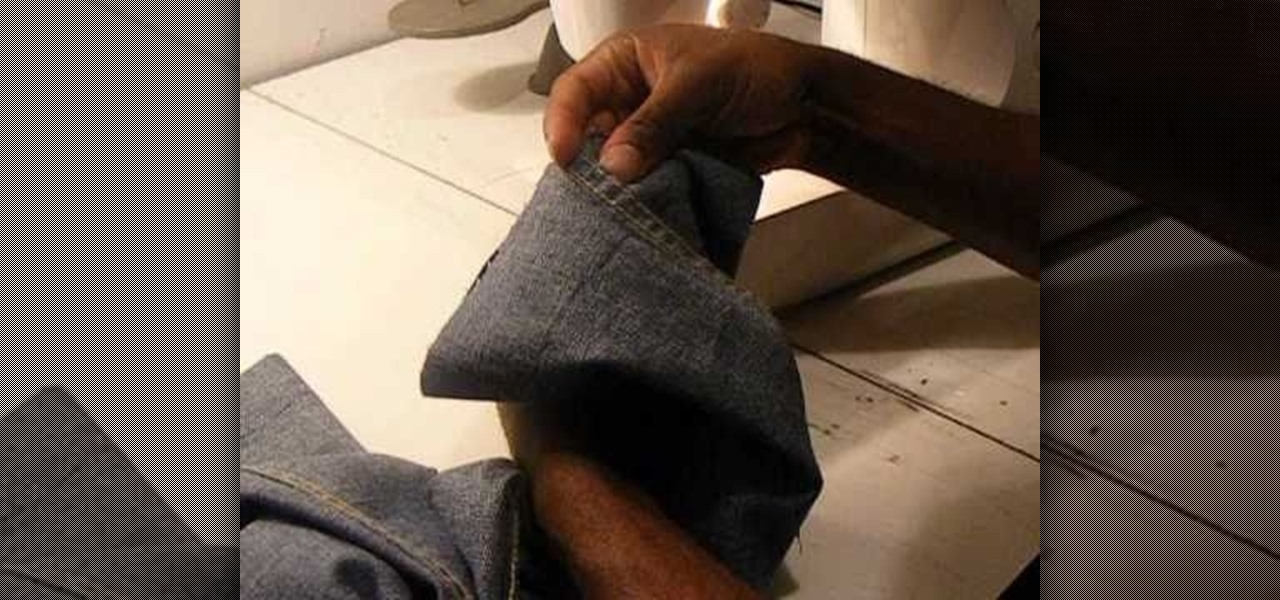
How To: Shorten jeans length by cutting, measuring and using a sewing machine
Are your jeans to long? How about your khakis? Corduroys? No matter what kind of pants you have, if they're too long, you can easily shorten the length with a few snips, a few marks and a basic sewing machine. The Brother LX-3125 compact sewing machine is used in this video, but any will do. See how to take a pair of jeans, cut and resew them like new again!
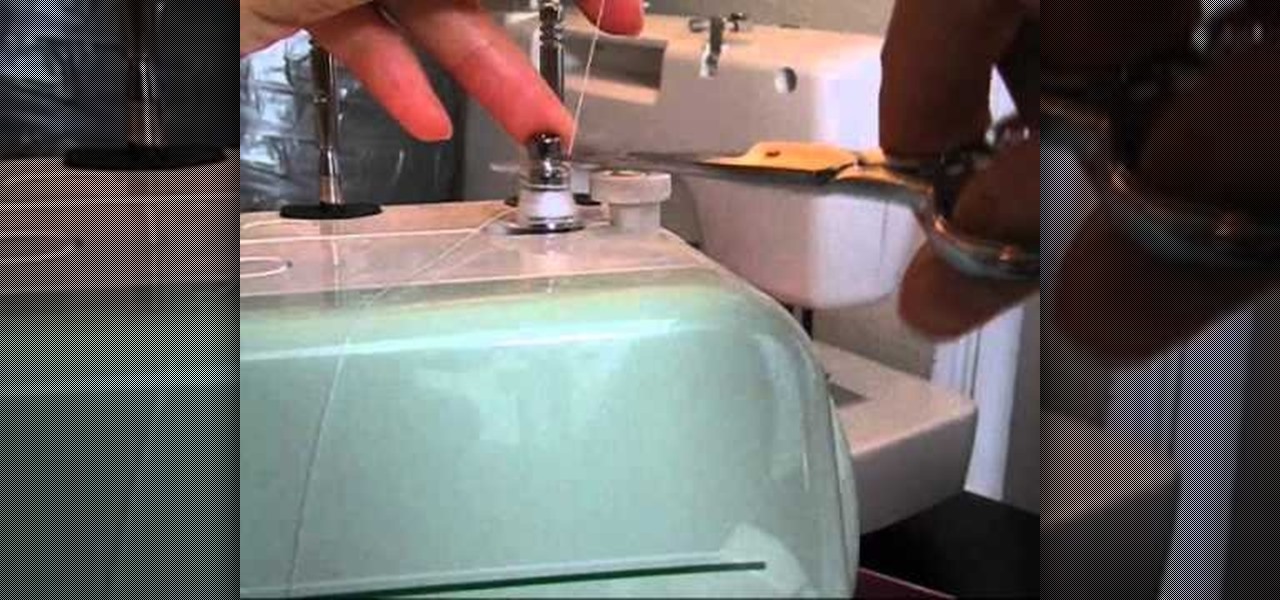
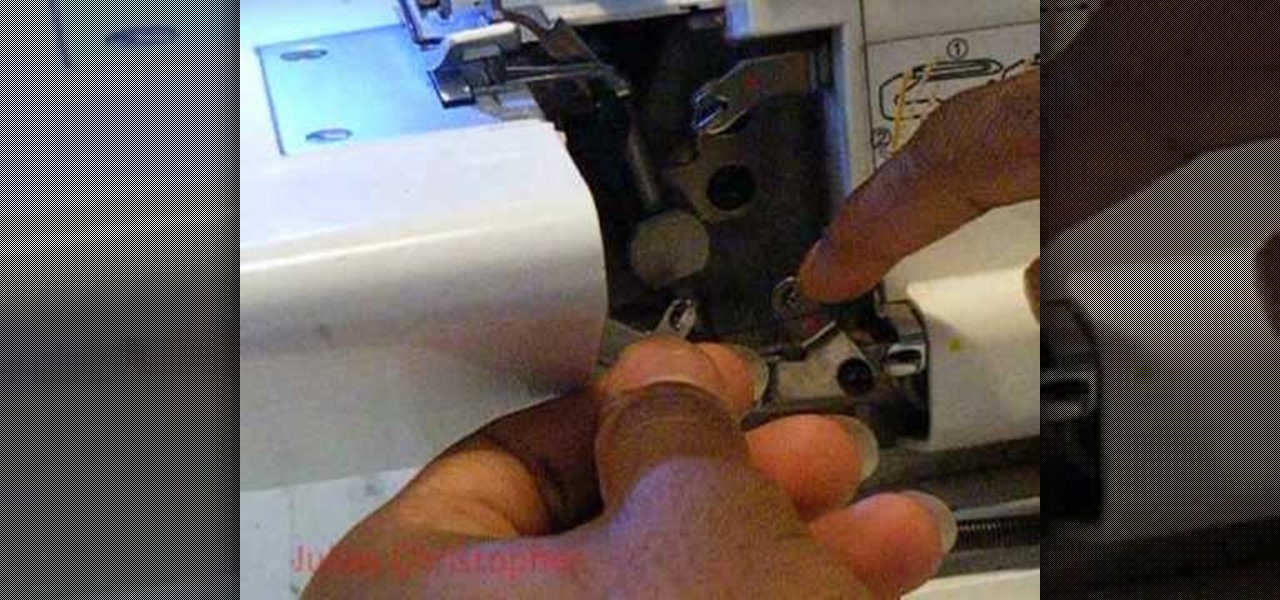
How To: Change thread colors in a Singer Finishing Touch serger sewing machine
If you have yourself a serger sewing machine, and you've already learned how to thread a Singer Finishing Touch serger sewing machine with differential feed, then you're eventually going to have to change the thread colors. This tutorial will show you how easy it is to rethread (without unthreading) the Singer serger (14SH654), which has 4/3 thread capability. Singer also has a PDF available with detailed threading instructions.

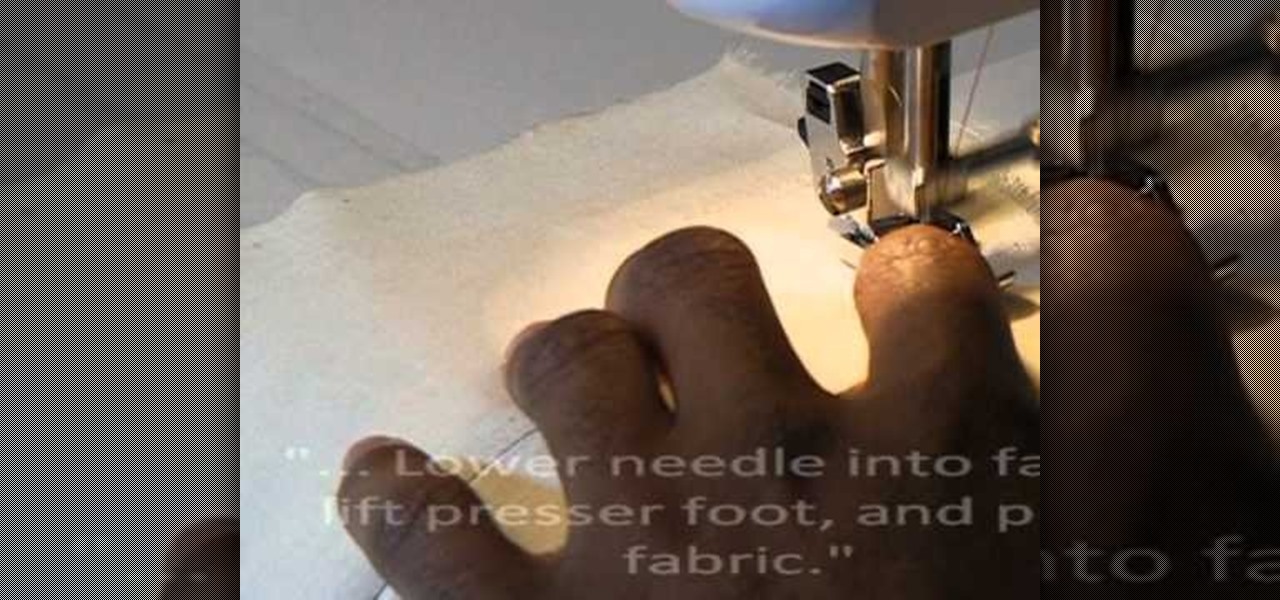
How To: Make a blind hem stitch using a sewing machine
In this sewing tutorial, you'll need a sewing machine to make a blind hem stitch. The sewing machine used is a Brother LX-1325 compact and lightweight model, but you can use a similar brand and model. To make a blind stitch, you'll need to fold the fabric the way you normally would when sewing a hem stitch, then you'll pin it in place on the inside. Watch and see how it's done! Then you start sewing. This stitch will be hardly noticeable.

How To: Sew a lapped zipper with a sewing machine
These are some easy-to-follow directions on a sewing technique fore sewing lapped zippers on garments and clothing. You'll use a basting stitch to close the zipper seam from the hip to the waist, then you'll serge the center back seam edges separately. To see the rest of the sewing process, watch the video!
How To: Make a "purt" or a "shirse"
In this video, we learn how to make a "purt" or a "shirse". To start, grab an old shirt with buttons and measure out an area from the top to cut down. After this, cut the area out cutting the top and the back of the shirt. Then, take a sewing machine and sew the sides together. After this, grab a tie that you have and wrap it around the front of the shirt that you have just sewed. Now, when you want to look like you are wearing a shirt and tie without actually wearing one, you can slip this o...

How To: Make a bohemian loose sleeve maxi dress with Gianny L
A maxi dress, or a loose dress with an empire waistline, is not only a summer staple. If you add some length to the bottom hemline then you can easily wear a maxi dress during the fall that'll keep you warm, comfortable, and gorgeous looking.
How To: Recycle old fabric into a fashionable banded off-shoulder top with Gianny L
There's no need to drop mad stacks at a department store in order to wear clothing that looks fashionable. In fact, you may not know it yet, but you probably have a few gems waiting to shroud your figure in your garage.
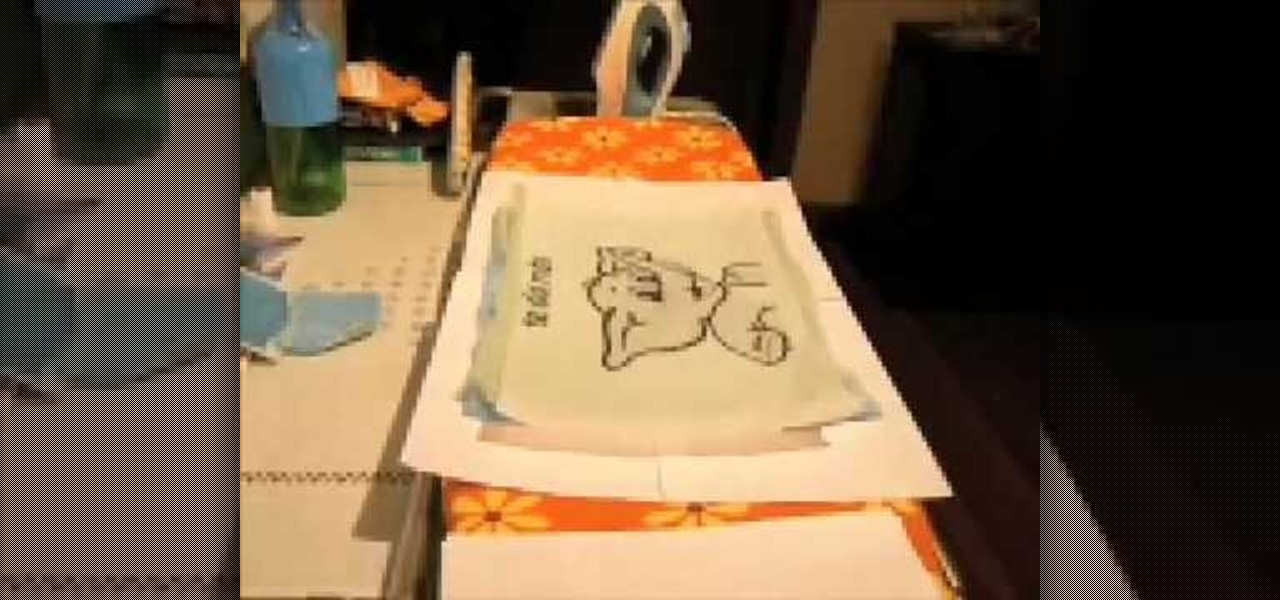
How To: Repurpose plastic bags into tote bags, pouches, and a wine bag
Let's face it: Despite knowing that we should always carry around our recycled, reusable tote bag to the store to cut back on plastic bags, we've still got a whole closet load at home. It's nearly impossible to always have a reusable tote with you, or enough usable totes for each shopping trip.
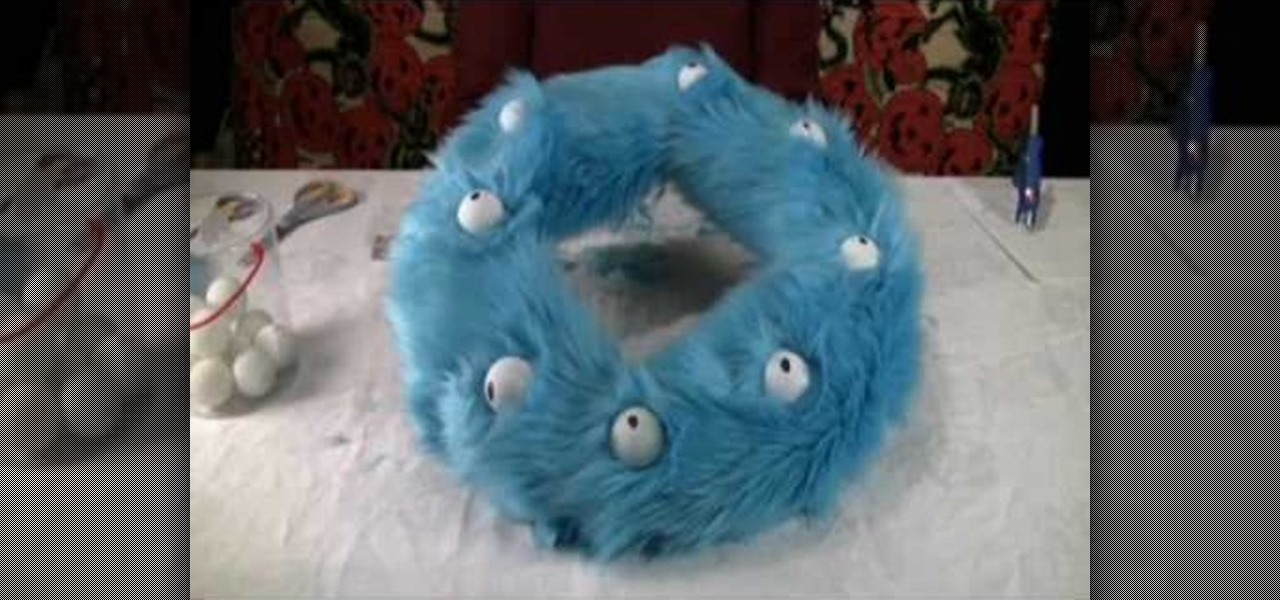
How To: Create a fun and kooky fuzzy monster eyeball Halloween wreath
This wreath's got its eye on you...literally. Freak out trick-or-treaters and perplex adults with this kooky and spooky monster eyeball Halloween wreath. Skeletons and spiders? Psshh, that's SO last year. This wreath is made of fuzzy blue "monster" fabric and adorned with eyeballs made from golf balls.
How To: Sew a great DIY cosplay costume
Sewing your own cosplay costume requires a massive investment of time, energy, and sewing skills. Before you get started, you should watch all of this three-part video tutorial on sewing cosplay costumes. It covers everything from buying fabric to the actual sewing and everything in between, and should have you ready for you next anime convention in no time.

How To: Make a DIY Silent HIll 1 Nurse cosplay costume
Silent Hill might be the single scariest game of all time, and it has spawned many sequels and films of wide-ranging quality. If you like the games and want to cosplay as one of the sexy yet demonic nurses from Silent Hill 1 and the film, this video will teach you everything you need to know, from what fabric to get to the pattern and how to put it all together.
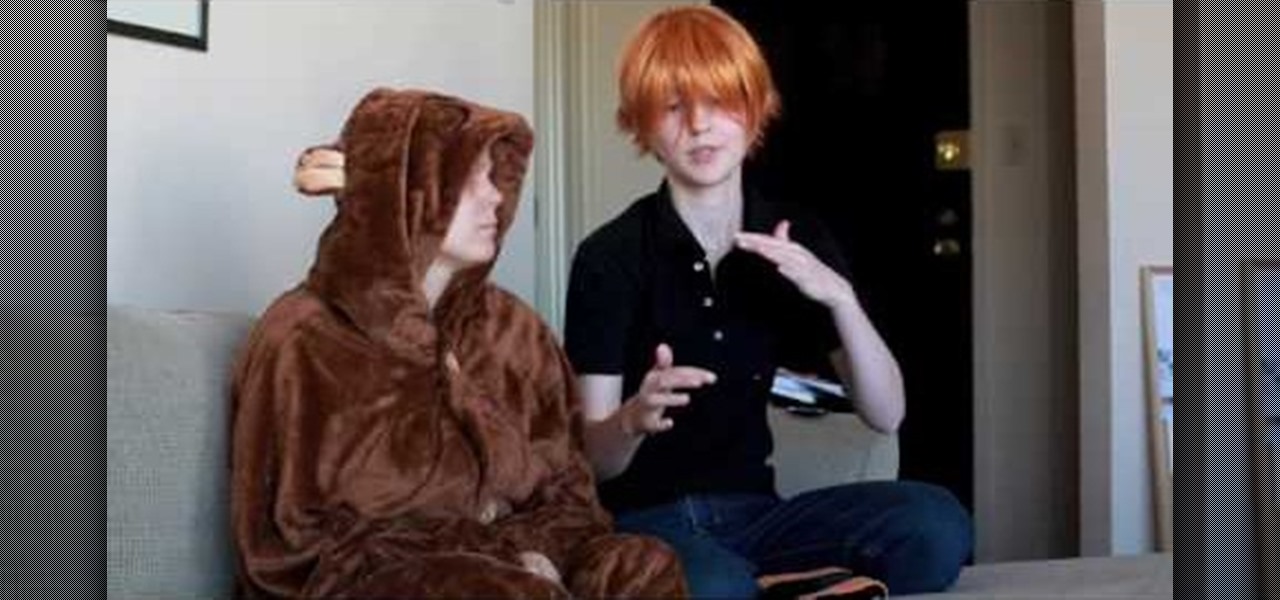
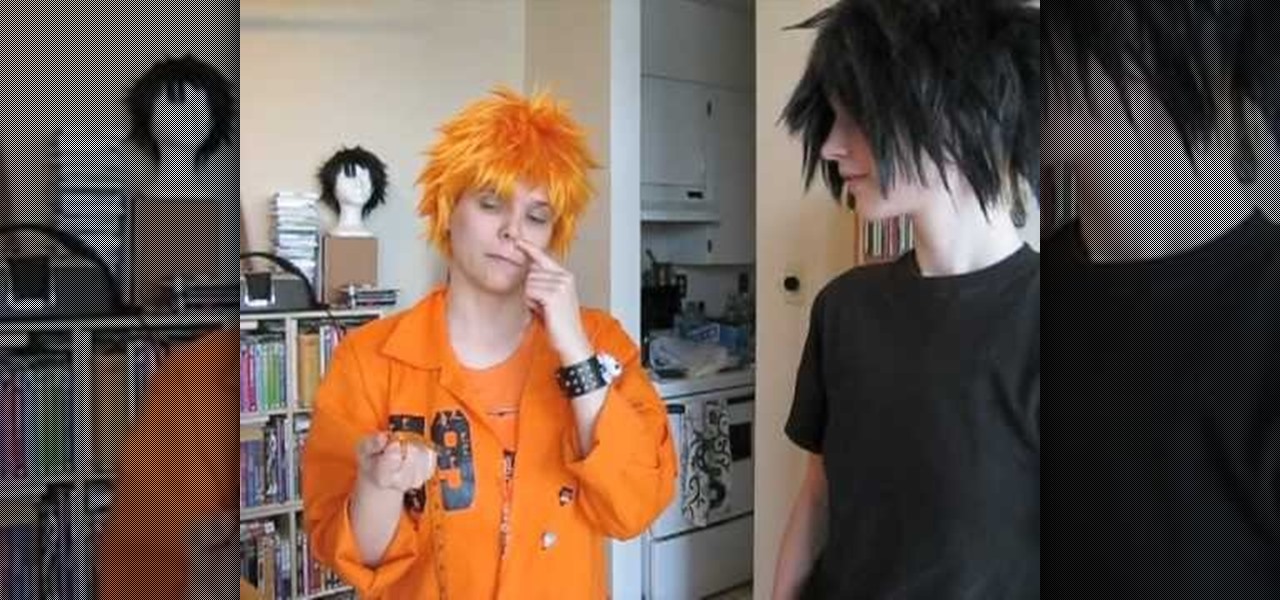
How To: Choose the right character to make a costume for and cosplay as
Cosplay is a fine art these days, and if you want to get into it, deciding which of the thousands of characters you have to choose from to cosplay as can be tough. Making a good costume is hard work, so you want to make sure you choose the right character for you before you invest your time and money. This video features several regular cosplayers giving you all sorts of tips and advice for picking your character based on body type, personality, and other factors.
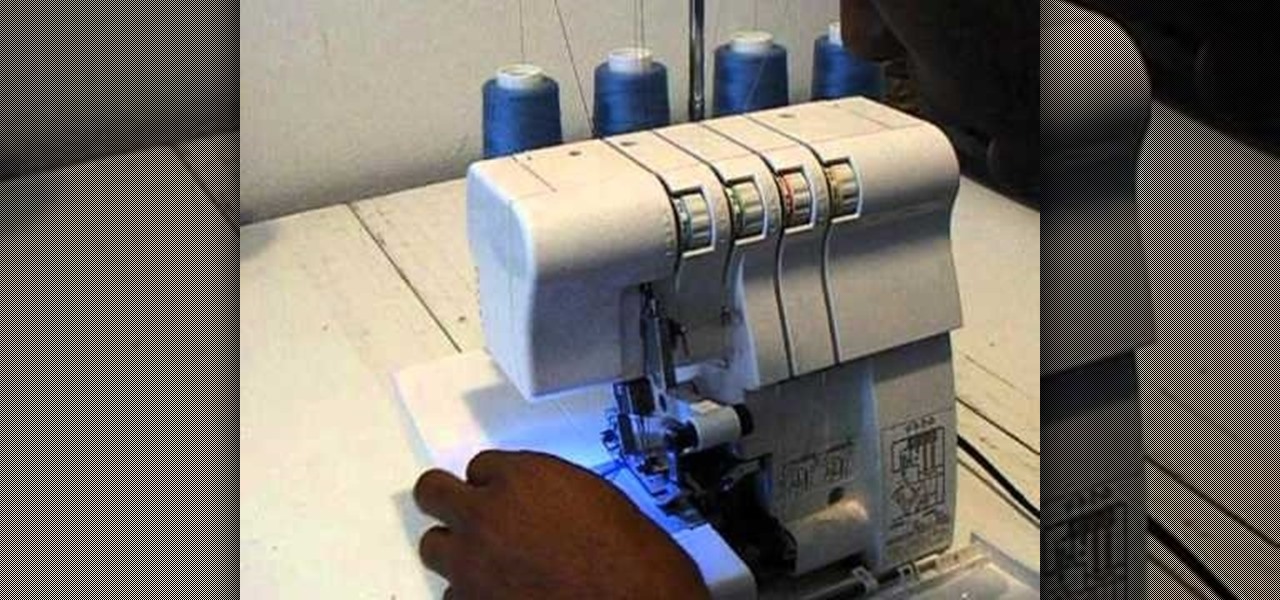
How To: Thread a Singer Finishing Touch serger sewing machine with differential feed
Sewing with a serger sewing machine can be quite difficult, if you're lucky enough to own one. Even threading the beastly sewing machine can be pretty tricky. But this two-part video tutorial should help you to properly thread one. This covers the threading of a Singer Differential-Feed Finishing Touch serger sewing machine (14SH654), which has 4/3 thread capability. Singer also has a PDF available with detailed threading instructions.

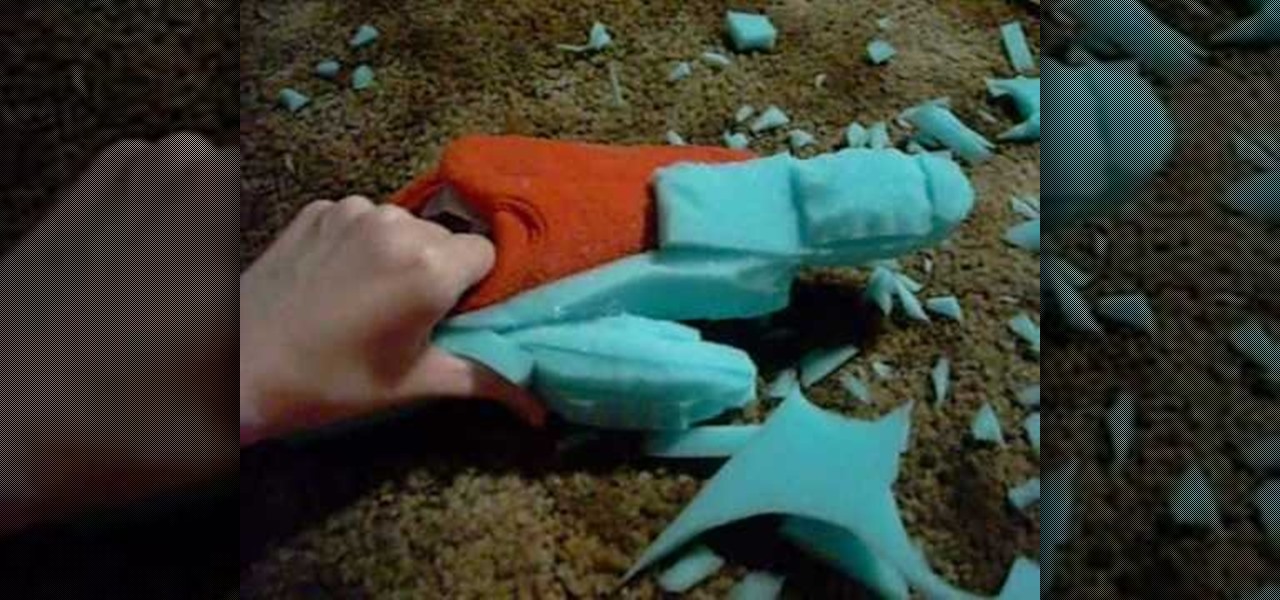
How To: Make furry gloves for a fursuit
If you want to go furry, don't want to spend the money on a professionally-made fursuit, and have some sewing skills, you've come to the right place. This video will help you get your costume started by showing you how to make a pair of fursuit gloves yourself. They are durable, easy to move around in, and super cute.
How To: Make koala footpaws for a fursuit out of slippers for cheap
If you're into fursuits, check this video out. It will show you how to make cheap, durable footpaws for a koala, lemur, or other primate costume out of slippers and other cheap materials. Now get out there and fur it up!
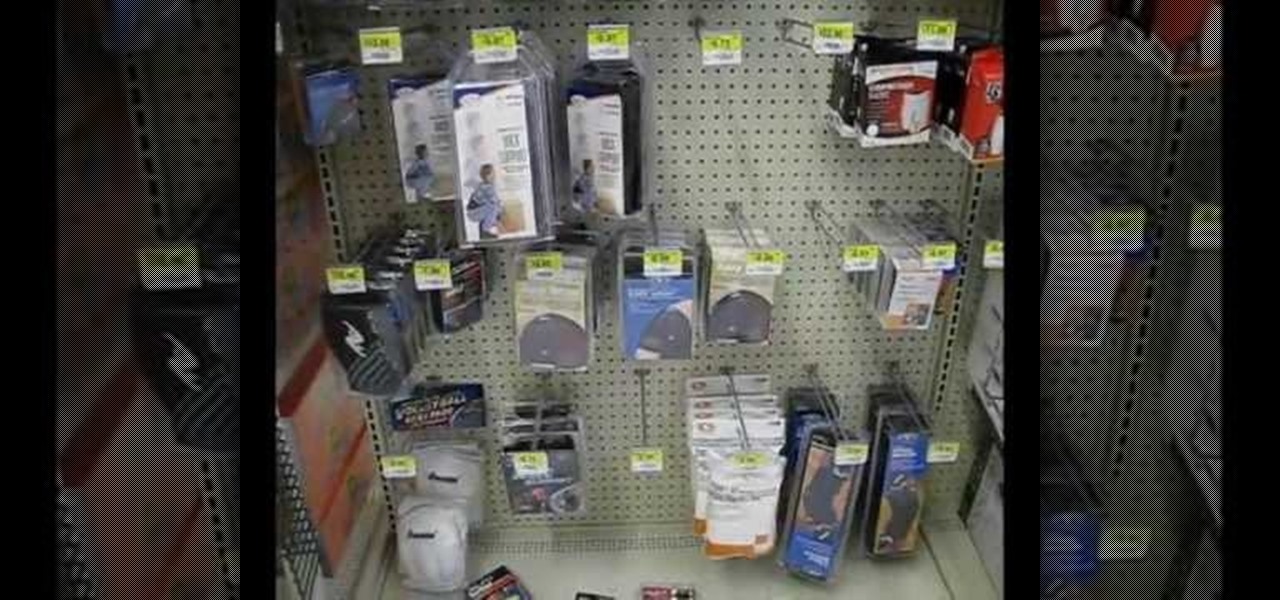
How To: Use and get the right materials for making a fursuit or other costume
Cosplay-friendly conventions are going through a sort of renaissance right now. AnimeExpo, ComiCon, A-Kon, PAX. All over the country people are dressing up as anime characters and furry animals and filling exhibition halls to mingle. If you want to have a really badass costume, you're going to need the right materials. In this video, a semi-professional costume-maker will walk you through the materials you need to make a great fursuit or other elaborate costume and where to get them.
How To: Make your own customizable tank top pattern for beginners
What's the most efficient way to become a fashion designer? By challenging yourself to creating your own clothes from the ground up. And while you probably already know this means cuting, sewing, and embroidering your fabrics, it also means making your own patterns.

How To: Make a monster hoodie
In order to make a monster hoodie, you will need the following: a hoodie, black felt, white felt, fabric glue, scissors, pencil, and tape measurer.

How To: Make a hedgehog plushie
In this tutorial, we learn how to make a hedgehog plushy. First, choose a fabric to use, then cut out the shape of it. Once you have done this, cut it out again and pin the two pieces of fabric together. After this, use a sewing machine to sew all of the sides together, leaving a hole in the bottom. Now, turn the hedgehog inside out and then iron him flat. Place some stuffy cotton into the plushy until it is as full as you would like it. Then, sew the hole together so none of the stuffing can...
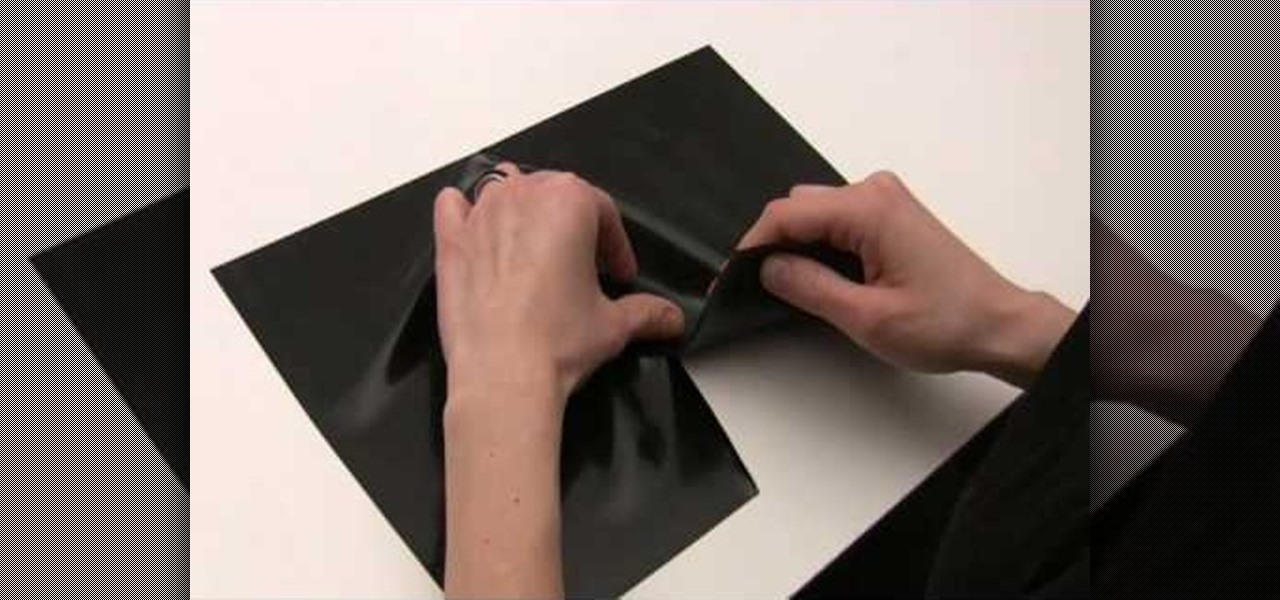
How To: Glue straight and curved latex seams
In this tutorial, we learn how to glue straight and curved latex seams. First, press each piece of latex down so it's just touching in the middle. After this, use your finger to press down on the middle, then take a roller and roll over the middle until it's perfectly straight. Now, stretch out the latex to make sure that both sides are stuck together. To glue curved latex seams, place the pieces together slowly, pushing your finger down in the center as you go to make a curved effect. Once y...
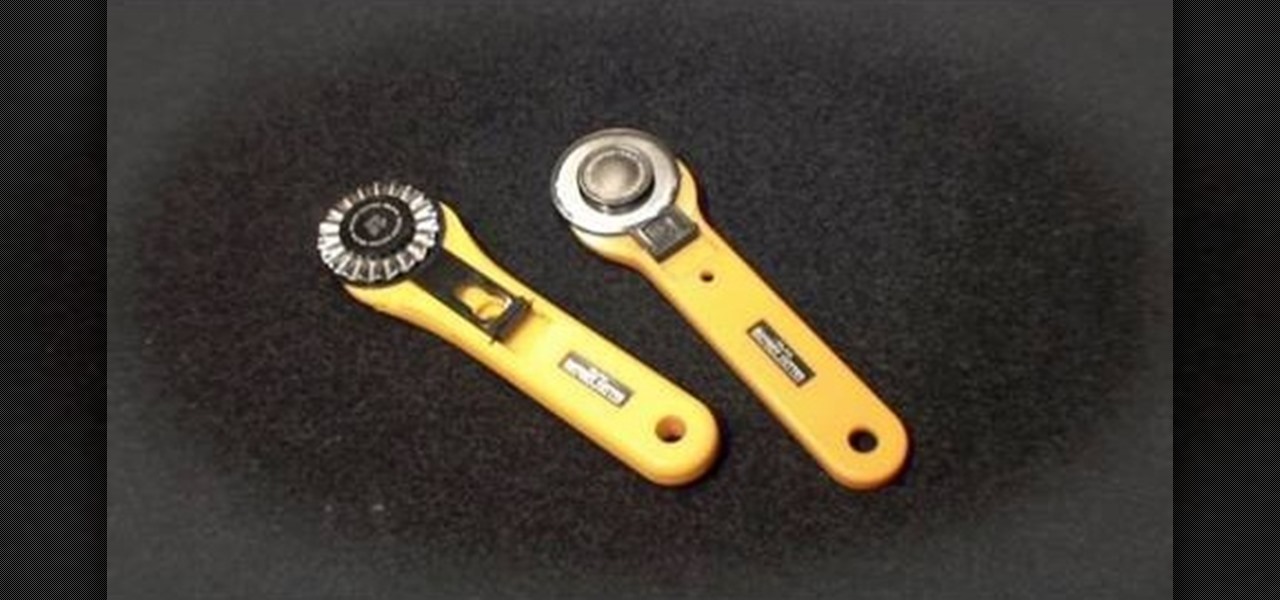
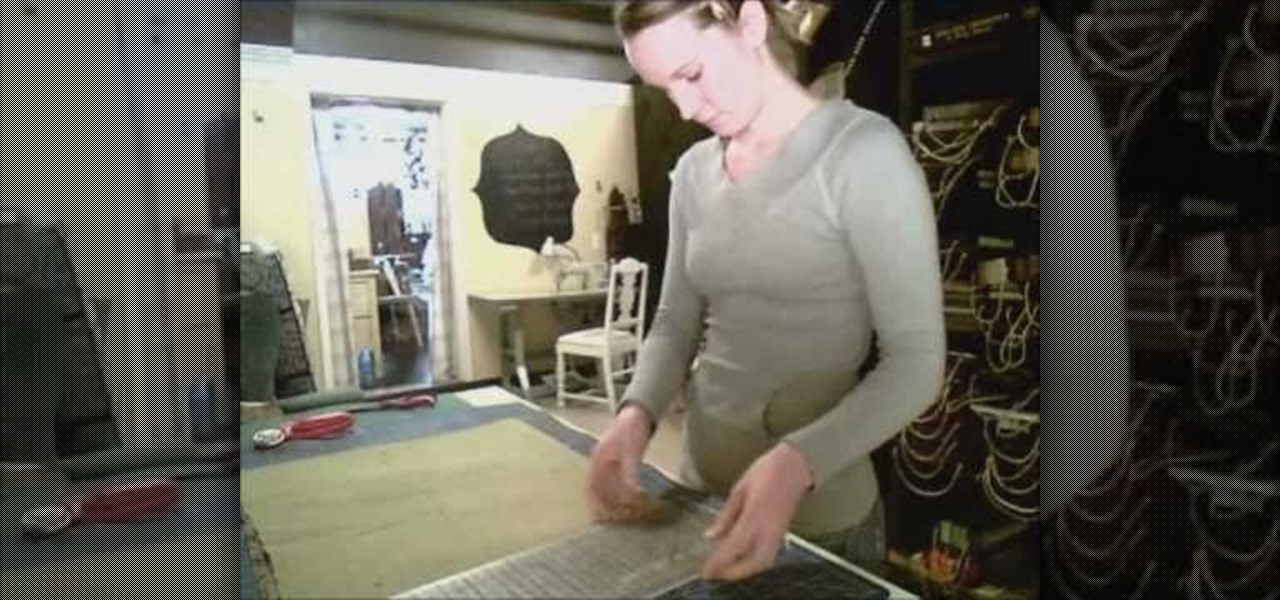
How To: Use a rotary cutter
In this video, we learn how to use a rotary cutter with Kenneth D King. Before you begin, make sure to use a cutting mat so you don't damage the top of your surface. To cut your item, you simply place the rotary cutter on the bottom of the item, then run it through until you have reached the top, or the desired area you want to cut. If you want to cute with a different shape, then you can purchase different cutters that will create shaped edges on what you are cutting. After this, place your ...
How To: Make a pair of distressed jeans
For just a fraction of the cost of a pair of expensive designer distressed jeans, you can make your ripped pants own at home! With just a few household items and a bit of time, you can get that worn appearance by adding a few holes and using bleach to get the right faded look.
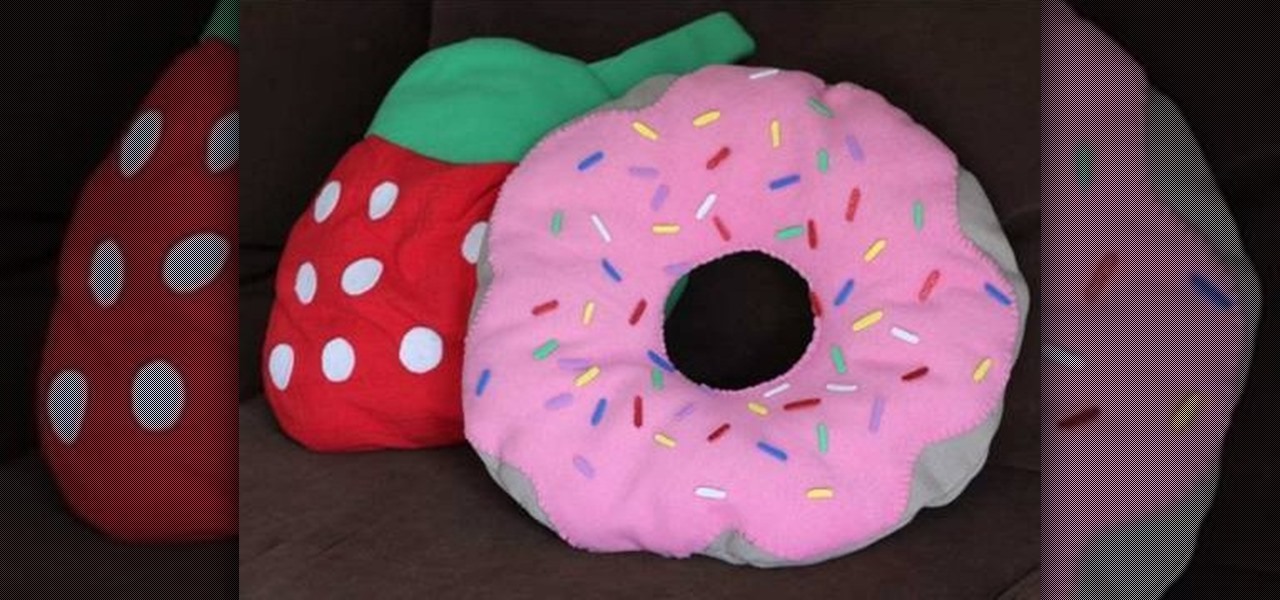
How To: Make a kawaii donut pillow with strawberry frosting and sprinkles
Homer Simpson would have an absolute fit over this delicious-looking kawaii donut pillow. Embellished with a thick layer of strawberry frosting and then topped lightly with candy-colored sprinkles, this pretty donut looks almost good enough to eat.
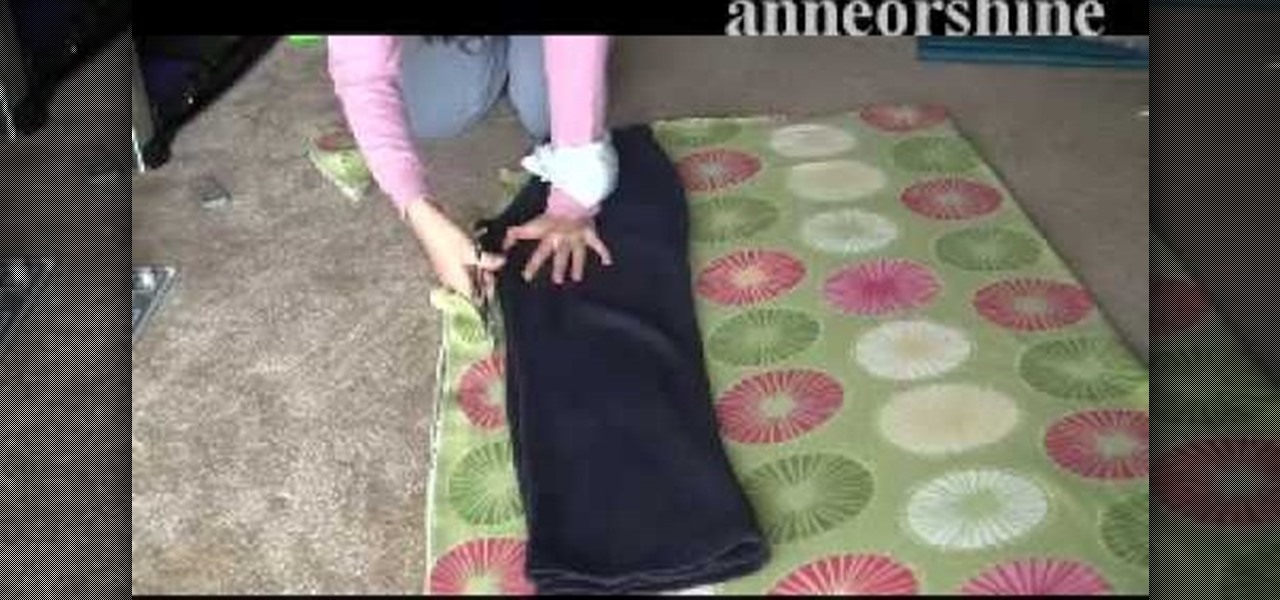
How To: Make cozy fleece pants for a Christmas present
We know how hard it is to buy a present for a woman during the holidays. 99% of the time she's not going to wear what you buy her, and giving her a practical gift like a blender or a new microwave - despite your best intentions - is just cause for a good talkin' to. So how do you indulge that special woman in your life this Christmas without getting slapped?
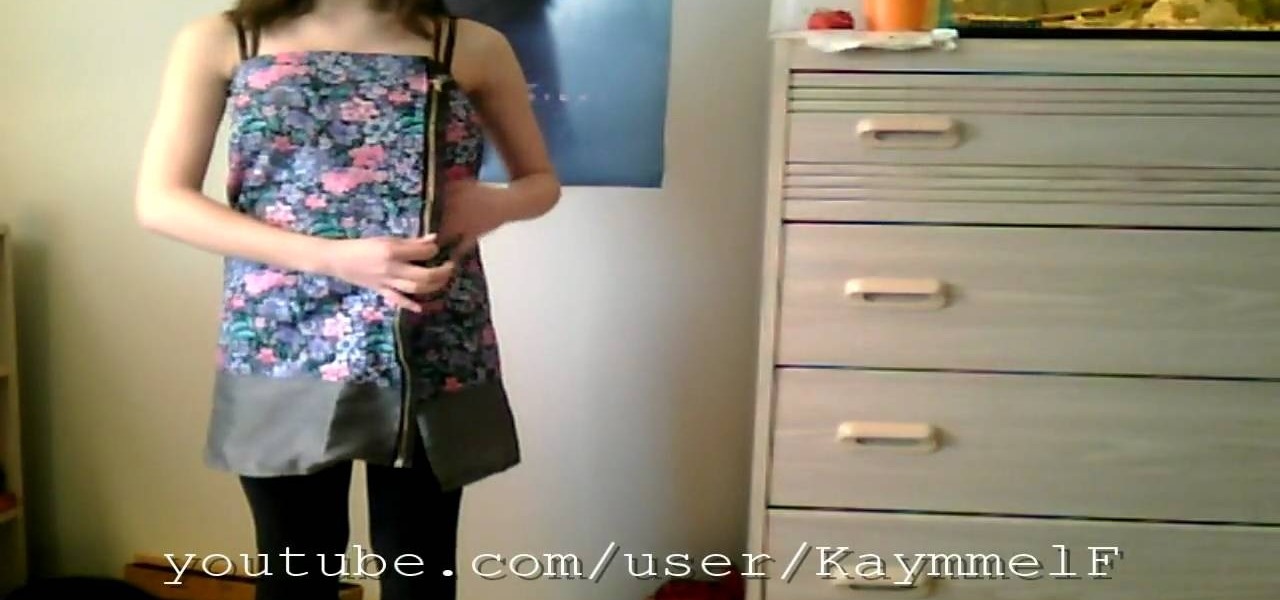
How To: Construct an edgy floral dress with a zipper front
You really can't go wrong with florals and zippers. The two fashion trends are indeed opposites, with florals being overly dainty and zippers being more punk rock, but when you combine them together you achieve a striking balance.
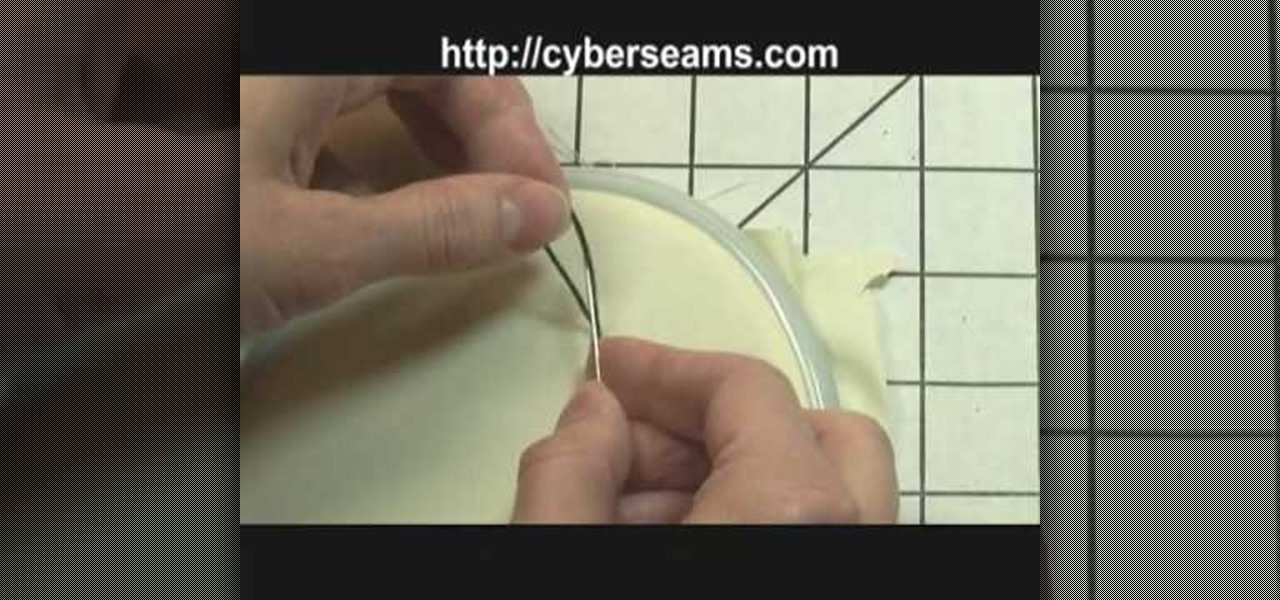
How To: Tie off when sewing by hand
In this video, we learn how to tie off when sewing by hand. First you want to sew your fabric and complete your desired project. Next, you will push the needle into the bottom of the fabric where you won't be able to see the tie off from the front. Now, loop the thread and push the needle with thread through it, before you finish, push the needle through one more loop. Now, pull tightly until there is a tight knot at the bottom of the thread. Now, take your scissors and cut tightly next to th...

How To: Setting up your sewing machine
In this video, we learn how to set up your sewing machine. First, place the thread onto the top pin and pull it down. Then, wrap the thread around the bobbin pin and then push the pin onto the top next to the pin. Now, run the foot petal and keep threading until the spool is fully threaded. Next, place the spool in the bottom of the machine and place the lid back onto the bottom area. Now, thread the top thread down through the tension setting, through the hook, then into the needle. Now you ...
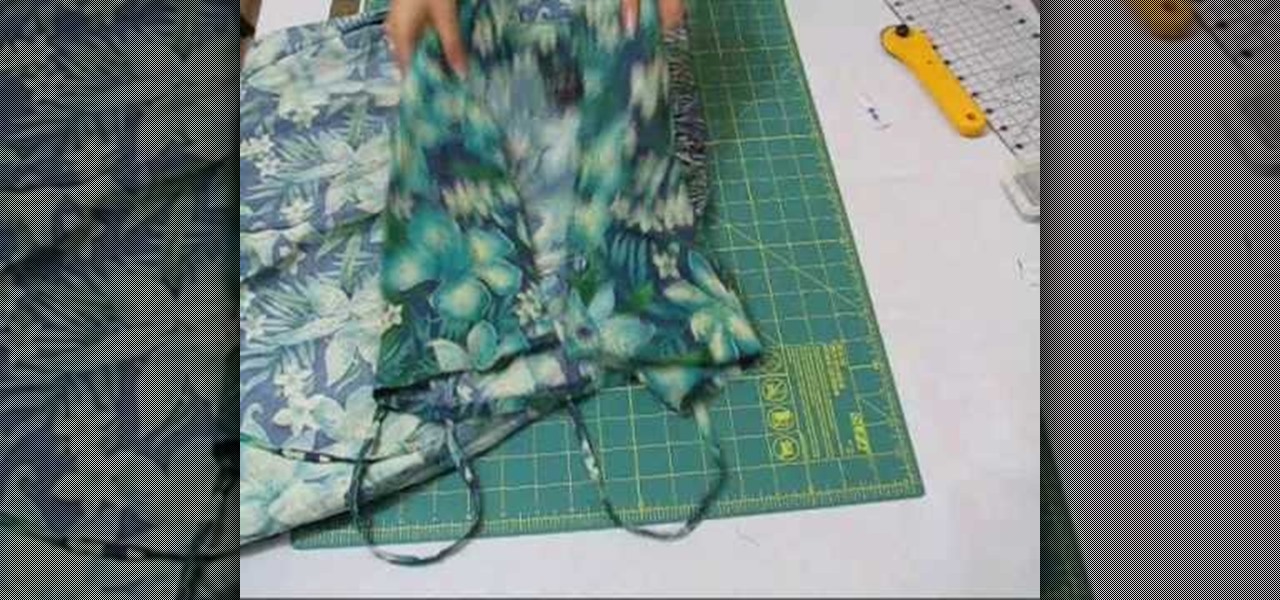
How To: Turn an old dress into a fashionable romper
Some dresses we just never get around to wearing. Like that hideous one our mom gave us with a decent tropical print but hemlines that go down to our ankles. Cute...if you live in the Pennsylvania Dutch Country. We're sure you probably have an ever accumulating stash of similar dresses that you know you'll never wear but don't want to toss either.

How To: Make cloth flowers
In this tutorial, we learn how to make cloth flowers. Start out by grabbing several different strips of fabric and folding it into a shape that makes a flower. After you do this, place a needle into the fabric so it doesn't come unraveled. After this, start to twist the fabric and then thread the needle through the strip. Now, pull the fabric up and it will scrunch up into a flower shape. Now, wrap this around a stick with a piece of fabric on it, that will become the middle of the flower. Wh...

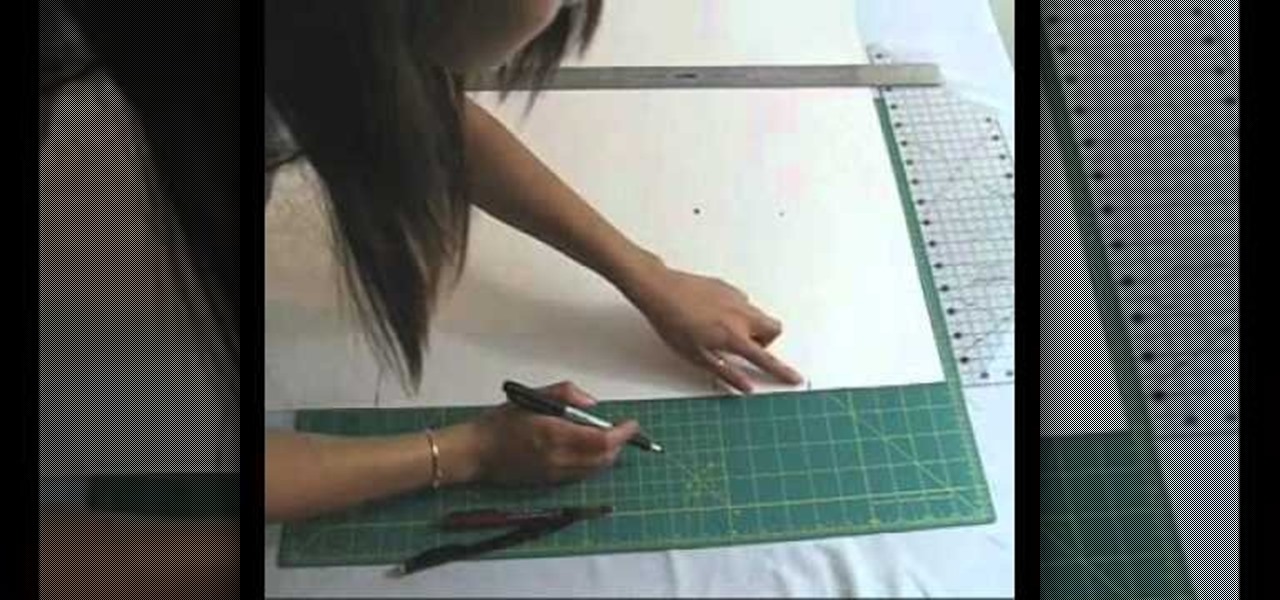
How To: Make Hand Warmers
In this tutorial, we learn how to make hand warmers. You can make this out of pockets off of an old sweater. First, grab a piece of copy paper and measure over two inches, then fold it in half. After this, measure down 1.5" and then draw a line where this mark was. After this, cut the piece out and lay the paper on the sweater, then draw a line on the paper for the thumb holed. After you do this, you will cut out the area on the sweater, then sew it around on the sides. When you are done, you...

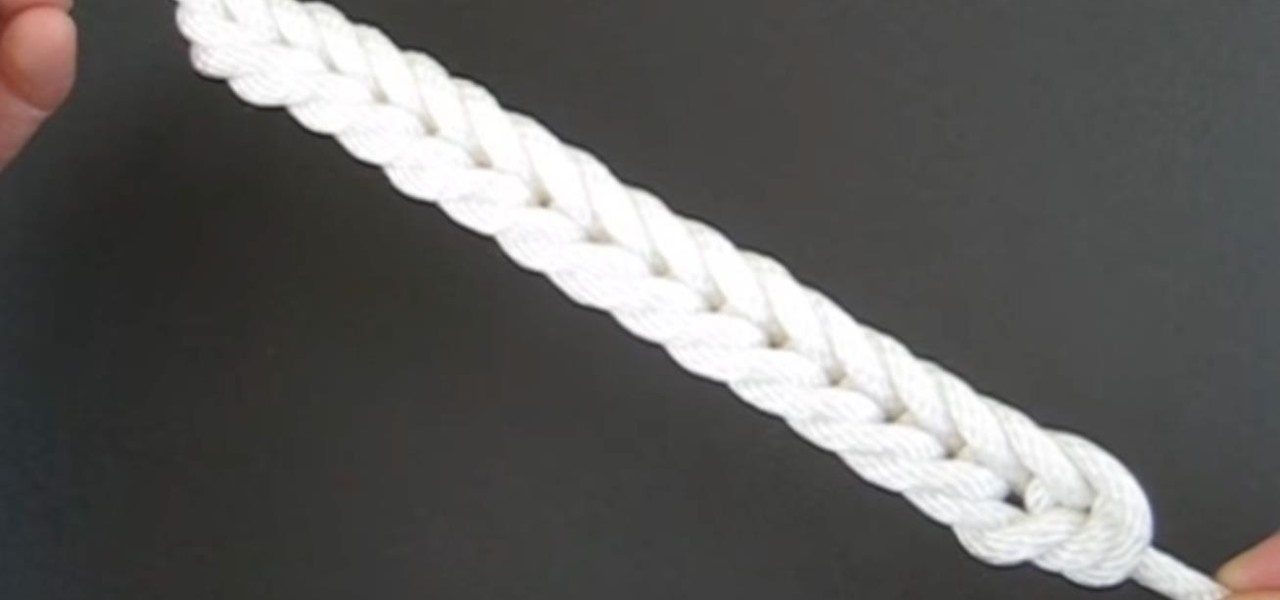
How To: Tie a triskelion knot
In this video, we learn how to tie a triskelion knot. First, create the knots base by tying a knot at the end of the ropes. After this, weave the knot by pushing a side loop into the side loop next to the end pieces. Once you push these through the middle, push the ends through the loops and then pull the sides tight until you have a "y" shape. After this, your knot will be finished and you can use this however you would like. You can turn it around the see the best design on the rope and enjoy!
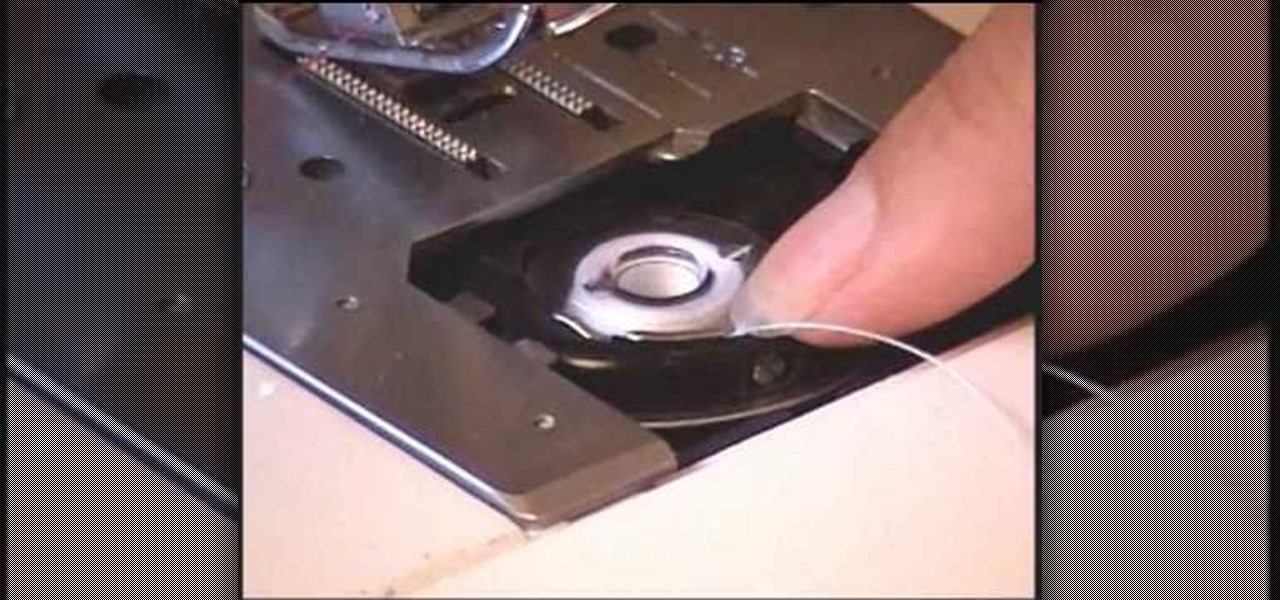
How To: Thread a horizontal sewing machine
In this tutorial, we learn how to thread a horizontal sewing machine. Start off by setting the spool on the top of the machine and placing a cap on the top to hold it on. Next, thread the string through the thread guide and then through the number one. After this, it will go down through the slit and end up at the bottom. It will go through the number two, then go up to the top and go through the number three turn. Once you reach the bottom of the machine, thread the needle, then put the bobb...