Hot Sewing & Embroidery How-Tos

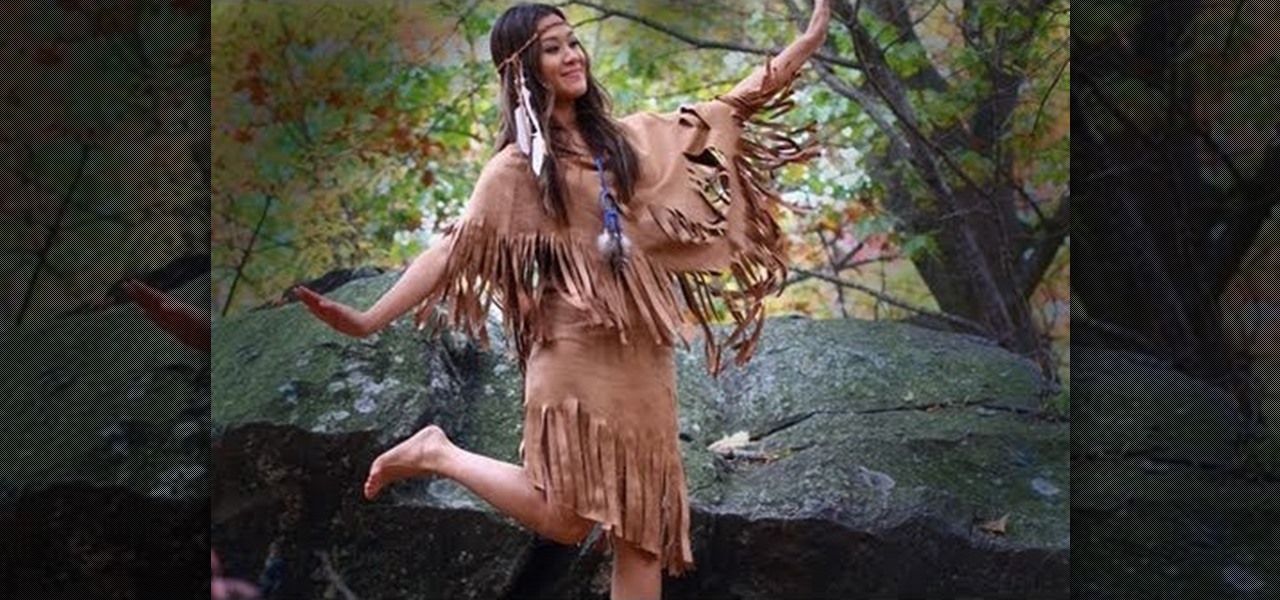
How To: Make your own Native American princess costume
Be an Indian Princess this Halloween! You can make a fun and sexy Native American costume out of just a few yards of suedecloth (faux suede), along with some beads, feathers and other Native American flavored accessories. Go barefoot, or make your own moccasins!
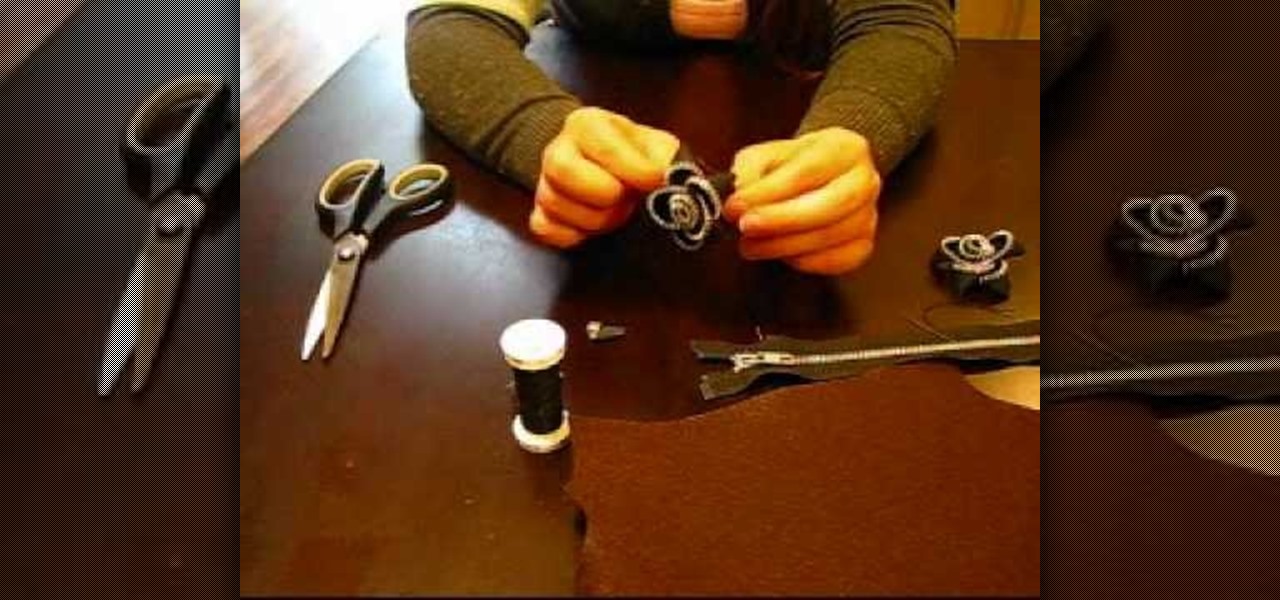
How To: Turn an old zipper into a flower decoration
Turn some old sewing basket leftovers into some fun and crafty creations! This tutorial shows you how to turn an old zipper into a trendy little flower. All you need, besides the zipper, is some needle and thread and some felt or heavy fabric to use as the base.
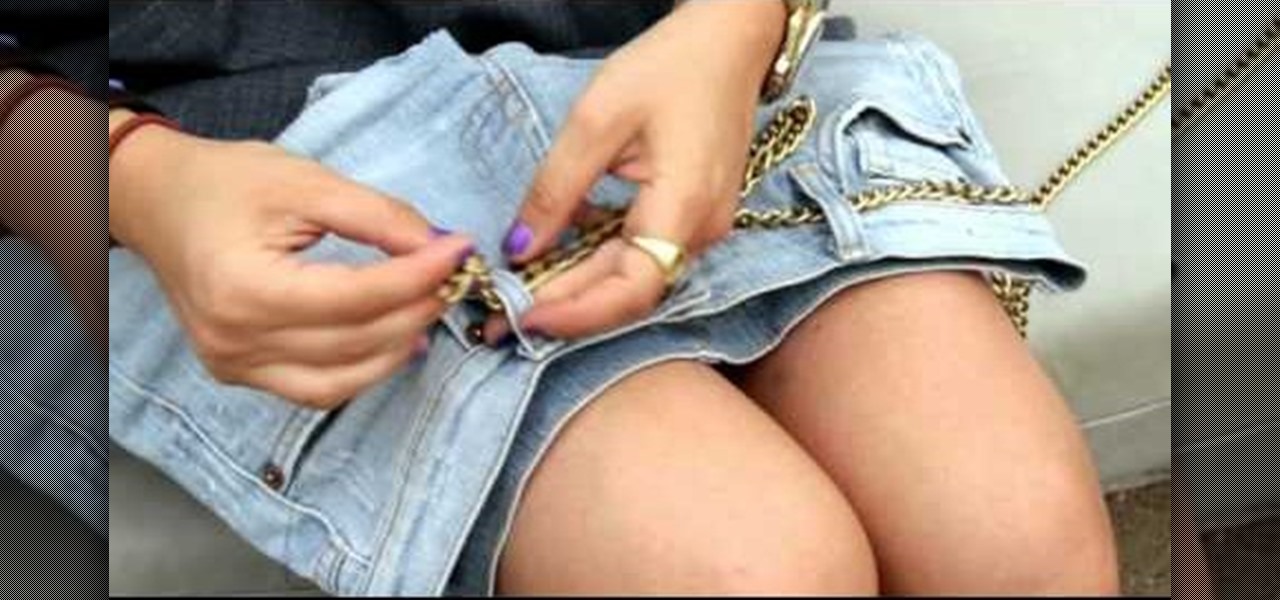
How To: Turn an old pair of denim shorts into a fun messenger bag
Repurpose a pair of denim shorts into a fun and cute messenger bag! You'll need a pair of denim shorts (or jeans), scissors, needle and thread, straight pins, pliers, chains, your favorite vintage brooches or buttons, and a length of Velcro.
How To: Make a jumpsuit with a basic torso and pant pattern
In honor of the recent proposed ban in Italy on miniskirts, this tutorial shows you instead how to make a fun, basic jumpsuit! All you'll need is a basic torso pattern and a pant pattern without any pockets. And voila, your own sexy jumpsuit!

How To: Make Katy Perry's cupcake boobs from "California Gurls" for Halloween
Katy Perry wears some seriously outrageous costumes in her music video for "California Gurls," but one of our favorite and funnest costumes were the cupcake boobs and rhinestone-encrusted Daisy Dukes she wore during the last dance sequence.

How To: Create an elaborate floral nymph crown for Halloween
Thanks to Sookie Stackhouse, whose fairy lineage was revealed recently in season 3 of "True Blood," fairies are hotter than ever, and after so much blood, gore, and overall gruesomeness with our culture's fascination with vamps and werewolves, it's nice to finally bring pretty back.

How To: Make your own long sleeved draped cardigan
This look goes perfectly with jeans, and is ideally suited for cold weather. All you need is to find a length of your favorite knit cloth and then follow along with the demonstrations here in the tutorial for your own comfy cardigan.

How To: Make the same outfit Beyonce wore in the Telephone video
Loved watching Beyonce in the music video Telephone? You can replicate her outfit quite easily! This tutorial goes step by step through the process of creating Beyonce's dress. You don't even need a pattern, just fabric in the right colors!
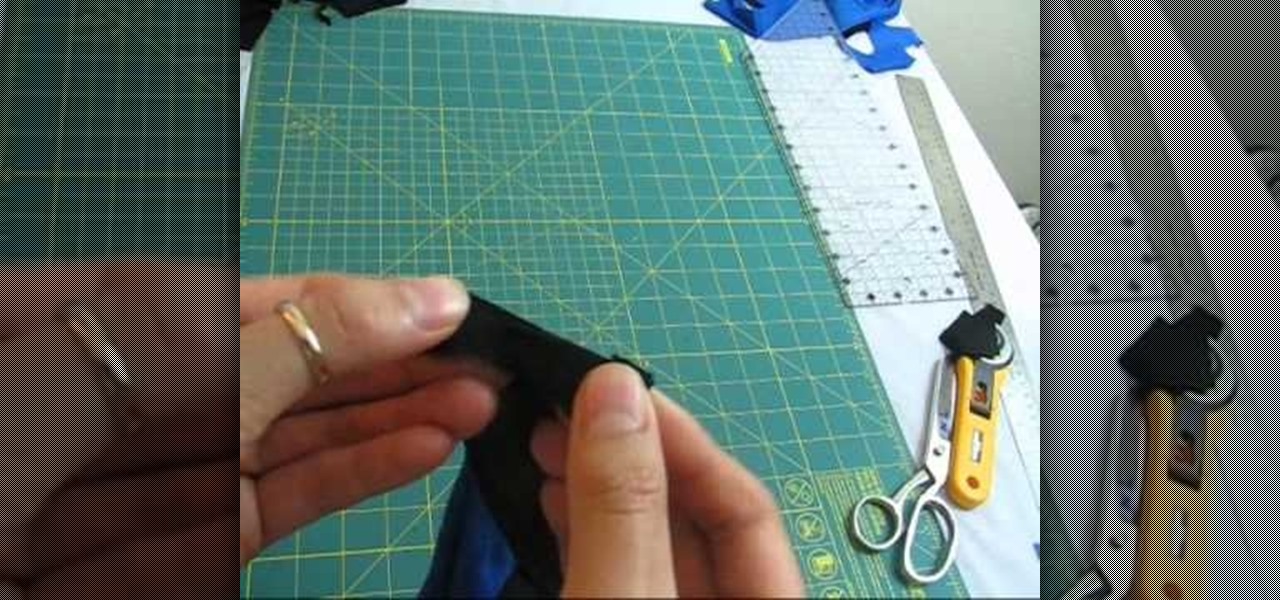
How To: Make Kitana's sexy fighter costume from "Mortal Kombat" for Halloween
Kitana from "Mortal Kombat" was the original gal whos looks literally could kill. Killer curves plus killer butt-whooping skills? The girl knew how to work it.

How To: Make a stuffed horse toy with fake fur
This tutorial shows you how to sew together a plushie toy horse, complete with mane and tail. You'll need to use some fake fur and fleece to create this, and this tutorial shows you precisely how you can work with fake fur to get the effect you want.

How To: Make fur suit hand paws
In this tutorial, we learn how to make fur suit hand paws. First, take your fabric that looks like fur and has a cotton lining. Then, cut out the different pieces you need to create the paw shape. Now, sew the pieces that you cut out onto the fur and then cut it into the shape to fit onto your hand. From here, you will sew this together with a bottom piece, then you can sew the paws together and place it on your hand to wear. Add in any additional details you would like, then wear these where...

How To: Make fursuit eyes for a mask
In this tutorial, we learn how to make fur suit eyes for a mask. First, grab a simple paint pallet that has dips down in it for the paint. Then, cut the dips out of the tray they come in with a small saw. Then, grab a hot glue gun and melt down the middle of the dip so it's hollow. Then, apply hot glue to the top of the hollowed out eyes. Then, apply felt around this and cut it out so you can see the eye. Push the material through the bottom to create the pupil, then your eyes are finished.

How To: Make a Domo plushie
In this tutorial, we learn how to make a Domo plushie. First, cut out the shape of Domo on a piece of brown fabric. Cut this out twice to make the front and the back. After this, sew both of the sides together with a sewing machine. Make sure to place pins in it to keep the fabric in while you are sewing. When finished, turn the plushie over and stick some stuffing inside of it. Now, sew the section where you placed the stuffing in. Then, you can sew on the face of the character and you will ...
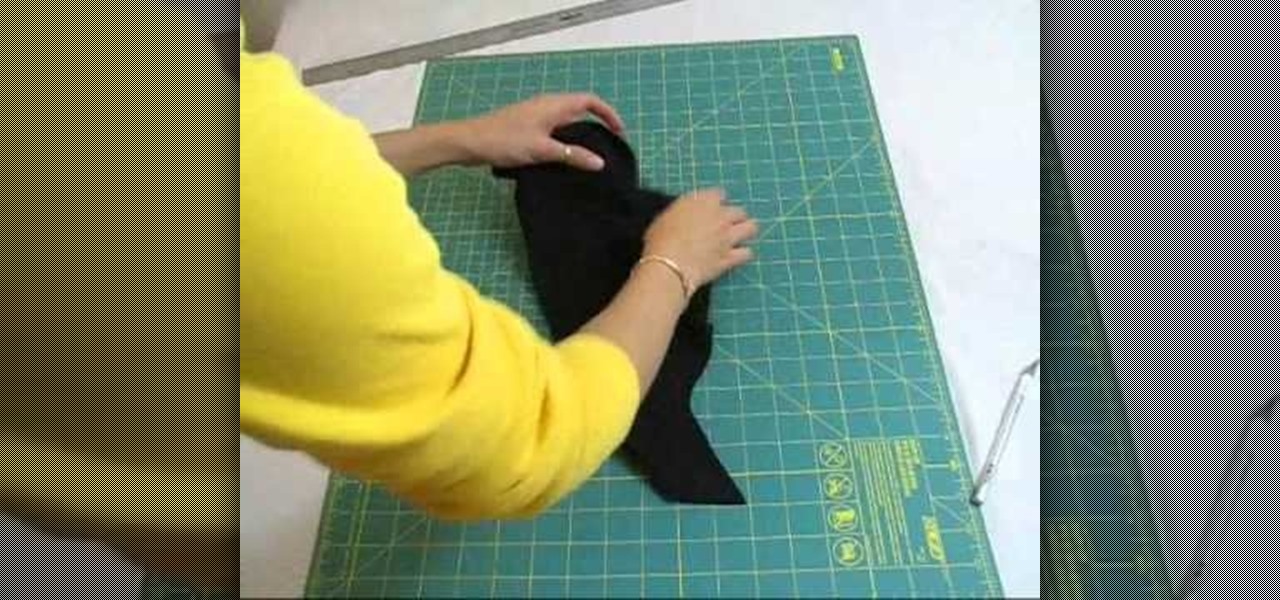
How To: Create Mortal Kombat's Sub Zero costume for Halloween
Remember Mortal Kombat? If you're in your early twenties then you grew up on the stuff in the early and mid nineties, and the franchise was seriously as big as "Twilight" is now.

How To: Turn an old knitted sweater into a rad case for your laptop
Make a cozy and protective sweater for your laptop. Start with a large sweater you don't want anymore, and assemble a yarn darner, all purpose thread, tailor's marking chalk and scissors. Then follow along and turn an old grandpa sweater into a cute laptop case!
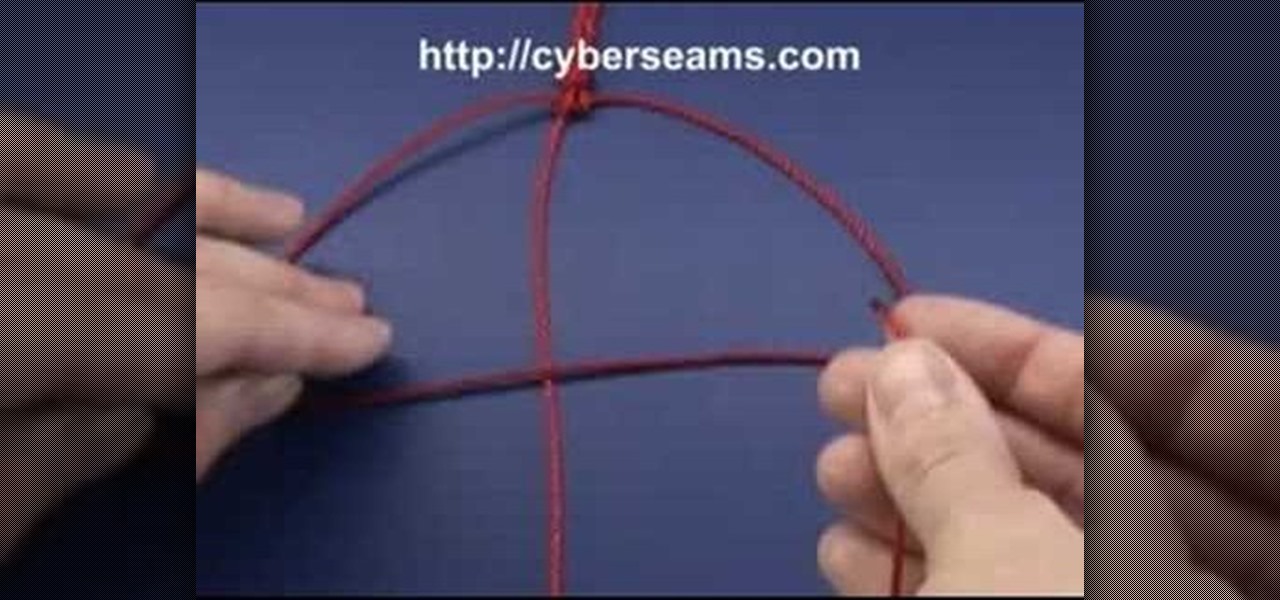
How To: Tie a basic square or granny knot in macrame projects
The granny knot, or square not, is one of the most basic knots used in macrame. This easy to follow tutorial shows you how to tie this knot using two separate strands of macrame, and even different colors for your next project.
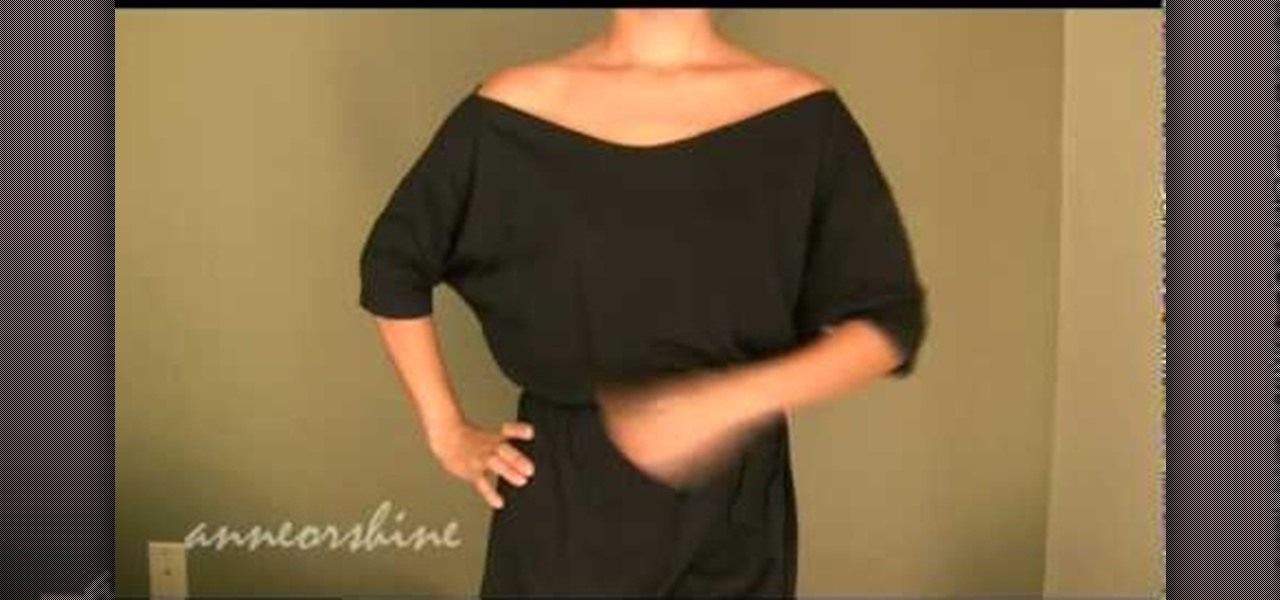
How To: Create a black off the shoulder batwing top in less than five minutes
Dressing up like Batman is way not cool. But dressing up in a Batman-inspired batwing sleeve top? Totally hot. Check out this fashion DIY tutorial to learn how to create an easy batwing top that's easy and breezy for fall.
How To: Sew cosplay costume pants for Hakama from Bleach
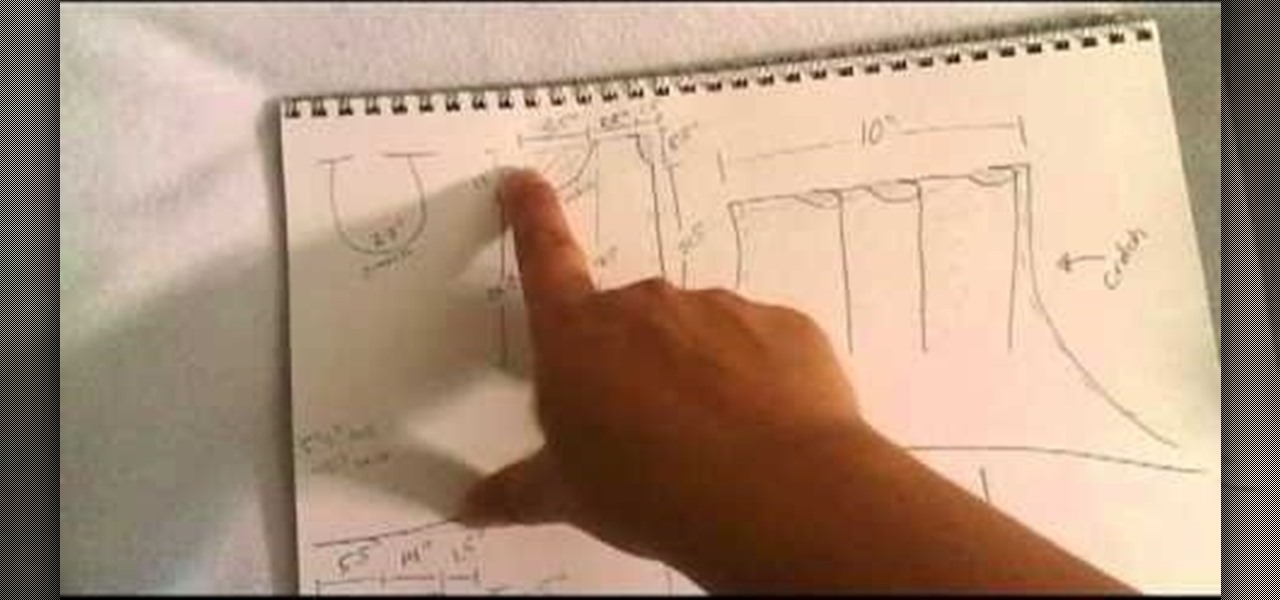
Bleach is one of the most popular manga and anime series of recent years, and the cast of teenage characters make great cosplay fodder. Watch this video to learn how to sew DIY Hakama pants for your next cosplay convention.

How To: Take your old photos and convert them into cross-stitch designs
If you're looking to do some cross-stitching to customize your current furniture bed sheets, or what have you, then you might be thinking about taking a design straight out of a family photo! In this video you'll get tips on how to take a photo, crop it down and turn it into a cross-stitch picture that you can print out to use as a guide.
How To: Clip curves when sewing with rounded seams or edges
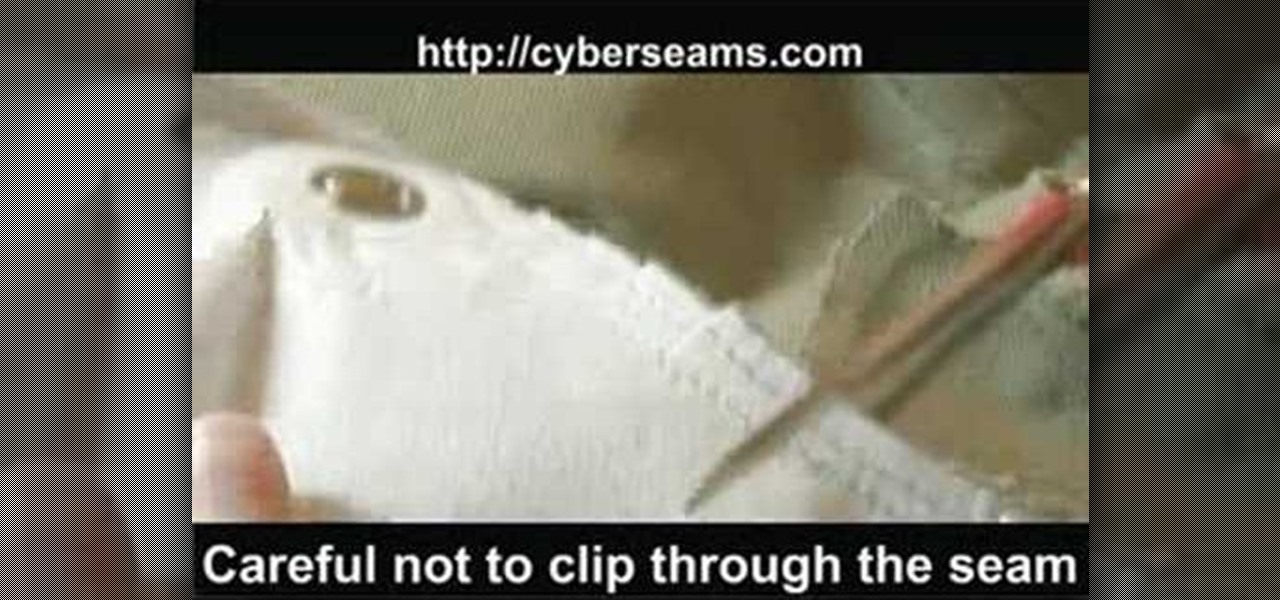
In this tutorial, we learn how to clip curves when sewing with rounded seams or edges. First, you will take your piece of clothing, then grab your scissors. Put the edge of the clothing (with the seam) and lay it flat. Then, put the scissors onto the seams with the very back of the scissors over the fabric. Clip close to the seam, but do not clip through the seam as you are cutting. Once you are finished, you will be able to sew in curves and will be able to easily get around the seams withou...

How To: Sew a two-tier waist-high skirt
In this video, we learn how to sew a two-tier waist-high skirt. First, fold the fabric in half, then fold the right sides together and draw a half circle. Next, anchor your chalk with a spool of thread and swing around the half circle to create another. Now, cut out the circle with scissors. Then, draw a smaller circle using the same method at the bottom and snip it away. This will be the first layer of your skirt. Repeat these steps with another type of fabric for the other layer of your ski...
How To: Create a sexy Poison Ivy costume for Halloween
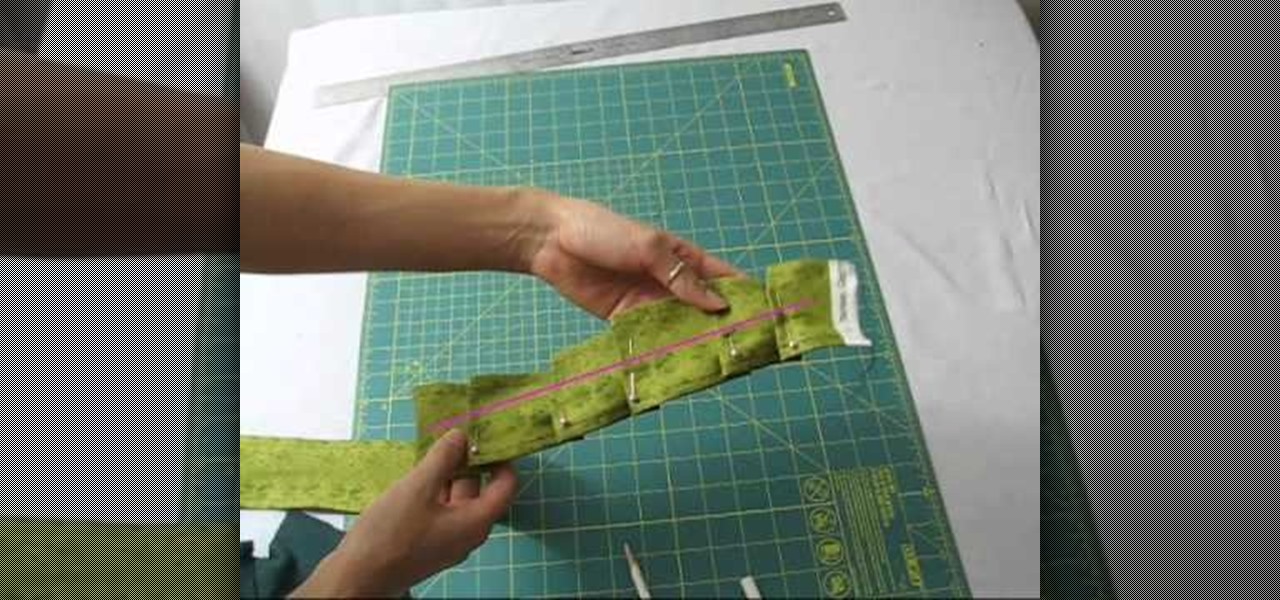
Before Christian Bale and Christopher Nolan there was the original "Batman" with with George Clooney as the masked hero and Uma Thurman as the villainous Poison Ivy. While the movie is ranked as one of the worst superhero flicks of all time, Uma Thurman's getup was probably one of the most fascinating and beautiful superhero costumes we've ever seen.
How To: Add a zipper to a latex garmet
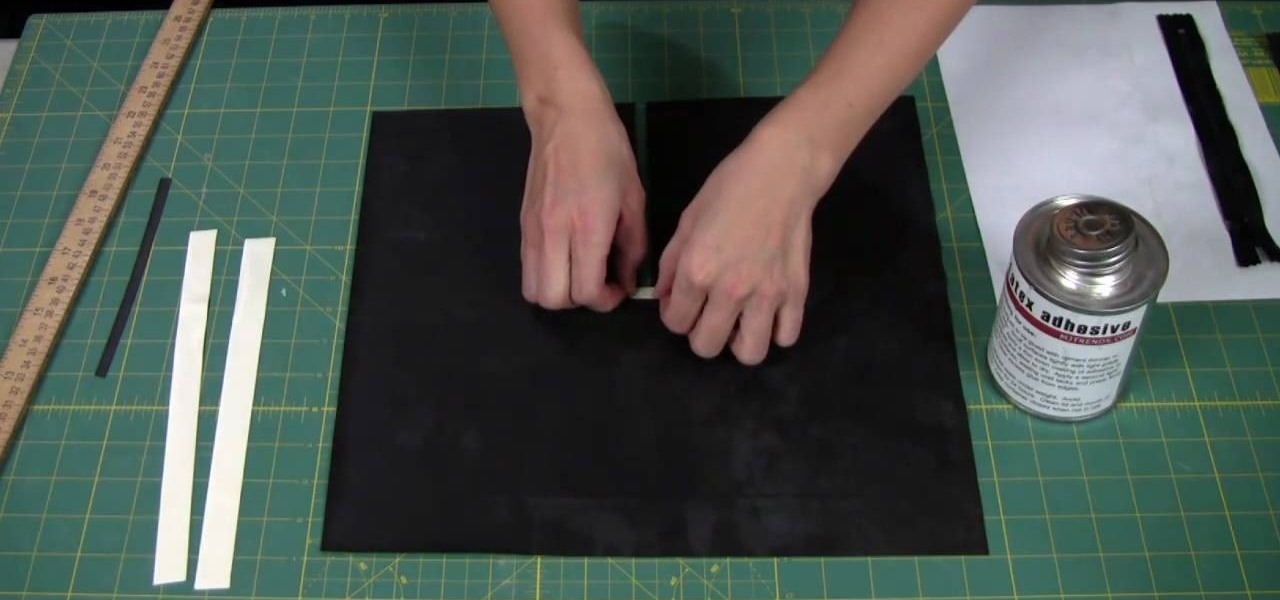
In this video, we learn how to add a zipper to a latex garment. First, apply glue to the zipper, using an ammonia based adhesive in one coat. Next, take a small paint brush from any store and apply a thin layer of adhesive to the zipper. The top will take about 45 minutes to dry, then turn it over and apply another layer of glue to the back. After this, cut two 1/2" strips of latex a little bit longer than the zippers. Also cut a 1/4" wide and 1" long piece of latex as well. Now, apply these ...
How To: Make an easy hair bow
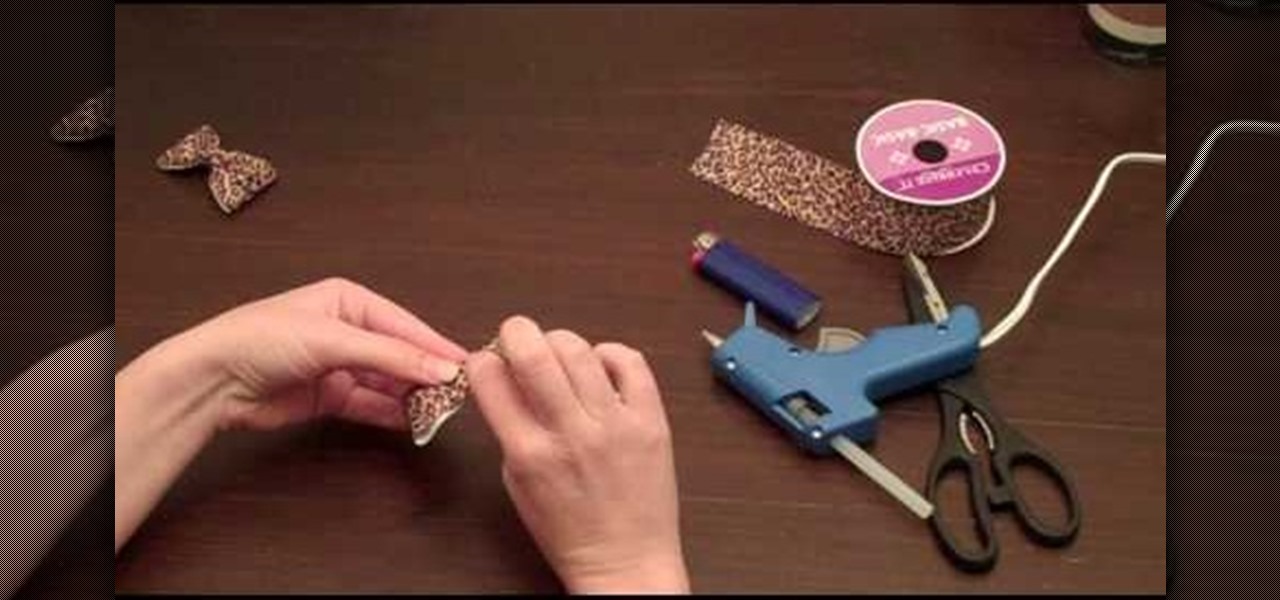
In this tutorial, we learn how to make an easy hair bow. First, grab some thick ribbon in any color or material that you want to have. Use more ribbon if you want a larger one and less if you want a smaller one. Measure it out or use your eye to measure. After this, heat seal the ends so they don't fray by passing them through a lighter quickly. Now, fold the ribbon in half length wise, then place a crease there. After this, use a hot glue gun to fold down the two sides of the ribbon with a k...
How To: Embroider your pillows with your own designs
If you've just recently gotten into embroidery, or are bored with the look of your pillow cases and want to give them a personal touch, check out this video! In it you will learn how to embroider your own custom designs right into the pillow cases! Before you know it you will be the envy of the town with your own personally designed pillow cases!
How To: Sew an easy skirt waistband with seam binding
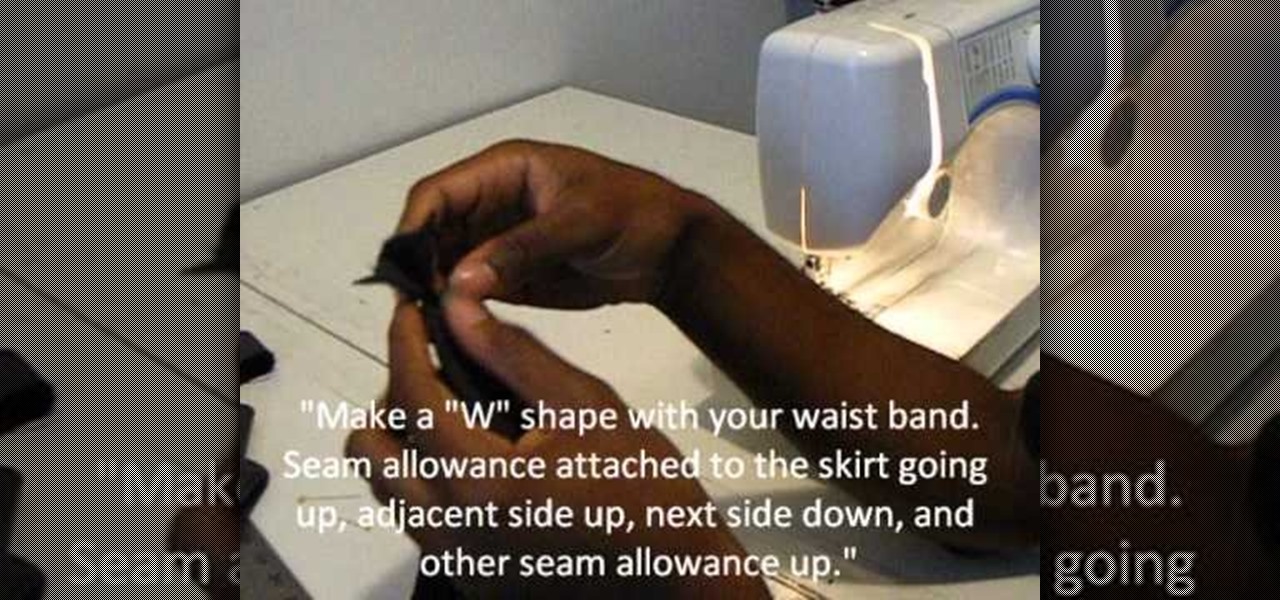
Finish the top of your skirt and hold it in place on your waist or hips with a seam binding techinque. Follow this tutorial to sew your own quick, easy but still attractive skirt waistband without elastic or a drawstring.
How To: Turn an old, loose fitting T-shirt into a cute off the shoulder shirt
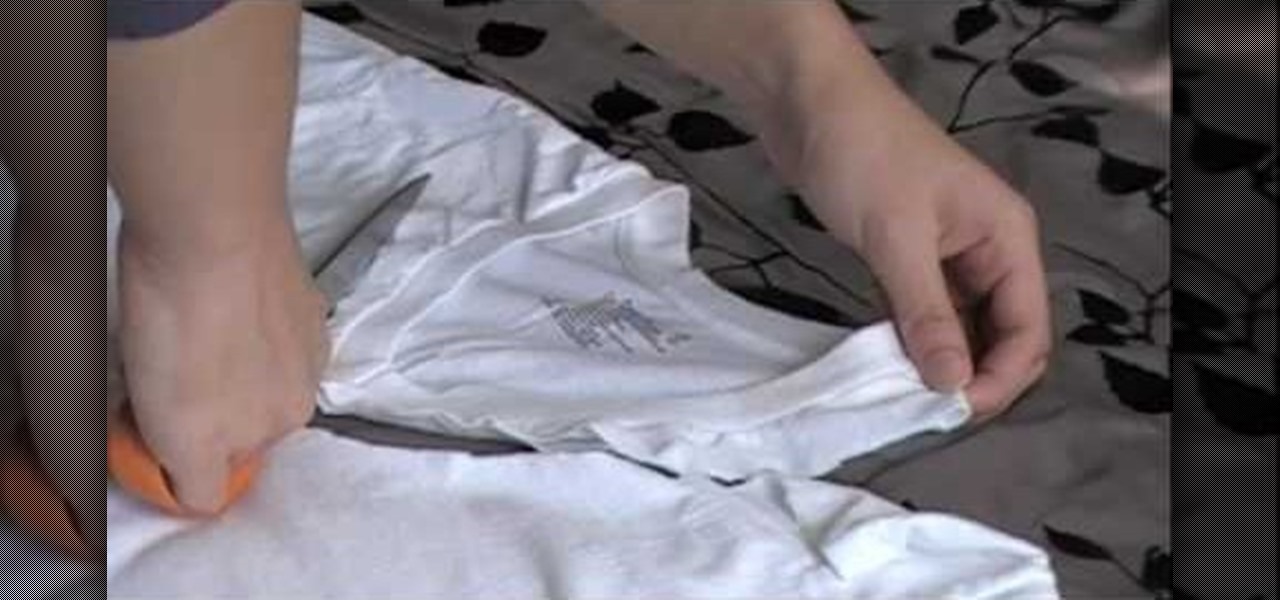
All you need for this project is just a loose fitting shirt and some trim. Cut away the collar, as much as you want (but keep trying on the shirt so you get just the right amount of drape). Then attach your trim, and you've got a new wardrobe addition!

How To: Sew an easy women's skirt with a pattern
Get a basic skirt pattern like the one in the video, choose a fabric you like, and then follow along with this tutorial to sew your own easy and quick women's skirt. This tutorial demonstrates several techniques like seams, darts and hems.
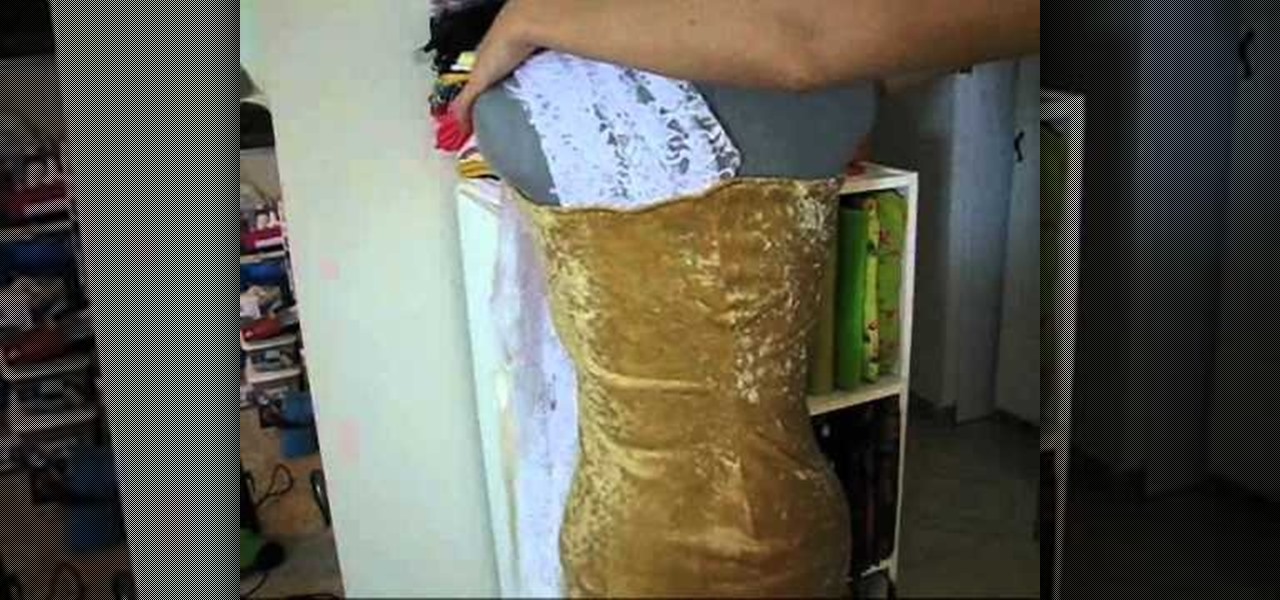
How To: Create a lacy gold and white greek goddess costume for Halloween
Really the question is why you WOULDN'T want to look like a greek goddess for Halloween. After all, many of them, like Aphrodite and Eos, are damn near perfect in all their glowing gorgeousness, at least we assume from the artistic depictions.

How To: Make elegant, hand-sewn fabric flowers out of lace scraps
Add an elegant touch to your next crafting project! You can turn scraps of lace fabric, cut into circles, into beautiful little flowers. Fold your circles into small wedges, sew them together at the base and then attach them to a string necklace or your favorite piece of clothing!
How To: Make DIY curtains for any window
Having trouble finding curtains that fit your decor and your price range? Why not make your own? Watch this video to learn how with a little sewing skill you can make curtains yourself that will match any decor and fit any window.
How To: Make a pillowcase and re-cover a pillow
Pillows are one of the most important things you own. If you've had the same pillowcases forever and they are threadbare and faded, why not make new ones? This video will show you how to make a fun pillowcase from scratch.
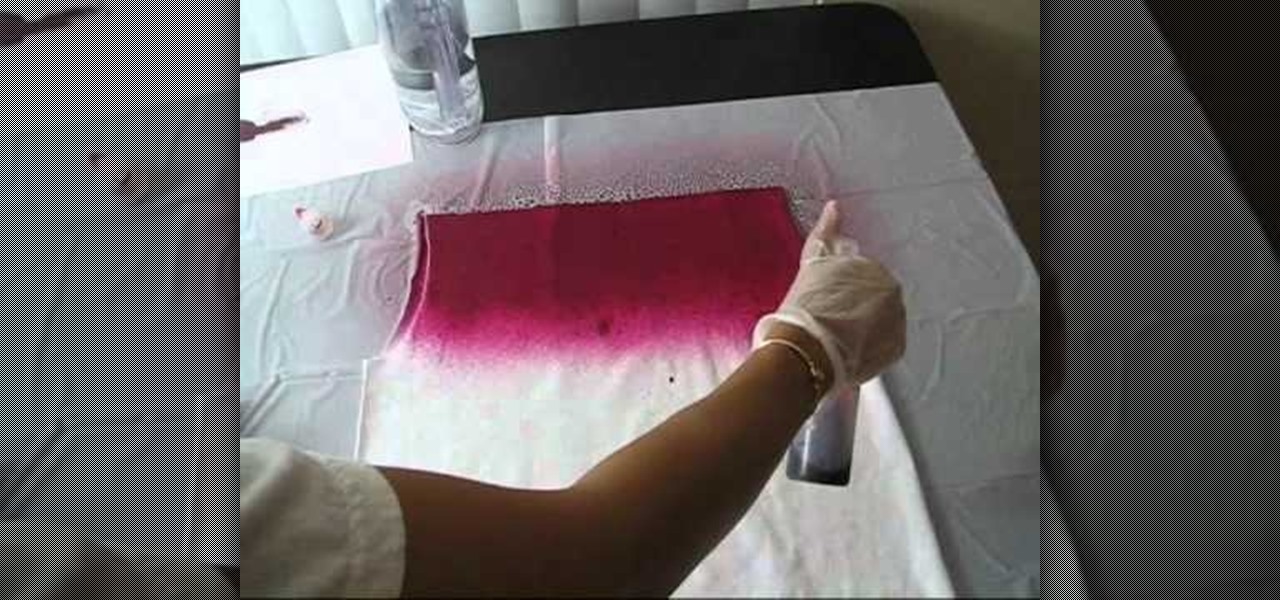
How To: Make a red and white ombre shirt with loose flapper fringe
The ombre fashion trend began a few seasons ago on all the biggest fashion runways, from Alexander Wang to Michael Kors. And the fun, colorful trend is still going strong. Ombre simply describes the fading of one color to another, from high saturation to (usually) white or another lighter color.
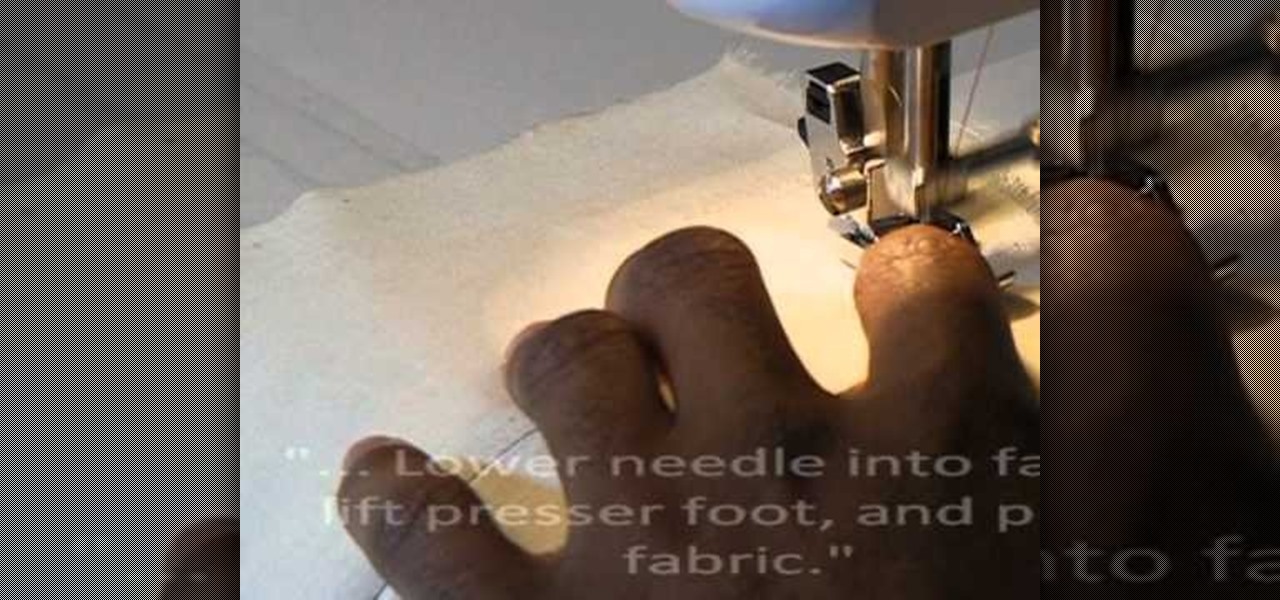
How To: Sew an easy centered zipper onto clothing with a sewing machine
If you already know how to sew a lapped zipper, than it's time to move onto the centered zipper, and that's exactly what you'll learn in this sewing tutorial. There's easy-to-follow directions for sewing lapped zippers using a basic sewing machine. If you don't have a sewing machine, check out all of the other zipper sewing tutorials. A center zipper is easy on any type of clothing fabric!
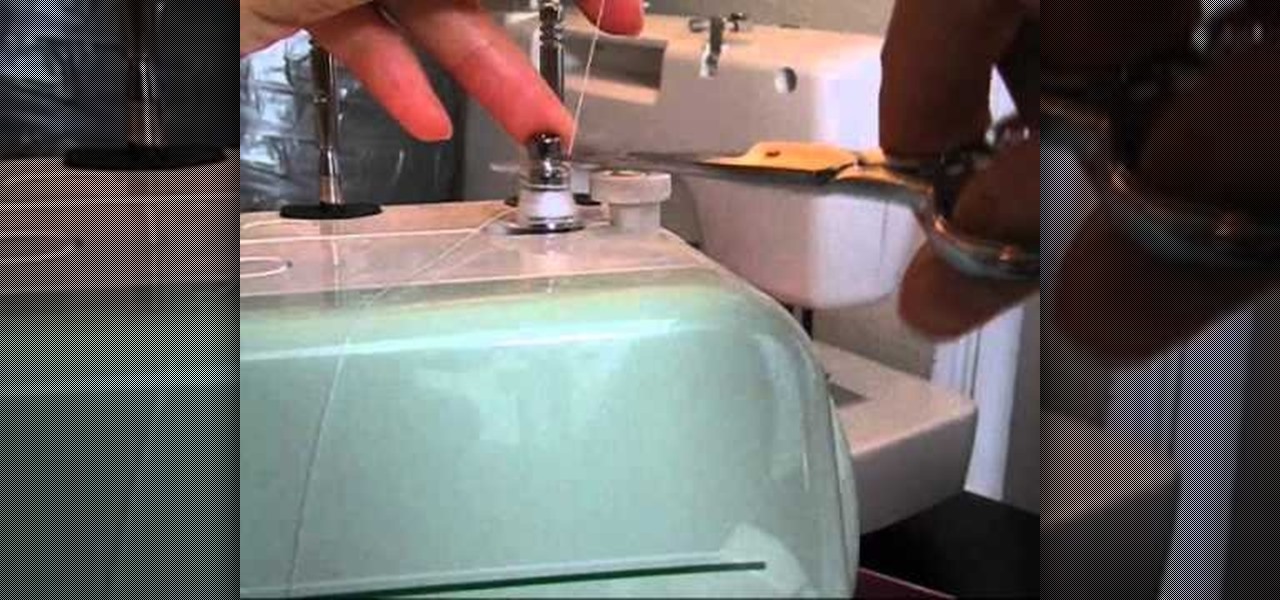
How To: Pick a sewing machine and thread a sewing machine and serger
Did you think sewing was complicated? Then don't even get us started on threading a sewing machine. Each sewing machine is slightly different in the way it's constructed, which makes threading a puzzle (read: pain in the butt).
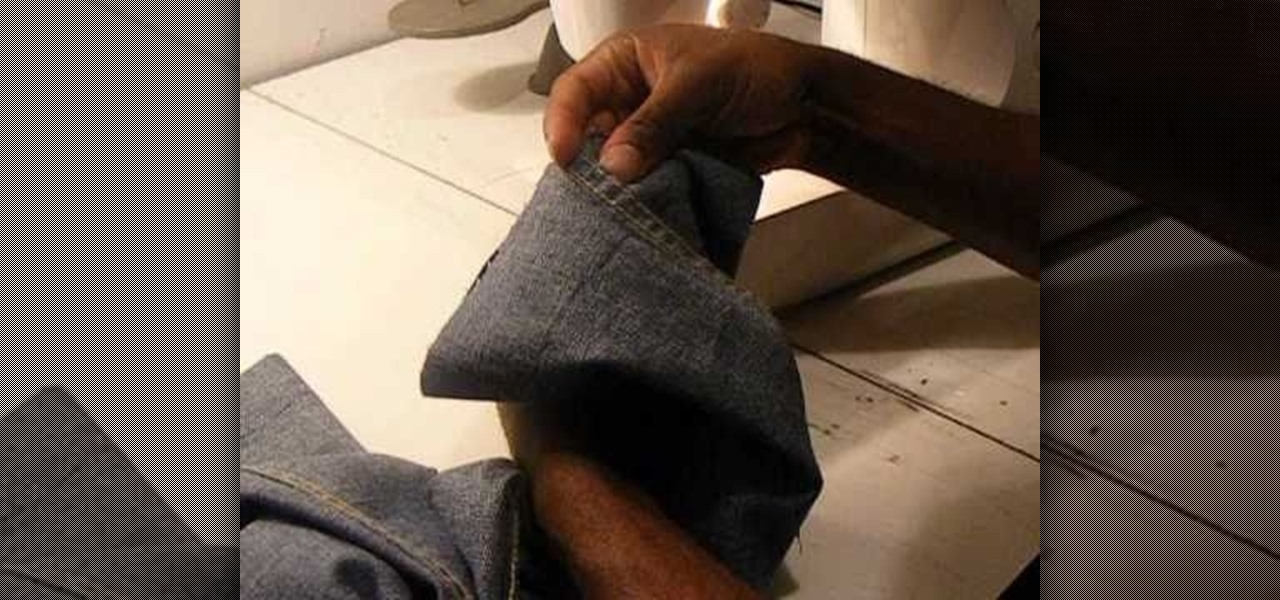
How To: Shorten jeans length by cutting, measuring and using a sewing machine
Are your jeans to long? How about your khakis? Corduroys? No matter what kind of pants you have, if they're too long, you can easily shorten the length with a few snips, a few marks and a basic sewing machine. The Brother LX-3125 compact sewing machine is used in this video, but any will do. See how to take a pair of jeans, cut and resew them like new again!
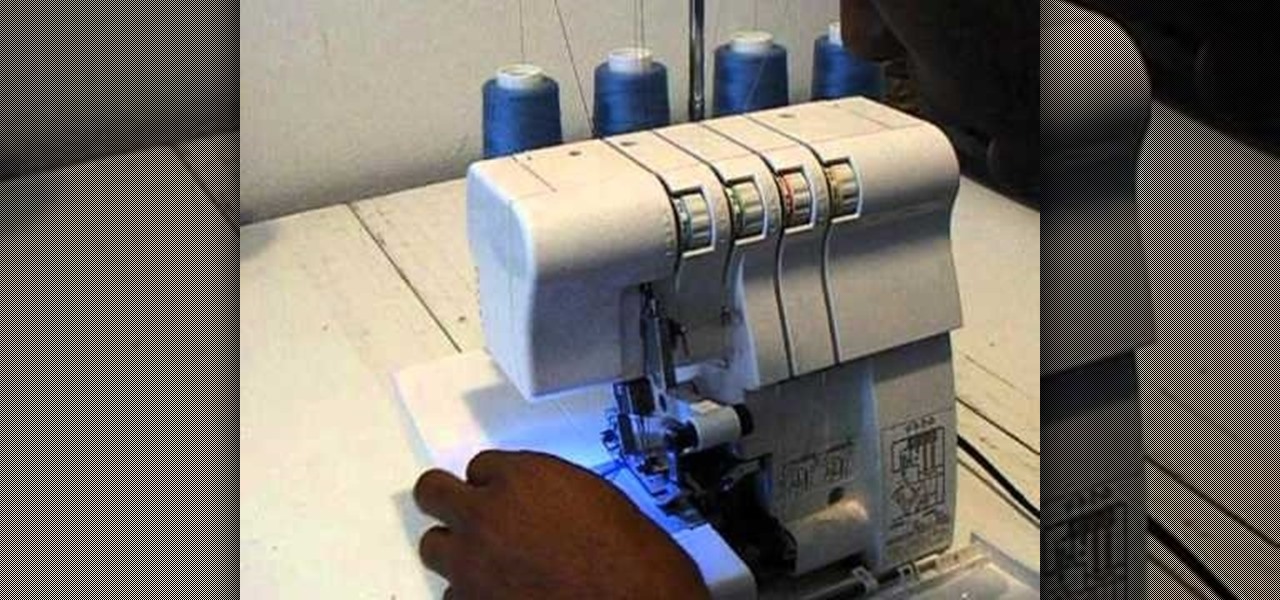
How To: Change thread colors in a Singer Finishing Touch serger sewing machine
If you have yourself a serger sewing machine, and you've already learned how to thread a Singer Finishing Touch serger sewing machine with differential feed, then you're eventually going to have to change the thread colors. This tutorial will show you how easy it is to rethread (without unthreading) the Singer serger (14SH654), which has 4/3 thread capability. Singer also has a PDF available with detailed threading instructions.

How To: Make a blind hem stitch using a sewing machine
In this sewing tutorial, you'll need a sewing machine to make a blind hem stitch. The sewing machine used is a Brother LX-1325 compact and lightweight model, but you can use a similar brand and model. To make a blind stitch, you'll need to fold the fabric the way you normally would when sewing a hem stitch, then you'll pin it in place on the inside. Watch and see how it's done! Then you start sewing. This stitch will be hardly noticeable.

How To: Sew a lapped zipper with a sewing machine
These are some easy-to-follow directions on a sewing technique fore sewing lapped zippers on garments and clothing. You'll use a basting stitch to close the zipper seam from the hip to the waist, then you'll serge the center back seam edges separately. To see the rest of the sewing process, watch the video!
How To: Make a "purt" or a "shirse"
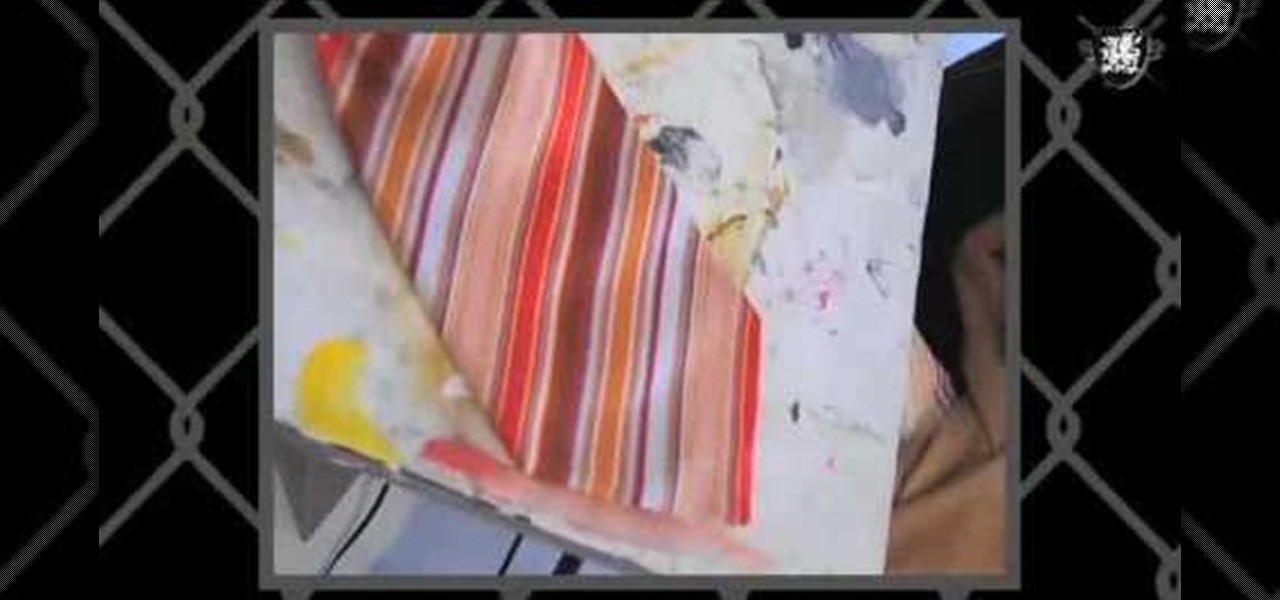
In this video, we learn how to make a "purt" or a "shirse". To start, grab an old shirt with buttons and measure out an area from the top to cut down. After this, cut the area out cutting the top and the back of the shirt. Then, take a sewing machine and sew the sides together. After this, grab a tie that you have and wrap it around the front of the shirt that you have just sewed. Now, when you want to look like you are wearing a shirt and tie without actually wearing one, you can slip this o...


