

Everything Else

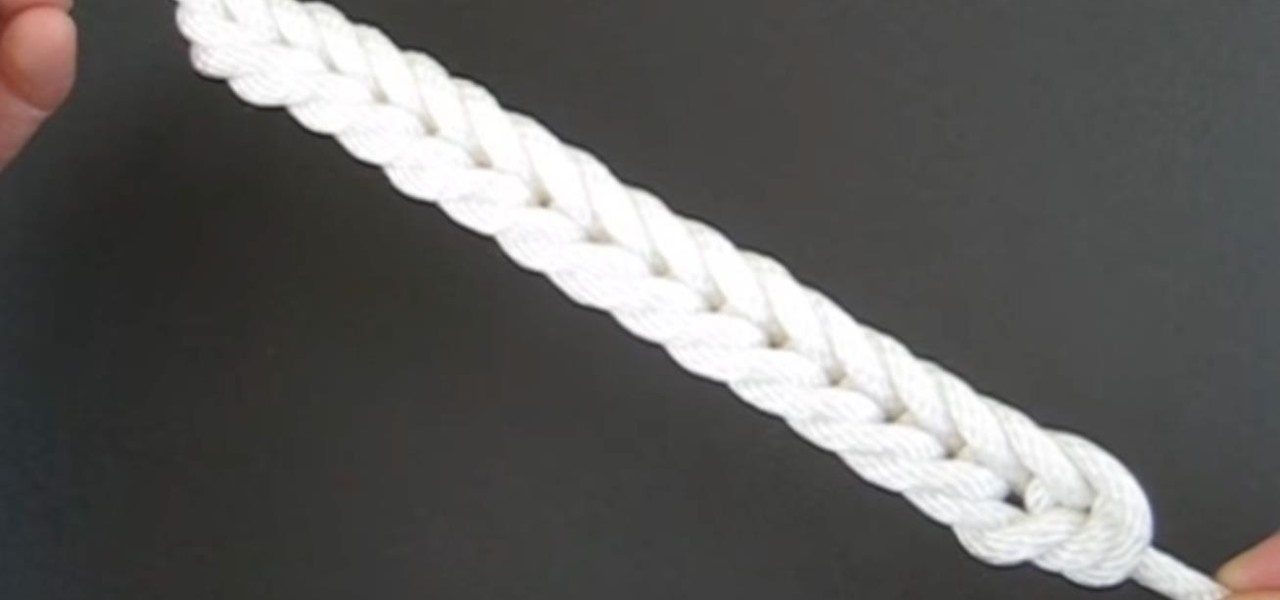


How To: Tie the Celtic tree of life decorative knot
TyingItAllTogether presents this interesting video that shows you how to tie the Celtic tree of life decorative knot. To do this, you make a series of intertwining loops, until they form a circle. This wordless video is very easy to follow along. Watch, and master the art of knot-making with this great video. For more great videos on decorative knot-making, search on WonderHowTo.
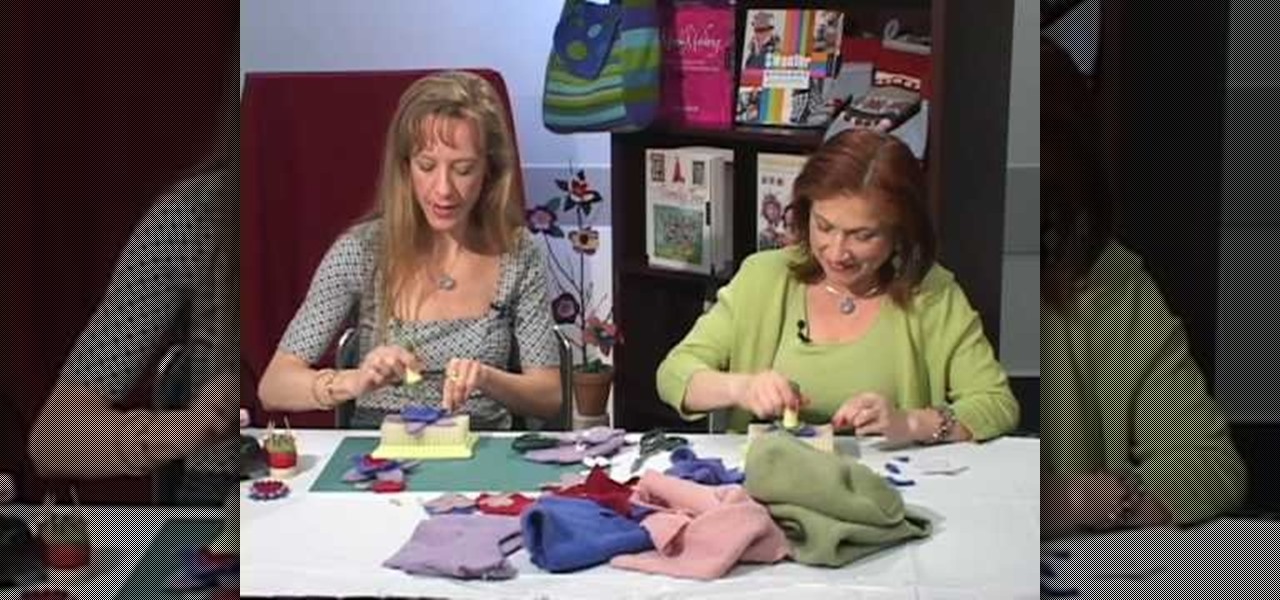
How To: Make felted flowers
This video is basically about how to make felted flowers with Craftside. For making felted flower things we will need are assorted felt, assorted rhinestones (any size), embroidery floss (any color), a needle, some tacky glue and a pair of scissors. First of all cut out the shape of the flowers from the felt using the scissors. Try experimenting with different shapes and sizes for variety. Then stitch the detail on the petals using the embroidery floss. Use the backstitch for this; then glue ...

How To: Tie the Tea Cup decorative knot
If you're into arts and crafts then you know that there is more that you can do with a long piece of string than just tie your shoes. On this TyingitAllTogether video you have the opportunity to tie the teacup decorative knot using one long piece of string folded in half. The author of the video first shows you what the end product will look like then methodically begins to walk you through setting up the string in Y-configuration to "crossing each bights crook" which involves overlapping and...
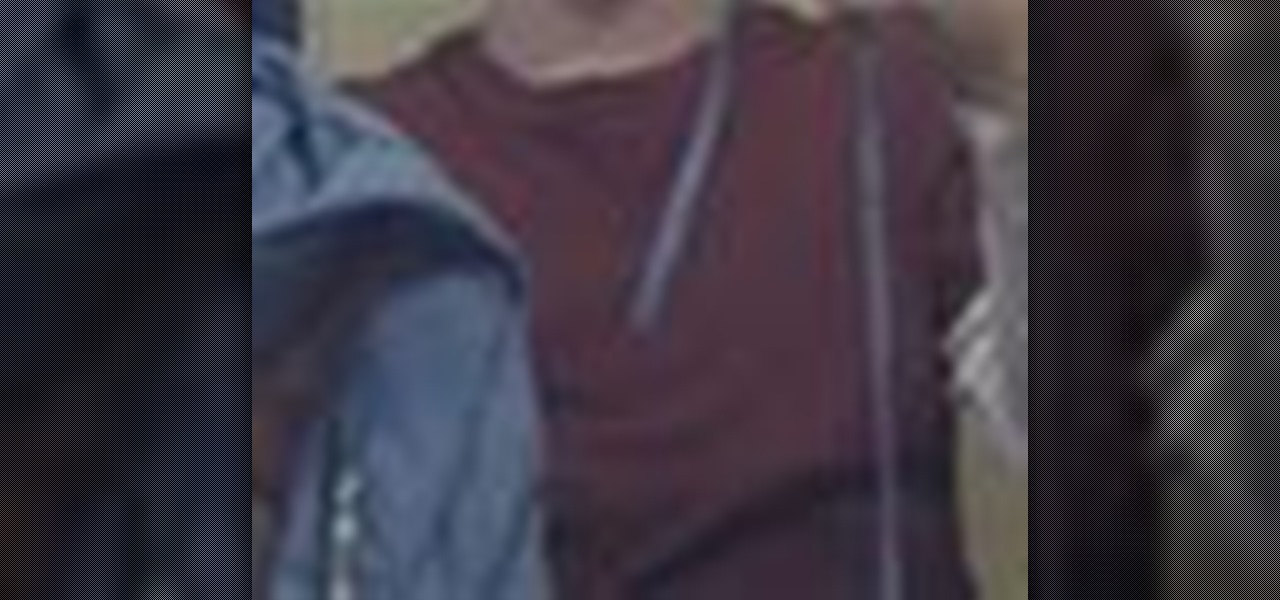
How To: Transform your hoodie into a pillow
Need a place to rest your head on the go? Just check out this quick vid to find out how to transform your hoodie into a porta-pillow. Seems like it'd be great for late night bus rides!
How To: Transform your hoodie into a baby carrier
Hooray for resourcefulness! You don't need a fancy expensive trendy baby sling to carry your little one around. Learn how to transform your favorite hoodie into a baby carrier with this little video.

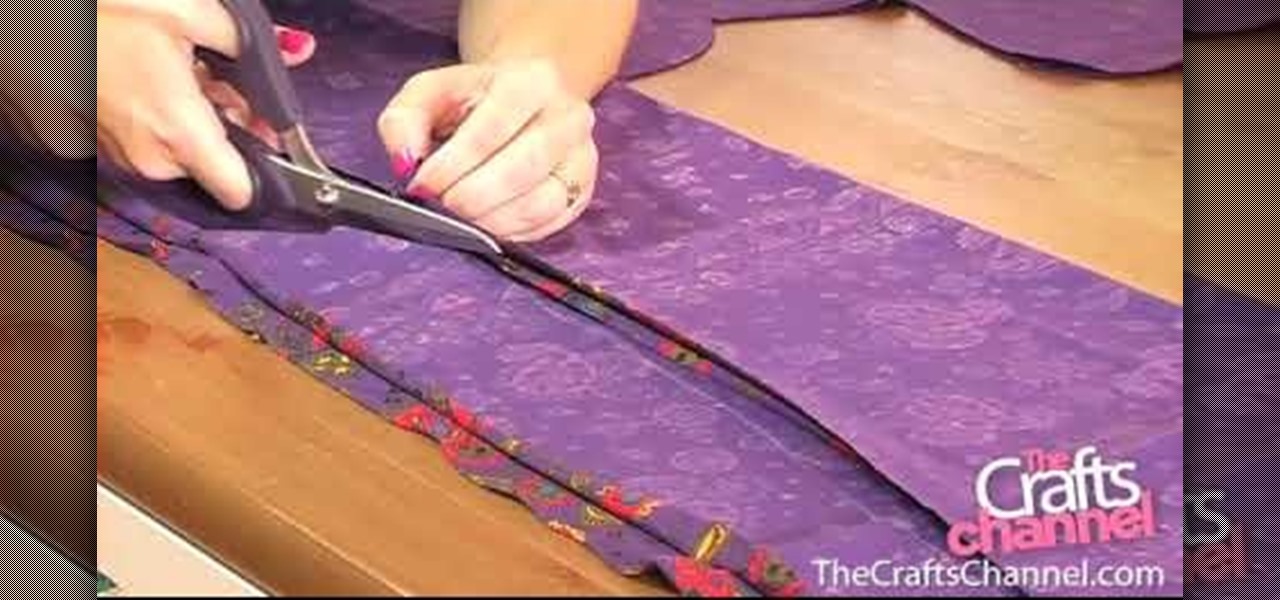
How To: Make a denim skirt from jeans
Vicky Taylor from The Crafts Channel teaches us how to transform an old pair of jeans to a trendy denim mini skirt. Get a pair of denim jeans and cut the front side from the end of the zipper downwards to the crotch. Do the same at the back making sure that it is at the same length on the front. Measure the length of the skirt you wanted. Cut it off and make sure they are the same length. Overlap the flaps created at the front and stitch them together. There will be a triangular open part at ...

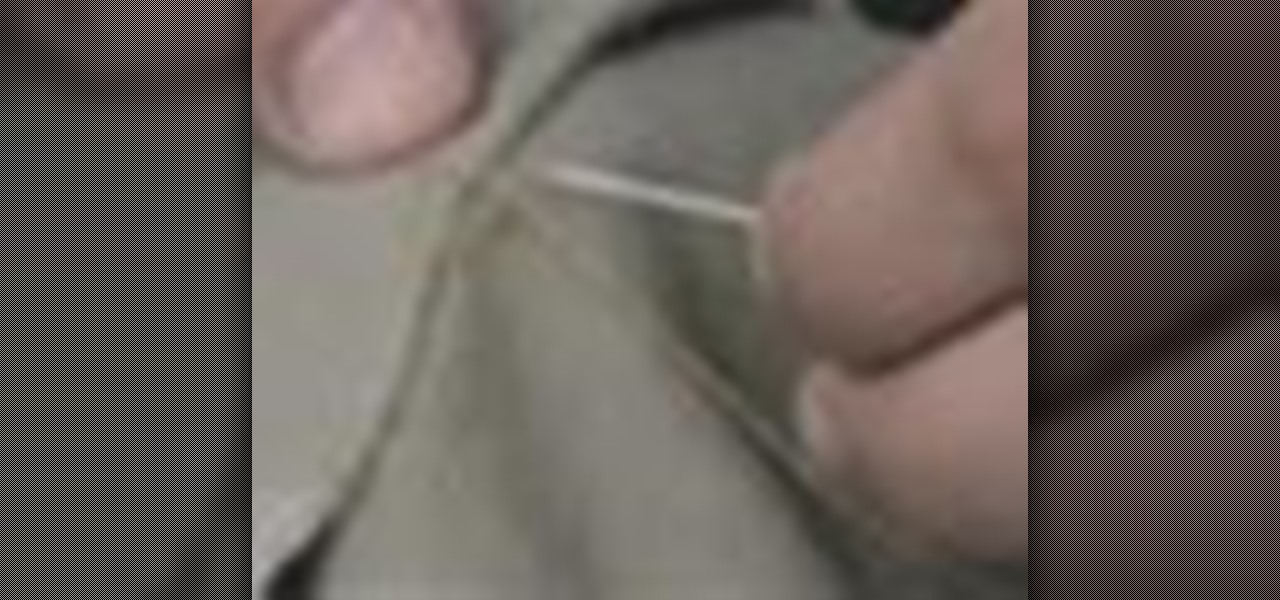
How To: Sew by hand
Watch this video to learn how to sew by hand! You need scissors, thread (or floss), a needle, and fabric. First, stick your threaded needle through the cloth and pull the thread through. To make a running stitch, push it back through to the opposite side. Your stitches should look like a dashed line. For a whip stitch, keep pushing the needle through the fabric from the same side each time, near the edge. It will wrap around the edge. To tie it off, push the needle back through the loop of a ...
How To: Sew a straight stitch
The video shows us how to sew a straight stitch which is really simple. The needle which is already being threaded and knotted on the other side is made to weave in and out in a straight line. It is done as straight as possible and though the video doesn't show it being done perfectly but its just a demonstration on how the straight stitch works. It is just made to weave in and out along a straight line and is made to end up with the needle on the back side and make a knot. This way you get t...

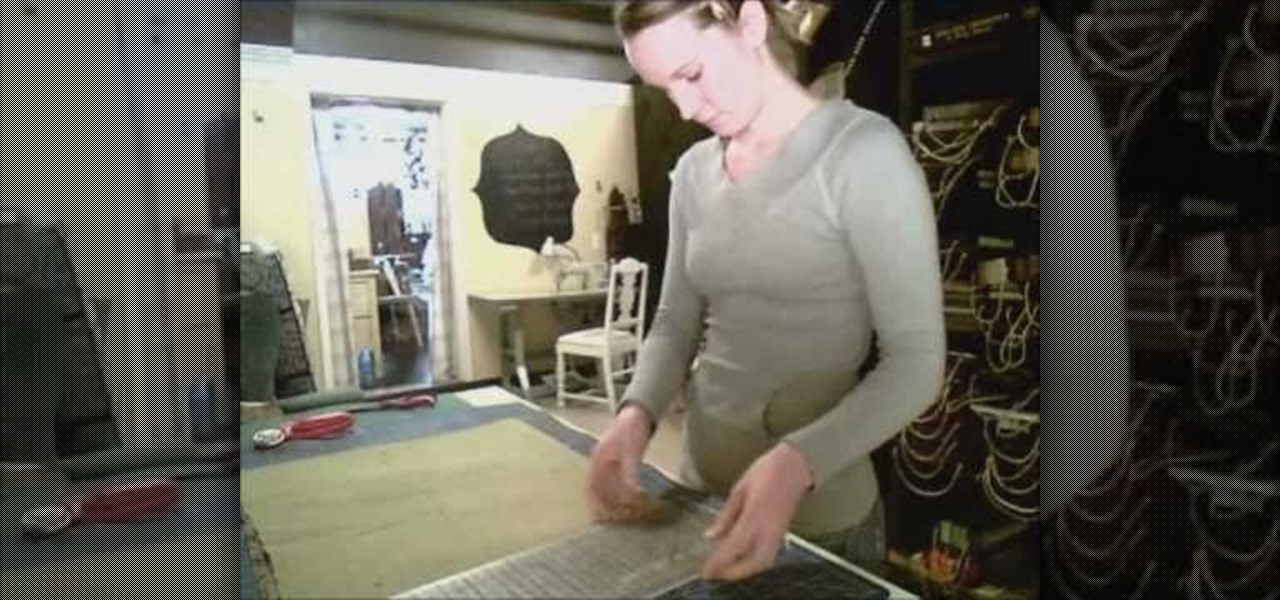
How To: Use serrated scissors
Thread and clothing designer, Kenneth D. King, give quick instruction to us on the importance of our cutting tools, more especially the serrated scissors. Here we learn what makes this particular style of scissors so efficient and necessary to our sewing work, as well as what types of materials they ought to be used on. He also gives warning that we should never use our fabric scissors on paper. Great tips for the beginning designer in us all.
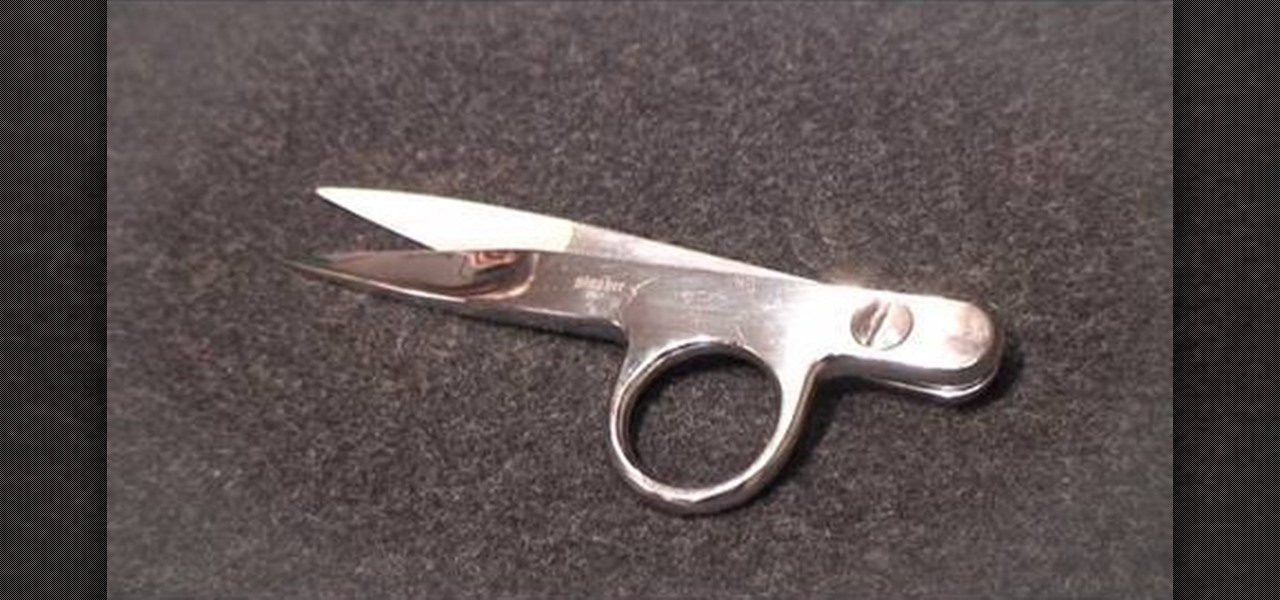
How To: Use thread snip scissors
Thread banger, Kenneth King shows you how to save your good fabric scissors by using thread snips, a simple but important tool you must always have in your sewing workshop. Thread snips are small pairs of scissors that are specifically used for trimming off any excess thread in your material. Kenneth explains that using fabric scissors to trim these excess threads eventually causes them to wear dull spots. Always keep your thread snips handy and do all your thread trimming at the machine.

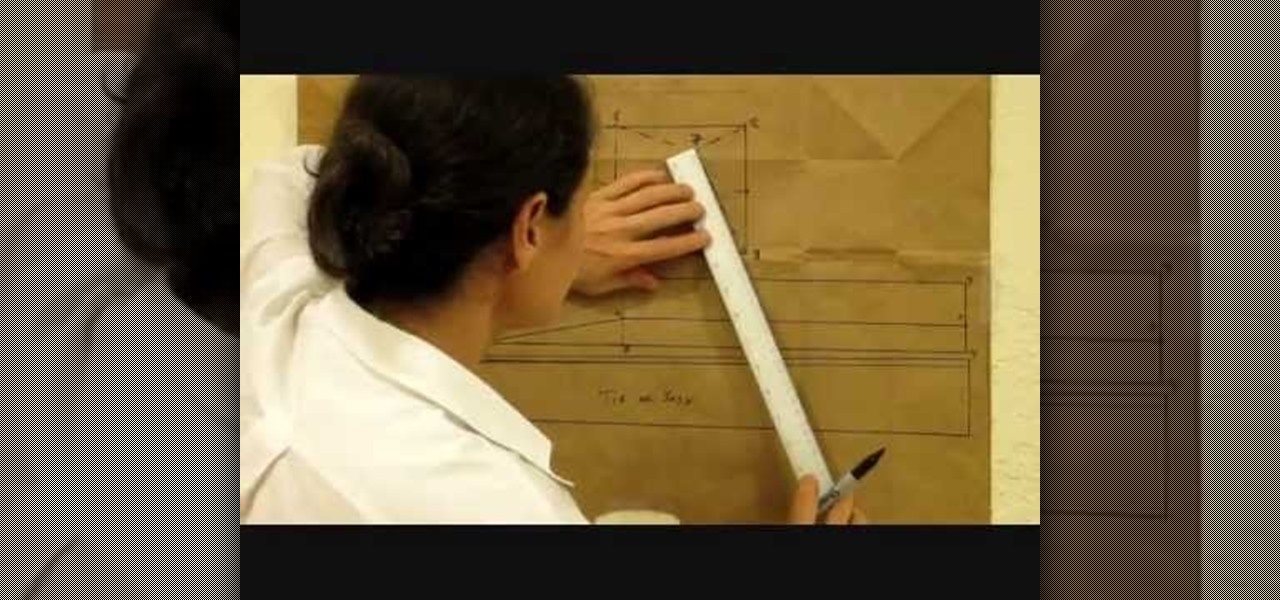
How To: Make a flapper coin purse
Need a new purse but no money in the budget to go out and by one? Missa from fashionclub.com will show you a do-it-yourself option. In this instructional video, you will learn how to make a flapper 1920's style purse. Step by step instructions take you through the materials you will need, how to make a pattern for the purse and how to construct the purse. You will need a basic sewing machine and sewing skills to complete this design.
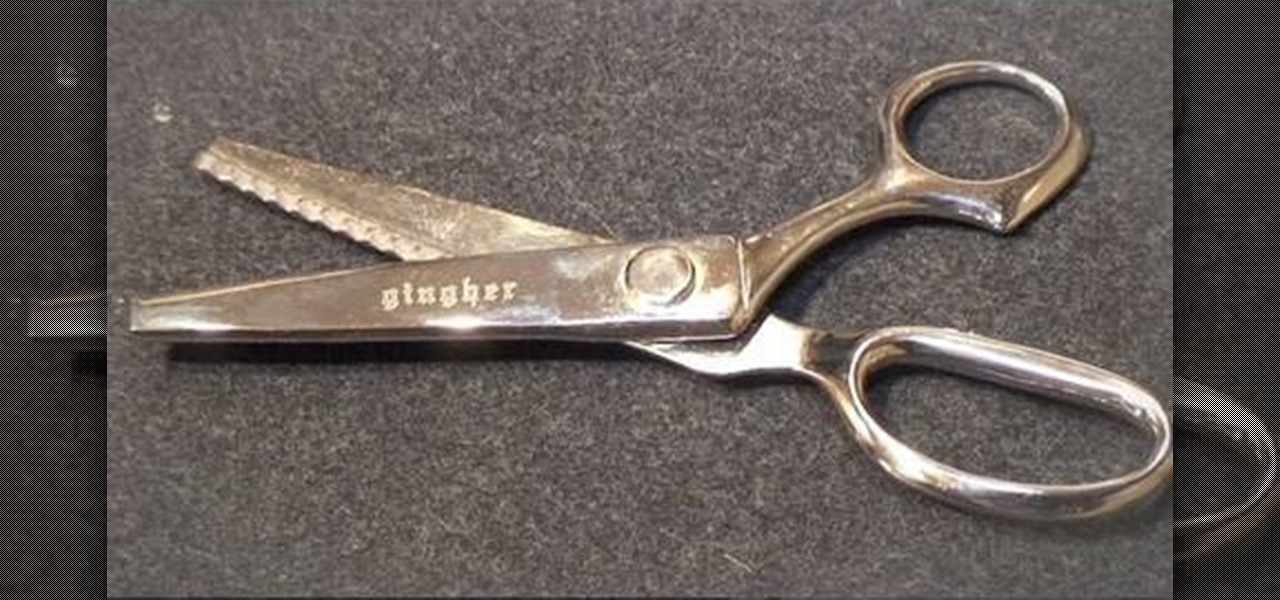
How To: Use pinking shears with Threadbanger
Pinking shears are scissors with an blade that is spiked instead of straight across like a regular pair. Pinking sheers are used to finish off fabric that does not necessarily need a strong hem. They can be used for any type of material that will not unravel - such as silk or charmeuse. This tutorial from Threadbanger will show you how to finish off your fabric by pinking, which is actually incredibly simple to do.
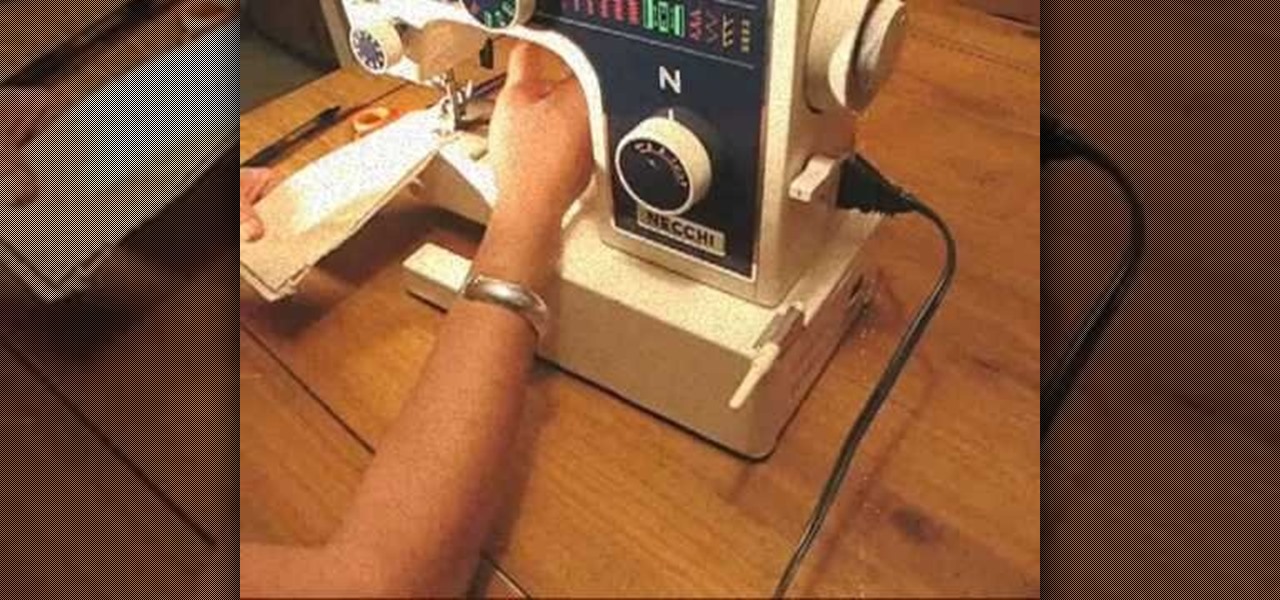
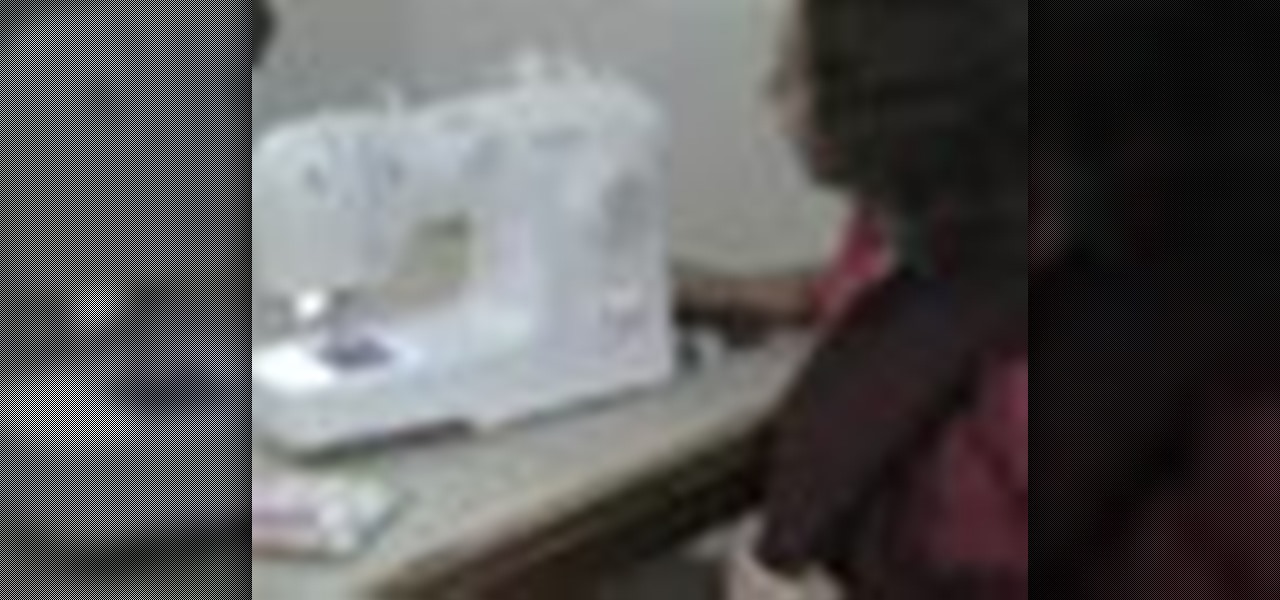
How To: Sew with a sewing machine
Want to learn how to use that sewing machine? This video will teach you the basics on how to use a sewing machine. This video is part of a series and shows the basics of sewing, reversing the machine, and the basic mechanisms of the sewing machine. She will also show you what to do at the end of your fabric and proper hand placement on the machine while using the machine (no sewn fingers here!). A good step-by-step guide for first-time sewers.
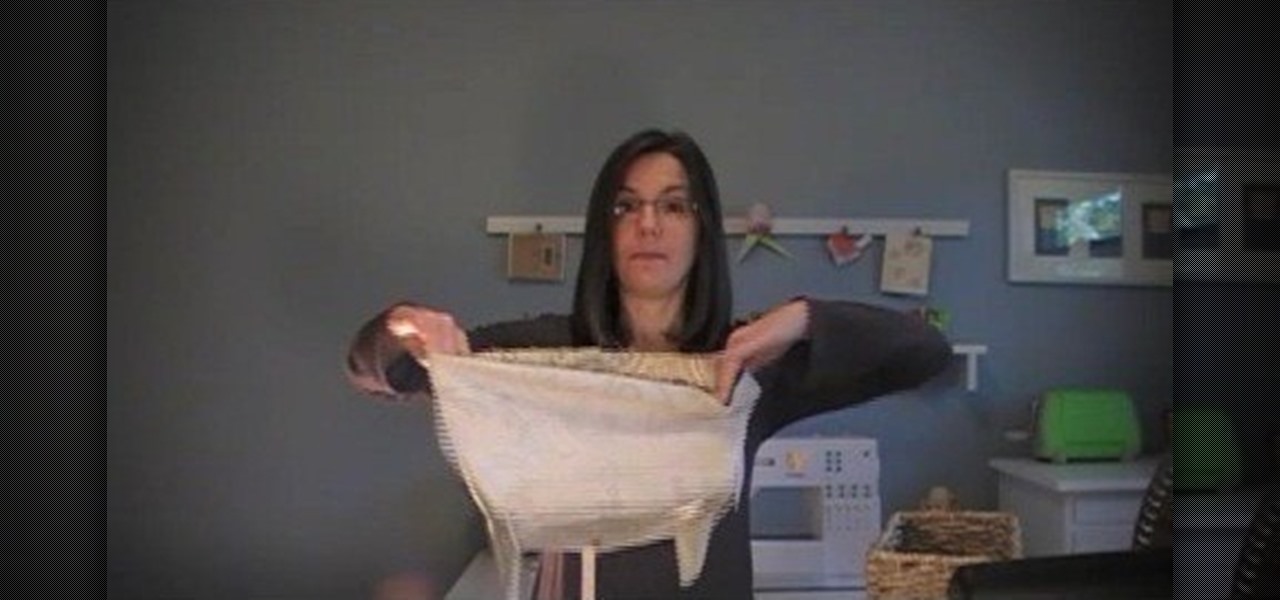
How To: Turn old clothes into wine gift bags
Not sure what bottle of wine to get your wine-loving friend for their birthday? Don't sweat it. Get them a wine bag, and save money by making it yourself from old clothes!! Why spend money on wine gift bags when you can craft your own from stuff you already have in your closet?
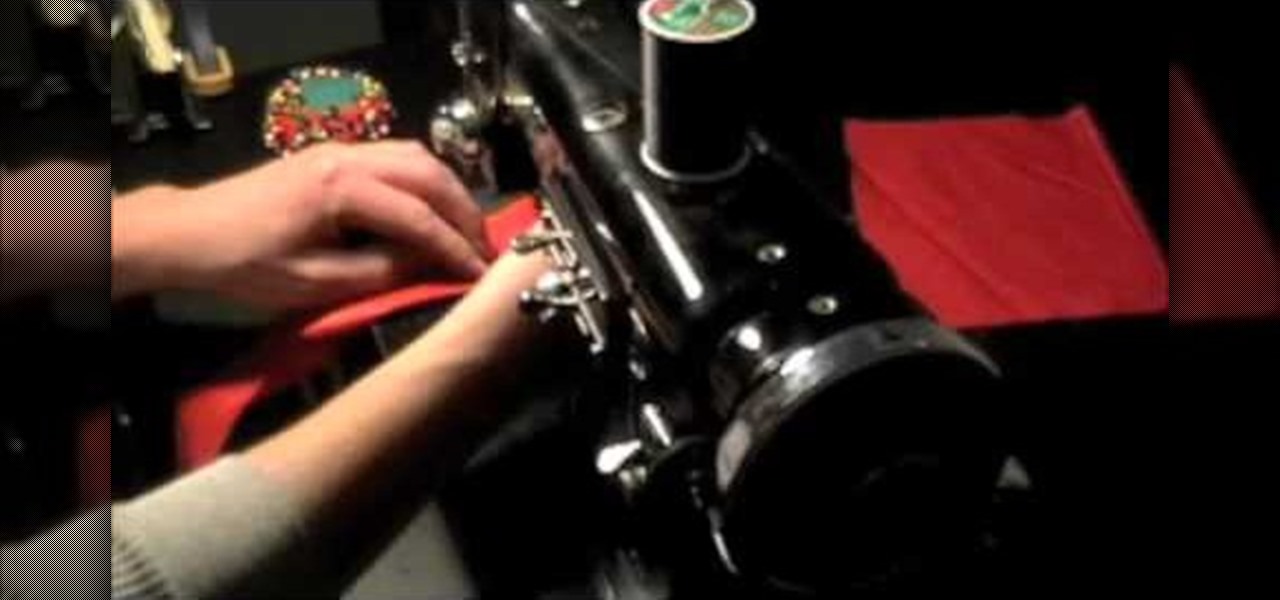
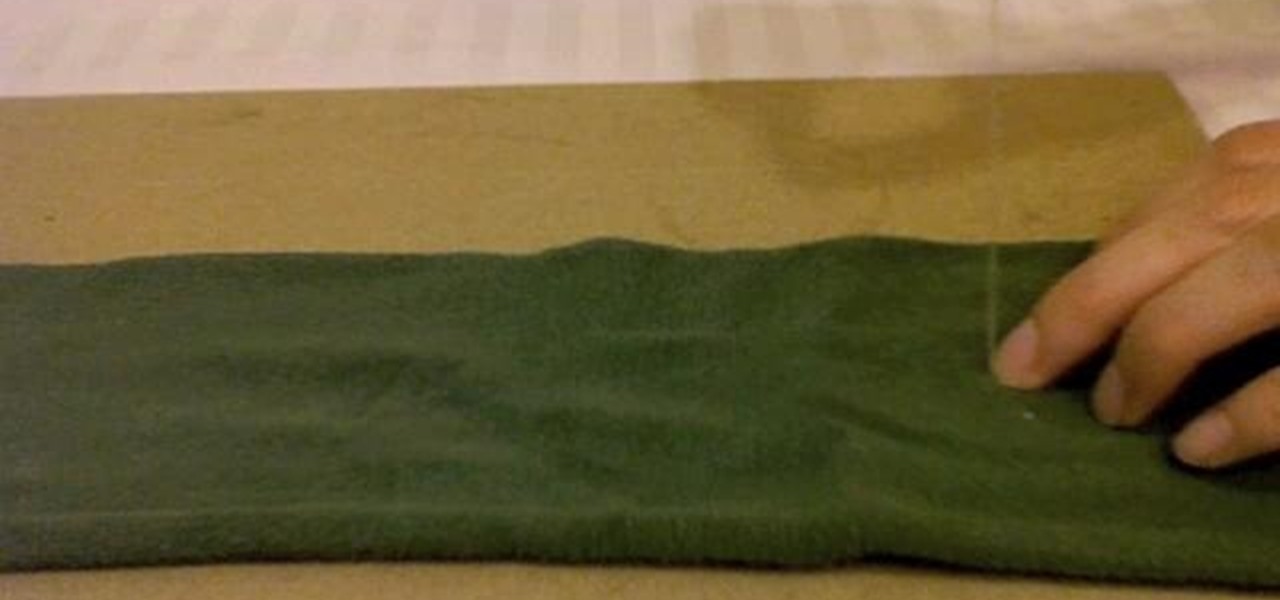
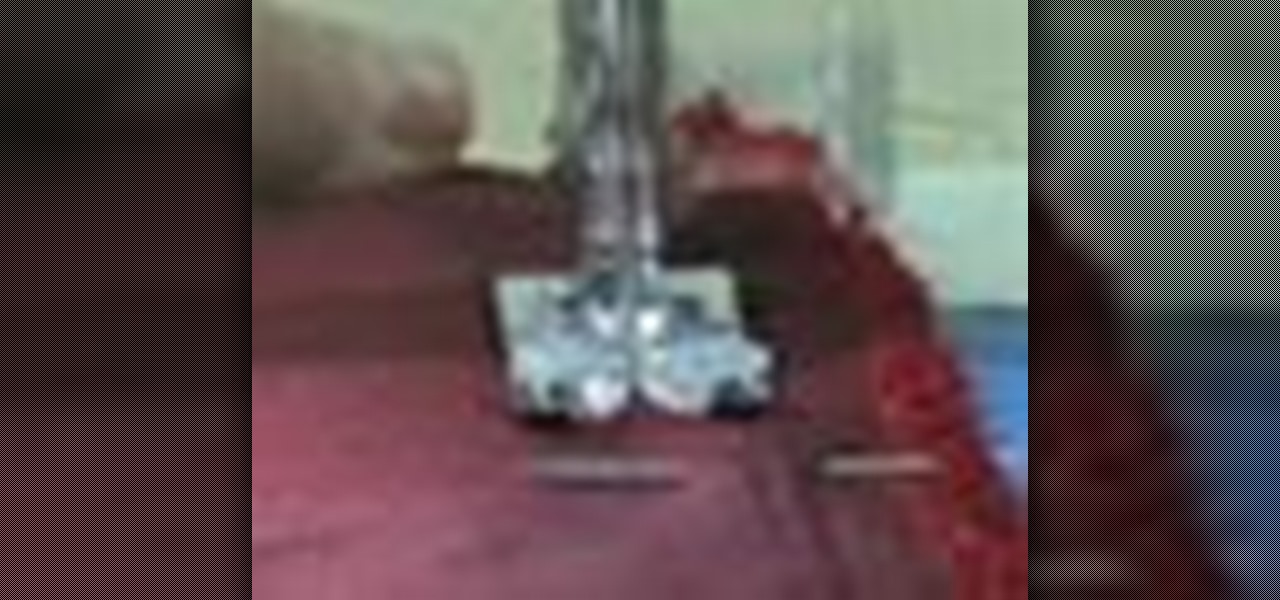
How To: Sew a rolled hem for backpacking and hiking gear
This is a demonstration of sewing a rolled hem. A rolled hem is a stitch that is used most often when making your own gear for backpacking or hiking. Making your own gear is beneficial because you can make it totally custom, which fits your needs. This is a basic stitch, but very rugged and versatile. Just what the average outdoorsman needs.

HowTo: Felt Conversation Hearts
Ditch the cheesy champagne, roses and chocolate this Valentine's Day and go D.I.Y. for your sweetheart. Blog Lavender and Limes posts a simple HowTo on sewing these oh-so-cute felt conversation hearts.
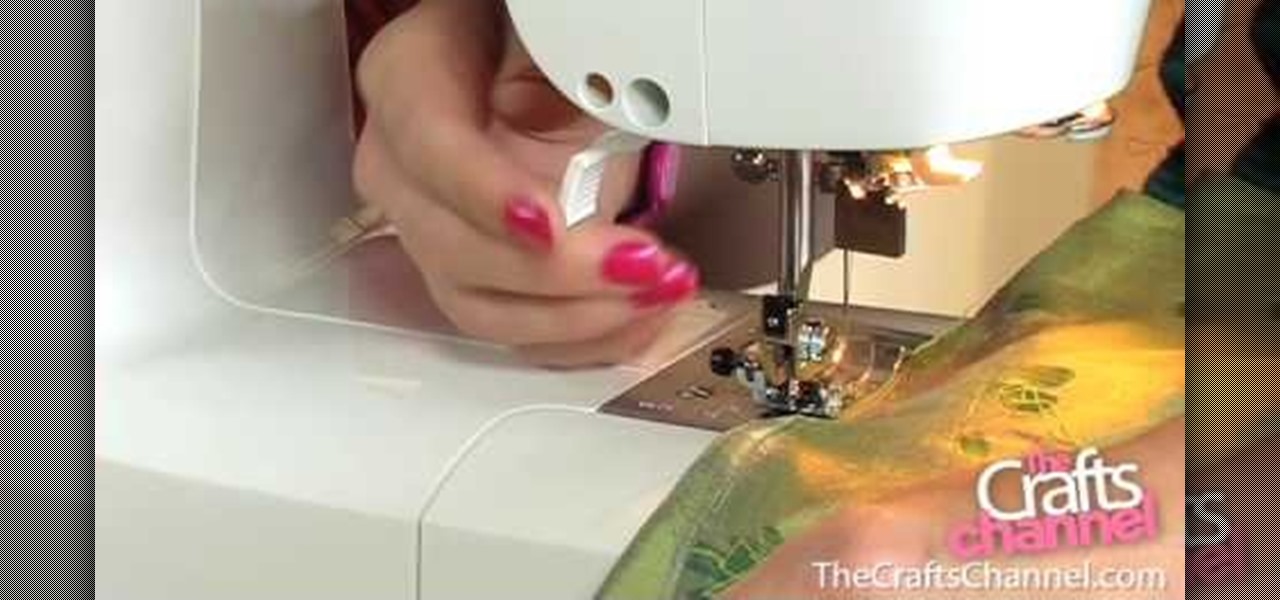
How To: Sew a dart
Kate Hemmings & Vicki Taylor from Sew magazine show you how to properly sew a "dart" (a.k.a. taking in fabric to make it fit the contours of your body). Just follow these easy steps in the video:
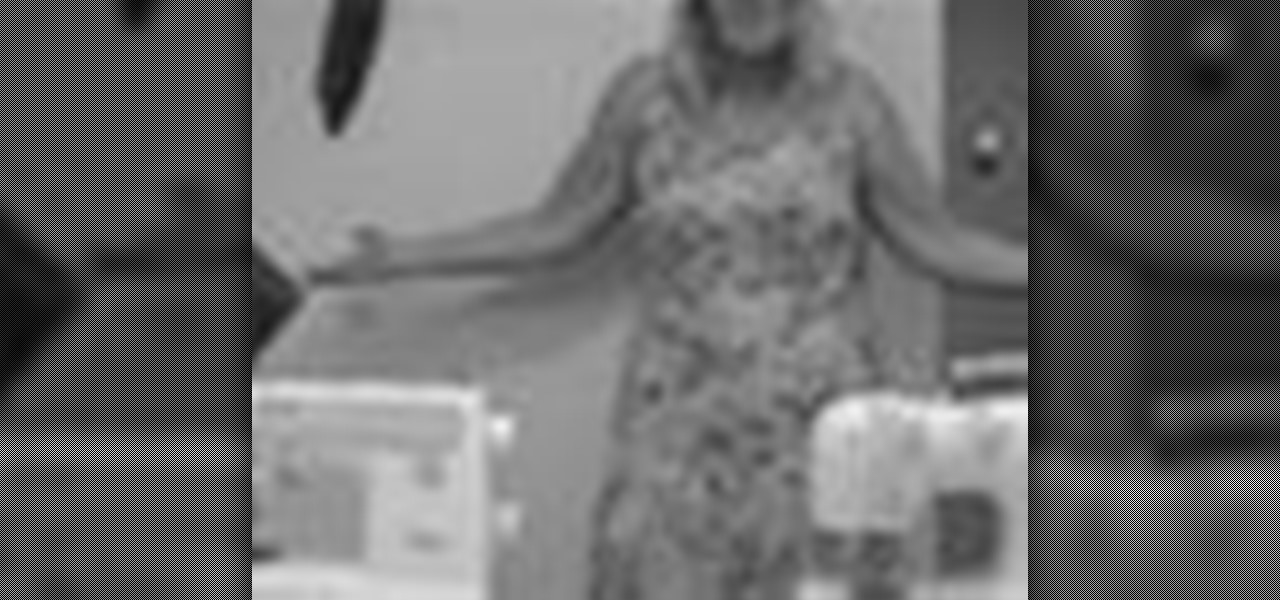
How To: Create your own gorgeous no-pattern shift dress
1: Chose a stretchy fabric & fold in half, so that the right side of the patterns are together. 2: Lay dress on top of fabric & trace the dress with dressmakers chalk, allowing for a 1.5 cm seam allowance (except for the bottom. allow 5 cm).
How To: Hem pants so they fit
You will need marking pencils or chalk, scissors, seam ripper, pins and good quality matching thread. Mark desired length on each pant leg. Option 1: Stand on pants and place a pin where fabric hits the floor. Option 2: Fold pants up to desired length & pin. Take pants off; turn the leg inside out. Note original hem size after it is 1 1/4 to 1 1/2 inches. Mark pin position/finished length. Rip out original hem stitching using seam ripper or point of scissor. Find right loop to pull & it will ...
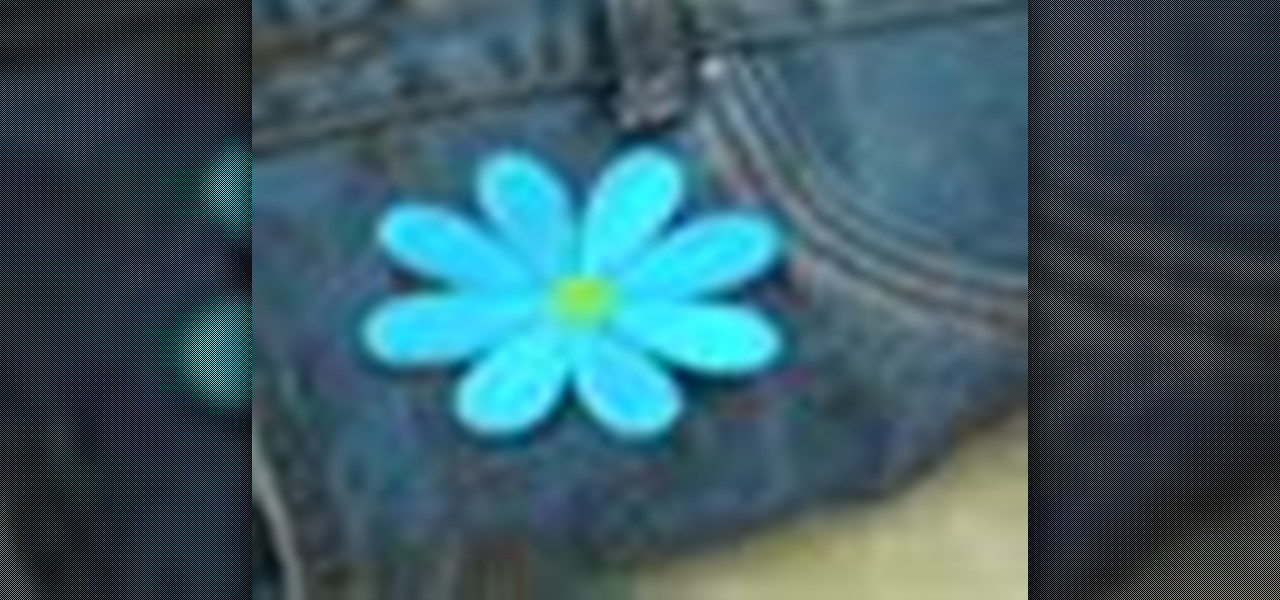
How To: Iron on patches for torn clothing
Is you favorite pair of jeans suffering from a hole in the knee? No problem. Extend the life of your clothing by using patches to cover worn or torn areas, or to embellish tired items and give them a fresh new look.
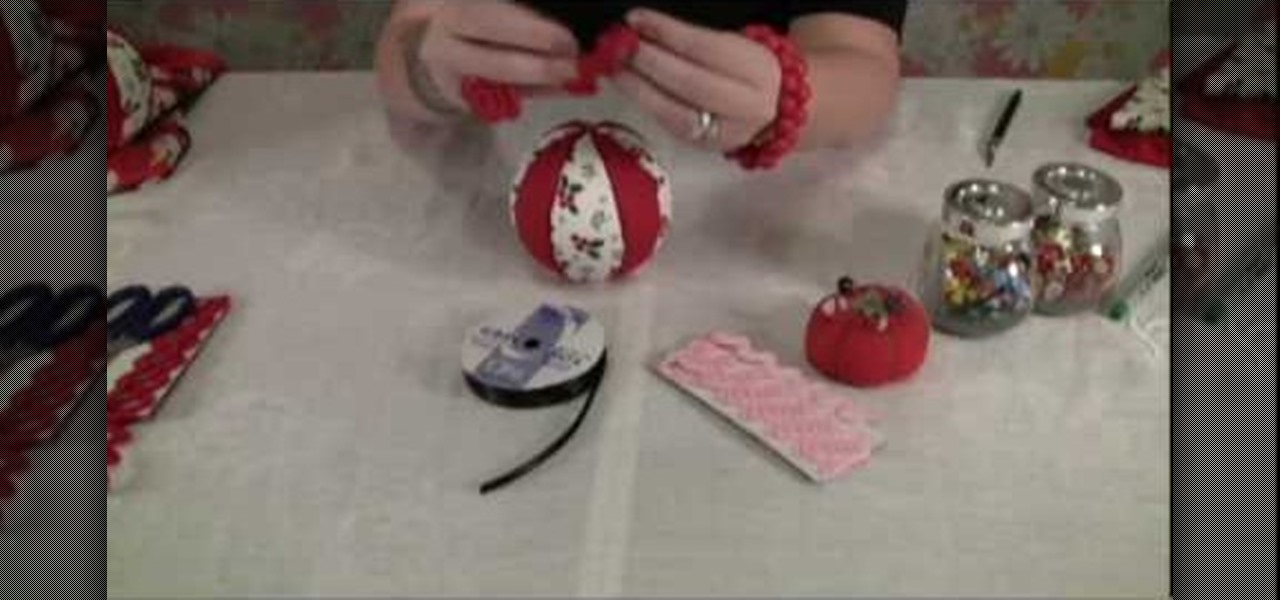
How To: Make easy fabric Christmas ornaments
Check out this video to learn how to make some easy fabric ornaments for Christmas. Decorating will be a snap, not a pain, when you take advantage of the scraps you have lying around from past projects. Let your holiday spirit out!
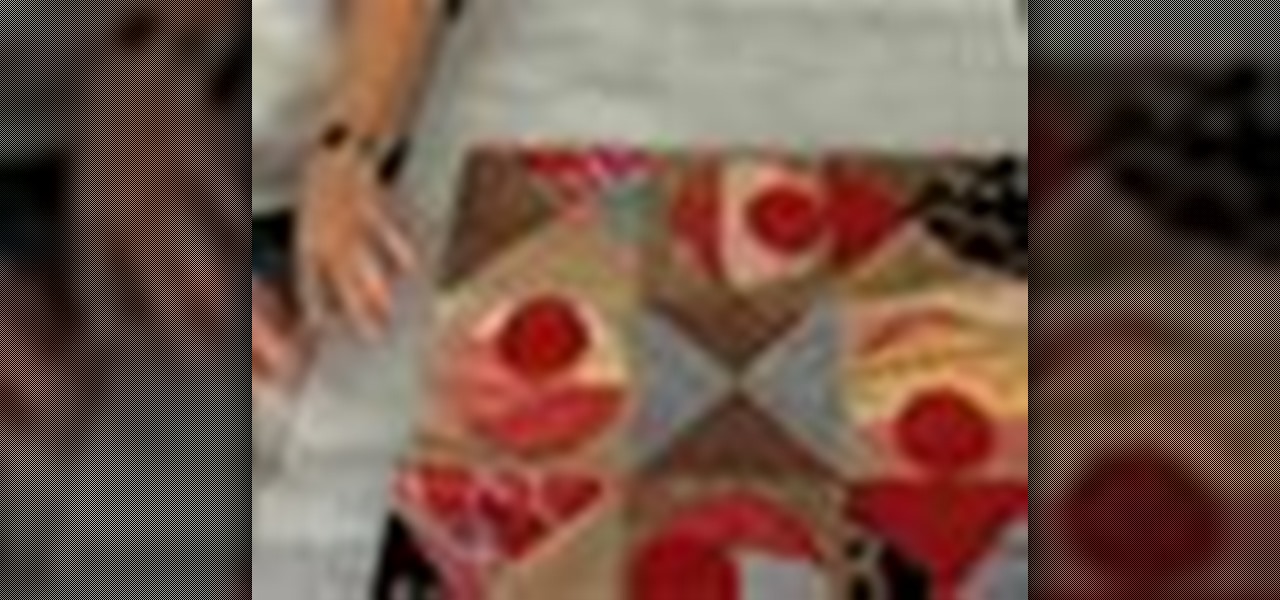
How To: Design quilts
Sure, buying a quilt is fun, but making your own is much cooler! Learn how to design and sew your own quilt by watching this informative video.
How To: Get a loose drawstring back into clothing
If you're drawstring fell out, it may seem like the end of the world, but take a deep breath -- it's possible to put back in!
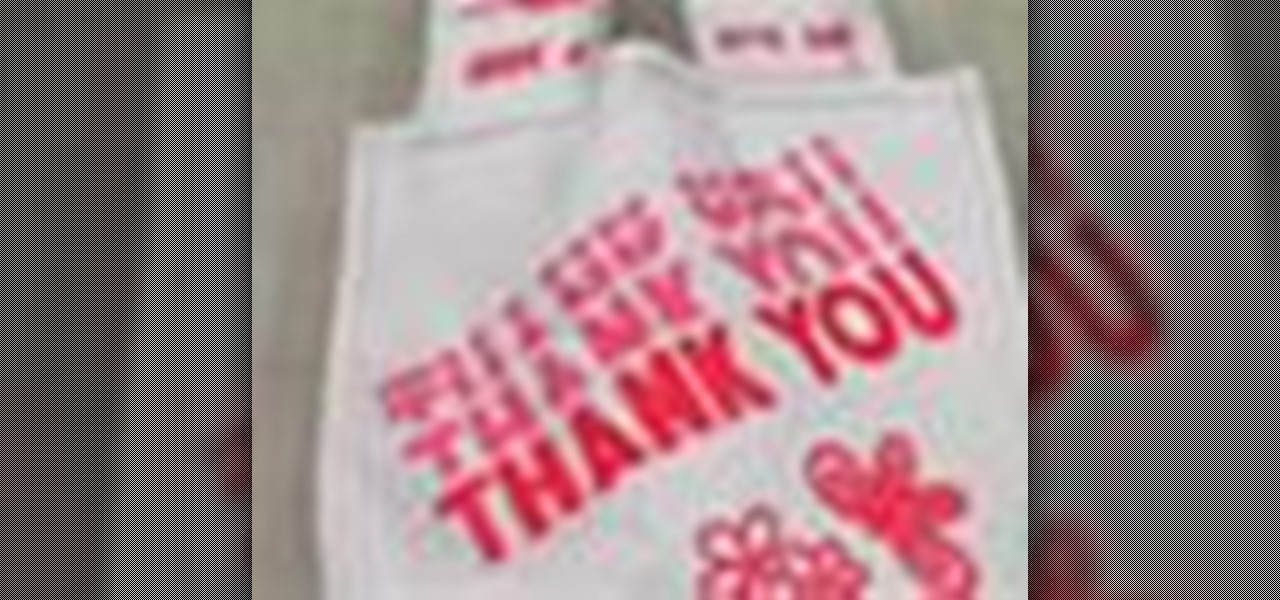
How To: Make a sturdy tote from plastic shopping bags
With only a few simple steps, you could be on your way to making an eco-friendly and fashionable tote!
How To: Choose the best sewing machine
Whether you want to save money by making your own clothes or you just enjoy working with fabrics, choose the best sewing machine so your projects turn out great.

How To: Use a sewing machine properly
Even if you never took home ec, you can create simple projects by learning the basics of sewing machine use.
How To: Wind a bobbin
Your sewing machine needs bobbin thread to create overlock stitches, so keep your machine going by learning to fill your bobbin.

How To: Hem pants easily
Pants too long or too short? Skip the cost of a tailor – hemming your own pants is "sew" easy. You Will Need
How To: Sew a hem
Sure, you can always use iron-on hem tape to shorten those pants, but maybe it’s time to join the 35 million Americans who can sew—yes, with a needle and thread—a hem.
How To: Sew a straight seam
You can learn to confidently and accurately sew a straight seam. You Will Need
How To: Thread a sewing machine
Crafts are easily completed once you learn how to quickly thread a sewing machine. You Will Need
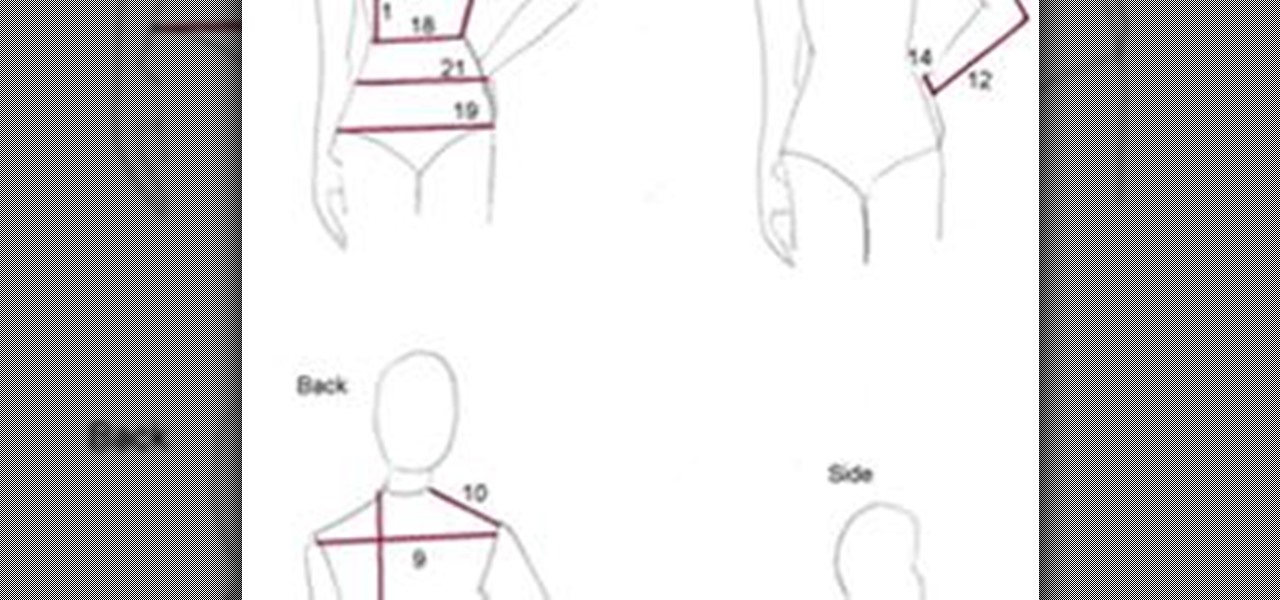
How To: Make sewing patterns
Design your own clothes by making sewing patterns, but pay attention to the details. You Will Need
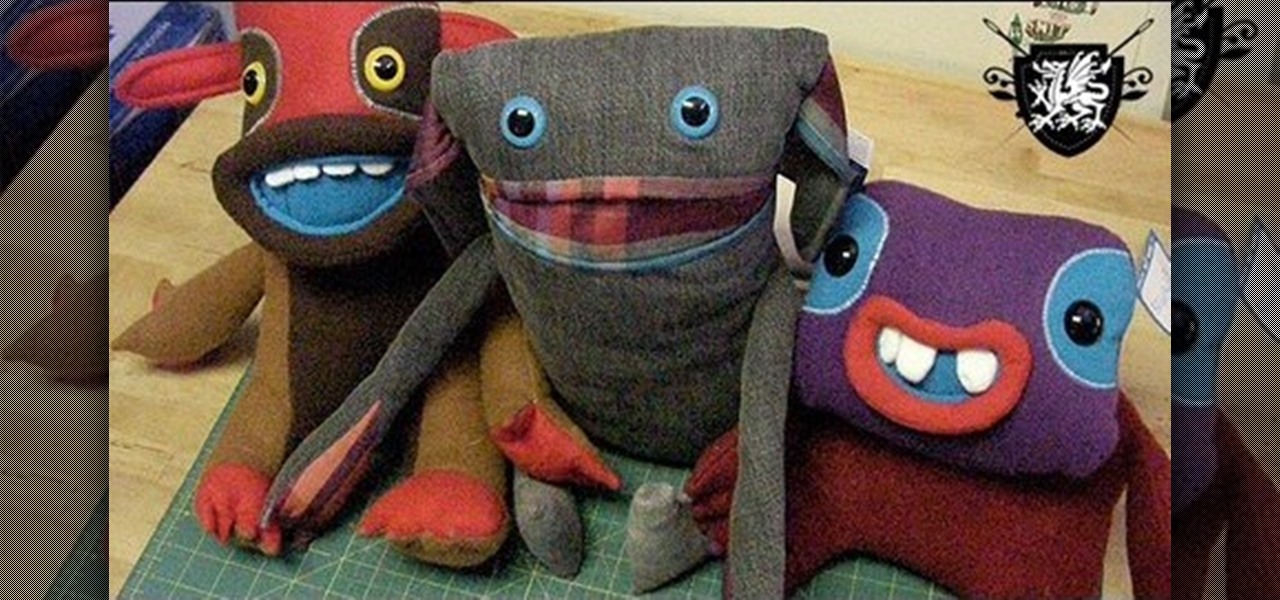
How To: Make a plushie stuffed toy with Threadbanger
The holidays will be here before you know it! Get a head start right here on Threadbanger with guest John Murphy from Stupid Creatures. Learn how to put together your own stuffed aniumal/plushie/stupid creature for your friends and family while saving a buck or two this holiday season.
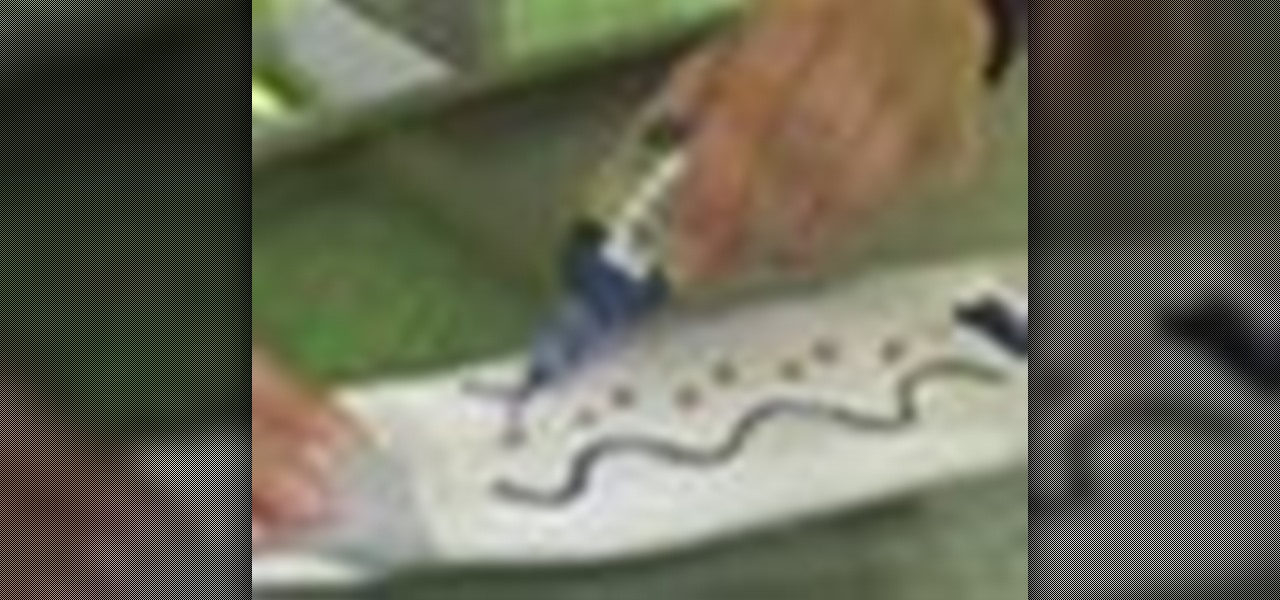
How To: Turn Regular Socks Into Non-Skid Slipper Socks
Tired of slipping on hard wood floors, but too cold to go barefoot? Make some of your favorite socks slip-proof. This how-to video project is an easy way to revamp your socks into a safer non-skid style. Your injury-free joints will thank you.
How To: Follow a sewing pattern
You don't need to be an expert designer to make your own clothes, only the patience to work step by step. This video will show you how to follow a sewing pattern.
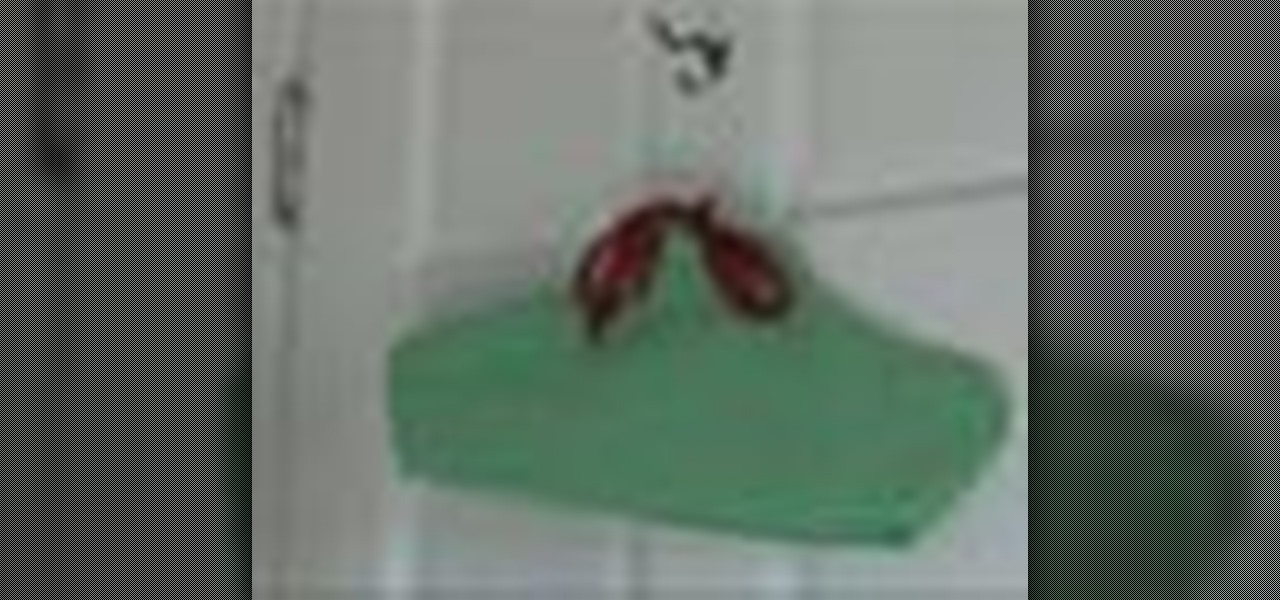
How To: Turn a wire hanger into a cloth one
Are you bent out of shape over damage to your clothes caused by wire hangers? Don’t buy new ones – follow these easy steps to modify hangers you already have. Watch this video to learn how to turn a wire hanger into a cloth one.
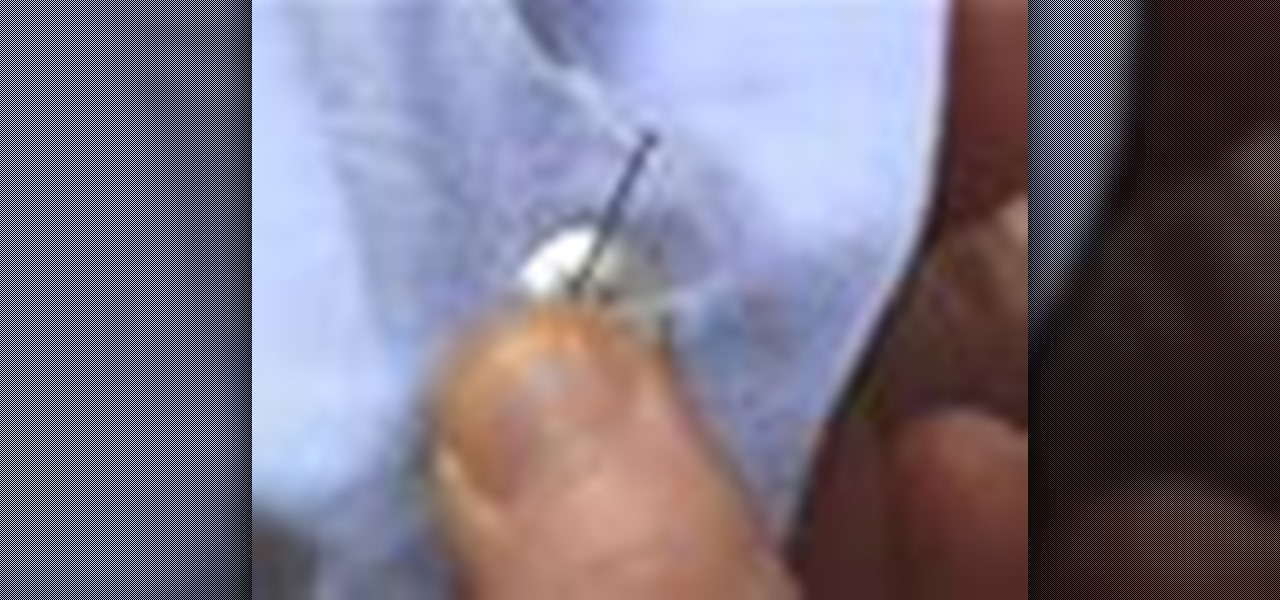
How To: Sew a button by hand
Learn how to sew a button by hand. Not wearing your favorite shirt because it’s missing a button? Don’t worry—sewing on a new one is simple and fast.

How To: Decorate your graduation cap
Learn how to decorate your graduation cap. Customizing your graduation cap is a way to stand out among the sea of identical, ill-fitting graduation robes.
How To: Sew basket liners without a pattern
Check out this DIY video tutorial from Curbly, the best place to share pictures of your home, find design ideas, and get expert home-improvement advice.
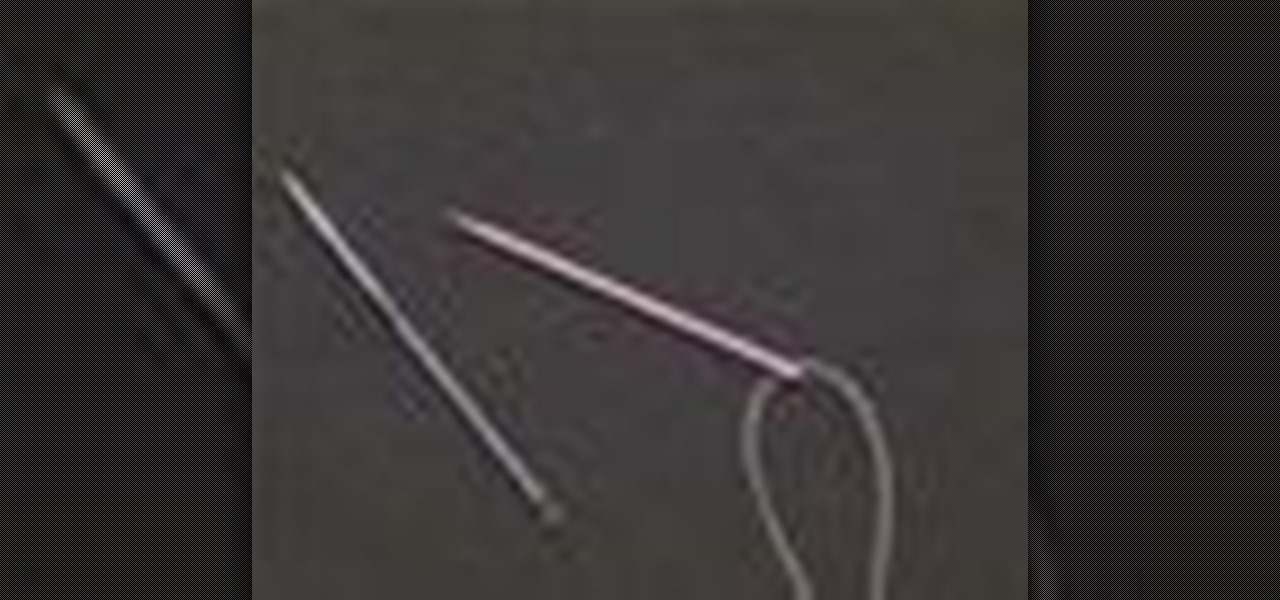
How To: Thread a needle by hand
The first step in any sewing project is threading a needle. Here's how to do it—no headaches involved. Check out this Howcast video tutorial on how to thread a needle by hand.