To make a support halter top shirt, you will need:
- Pattern for a basic bodice
- Draft paper or newspaper
- Yardstick
- Pen or pencil
- Scissors
- Cotton fabric
- 2 foam bra cups
- Matching thread
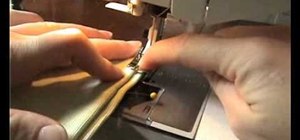
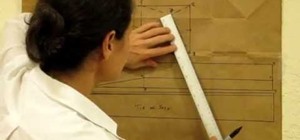
Watch the following video for visual instructions, and make sure to reference the text below.
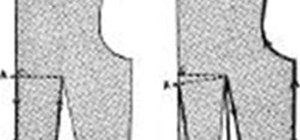
Step 1 Rotate the should dart
Rotate the shoulder dart on the front basic bodice pattern 90 degrees to the center bust.
Step 2 Rotate the waist dart
Rotate the waist dart to the center bust. The base of this newly rotated dart should touch the base of the previously rotated one.
Step 3 Cut neckline
Cut the neckline to the shape of your choice.
Step 4 Cut waist dart
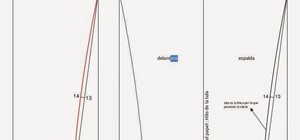
Close the waist dart on the back bodice pattern.
Step 5 Tape together
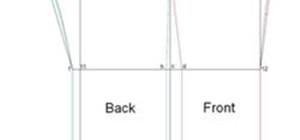
Lay the front and back patterns on a flat surface and line them up the shoulder seam. Tape them together at that point.
Step 6 Draw and cut the curve
Use a pencil to draw a curve along the top of the back pattern starting from the outer shoulder to a point about 2.5 inches down from the center neckline (as shown in the video above). Cut along this curve. You may decide to cut this pattern piece—the base of the neck strap—thinner or thicker. You are using your own creative intuition to make the tie straps the length and shape you want them. Tape this at its correct position along the shoulder seam of the front pattern.
Step 7 Draw a straight line on the back bodice
Line the remaining portion of the back bodice with the front bodice at the side seam. Measure up approximately 2.5 inches and draw a straight line on the back bodice parallel to the bottom edge.
Step 8 Cut the line
Cut along this line. This is the base of the bottom back strap. Tape it at its correct position along the side seam of the front pattern.
Step 9 Draw and cut out the strap
Draw along the top and the bottom of the remaining mid-piece of the back bodice to form a strap in the shape you would like and cut this out. Some prefer to leave the side seam the same length to match the side seam of the front and then make the curve gradually towards each other. This piece will be a separate sew on pieces.
Step 10 Add length to strap
Add length to the strap bases either by making separate pattern pieces or by directly cutting longer straps out of remaining fabric once the main pattern is cut.
Step 11 Cut the shape out
Fold your cotton fabric in half and align the center line of the front pattern along the fold. Leave at least a half-inch seam allowance along the edges when you cut the shape out of the fabric. Remember to mark the dart lines onto the fabric. Add length to the straps before cutting if you haven´t made a separate pattern earlier. Remember that these straps need to be long enough for you to be able to tie the haltertop around yourself comfortably.
Step 12 Cut pieces out of the mid-strap pattern
Cut two pieces out of the mid-strap pattern in a mirror image to each other. You may freely add length to the straps at this point as described in Step 11.
Step 13 Sew closed
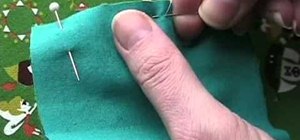
Sew the darts closed.
Step 14 Ready the bra fabric
Cut out two pieces of scrap fabric to match the exact shape of the section where your bust will fill the halter. Zig zag stitch all around the edge of the bra cups onto those pieces of fabric.
Step 15 Sew in the bra cups
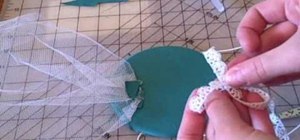
Place the bra cups inside the halter lining the apex of the bra cups exactly at the dart points. Zig-zag stitch along the edges to sew the bra fabric to the halter fabric.
Step 16 Complete
Finish sewing the straps onto the halter. Embellish the edges as desired.
Just updated your iPhone? You'll find new emoji, enhanced security, podcast transcripts, Apple Cash virtual numbers, and other useful features. There are even new additions hidden within Safari. Find out what's new and changed on your iPhone with the iOS 17.4 update.







Be the First to Comment
Share Your Thoughts