


how to
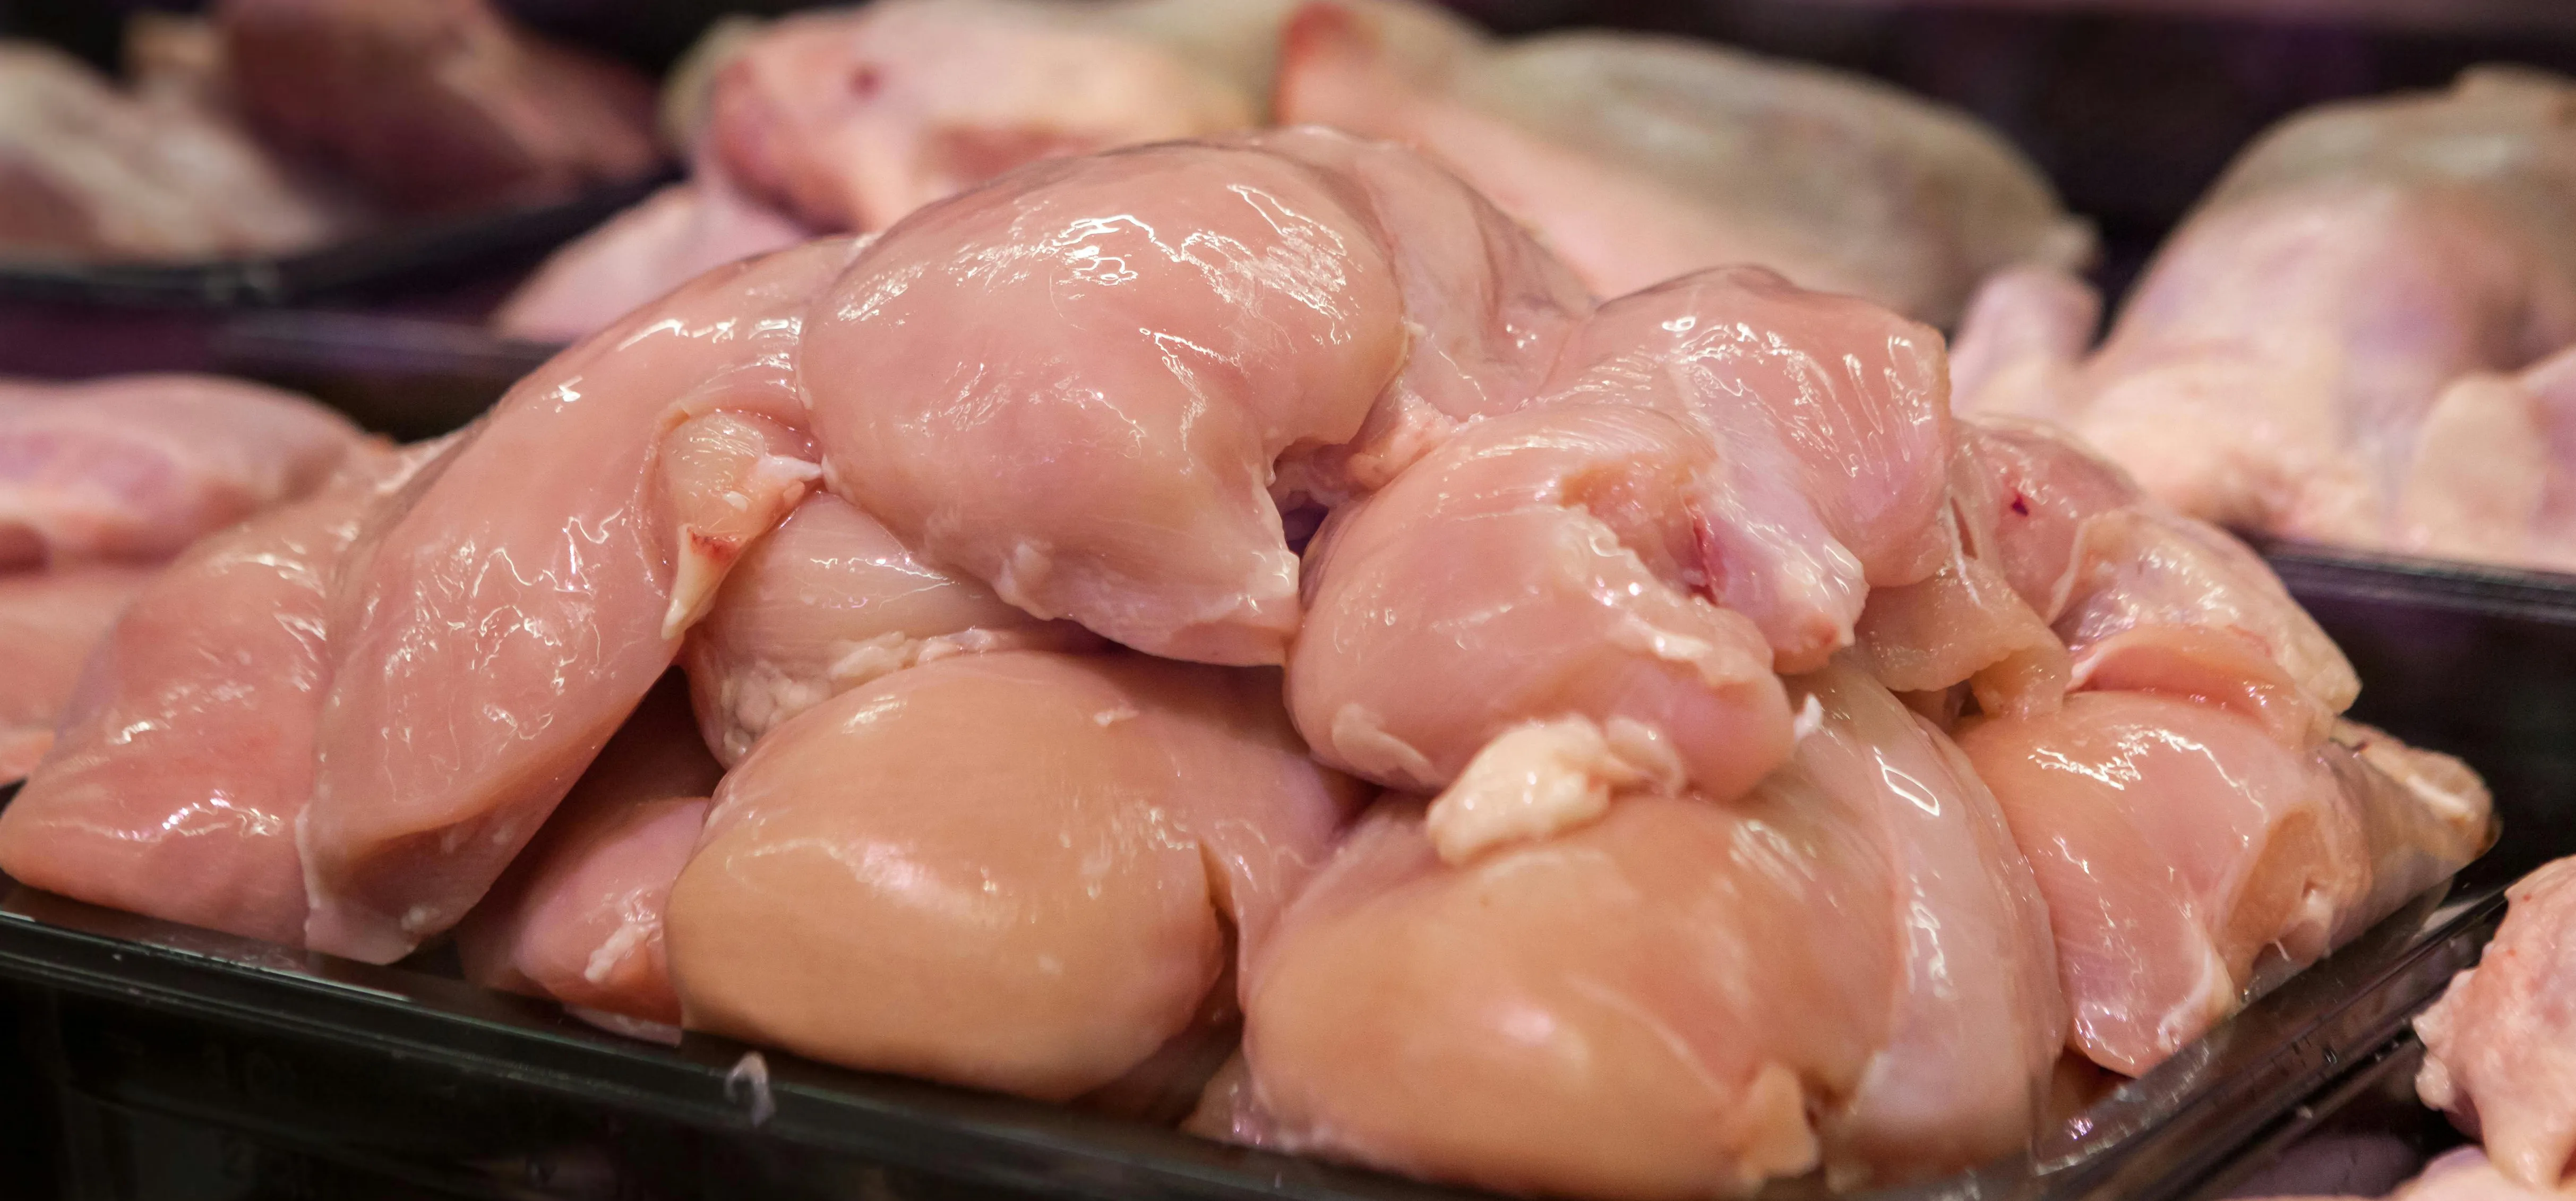
Water, Lemon Juice, Vinegar, or Nothing: Should You Even Bother Rinsing Chicken?
how to
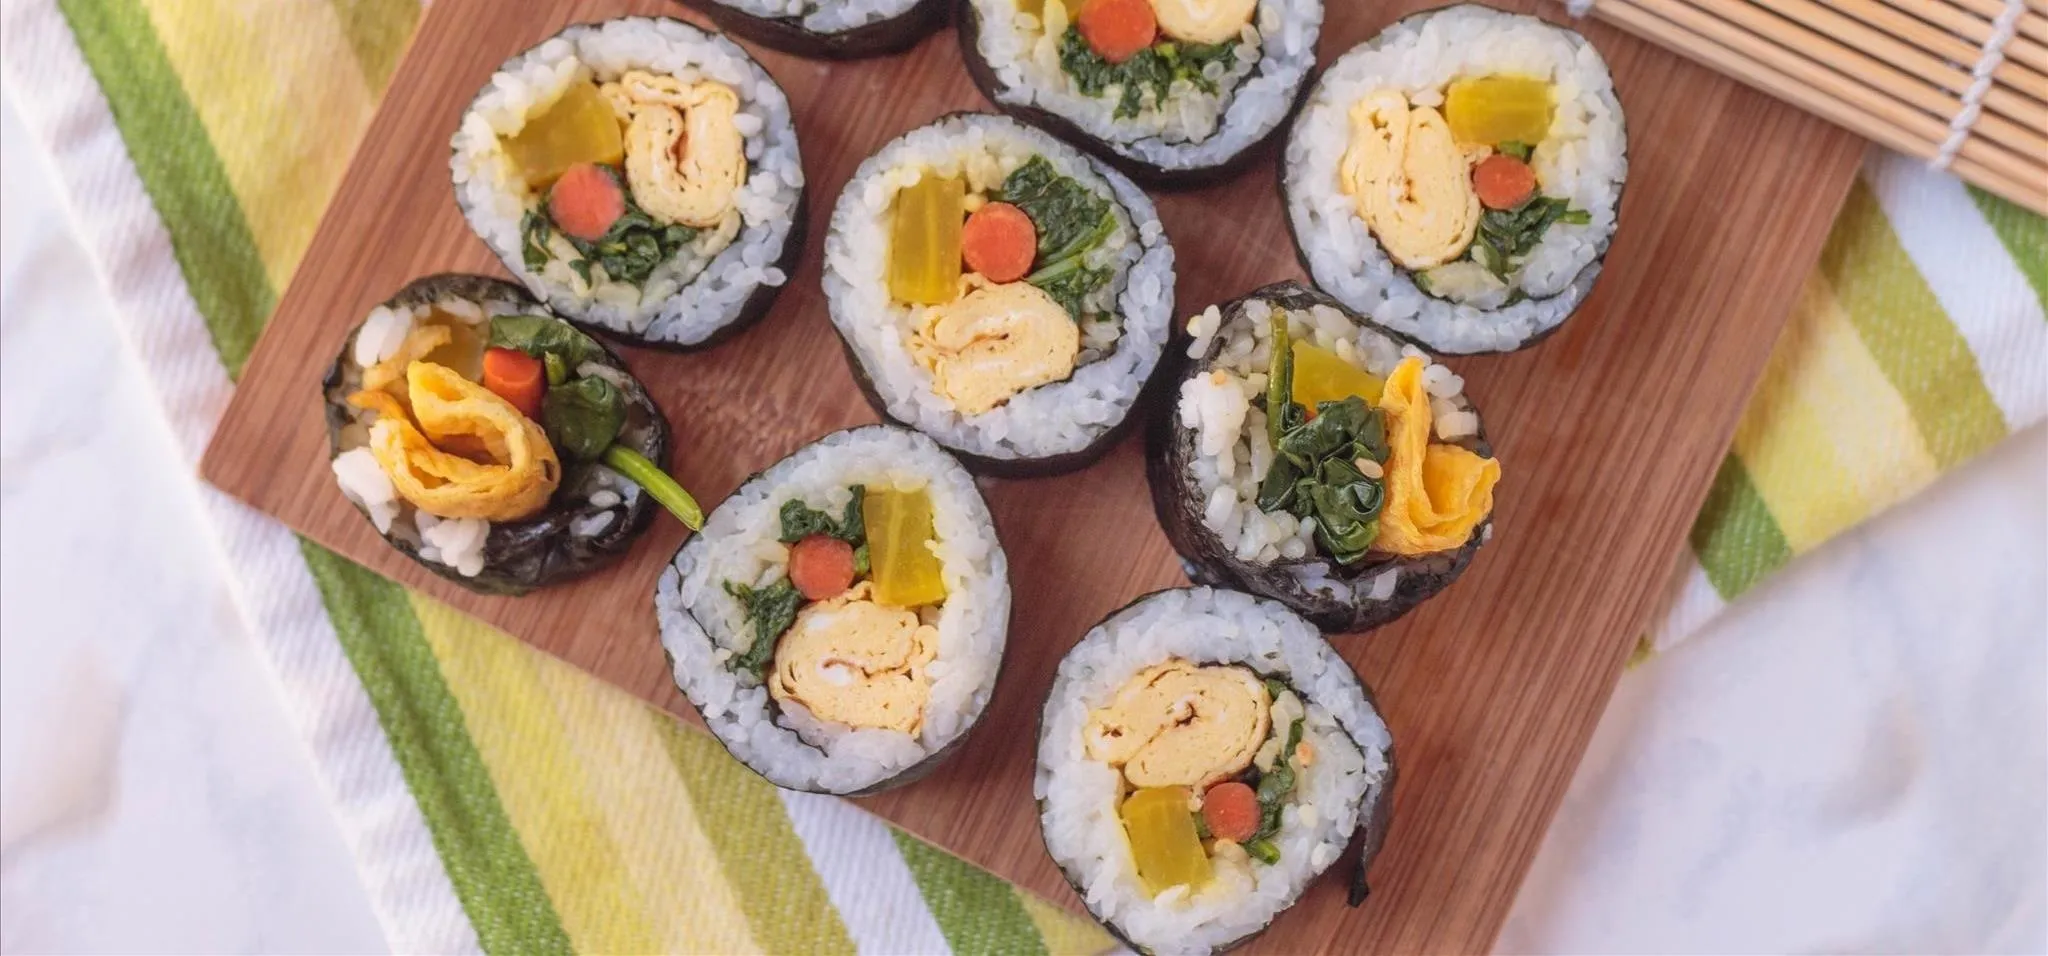
How to Roll Sushi — The Ultimate Guide
how to
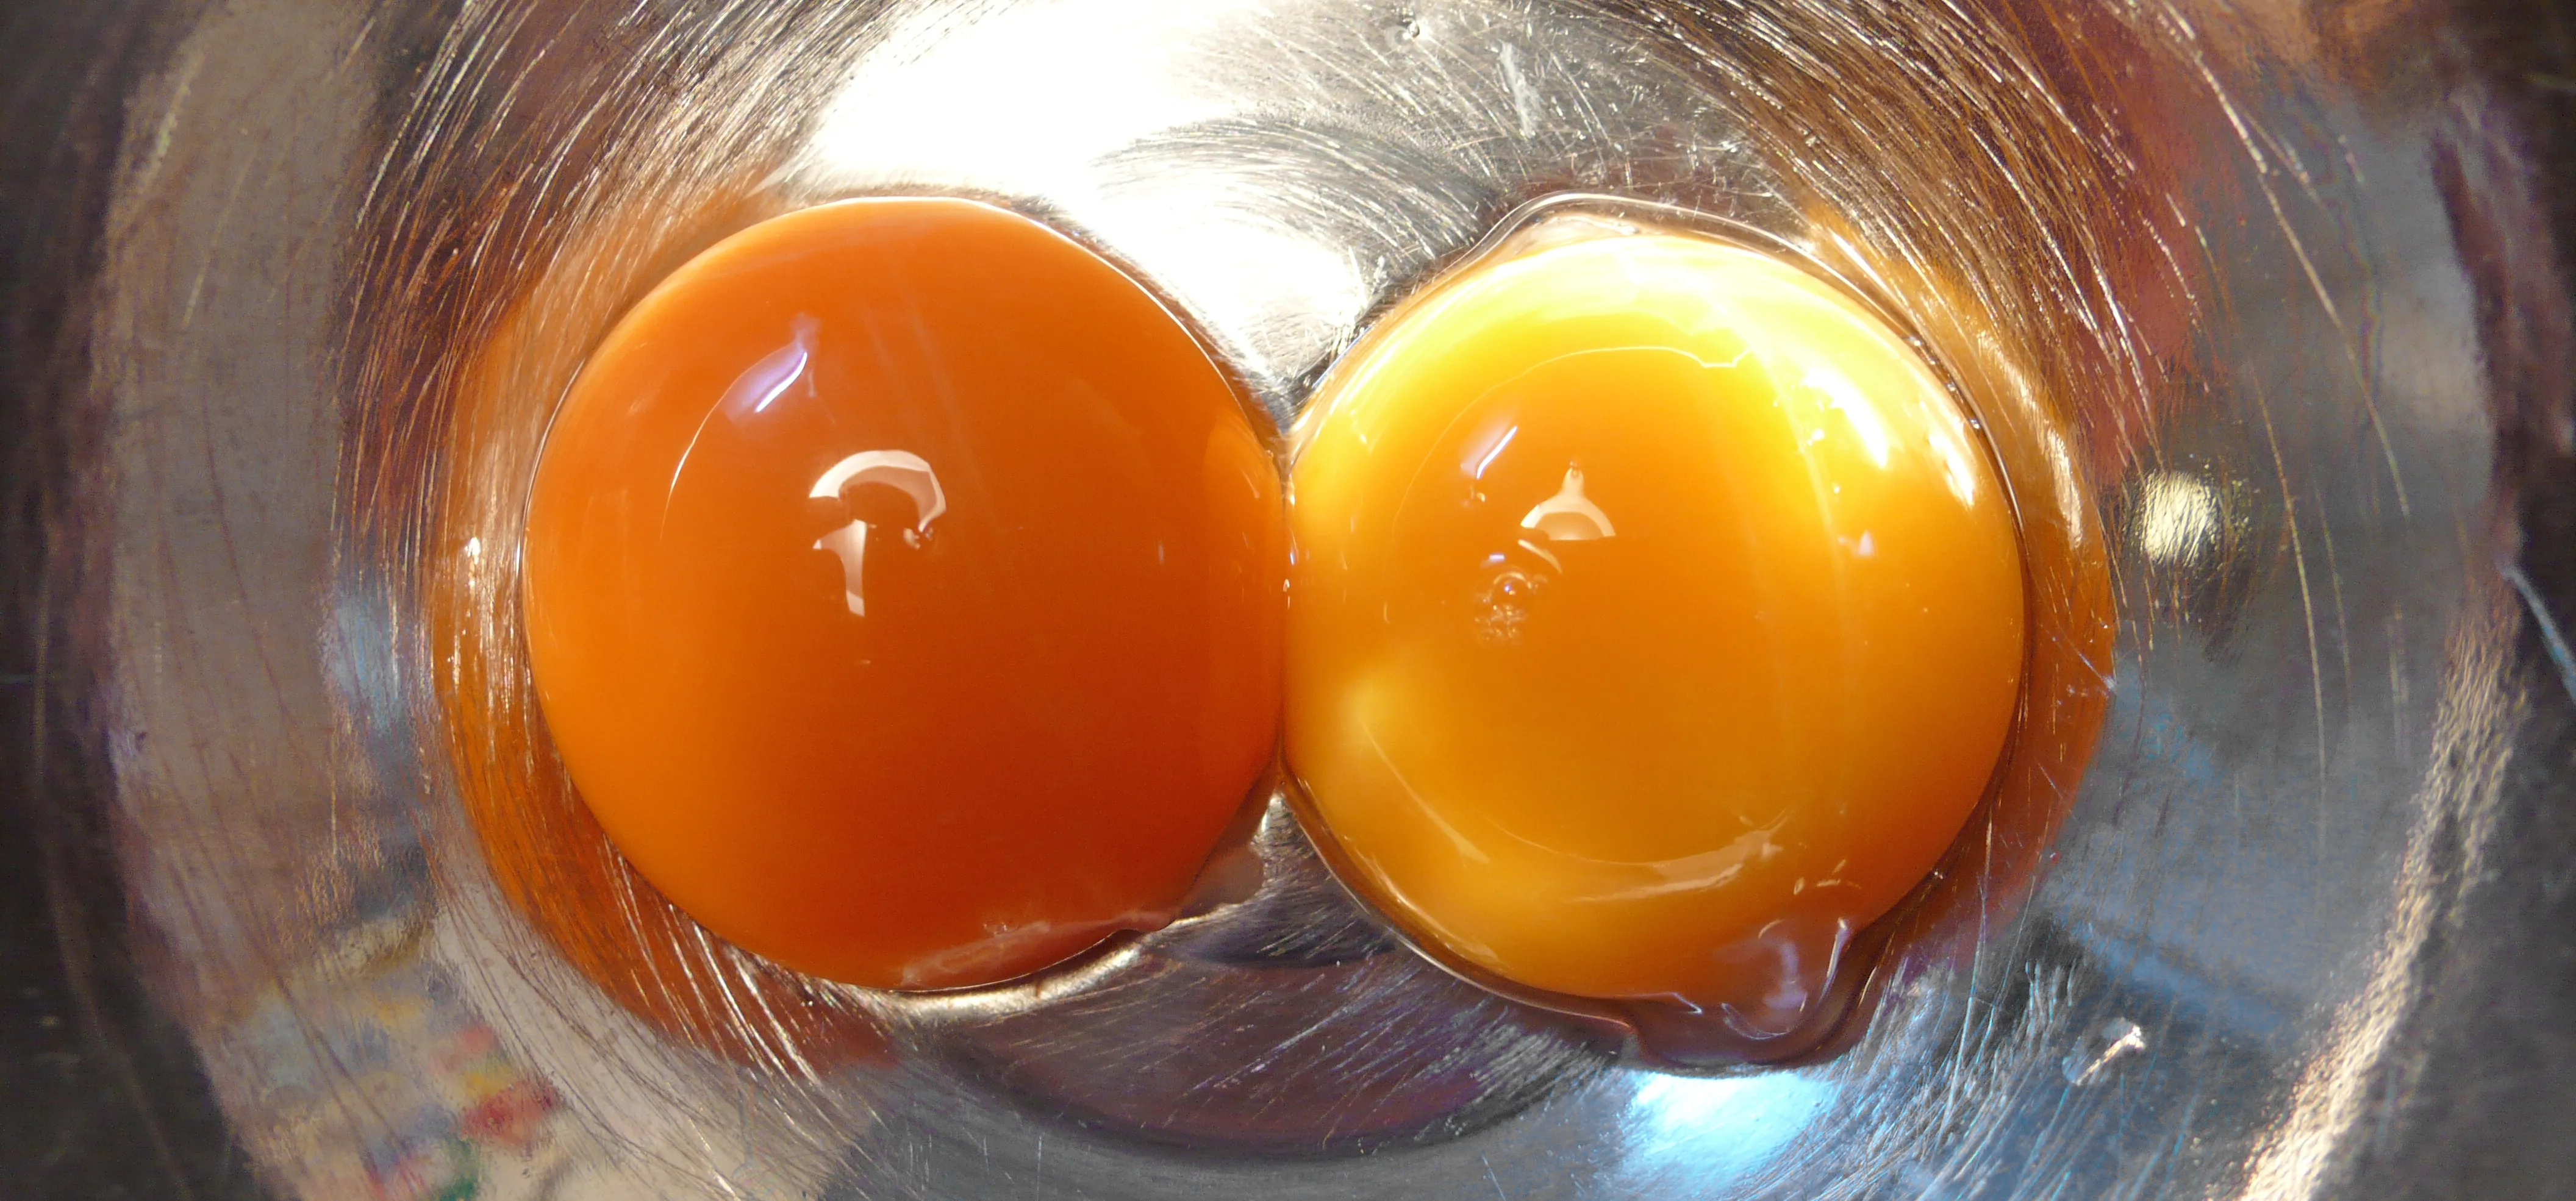
How to Tell if Your 'Expired' Eggs Are Still Good to Eat


Featured On WonderHowTo:
Productivity & Shortcuts


Featured On WonderHowTo:
Music & Audio


Featured On WonderHowTo:
Augmented Reality


Featured On WonderHowTo:
Gaming


