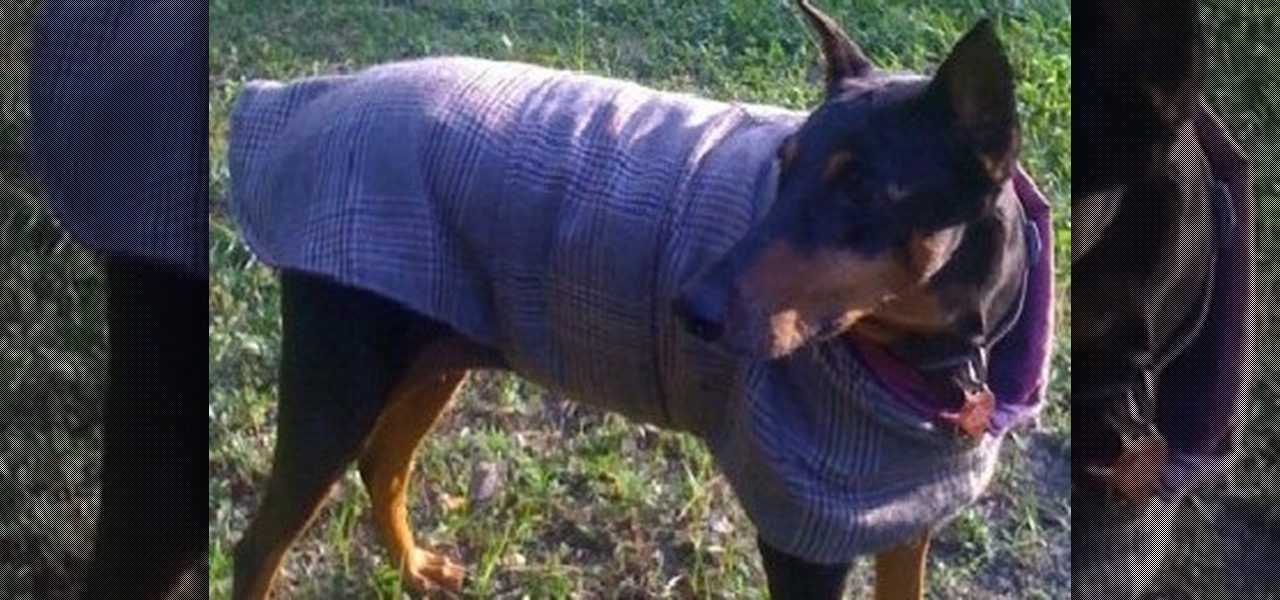
As the cooler weather starts rolling in your pet will need more than just his natural coat to keep the shivers away. Take him out in style by designing a simple yet elegant tailored coat that will fit him perfectly. Here is an easy lined tailored coat with a nice thick comfort strap to keep him snug. Watch this video and follow the accompanying written instructions.
You will need:
- A tape measure
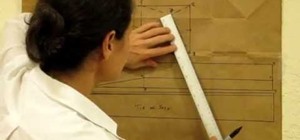
- Brown paper
- A square ruler
- A pencil
Take Ten Measurements for the Pattern and Write Them Down.
- Length: Find the widest part of your pet and place the end of the tape measure right at that point in the middle of your pet's back. Allow the tape measure to hang down and determine how long you would like his coat to be.
- Wishbone to rotation: From the bone that sticks out in front of your pet's upper chest to the bone in his leg that would be the equivalent to our shoulder.
- Measure horizontally from his shoulder (or "rotation point") to the center of his foreleg. The center foreleg is perpendicular to the nape of his neck.
- Nape of his neck (between his shoulder blades) to the dock of the tail.
- Angle at which your pet holds his head. Using a protractor place the "0" point at his neck to determine this measurement in degrees.
- Nape of the neck up towards the crown of his head to how far up his neck you want the coat to cover.
- Neck circumference (take this measurement at the location where you want the neckline of the jacket to be.
- Front of neck (where the neckline of the coat will be) to the wishbone.
- Rotation point ("shoulder") horizontally to the widest part of the rib cage.
- Wishbone horizontally to the end of his ribcage . (Very important consideration in male dogs to avoid soiling the coat when he urinates. In female dogs this measurement is not as important.)
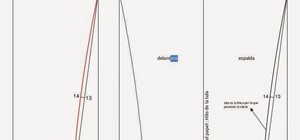
Step 1: Draw a Rectangle and Number the Corners 1 - 4.
- Vertical sides are the length of the jacket plus three centimeters.
- Horizontal sides are wishbone to the rotation, plus rotation to center leg plus nape to tail plus 3 centimeters for the dart.
- Number each corner starting from the upper left corner as point 1, bottom left point 2, upper left point 3 and lower left point 4.
Step 2: Determine the Nape Point on the Rectangle.
- Add measurement #2 and measurement # 3 together (i.e. wishbone to rotation plus rotation to center foreleg).
- Starting from point 1 in the direction of point 3 mark the measurement along the top of the rectangle.
- Mark this as point number 5.
- Mark the same distance at the bottom of the rectangle and draw a dotted line down from point 5 to that point. (Point 5a.)
Step 3: Mark the Angle at Which Your Pet Holds His Head.
- Using a protractor place the center of the protractor on point 5 and with the baseline level to the top line of the rectangle.
- Mark the angle and draw a light dotted line from point 5 through the measured angle point.
- Now starting from point 5 find the measurement #6 along the dotted line and mark it as point number 6. Now connect points five and six with a solid line.
Step 4: Divide Neck Circumference by 2.
- Draw a line from point number 6 to wherever half the neck circumference hits on the side of the rectangle.
- Mark that point number 7.
Step 5: Find and Mark Point Number 8.
- From point 7 down the side of the rectangle mark measurement number 8 as point #8.
- From point 8 draw a horizontal dotted line straight across the rectangle, parallel to the bottom edge.
Step 6: Find and Mark Point Number 8a.
Point number 8a is from the wishbone to the rotation point.
Step 7: Find and Mark Point 9.
This is from the rotation point (point 8a) to the widest part of the chest.
Step 8: Find and Mark Point 10
Mark along the reference line the measurement from the wishbone to the end of the ribcage. This is point number 10.
Step 9: Finish Drawing in the Reference Lines.
Draw dotted lines through point 9 and point 10 parallel to the dotted line 5-5a.
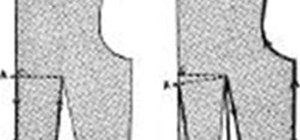
Step 10: Draw in the Darts.
underlineChest Dartunderline
- Measure 1.5cms to either side of point 8 and mark the locations with a small dot.
- Draw a straight line from each dot to point 8a to form a triangle. This is a dart.
underlineShoulder Dartunderline
- For the shoulder dart measure 1.5cm back from the nape and mark the location with a dot. This is where the center line of the should dart will begin.
- From that dot draw a straight dotted line to point 8a.
- Measure 1.5 cm to either side of of the top dot and draw straight lines from those to point 8a.
Step 11: Cut Out the Pattern
Starting at point 2 cut along the lines to point 4, up to point 3, over to point 5, then 6, then 7 and back to point 2
Step 12: Alter the Pattern to Your Liking.
Alter the pattern to suit your creative style. You can rotate the darts, round out the lines, cut the pattern into quilted pattern pieces, etc.....
Step 13: Use the Pattern to Cut the Pieces of the Coat Out on Fabric.
- Leave extra for seam allowances
- Using more fabric create a strap long enough to hold the coat onto your pet.
- Work organically and intuitively to create a tailored coat unique to your pet's style.
Watch the Accompanying Video for One of Many Ideas on How to Alter the Pattern to Make a Tailored Coat.
Just updated your iPhone? You'll find new emoji, enhanced security, podcast transcripts, Apple Cash virtual numbers, and other useful features. There are even new additions hidden within Safari. Find out what's new and changed on your iPhone with the iOS 17.4 update.



Be the First to Comment
Share Your Thoughts