


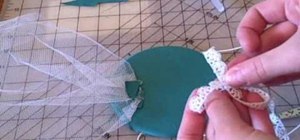
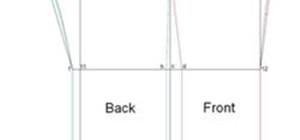
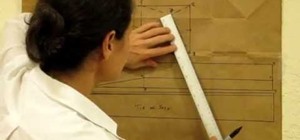
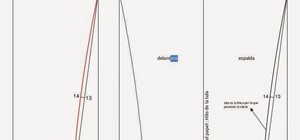
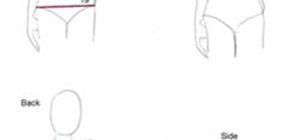
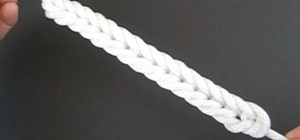
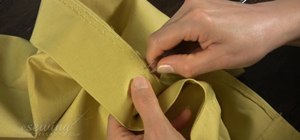
In this how-to video, you will learn how to sew a cape. The pattern is made of three pieces. The main part is made of a circle with a hole in the center. There is a cut made from the center to the edge of the circle. The diameter is about 145 centimeters. The hood is two half circle pieces, with a diameter of about 62 centimeters. The two parts will be sewn together along the green marks shown. Fold the rest fabric above the seam and sew it to the fabric next to the seam. Next, sew at where the diagram indicates. The green lines mark the seem you made to connect the pieces of the hood, while the blue marks show where the rest-fabric of the seam has been attached to both sides of the green marked seam. The hood can be sewn to the neck hole of the cape. Sew the matching parts together in a way that the rest-fabric of the seam is on the inside of the cape. Arrange the two ends looking out of the seam of both the cape and the hood so that they are folded into each other, and then sew together. Now, sew the border on the front of the hood and cape. Finally, sew the metal clasps or ribbons near the hood. Viewing this video will show you how to sew together a wonderful hood and cape.
Just updated your iPhone? You'll find new emoji, enhanced security, podcast transcripts, Apple Cash virtual numbers, and other useful features. There are even new additions hidden within Safari. Find out what's new and changed on your iPhone with the iOS 17.4 update.


Be the First to Comment
Share Your Thoughts